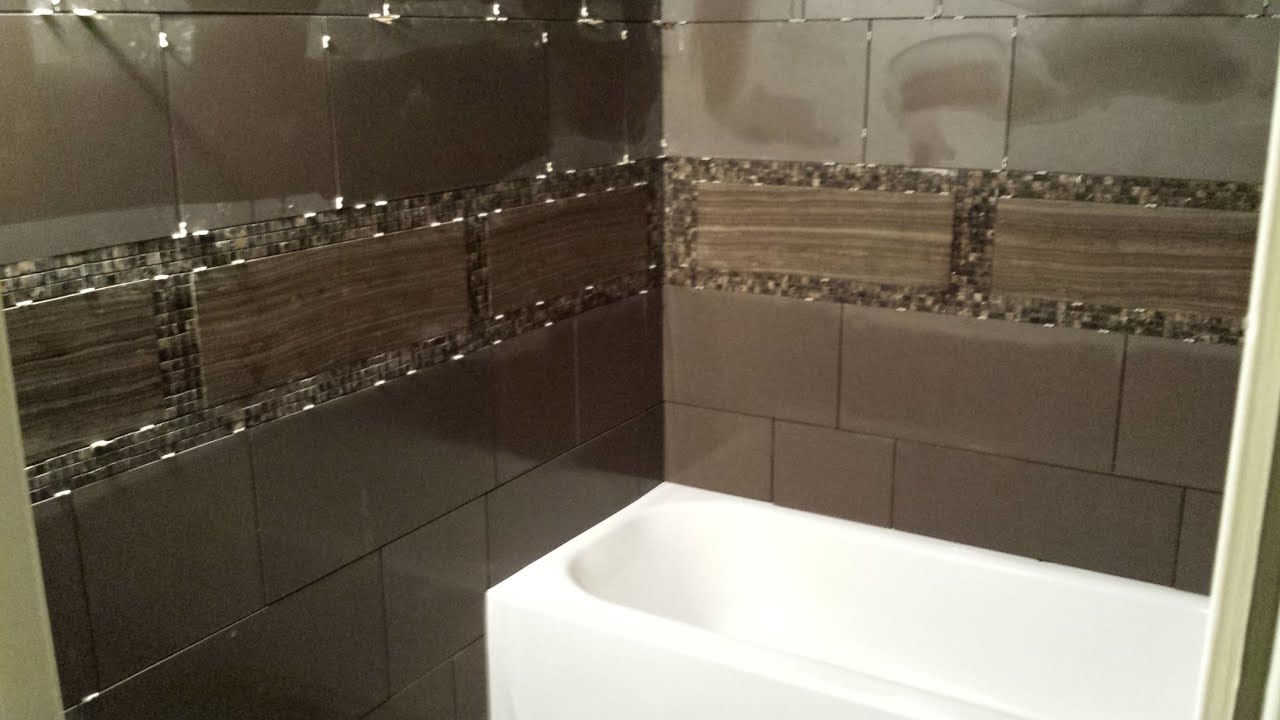
How to Tile a Bathroom Wall – Step by Step Guide

How to Install Bathroom Wall Tiles | Bathroom wall tile, Wall tiles ...
How to Tile a Bathroom Wall – Step by Step Guide
Tiling a bathroom wall can be an intimidating task, but with the right information and the right tools, you can easily achieve professional-looking results. With this step-by-step guide, you will learn how to turn a plain wall into a beautiful tile masterpiece.
Step 1: Preparing the Wall and Gathering Tools and Materials
The first step is to prepare the wall: check for any holes and even them out with a putty knife and spackle, and sand down any rough surfaces. Once your wall is prepped, use a measuring tape to ensure your tiles will line up evenly. Gather all the necessary tools and materials to take on the job; usually you will need a sponge, tile cutter, tile spacers, adhesive, grout, and a grout float.
Step 2: Select and Buy Tiles
You will need to select a tile that works best for your situation. Ceramic tiles come in a variety of sizes, shapes, and finishes, so make sure you choose the one which best suits your needs. The size of the tile should also match the size of the wall: larger tiles are best used on a larger wall, while medium to small tiles may work better on a smaller wall. Once you have made your selection, buy enough tiles to complete the wall, keeping in mind that you will need a few extra tiles for potential mistakes or replacements.
Step 3: Applying Adhesive to the Wall
Before starting, wet the back of each tile piece with a sponge to activate the adhesive. Now it’s time to start tiling. Spread adhesive to the wall using a trowel angled at 45 degrees. You should spread enough adhesive to cover about 3 square feet of wall space. Place the tile pieces in the adhesive and use tile spacers to maintain uniform spacing.
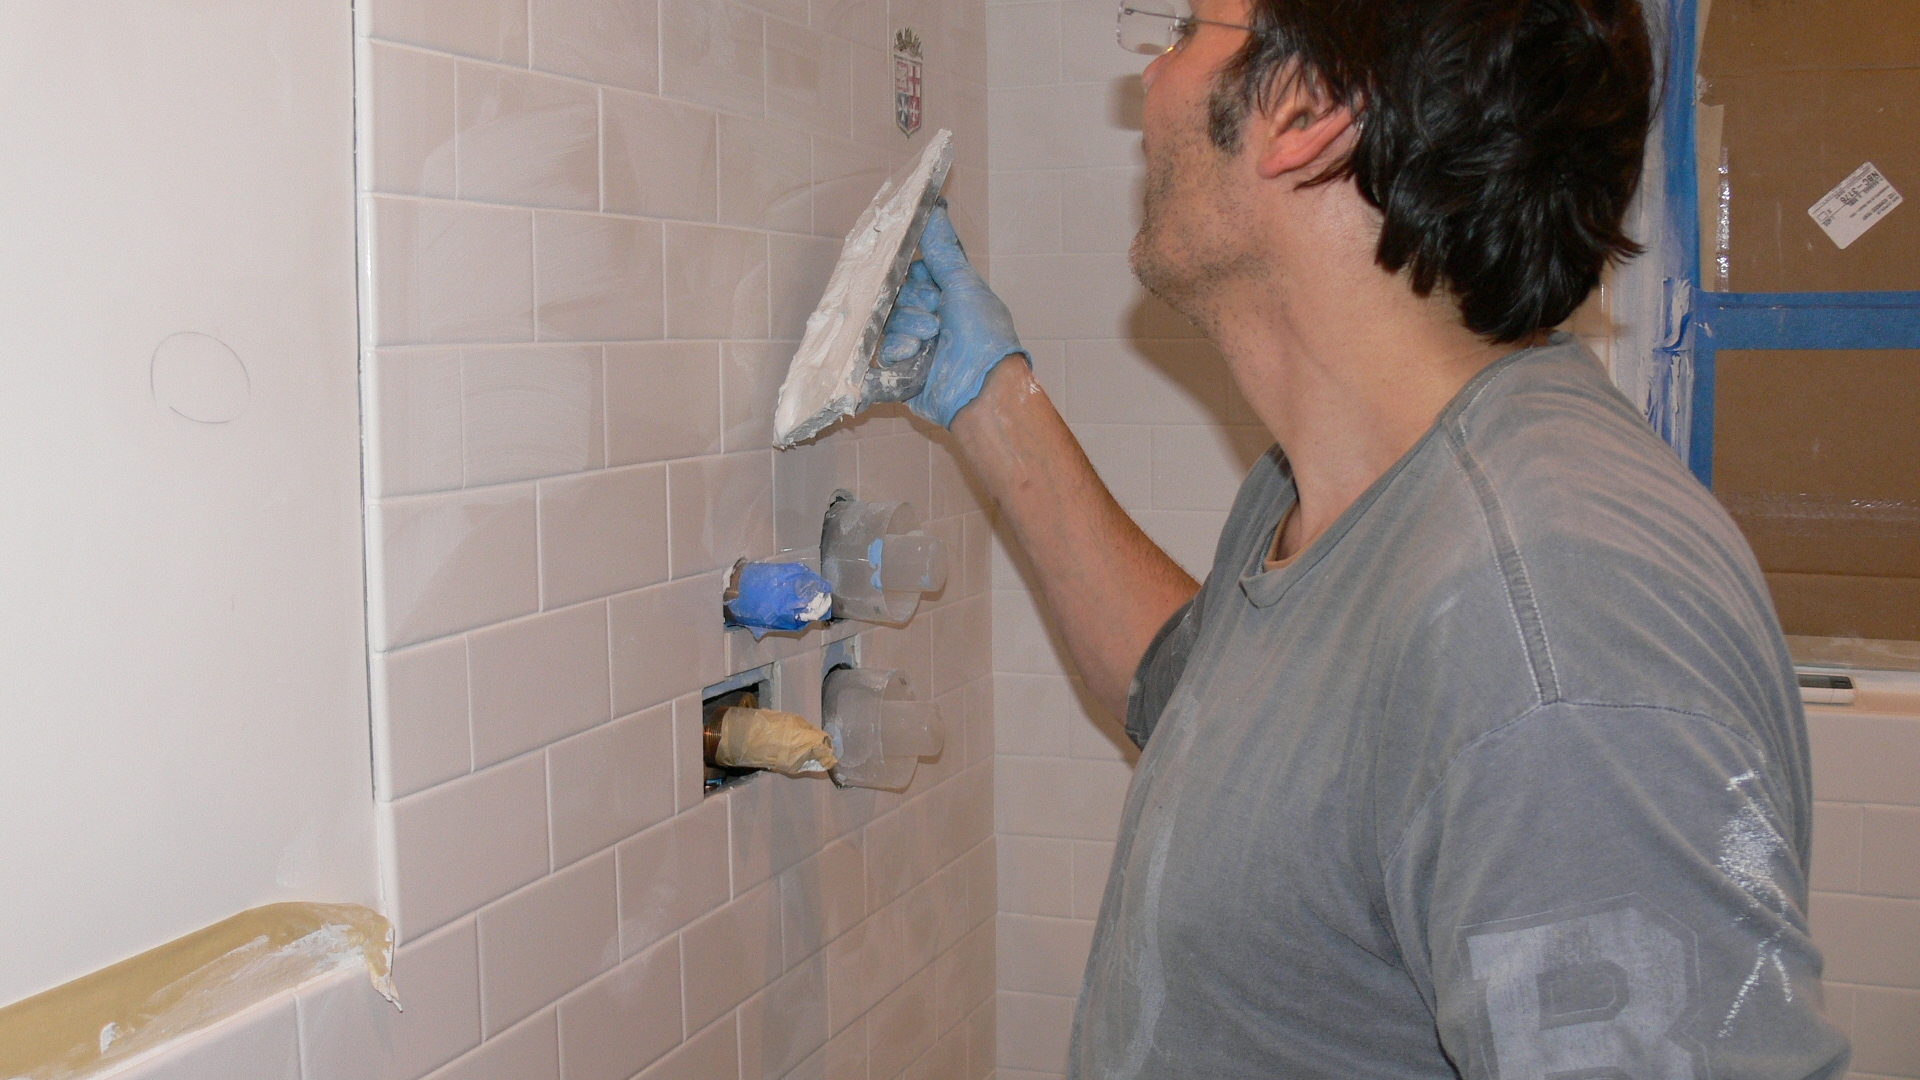
Step 4: Grouting the Wall
Wait at least 24 hours after laying the tiles before beginning to grout. Make sure to use sealants and waterproofing agents before grouting. When you are ready to grout, mix your grout to a consistency of peanut butter and apply it to the wall using a grout float. Be sure to press the grout deep into the joints and smooth the wall with the grout float. Let the grout dry fully for at least 24 hours before applying a water repellent and sealant.
Step 5: Finishing Up
Inspect the tiles for sandwiches or lippage – when one edge of the tile is higher than the other edge – and correct any mistakes you find. Finally, clean the tiles using a mild detergent and warm water, buff away the grout haze, and supplement the grout lines with wax protection. Now that you know how to tile a bathroom wall, you can feel confident tackling the task yourself. While it takes some patience and precise measurements, the end result is worth it when you have a beautiful and unique tiled wall in your bathroom.
How to Tile a Bathroom Wall
Tiling a bathroom wall can be an exciting and rewarding project. If done correctly, it will bring a lot of life to the room, while protecting your walls from water damage. Whether you are looking to apply tile for the first time or are experienced with applying tiles in other areas of your home, there are some essential steps that should always be taken when laying down tile. Here we’ll take a look at what those steps are and how to properly prepare a wall for tiling.
Preparation is Key
One of the most important steps in tiling a bathroom wall is surface preparation. It is essential to properly prepare the wall before the installation process takes place. The purpose of cleaning and preparing the wall is to give the adhesive something to hold onto. Ideally, the wall should be free of dust and dirt, as this could interfere with the adhesion of the tile. Walls must also be straightened, leveled, and structurally sound. It’s also important to check for any nail or screw heads that may be sticking out, as they can interfere with the tiling process.
Marking Out the Math
Before getting started with the actual tiling, it’s important to measure and mark out the lines on the wall. This can be done using a ruler or level to make sure that everything is placed in the right way and is straight. Once the lines are marked out, use a convenient marker to indicate the locations of each tile. This way you don’t have to constantly refer to measurements while cutting the tile.
Tile Cutting
Once all the lines are marked, it’s time to start cutting the tiles. Make sure to use the appropriate tile-cutting tool for the job; some of the most common tools used for this are a hacksaw, tile cutter, and wet saw. For smaller tiles, a manual tile cutter can be used. When making the cuts, make sure to measure and double-check each one. Even the smallest mistake can cause a misalignment that can throw off the entire project. Also, make sure to wear the necessary safety gear, such as protective glasses and gloves, when utilizing the tile-cutting tool.
Adhesive Application
Once all the tiles have been cut, it’s time to apply the adhesive. Depending on the type of tile being used, the adhesive can either be applied directly to the back of each tile, or to the wall itself. For wall-mounted tiles, adhesive should be applied to the wall sparingly, as too much can cause it to start running down the wall during installation. Additionally, use the correct notched trowel to spread the adhesive. Notches on the trowel are designed to assist with spreading the adhesive evenly and allow for greater control during the application.
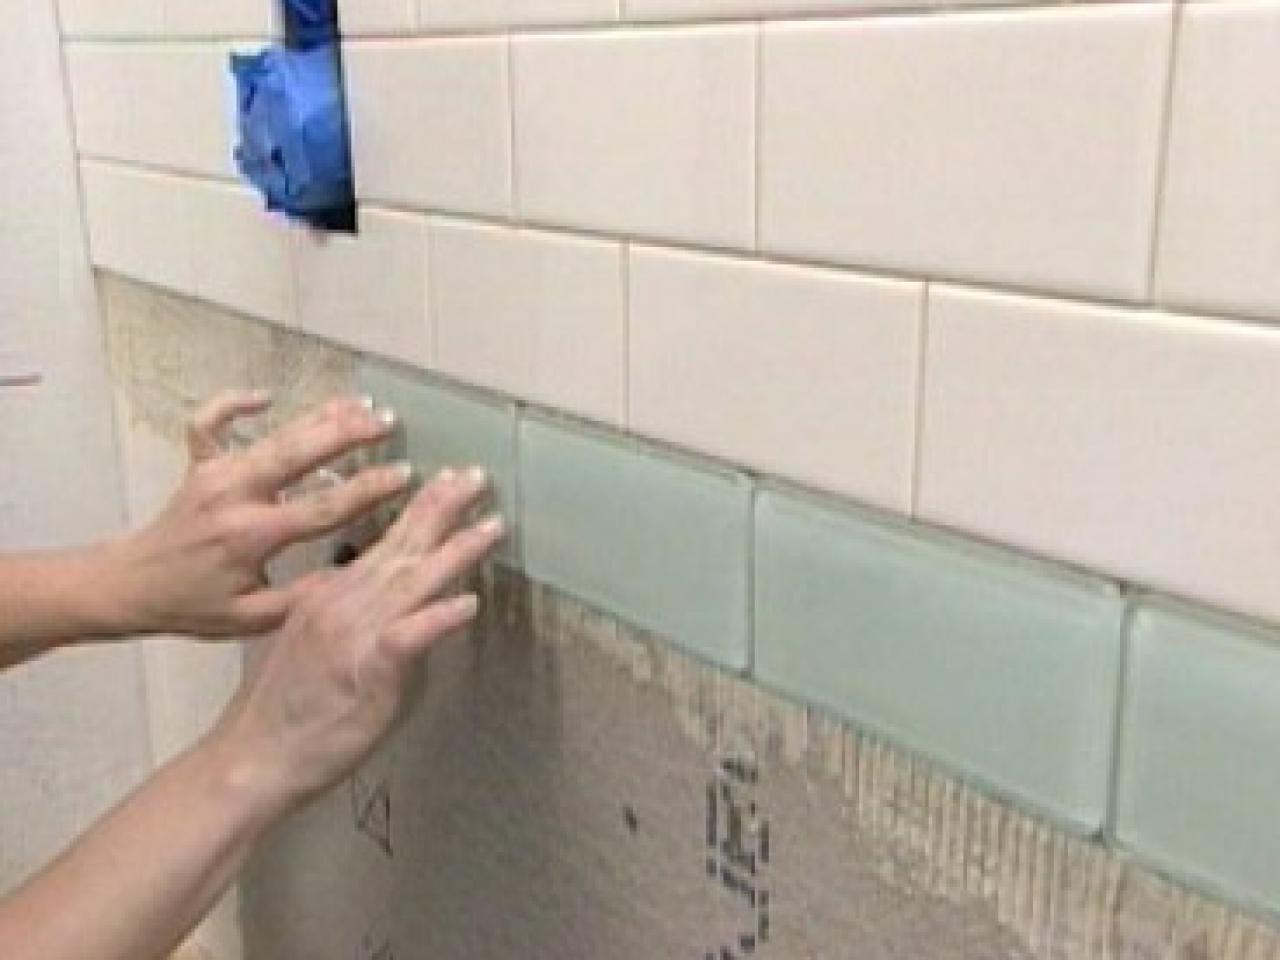
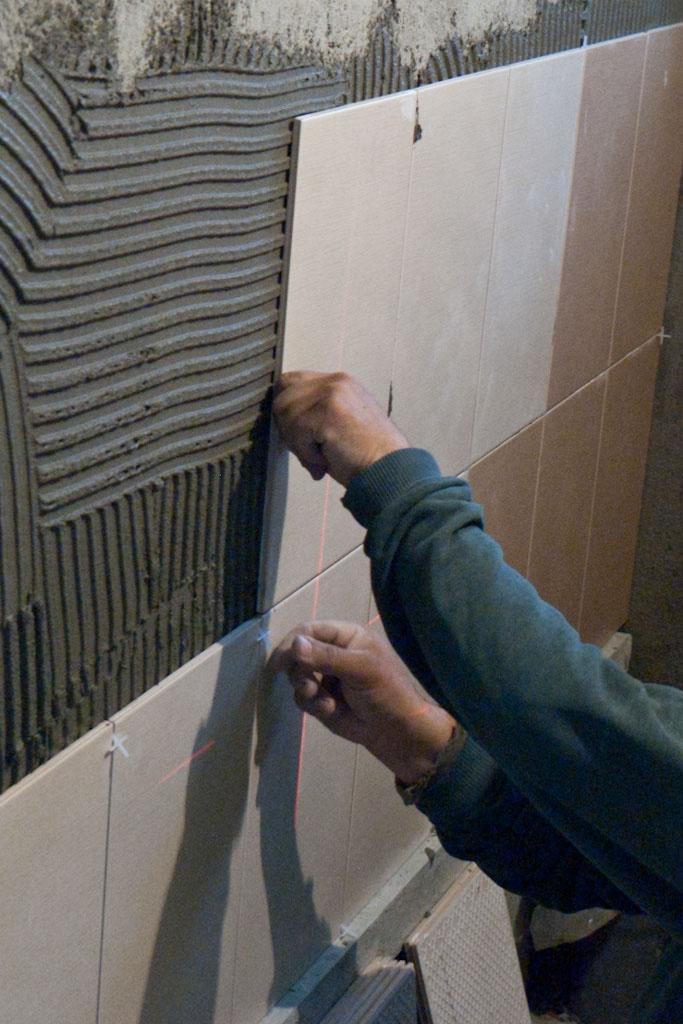
Installing the Tiles
With the adhesive dry, it’s time to start putting the tiles on the wall. First off, make sure the tile is placed where it was marked. Once in place, press firmly on each tile and adjust its position if needed. Next up, run a notched trowel over the surface of the tile to create an even “bed” for the adhesive. This bed will help keep the tile secure and eliminate any air bubbles that might form.
Spacing the Tiles
The adhesive will need time to cure, so it’s important to give the tiles some space. Be sure to leave a gap of about a quarter to half an inch between each tile. This gives the adhesive ample time to properly dry. Additionally, if needed, you can use plastic spacers to create an even gap between the tiles.
Caulking the Corners
After all the tiles have been placed and the adhesive has dried, it’s time to apply a layer of caulk. This is necessary to finish off the edges and ensure the tiles stay firmly in place. With a caulking gun, go around the edges and fill any gaps between the tiles. Make sure to wipe away any excess caulking before it dries; otherwise, it can create an unsightly visible seam.
Grouting the Tiles
After the caulk has completely dried, it’s time to grout the tiles. Use a moist sponge to clean the surface of the tiles. This will remove any residue that might be left from the adhesive. Afterward, apply the grout with a sealant trowel. Be sure to work the grout into the spaces between the tiles, but be careful not to push too hard as this can lead to cracking. Move in a semi-circle pattern to ensure an even coverage. Finally, go over the grout with a damp sponge or cloth to create a uniform look.
Finishing Touches
Once the grout has dried, wait for 24 hours before exposing the wall to any moisture. After this period, it’s time to give the wall a final once-over. Wipe down the tiles and grout to ensure all debris has been removed. Then, apply a sealant to any exposed stone or painted tileside. This will provide an extra layer of protection from moisture, oil, and dirt.
Enjoy the Finished Result
Follow these steps and you’ll have a flawless tiled wall. Enjoy the personalized look it brings to your bathroom and the peace of mind knowing that your wall is properly protected from water damage!

How To Tile A Bathroom Wall
Tiling a bathroom wall is not as difficult as it may seem. With a little bit of preparation, some basic supplies and a bit of patience, you can tile any bathroom wall yourself with ease. In this guide, you will learn step-by-step how to tile a bathroom wall and have it looking like new in no time.
1. Gather the Materials You Need
Before you begin tiling your bathroom wall, make sure you have the correct materials on-hand. The most important materials are the wall tiles themselves, along with grout, mortar, and a few tools, such as a rubber trowel, scoring tool, spacers, and a sponge. You can purchase tiling supplies from your local hardware store or home improvement store.
2. Prepare The Wall For Tiling
Before you actually start laying the tiles, you need to properly prepare the wall. Start by removing any loose paint and then clean the wall to remove dirt and dust. If there is wallpaper on the wall, make sure to remove it completely. Once you’ve completed these steps, you should also look into whether or not the wall needs to be re-enforced by adding cement board before tiling. This is a good idea if the previous wall tiles were removed previously.
3. Start Laying The Tiles
Once the wall is prepared, now its time to actually lay the tiles. Begin with a dry run: placing together the tiles without mortar or grout to check the spacing and size of the pattern. Double-check to make sure it looks the way you want it before applying the mortar. Then carefully spread the mortar onto the wall using your trowel. Start at the bottom corner of the wall and work your way up step-by-step. After each tile is placed, use a spacer to maintain even spacing between them. Allow the mortar to dry for several hours.
4. Spread The Grout
After the mortar has dried, it’s time to spread the grout. Again, you should start in the bottom corner and work your way up. Use your rubber trowel to spread the grout in an even layer over the tile. Make sure to fill all gaps between the tiles and press it deeply into the grooves. Let the grout sit for 15 minutes and then use a damp sponge to wipe away the excess grout from the tiles.
5. Seal The Grout
Once the grout has dried, you should seal it to protect it from dirt and moisture. Before sealing the grout, you should test a small area of the grout to make sure it is ready to be sealed. Then you can use a grout sealer to apply one or two coats of sealant. Allow at least 4 hours for the sealant to dry before exposing the tiles to water.
6. Care and Maintenance
Now your wall is ready to be admired! To keep it looking great for many years, make sure that you regularly sweep the tiles to remove dust and dirt buildup and clean with pH-neutral cleaners. Avoid products that contain acid or ammonia as these can damage the tiles over time.
Conclusion
Tiling a bathroom wall does not have to be a difficult job. With the right materials and a bit of patience, you can easily tile a bathroom wall yourself. Follow the steps outlined in this guide and you’ll have a professional-looking wall in no time.
Beautiful Bathroom Renovation - Auckland Home Show
How to Tile a Bathroom Wall in 7 Simple Steps
Tiling a bathroom wall can be a daunting task, regardless of DIY experience. Giving your bathroom a mini makeover is always satisfying, and tiling a bathroom wall is one surefire way to bring life to a drab or outdated space. Here are seven steps to guide you on tiling a bathroom wall like a pro.
1. Gather Your Supplies
The supplies you'll need to tile a bathroom wall depend on the kind of wall you're tiling. If you're tiling over drywall or cement board, you'll need a heavy-duty drill, level, trowel, tile, adhesive, diamond saw blade, rubber grout float, sponge, and grout. You'll also want to have a tube of caulk, mastic tape, painter's tape, and a pair of safety glasses handy.
2. Prepare Your Surface
The first step is to scrub down the wall. Get rid of any dirt and mildew, then follow up with a light sanding. Make sure your wall is nice and smooth before continuing the project. Remove all hardware and switch plates. If you're tiling over drywall, use mesh tape along any seams and caulk any cracks to level out the surface.
3. Mark Your Tile Cut Lines
Using a level and straight edge, measure from the top of the wall down to the opposite corner of the room and mark the spot on the wall. Do this for each corner and for the center of the wall before beginning to cut the tiles.
4. Cut Out Your Pieces
Once you’ve made your marks, it’s time to measure and cut the tiles according to the measurements marked on the wall. To do this safely, make sure you're wearing safety glasses and have a diamond saw blade installed in your drill. Score the tile with light pressure to avoid chipping it.
5. Apply Adhesive and Grout to the Tiles
After your tiles are cut, apply mastic tape to the back of them and spread adhesive evenly onto the wall using a notched trowel. Place the tiles onto the wall in a uniform pattern, pressing lightly to ensure that they fit together properly. Let the adhesive dry fully, then spread grout over the surface with a rubber grout float and lightly force it into the joints.
6. Clean and Finish Up
Once the grout is dry, use a moist sponge to wipe away any excess left behind. Remove mastic tape, painter’s tape, and switch plate covers when the grout is completely cured. Finally, caulk around the perimeter of the wall and corners to give it a finished look.
7. Enjoy Your New Look!
You can now proudly admire your tiled wall. Follow these seven steps and you'll be well on your way to replacing an old and outdated look and instead showcasing your own personal style in the bathroom. Best of luck as you embark on your tiling journey!