
Bathroom Remodel: A Guide for 1950s Homes
Bathroom Remodel: A Guide for 1950s Homes
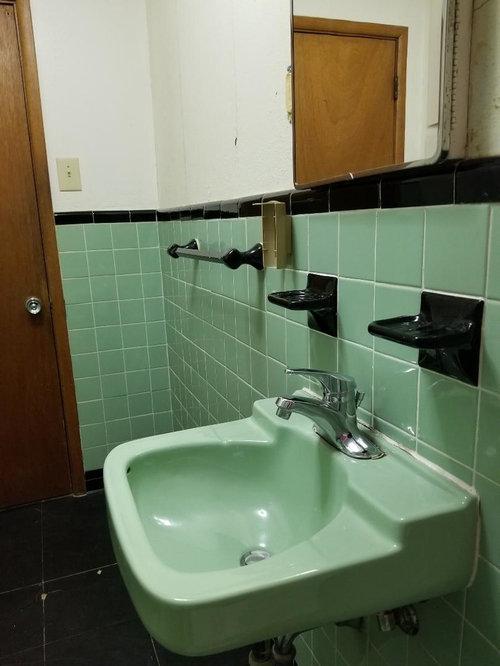
Bathrooms in 1950s homes were often small and utilitarian, with dated fixtures and finishes. If you're lucky enough to own one of these homes, you may be looking for ways to update the bathroom to make it more stylish and functional. A bathroom remodel can be a big undertaking, but it's one that can really pay off in terms of both aesthetics and resale value.
Here's a step-by-step guide to help you plan and execute a successful bathroom remodel for your 1950s home:
1. Plan your budget
The first step to any home improvement project is to figure out how much you can afford to spend. Bathroom remodels can range in price from a few thousand dollars to tens of thousands of dollars, so it's important to have a realistic budget in mind before you start shopping.
Once you know your budget, you can start to narrow down your options for materials and fixtures. If you're on a tight budget, you may need to be creative and find ways to save money on your remodel. For example, you could choose to do some of the work yourself, or you could look for used or discounted fixtures.
2. Choose a design style
The next step is to decide what kind of design style you want for your bathroom. Do you want a traditional, modern, or contemporary look? Once you know what you're going for, you can start to choose specific fixtures, finishes, and tiles that will achieve the look you want.
If you're not sure what design style you want, it can be helpful to look at pictures of other bathrooms online or in magazines. You can also take inspiration from your own home's décor. For example, if you have a lot of mid-century modern furniture, you might want to choose a bathroom that's in the same style.
3. Get permits and inspections
Before you can start any major home improvement project, you'll need to get the necessary permits and inspections. The specific permits you need will vary depending on your location, but they typically include a building permit and a plumbing permit. You may also need to get an electrical permit if you're planning to make any changes to the electrical system.
Once you have the necessary permits, you can schedule inspections to make sure that the work is being done correctly. These inspections are important to protect yourself and your home from potential hazards.
4. Demolish the old bathroom

Once you've gotten all of the necessary permits and inspections, you can start to demolish the old bathroom. This is usually the messiest part of the project, so it's important to be prepared. You'll need to remove all of the fixtures, tiles, and drywall. You may also need to remove the subfloor if it's damaged.
5. Install new plumbing and electrical
Before you can install the new bathroom, you'll need to install new plumbing and electrical. This is a job that's best left to a professional, as it can be dangerous if it's not done correctly.

The plumbing for a bathroom typically includes a toilet, a sink, and a shower or bathtub. The electrical for a bathroom typically includes a light fixture, a fan, and a GFCI outlet.
6. Install new walls and flooring
Once the plumbing and electrical are installed, you can start to install new walls and flooring. The walls can be made of drywall, paneling, or another material of your choice. The flooring can be made of tile, wood, or another material.

7. Install new fixtures and finishes
The final step is to install the new fixtures and finishes. This includes the toilet, sink, shower or bathtub, vanity, mirror, light fixture, fan, and any other fixtures you choose.
When choosing fixtures, it's important to make sure that they're compatible with the plumbing and electrical in your bathroom. You should also make sure that the fixtures are the right size for your bathroom.
8. Clean up and enjoy your new bathroom!
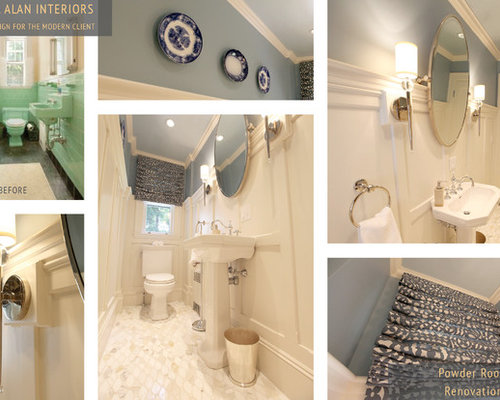
Once the new fixtures and finishes are installed, it's time to clean up and enjoy your new bathroom! A bathroom remodel is a big project, but it's one that can really pay off in terms of both aesthetics and resale value. By following these steps, you can create a beautiful and functional bathroom that you'll love for years to come.
Additional tips for 1950s bathroom remodels
- Take advantage of the small space. One of the challenges of remodeling a bathroom in a 1950s home is the limited space. However, there are a few things you can do to make
