
DIY living room acrylic painting techniques
DIY Living Room Acrylic Painting Techniques
Acrylic painting is a versatile and accessible art form that can be enjoyed by people of all skill levels. Whether you're a beginner or a seasoned artist, there are endless possibilities with acrylics. You can create realistic paintings, abstract works of art, or anything in between.
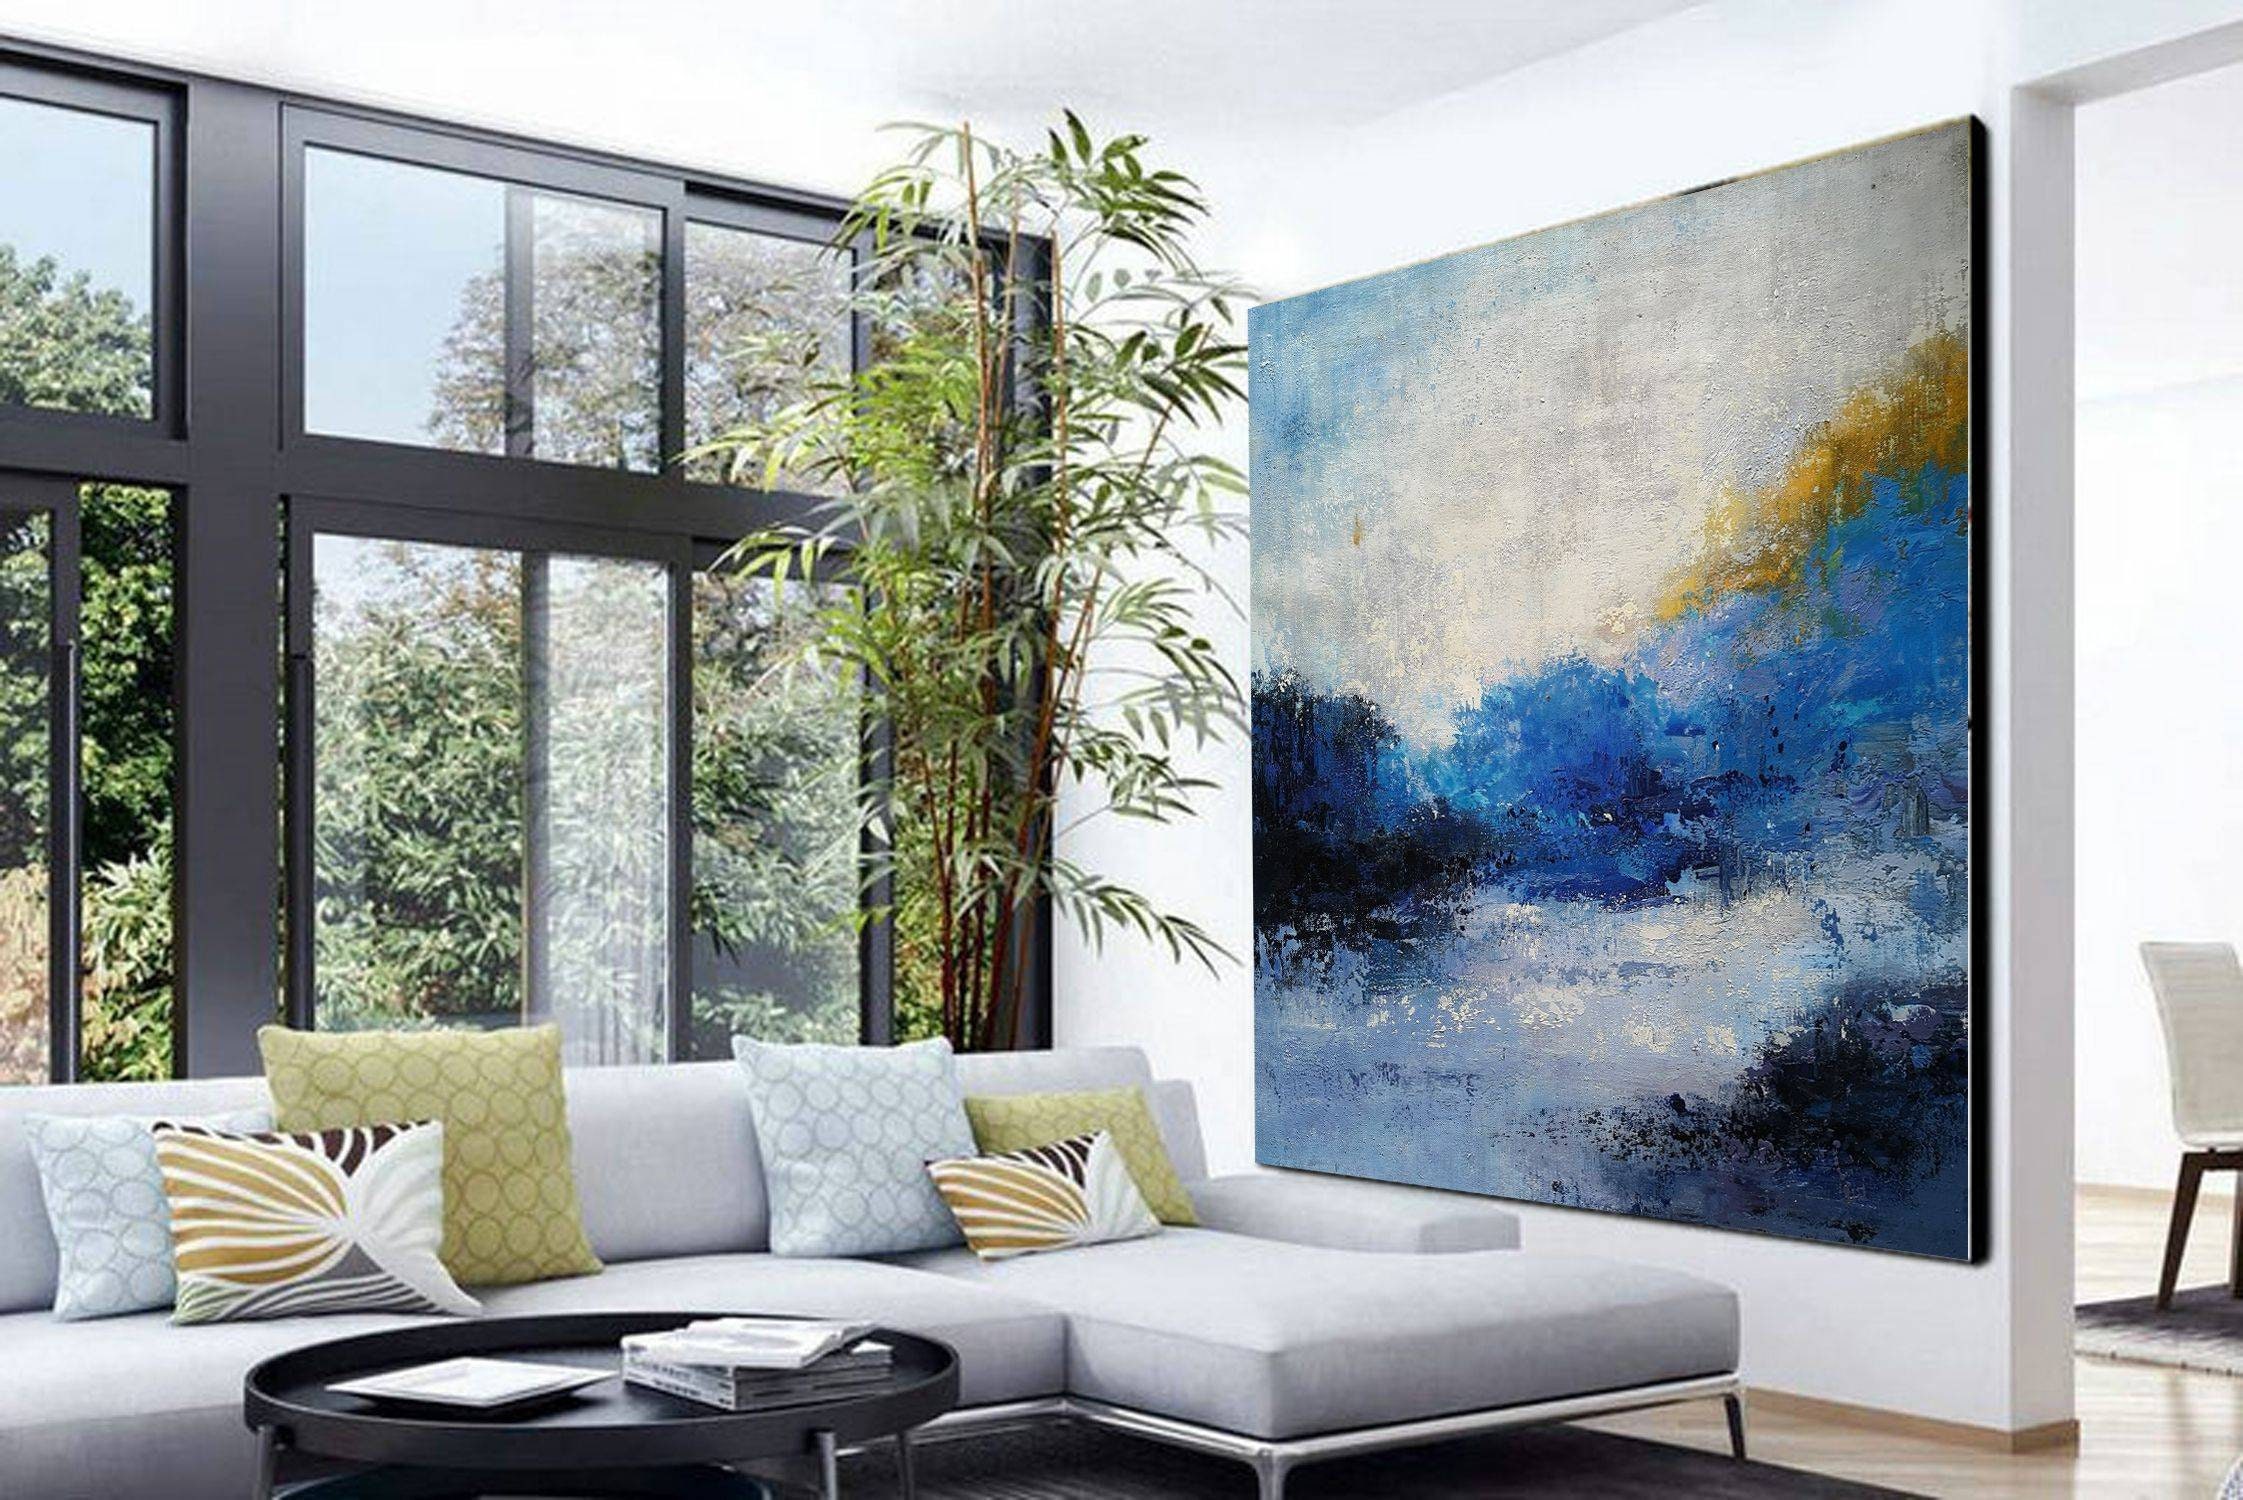
If you're looking to add a touch of personality to your living room, consider painting a mural or wall art. Acrylics are perfect for this type of project because they dry quickly and can be easily layered. Plus, they're relatively inexpensive, so you don't have to break the bank to create a beautiful piece of art.
In this article, we'll discuss the basics of acrylic painting and provide step-by-step instructions for creating a DIY living room mural. We'll also cover some tips and tricks for choosing the right colors, tools, and surfaces for your project.
Choosing the Right Colors
The first step to any painting project is choosing the right colors. When choosing colors for your living room mural, it's important to consider the overall style of your space. If you have a modern or minimalist living room, you might want to choose bright, bold colors. For a more traditional or cozy living room, muted earth tones or pastels would be a better option.
You can also use color to create a specific mood in your living room. For example, if you want to create a relaxing space, you might choose cool colors like blues and greens. If you want to create a more energetic space, you might choose warm colors like reds and oranges.

Once you've chosen a few colors that you like, you can start to experiment with different color combinations. You can create a monochromatic look by using different shades of the same color, or you can create a more contrasting look by using complementary colors.
Choosing the Right Tools
The next step is choosing the right tools for your project. For a small mural, you can probably get away with using just a few basic supplies. However, if you're planning on painting a large mural, you'll need a few more tools to make the job easier.

Here are the basic tools you'll need for acrylic painting:
- Acrylic paint
- Paintbrushes (various sizes)
- Water cup
- Palette
- Newspaper or drop cloth
- Tape
If you're painting a large mural, you may also want to invest in some additional tools, such as:
- A stepladder or scaffolding
- A tarp to protect your floor
- A spray sealant to protect your mural
Choosing the Right Surface
The final step is choosing the right surface for your mural. The most common surface for acrylic painting is canvas, but you can also paint on wood, drywall, or even metal.
If you're painting on canvas, you'll need to gesso the surface first. Gesso is a primer that will help the paint adhere to the canvas and prevent it from bleeding through.
If you're painting on another surface, you may need to prime it first to make sure the paint will adhere properly. You can find primers specifically designed for acrylic painting at most art supply stores.
Getting Started
Now that you've chosen your colors, tools, and surface, you're ready to get started painting! Here are the basic steps involved in creating a DIY living room mural:
- Sketch your design. If you're not sure what you want to paint, start by sketching out a few different ideas on paper. Once you have a design that you're happy with, you can transfer it to your surface.
- Prime your surface. If you're painting on canvas, gesso the surface first. If you're painting on another surface, you may need to prime it first to make sure the paint will adhere properly.
- Start painting. Start by painting the background colors. Once the background is dry, you can start adding details and highlights.
- Let your mural dry. Acrylic paint dries quickly, but it's best to let your mural dry completely before moving it or adding a sealant.
- Seal your mural. If you want to protect your mural from wear and tear, you can apply a sealant to the surface.
Tips and Tricks
Here are a few tips and tricks for acrylic painting:
- Use thin layers of paint. Acrylic paint dries quickly, so it's important to use thin layers to avoid the paint from drying too thick.
- Blend your colors. Use a damp brush to blend your colors together and create smooth transitions.
- Don't be afraid to make mistakes. Acrylic paint is easy to clean up, so don't be afraid to experiment and have fun.
- Use a variety of
