
DIY living room ceiling fan installation guide
DIY Living Room Ceiling Fan Installation Guide
Introduction
Ceiling fans are a great way to add both style and function to your living room. They can help to circulate air, which can make a room feel cooler in the summer and warmer in the winter. They can also provide a gentle breeze that can be very relaxing.
If you're handy with tools, you can install a ceiling fan yourself. This guide will walk you through the process, step-by-step.

Tools and Materials
The following tools and materials are required for this project:
- Tape measure
- Pencil
- Level
- Combination square
- Saw (saber saw or miter saw)
- Drill
- Screwdriver
- Pliers
- Wire strippers
- Electrical tape
- Safety glasses
- Gloves
Ceiling Fan Specifications
Before you begin, you need to make sure that the ceiling fan you choose is compatible with your living room. The most important consideration is the size of the fan. The fan blades should be at least 12 inches longer than the width of your living room.
You also need to make sure that the fan has the right type of motor for your climate. In most cases, a ceiling fan with a reversible motor is the best option. This type of motor allows you to switch the direction of the fan blades, which can help to cool or heat a room.
Ceiling Fan Installation
Once you have chosen the right ceiling fan, you can begin the installation process.
- Choose a location for the fan. The best place to install a ceiling fan is in the center of the room. This will ensure that the fan circulates air evenly.
- Install the mounting bracket. The mounting bracket is the part of the fan that will be attached to the ceiling. It is usually made of metal and has two or three arms that extend down from the ceiling.
To install the mounting bracket, you will need to:
* Mark the location of the mounting bracket on the ceiling.
* Drill holes in the ceiling for the mounting screws.
* Insert the mounting screws into the holes and tighten them.
- Attach the fan to the mounting bracket. The fan will come with a set of screws that are used to attach it to the mounting bracket.
To attach the fan to the mounting bracket, you will need to:
* Align the fan with the mounting bracket.
* Insert the screws through the holes in the fan and into the mounting bracket.
* Tighten the screws.
- Connect the fan to the electrical outlet. The fan will come with a power cord that is attached to the motor. You will need to connect this cord to an electrical outlet.
To connect the fan to the electrical outlet, you will need to:
* Turn off the power to the outlet.
* Remove the cover from the outlet.
* Insert the power cord into the outlet.
* Replace the cover on the outlet.
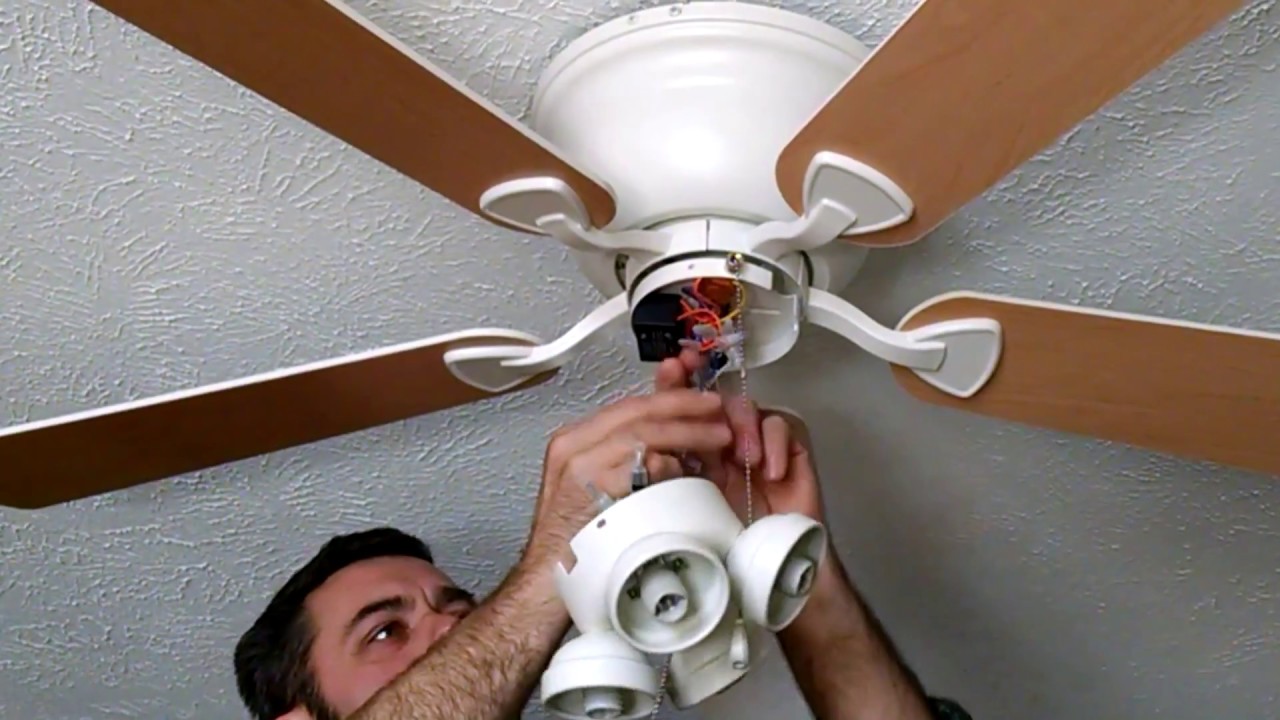
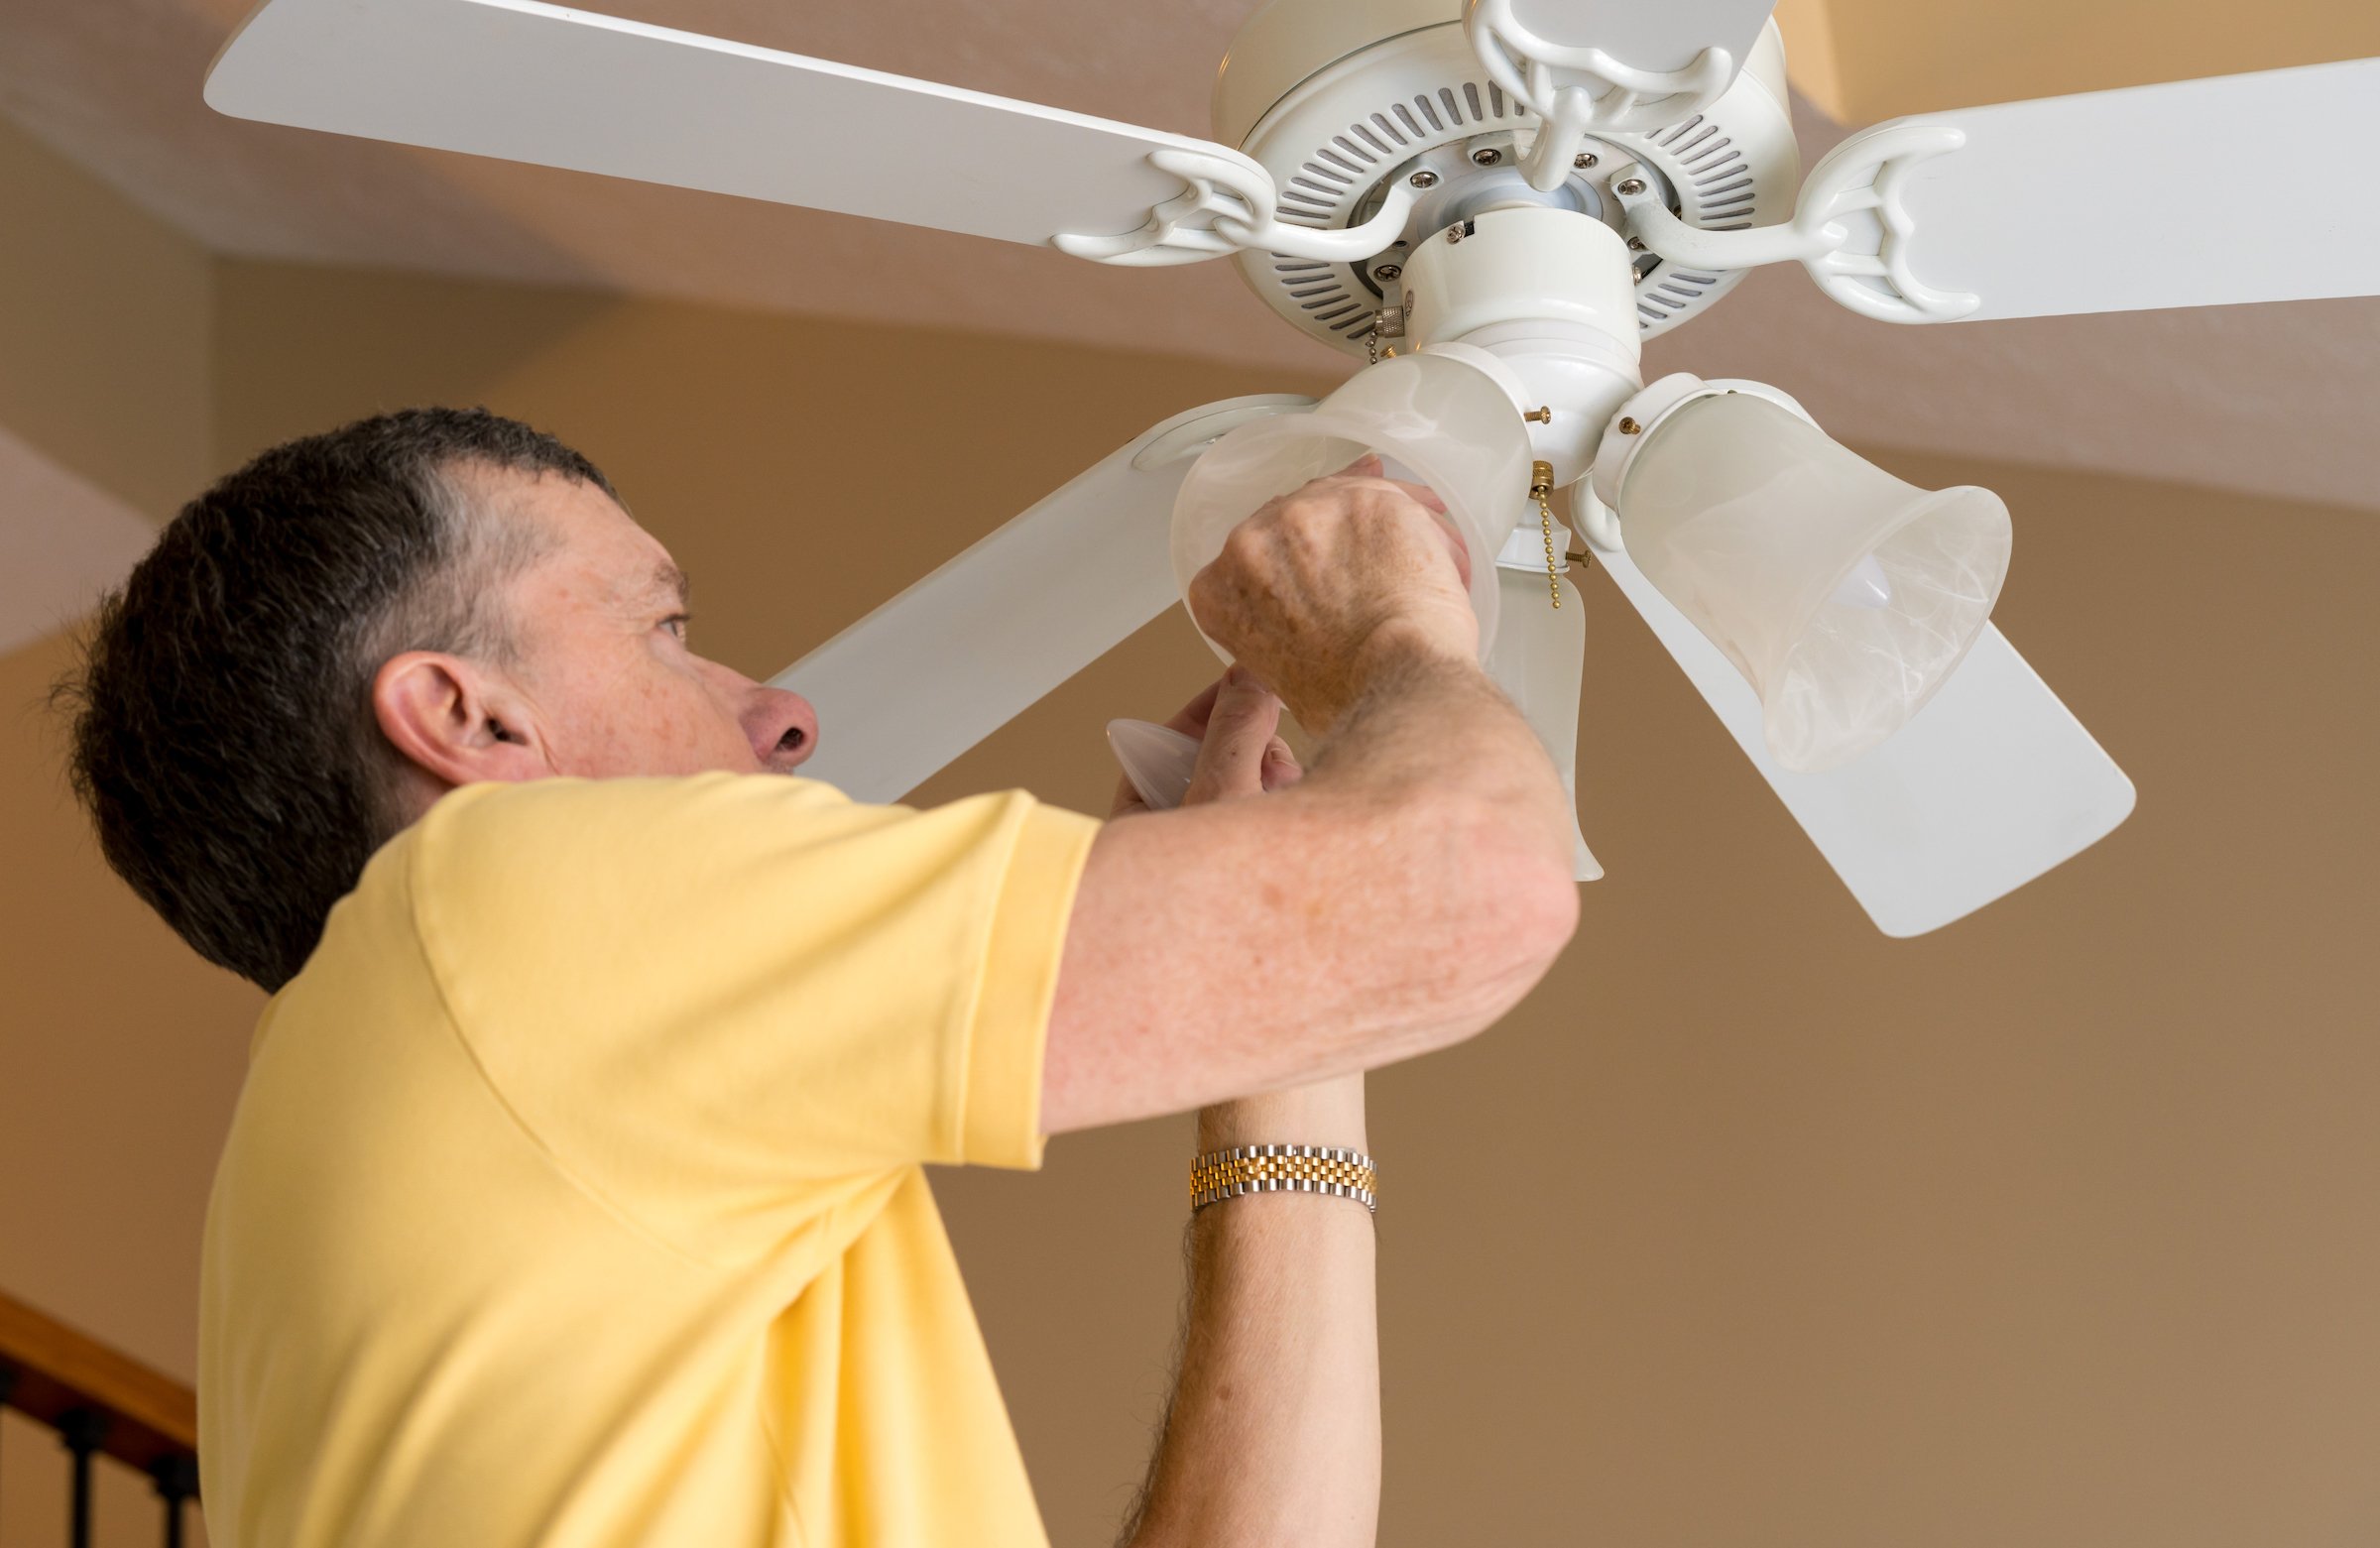
- Install the light kit. If your ceiling fan comes with a light kit, you will need to install it before you can use the fan.
To install the light kit, you will need to:
* Remove the globe from the light fixture.
* Align the light kit with the light fixture.
* Insert the screws through the holes in the light kit and into the light fixture.
* Tighten the screws.
* Replace the globe on the light fixture.
Testing the Fan
Once you have finished installing the ceiling fan, you should test it to make sure that it is working properly.
To test the fan, you will need to:
- Turn on the power to the outlet.
- Turn on the fan switch.
- The fan should start to spin.
- You should be able to adjust the speed of the fan.
- You should be able to turn the light on and off.
If the fan is not working properly, you may need to troubleshoot the problem.
Troubleshooting
If the fan is not working properly, you may need to troubleshoot the problem.
Here are some common problems and solutions:
-
The fan is not spinning:
- Check to make sure that the power is turned on to the outlet.
- Check to make sure that the fan is plugged into the outlet.
- Check the fuse or circuit breaker to make sure that it is not tripped.
- Check the fan switch to make sure that it is turned on.
-
The fan is not spinning at the correct speed:
- Check to make
