
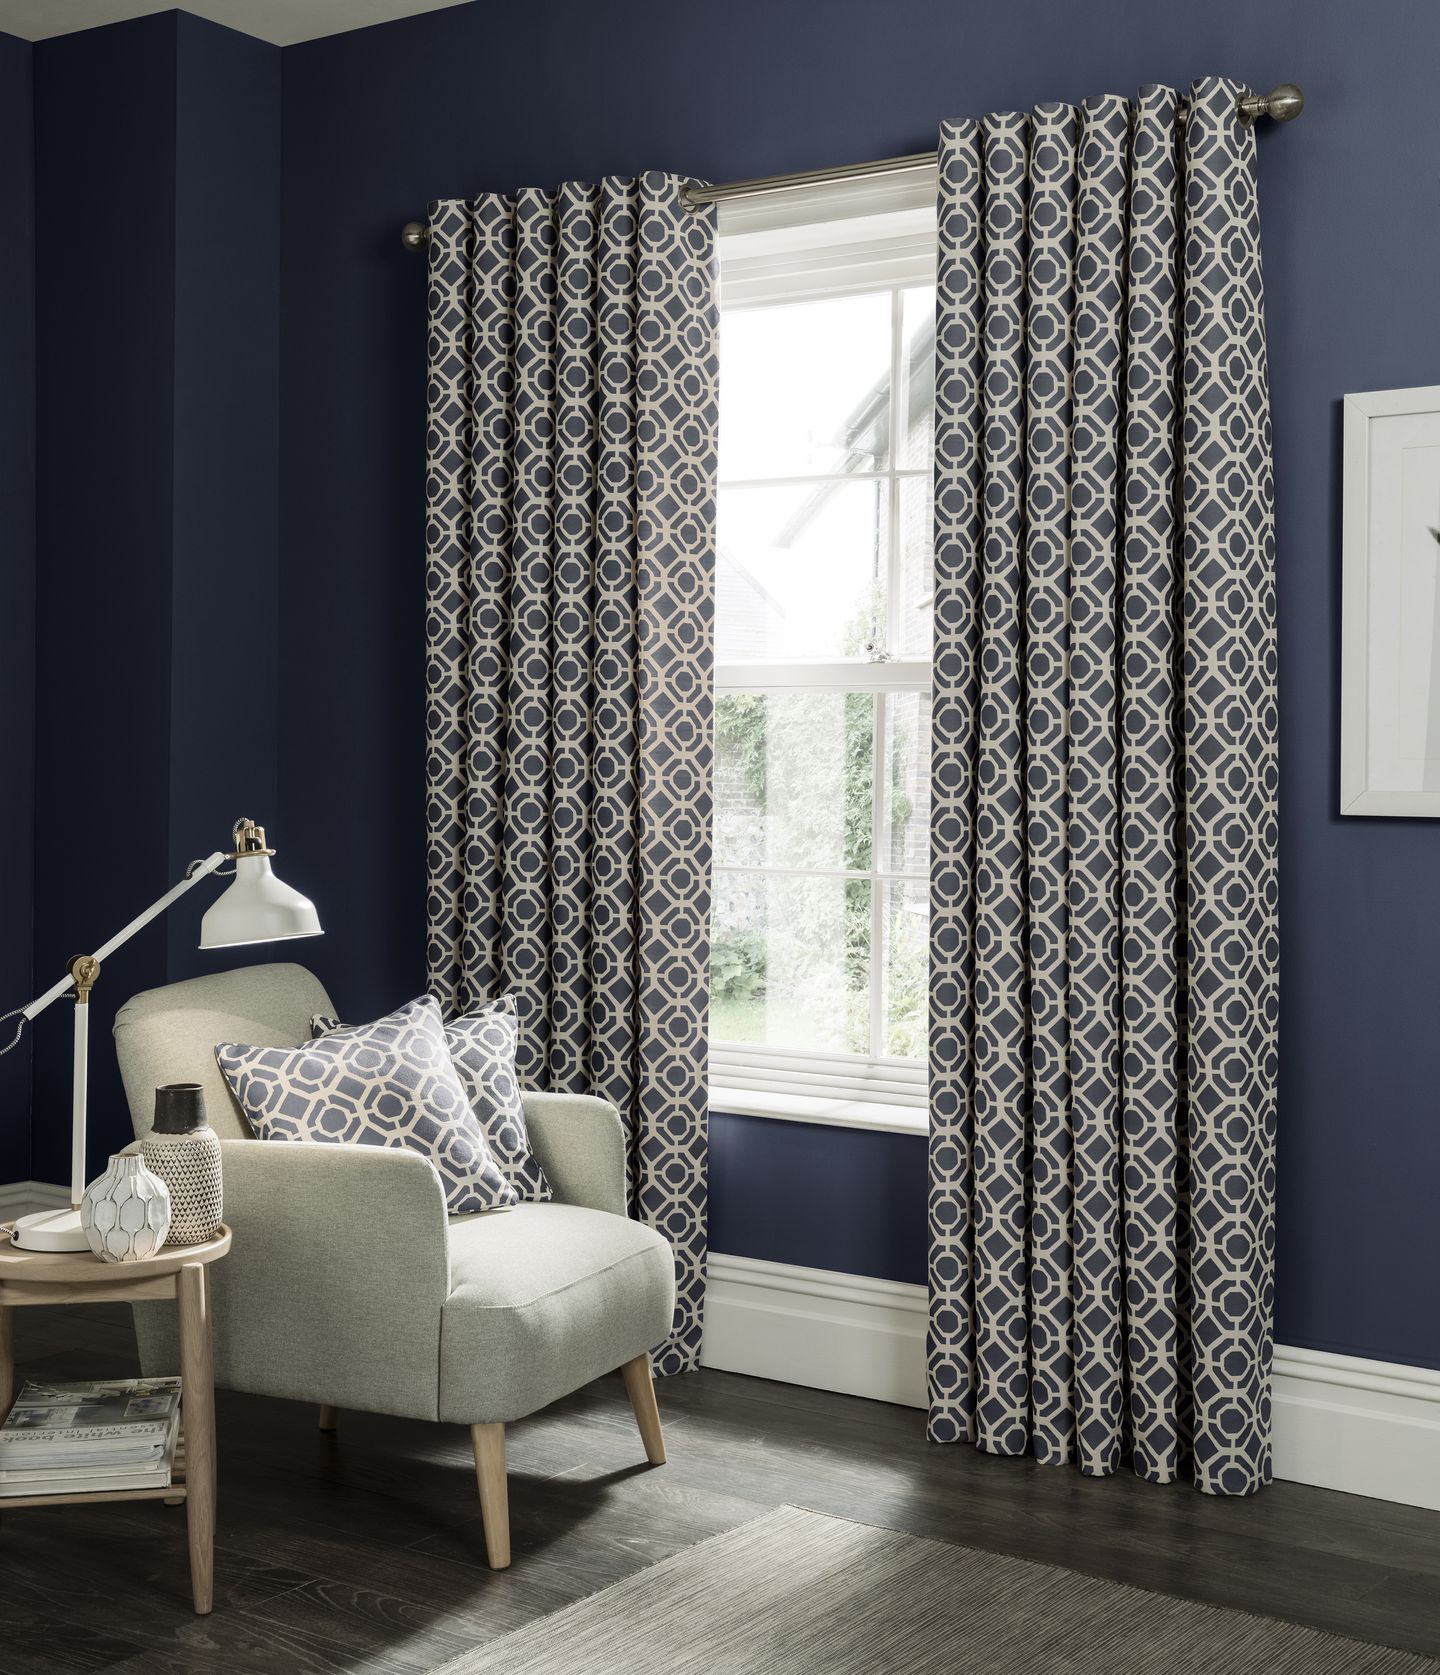
DIY living room curtains for a personalized touch
car accident attorney,car accident attorneys,attorney for car accident,car accident attorney near me,atlanta car accident attorney henningsen law,attorney car accidents,attorneys car accident,accident attorney car,attorney for car accident near me,car accident attorneys near me,car accidents attorney near me,car accidents attorneys,attorney car accident,attorney near me car accident,attorneys for car accidents near me,best car accident attorney,
DIY living room curtains for a personalized touch
DIY Living Room Curtains for a Personalized Touch
Curtains are an essential part of any living room, but they can also be a great way to add personality and style to your space. If you're looking for a unique and affordable way to update your living room, consider making your own curtains. With a few simple materials and tools, you can create custom curtains that perfectly reflect your taste and style.
Materials and Tools
To make your own curtains, you will need the following materials:
- Curtain fabric (enough to cover the desired length and width of your windows)
- Curtain lining (optional)
- Curtain rod (choose the length and style that best suits your windows)
- Curtain hardware (such as finials, rings, or clips)
- Sewing machine and thread
- Fabric scissors
- Measuring tape
- Pencil
- Chalk or fabric marker
- Iron
- Tape measure
Instructions
- Measure your windows. To determine how much fabric you need, measure the width and height of your windows. Be sure to add 1 inch to each measurement for seam allowances.
- Cut your fabric. Cut two pieces of fabric for the front of your curtains, one for the lining (if desired), and one for the backing. The front pieces should be the same width as your windows, plus 1 inch for seam allowances. The height of the front pieces should be the desired length of your curtains, plus 1 inch for seam allowances and 5 inches for the hem. The lining and backing pieces should be the same width as the front pieces, but 1 inch shorter in height.
- Sew the front pieces together. With right sides together, sew the front pieces together along the top and side edges, using a 1/2-inch seam allowance. Leave the bottom edge open.
- Press the seams open. Press the seams open on the front pieces of your curtains.
- Turn the curtains right side out. Carefully turn the curtains right side out, using a point turner or other blunt object to help push out the corners.
- Press the curtains. Press the curtains flat, making sure to press the seams open.
- Hem the bottom edge of the curtains. Fold the bottom edge of the curtains up 1 inch and press. Fold it up again 1 inch and press. Stitch the hem in place.
- Add the lining (if desired). If you are adding a lining to your curtains, sew the lining pieces together along the top and side edges, using a 1/2-inch seam allowance. Leave the bottom edge open.
- Press the seams open. Press the seams open on the lining pieces of your curtains.
- Turn the lining right side out. Carefully turn the lining right side out, using a point turner or other blunt object to help push out the corners.
- Press the lining. Press the lining flat, making sure to press the seams open.
- Insert the lining into the curtains. With right sides together, insert the lining into the curtains. Make sure that the top and side edges of the lining and the curtains are aligned.
- Sew the lining and curtains together. Sew the lining and curtains together along the top and side edges, using a 1/2-inch seam allowance. Leave the bottom edge open.
- Press the seams open. Press the seams open on the lining and curtains.
- Hem the bottom edge of the lining. Fold the bottom edge of the lining up 1 inch and press. Fold it up again 1 inch and press. Stitch the hem in place.
- Add the curtain rod pocket. To add a curtain rod pocket, cut a piece of fabric that is the same width as the top of your curtains and 5 inches long. Fold the fabric in half lengthwise, wrong sides together. Press. Open the fabric and fold the long edges in 1 inch each. Press. Fold the fabric in half again, wrong sides together. Press. Stitch along the top and side edges of the pocket, leaving the bottom edge open.
- Attach the curtain rod pocket to the curtains. Center the curtain rod pocket on the back of the curtains, 1 inch below the top edge. Stitch the pocket in place.
- Install the curtain rod. Hang the curtain rod on your windows and insert the curtains into the rod pockets.
Tips for Making DIY Living Room Curtains
- Choose a fabric that is durable and easy to care for.
- Consider the weight of the fabric when choosing a curtain rod.
- If you are making lined


