
DIY Living Room Floating Bookshelf Construction
DIY Living Room Floating Bookshelf Construction
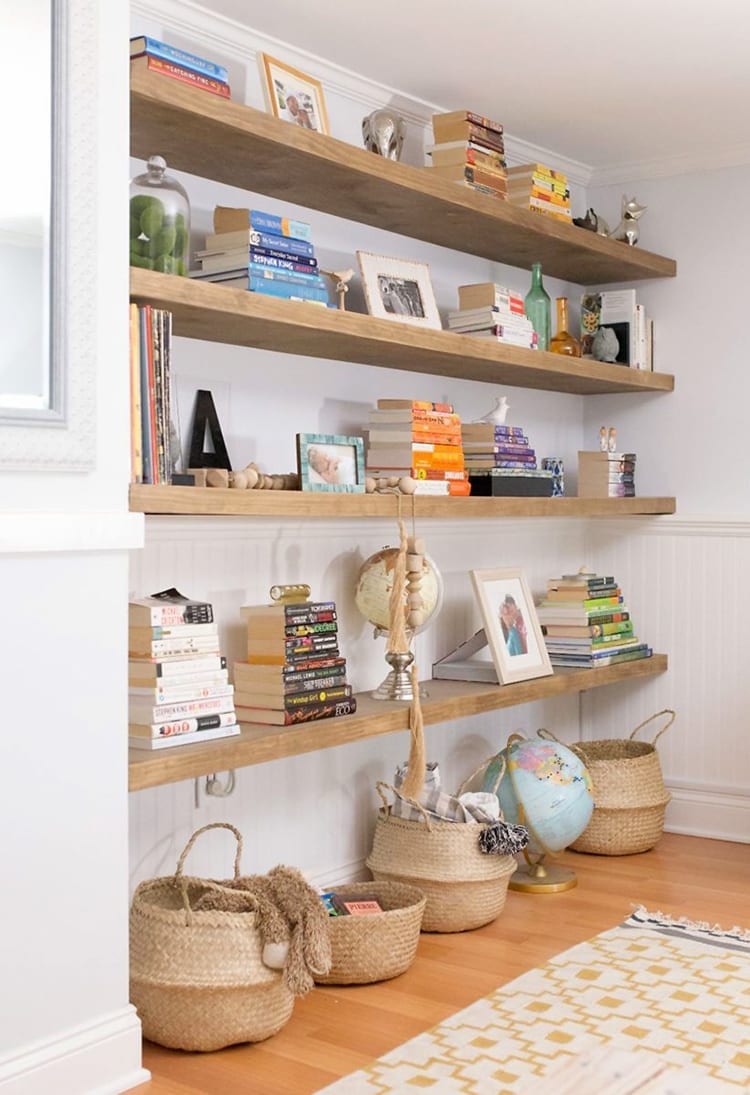
Floating shelves are a great way to add storage and display space to your living room without taking up floor space. They're also relatively easy to build yourself, even if you don't have a lot of DIY experience.
In this tutorial, we'll show you how to build a floating bookshelf that's perfect for your living room. We'll provide step-by-step instructions, as well as tips and tricks to help you get the job done right.
Materials
To build a floating bookshelf, you'll need the following materials:
- 2x4s (cut to size)
- Wood screws
- Wood glue
- Sandpaper
- Stain or paint (optional)
- Wall anchors
- Level
- Tape measure
- Pencil
- Saw
- Drill
- Sander
Tools

The tools you'll need to build a floating bookshelf include:
- Saw
- Drill
- Sander
- Level
- Tape measure
- Pencil
Instructions

To build a floating bookshelf, follow these steps:
-
Cut the 2x4s to size. You'll need to cut the 2x4s to the following lengths:
- 2 pieces at 12 inches long
- 2 pieces at 30 inches long
- 2 pieces at 36 inches long
-
Assemble the frame. To assemble the frame, attach the 12-inch pieces to the 30-inch pieces with wood screws. The 12-inch pieces should be placed at the top and bottom of the frame, and the 30-inch pieces should be placed in the middle.
-
Attach the shelves. To attach the shelves, attach the 36-inch pieces to the frame with wood screws. The 36-inch pieces should be placed on the inside of the frame, and they should be spaced evenly.
-
Sand and stain or paint the bookshelf. Once the bookshelf is assembled, sand it to smooth out any rough edges. Then, stain or paint the bookshelf to your desired finish.
-
Attach the bookshelf to the wall. To attach the bookshelf to the wall, use wall anchors and screws. The wall anchors should be placed in the studs, and the screws should be long enough to go through the bookshelf and into the wall studs.
Tips and Tricks
Here are a few tips and tricks to help you build a floating bookshelf:
- Use a level to make sure the bookshelf is level before you attach it to the wall.
- Pre-drill holes for the screws to prevent the wood from splitting.
- Use a saw guide to make sure your cuts are straight.
- Sand the bookshelf in the direction of the grain.
- Apply multiple coats of stain or paint for a more durable finish.
Final Thoughts
Building a floating bookshelf is a great way to add storage and display space to your living room. It's a relatively easy project that can be completed in a few hours with basic DIY skills. With a little planning and effort, you can create a beautiful and functional piece of furniture that will enhance your home.
Here are some additional resources that you may find helpful:

