
DIY living room flooring with reclaimed wood
DIY Living Room Flooring with Reclaimed Wood
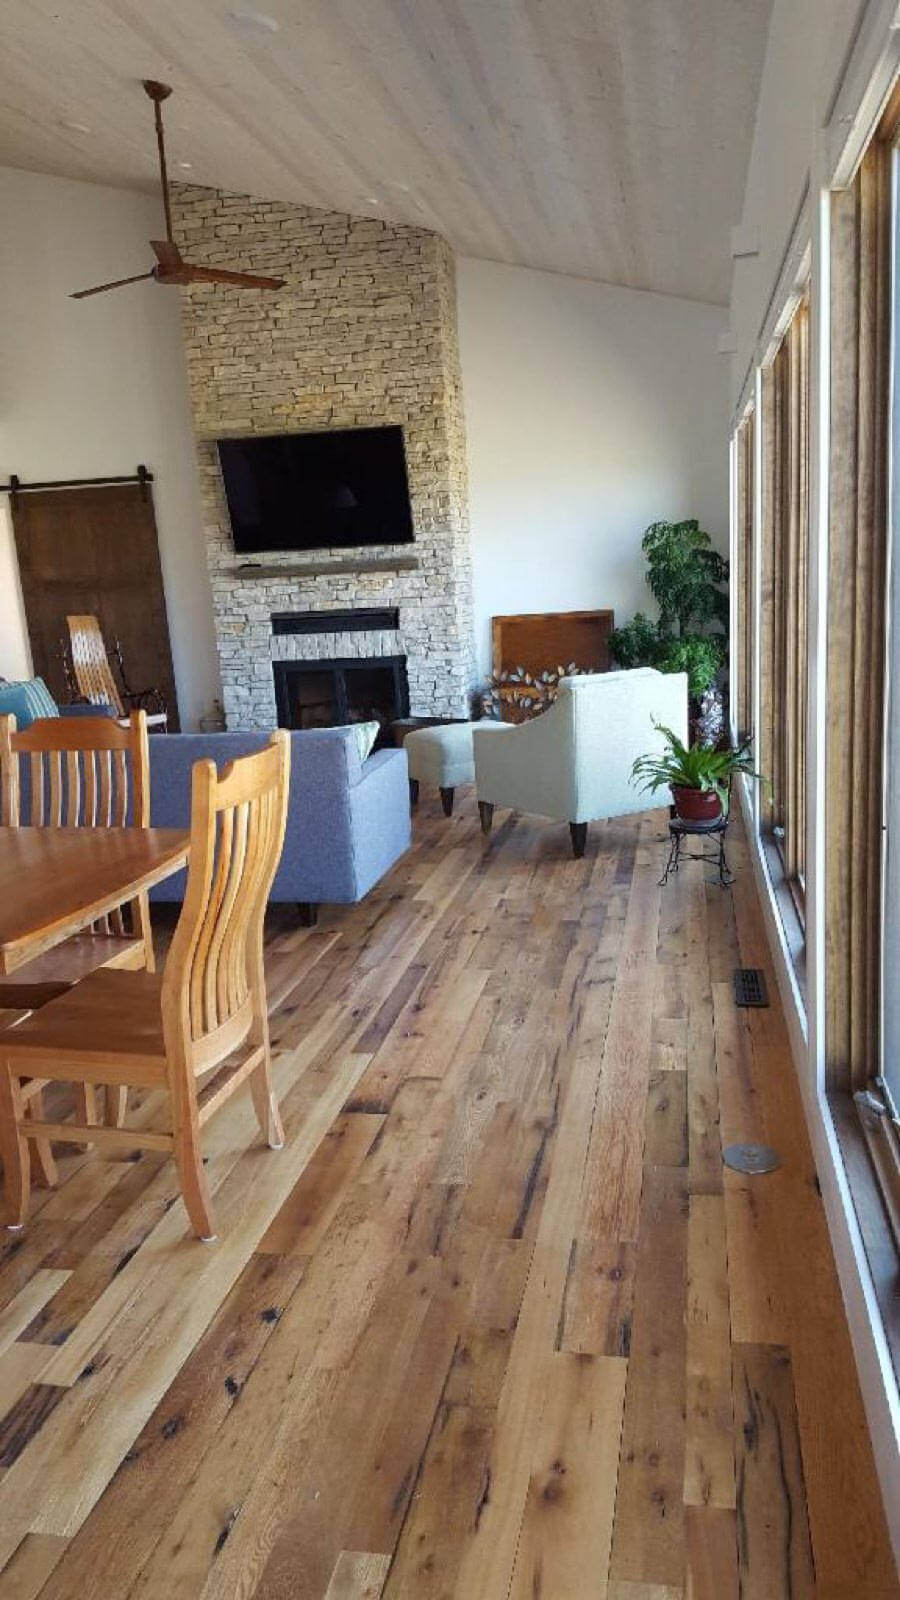
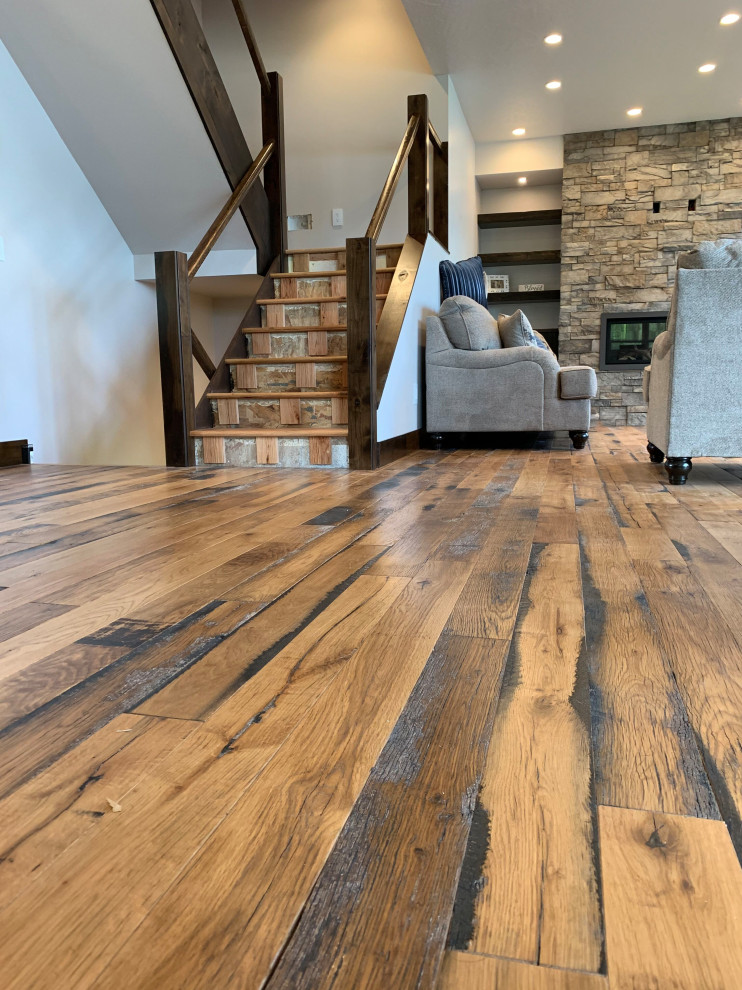
Reclaimed wood is a beautiful and sustainable choice for your living room flooring. It's unique, durable, and can add a touch of warmth and character to your home. Plus, it's a relatively easy project to DIY.
In this article, we'll walk you through the steps of installing reclaimed wood flooring in your living room. We'll cover everything from choosing the right wood to measuring and cutting the boards. We'll also provide tips on how to install the flooring properly and maintain it for years to come.
Choosing the Right Wood

The first step is to choose the right type of reclaimed wood for your living room. There are a variety of different woods to choose from, each with its own unique look and feel.
Some of the most popular types of reclaimed wood for flooring include:
- Oak: Oak is a strong and durable wood that is known for its beautiful grain. It's a good choice for high-traffic areas like living rooms.
- Maple: Maple is a lighter-colored wood that is known for its smooth texture and even grain. It's a good choice for smaller living rooms or those with a more modern feel.
- Walnut: Walnut is a dark-colored wood that is known for its rich color and grain. It's a good choice for living rooms with a traditional or rustic feel.
Once you've chosen the type of wood, you need to decide on the thickness and width of the boards. The thickness of the boards will affect the overall look and feel of your floor. Thinner boards will give you a more rustic look, while thicker boards will be more durable. The width of the boards will also affect the overall look of your floor. Narrower boards will create a more formal look, while wider boards will be more casual.
Measuring and Cutting the Boards
Once you've chosen the type and size of the boards, you need to measure your living room and cut the boards to size. To do this, you'll need to measure the length and width of your room, and then add 1 inch to each measurement for expansion.
Once you have the measurements, you can cut the boards to size using a table saw or circular saw. Be sure to wear safety glasses and make sure the saw is properly adjusted before you begin cutting.
Installing the Flooring
Now it's time to install the flooring! The first step is to lay down a moisture barrier. This will help to protect the wood from moisture damage. You can use a roll of plastic sheeting or a moisture-resistant underlayment.
Once the moisture barrier is in place, you can begin installing the flooring. The easiest way to do this is to start in the corner of the room and work your way out.
To install a board, first apply a bead of adhesive to the subfloor. Then, place the board in the desired location and press down firmly. Use a rubber mallet to tap the board into place if necessary.
Continue installing the boards in this manner until you have covered the entire floor. Be sure to leave a 1/4-inch gap between the boards for expansion.
Once all of the boards are installed, you can fill the expansion gaps with wood filler. Allow the filler to dry completely, and then sand the floor smooth.
Finishing the Flooring
The final step is to finish the flooring. You can choose from a variety of different finishes, including oil, polyurethane, and wax. The type of finish you choose will depend on the look and feel you want to achieve.
Oil finishes are a good choice for a natural look. They're also easy to apply and maintain. Polyurethane finishes are more durable than oil finishes, but they can be more difficult to apply. Wax finishes are a good choice for a high-gloss look. They're also easy to apply and maintain.
Once you've chosen a finish, you can apply it to the floor according to the manufacturer's instructions. Allow the finish to dry completely, and then enjoy your new reclaimed wood floor!
Tips for Installing Reclaimed Wood Flooring
Here are a few tips for installing reclaimed wood flooring:
- Use a saw that is specifically designed for cutting reclaimed wood. This will help to prevent the wood from splitting or chipping.
- Pre-stain the wood before you install it. This will help to protect the wood from stains and spills.
- Use a nail gun or brad nailer to install the flooring. This will help to create a tight seal between the boards.
- Use a floor sander to smooth the floor after it is installed. This will create a smooth, even surface.
- Apply a finish to the floor to protect it from wear and tear.


