
DIY Living Room Industrial Pipe Shelving
DIY Living Room Industrial Pipe Shelving
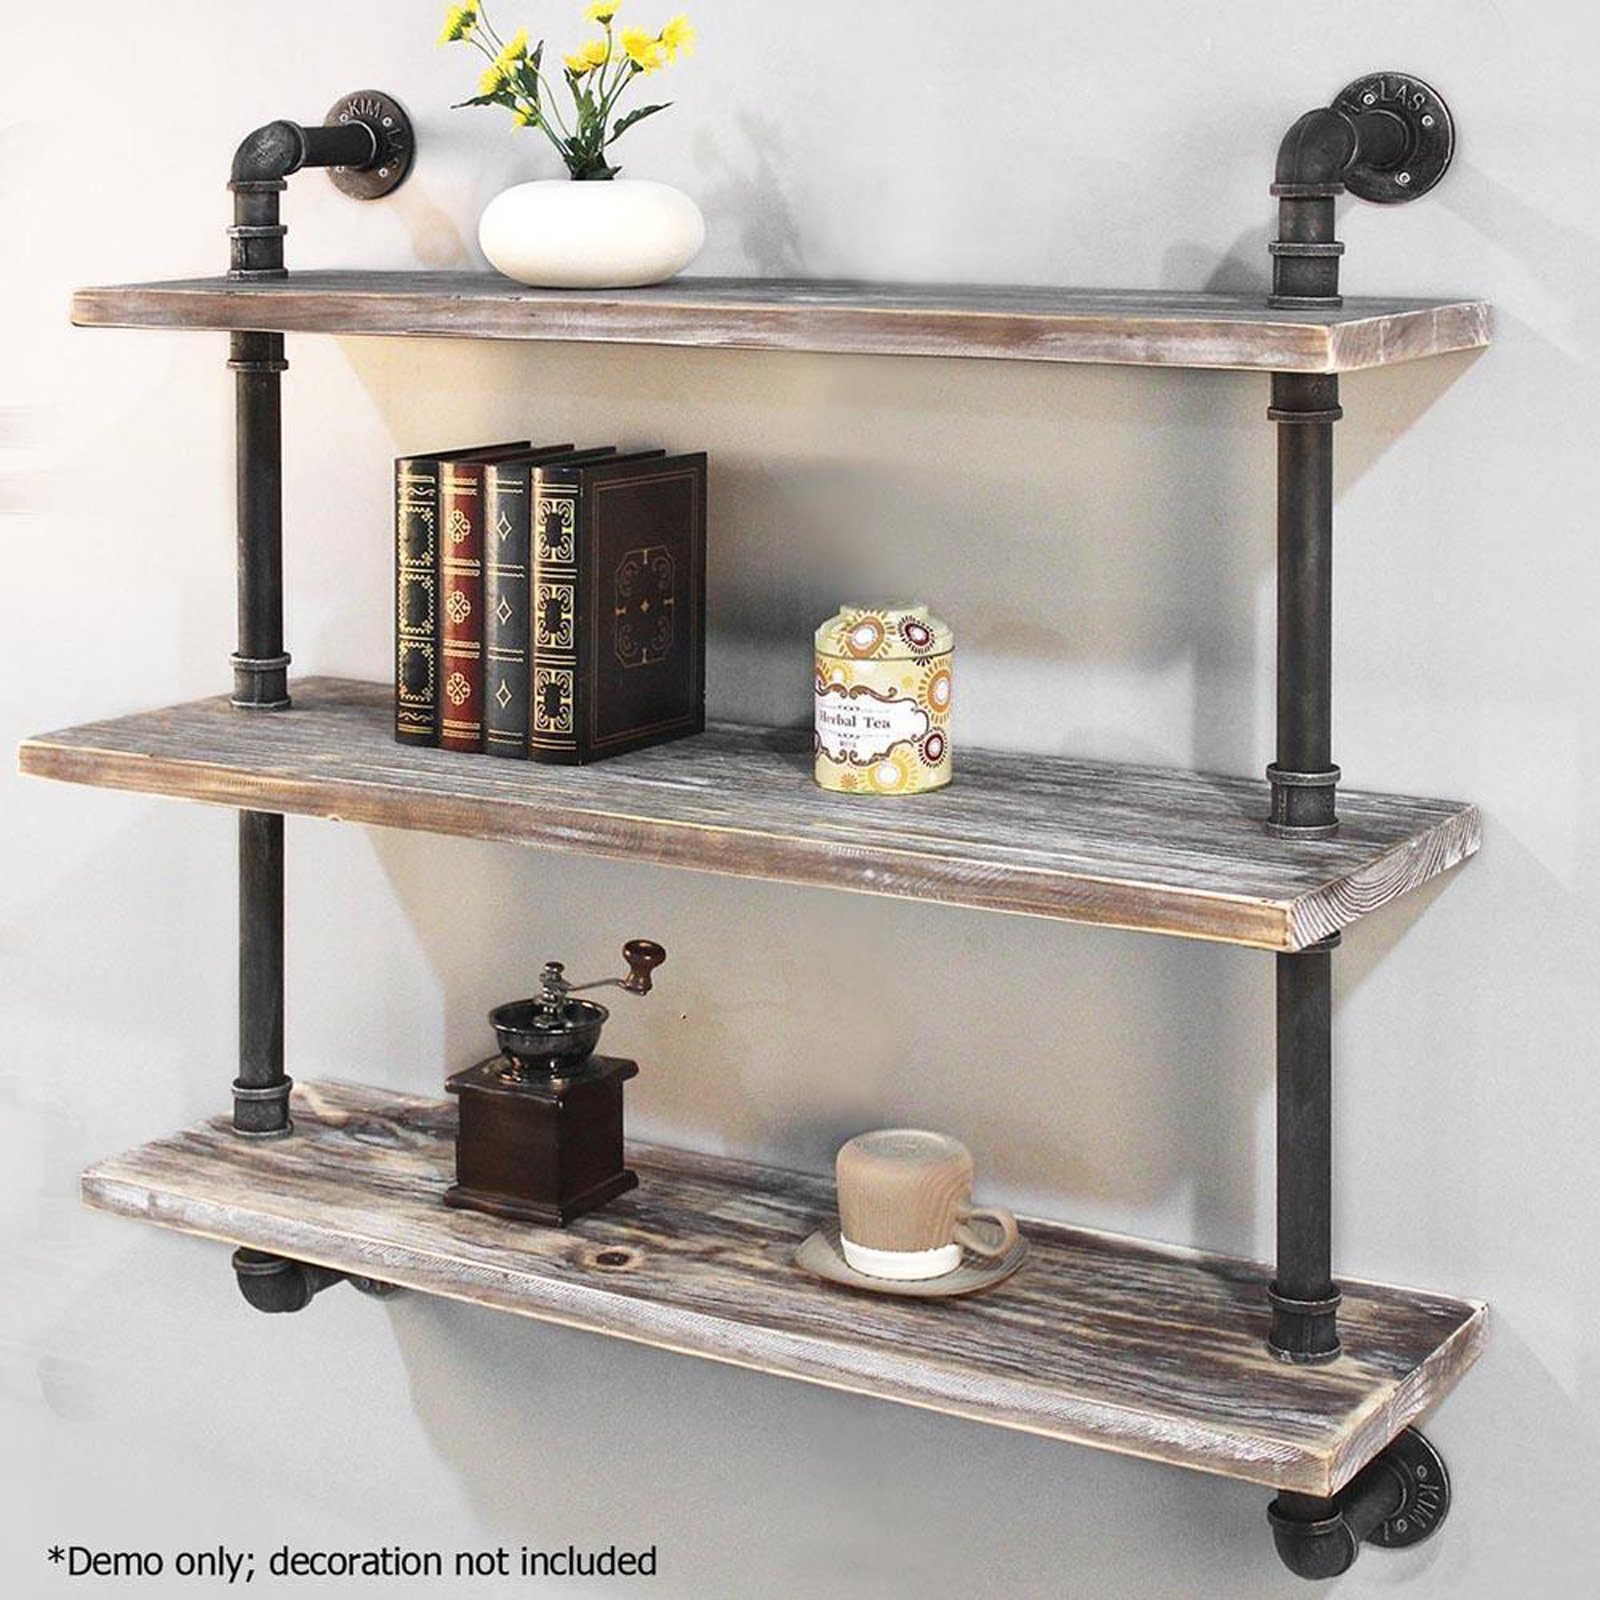
If you're looking for a unique and stylish way to add storage to your living room, consider building your own industrial pipe shelving. This project is relatively simple and can be completed in a weekend with some basic tools and materials.
Materials
- 1-inch galvanized steel pipe (10 feet)
- 2-inch galvanized steel pipe (10 feet)
- 90-degree galvanized steel pipe fittings (4)
- 45-degree galvanized steel pipe fittings (4)
- Pipe caps (4)
- Pipe clamps (8)
- Wood (1 sheet of 3/4-inch plywood)
- Stain or paint (optional)

Tools
- Hacksaw
- Drill
- Drill bits
- Level
- Tape measure
- Pencil
- Safety glasses
Instructions
-
Cut the pipes. Use a hacksaw to cut the 1-inch and 2-inch pipes to the following lengths:
- 1-inch pipes: 4 pieces at 24 inches long
- 2-inch pipes: 4 pieces at 30 inches long
-
Assemble the frame. Connect the 1-inch pipes to the 2-inch pipes using the 90-degree and 45-degree fittings. Make sure that the pipes are level and secure before tightening the fittings.

-
Add the pipe caps. Place a pipe cap on each end of the 1-inch pipes.
-
Attach the wood shelves. Cut the plywood to the following dimensions:
- Shelves: 2 pieces at 24 inches by 30 inches
- Backer: 1 piece at 24 inches by 36 inches
-
Sand and stain or paint the wood shelves. This step is optional, but it will help to protect the wood and make it look more finished.
-
Attach the wood shelves to the frame. Use pipe clamps to attach the shelves to the frame. Make sure that the shelves are level before tightening the clamps.
-
Enjoy your new shelving! Your industrial pipe shelving is now complete and ready to use. You can use it to store books, DVDs, or any other items you like.
Tips
- When cutting the pipes, make sure to wear safety glasses to protect your eyes.
- Use a level to make sure that the frame is level before tightening the fittings.
- If you're not comfortable using a hacksaw, you can have the pipes cut to length at your local hardware store.
- You can stain or paint the wood shelves to match your décor.
- If you want to add more shelves, you can simply repeat the steps above.
Variations
There are many ways to customize your industrial pipe shelving to fit your needs and style. Here are a few ideas:
- Use different lengths of pipes to create a unique look.
- Add shelves of different sizes to create more storage space.
- Use different types of wood for the shelves.
- Paint the pipes or shelves a different color.
- Add decorative elements, such as hooks or baskets.
With a little creativity, you can turn your industrial pipe shelving into a functional and stylish addition to your living room.
