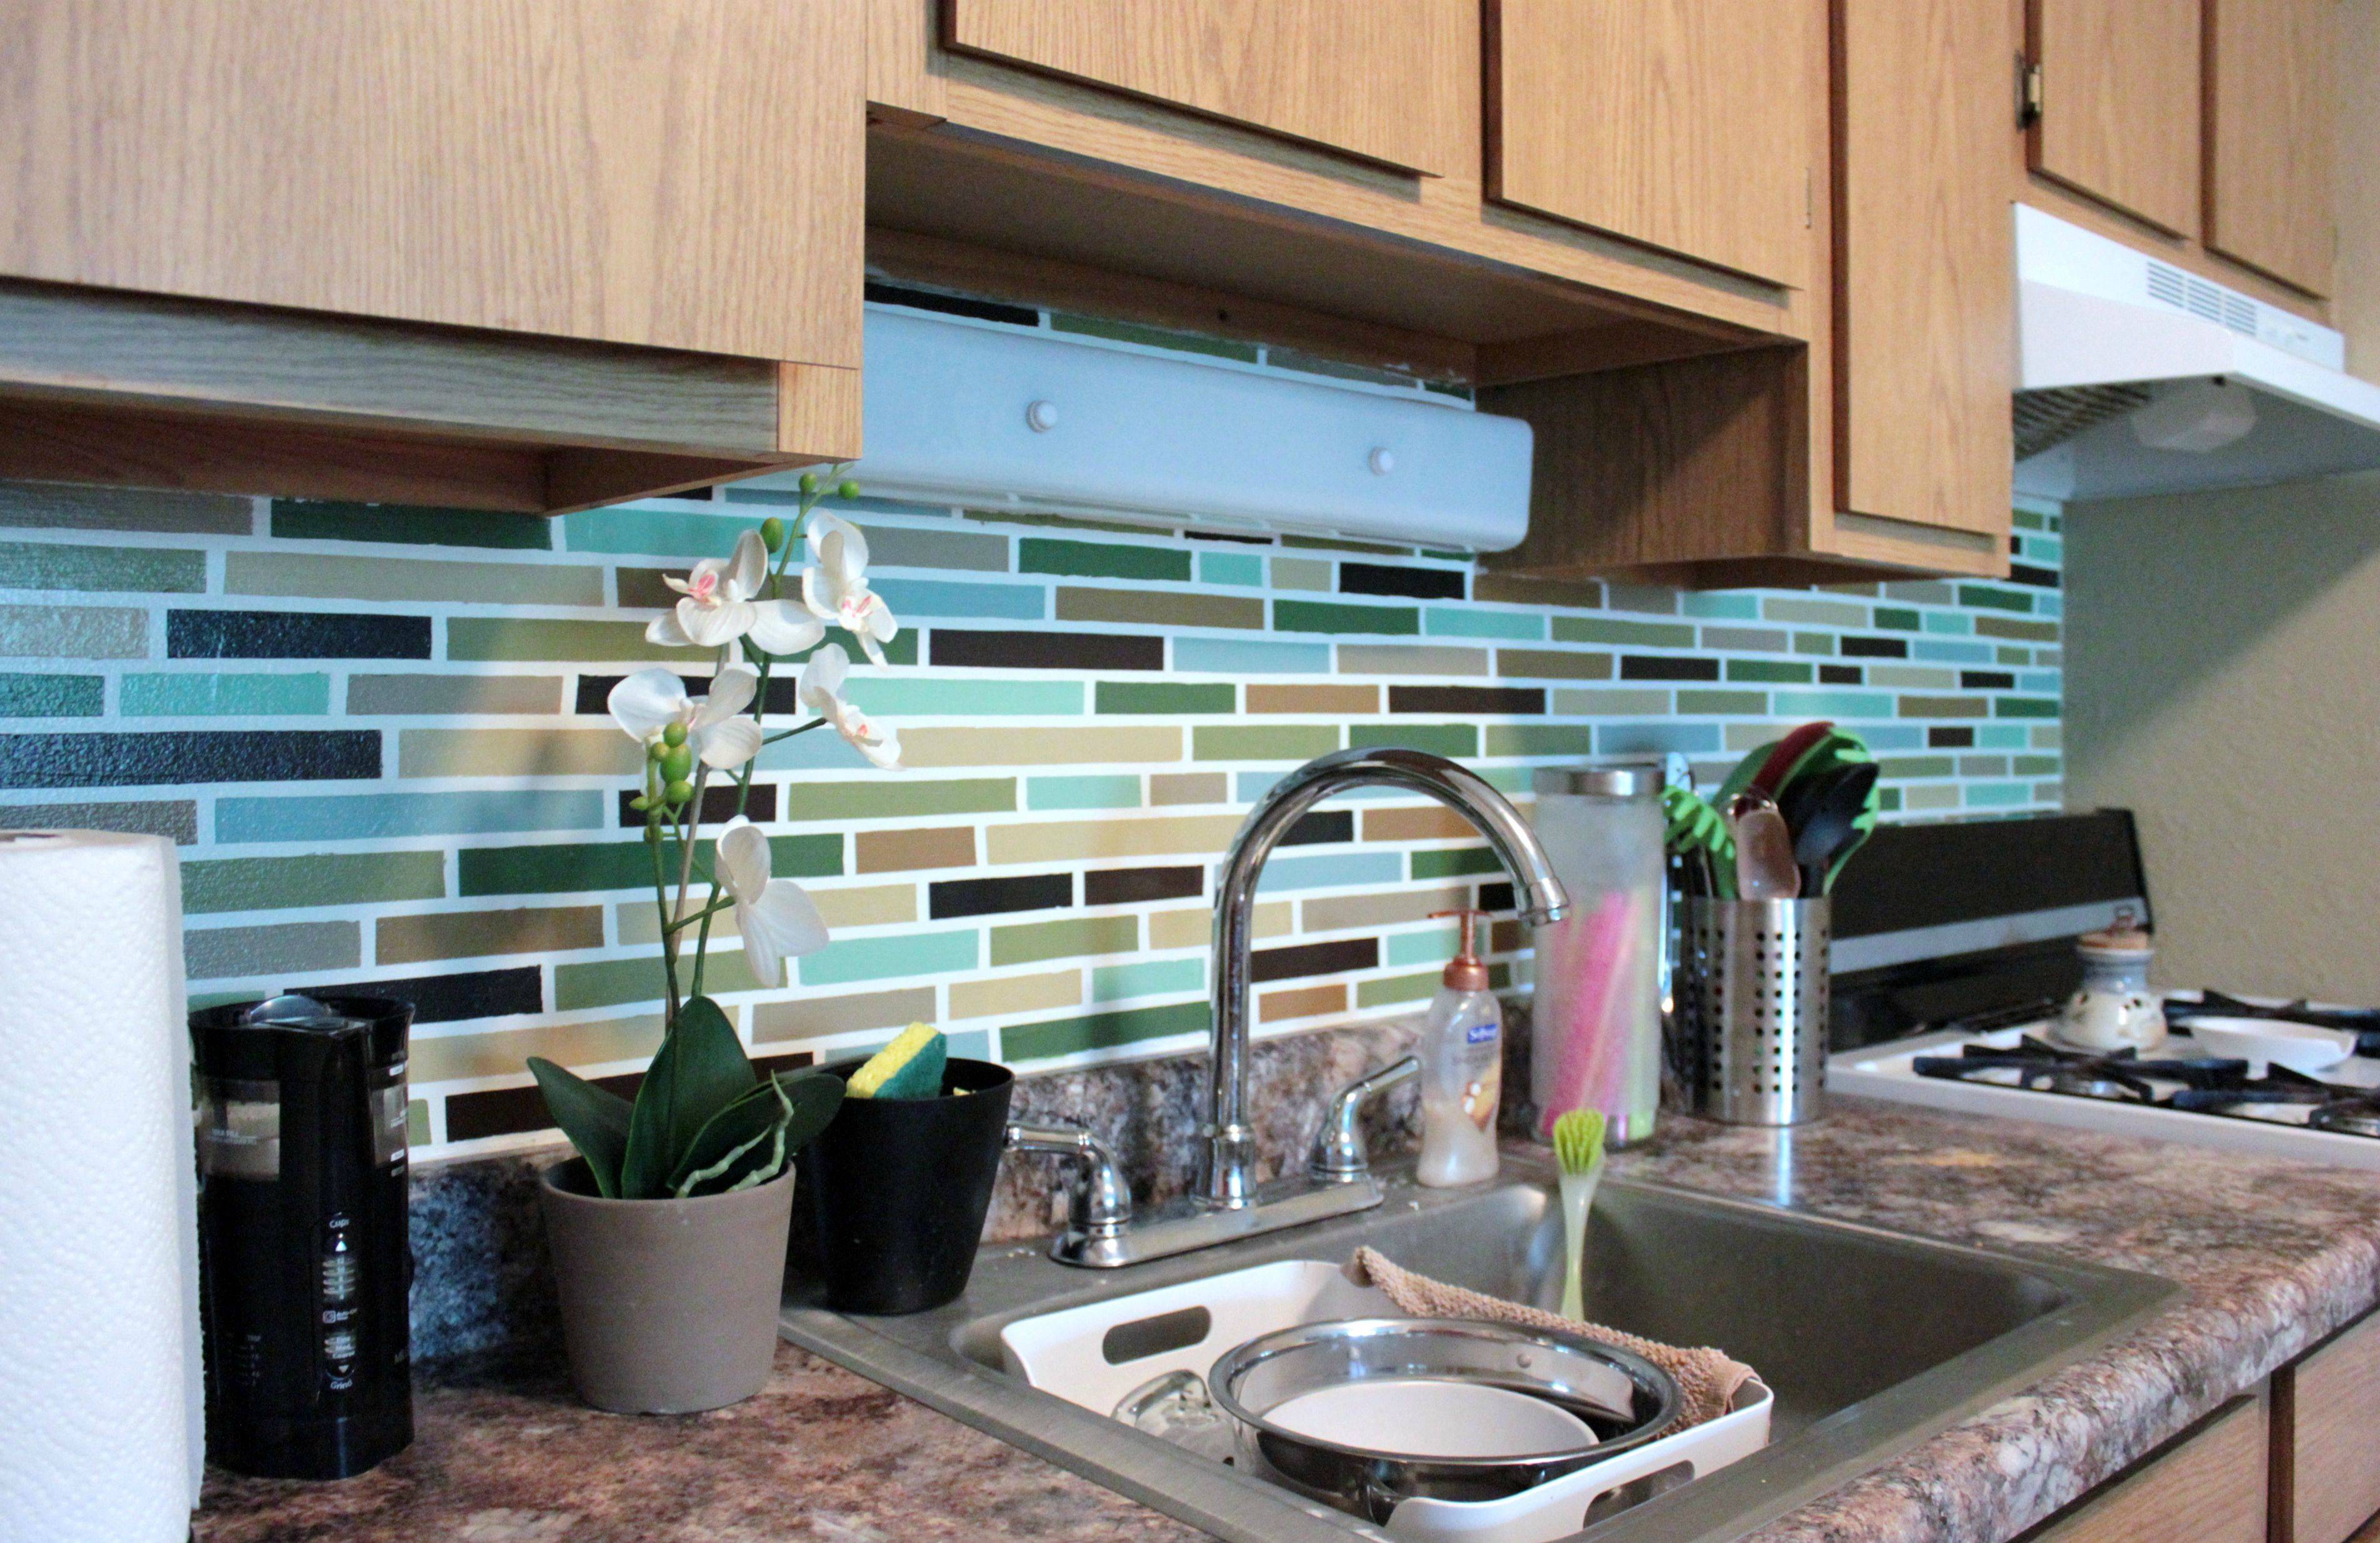
DIY Living Room Mosaic Tile Backsplash
DIY Living Room Mosaic Tile Backsplash
A mosaic tile backsplash is a beautiful and easy way to add a touch of personality to your living room. Mosaic tiles come in a variety of colors, shapes, and sizes, so you can create a unique design that reflects your style. Plus, DIY mosaic tile backsplashes are relatively easy to install, even if you don't have a lot of DIY experience.
In this article, we'll walk you through the steps of creating your own DIY living room mosaic tile backsplash. We'll provide tips on choosing the right tiles, tools, and materials, and we'll walk you through the installation process step-by-step.
Choosing the Right Tiles

The first step in creating your DIY mosaic tile backsplash is choosing the right tiles. There are a few things to keep in mind when making your selection:
- Size: The size of your tiles will affect the overall look of your backsplash. Smaller tiles will create a more intricate and detailed design, while larger tiles will create a more streamlined look.
- Shape: The shape of your tiles can also affect the overall look of your backsplash. Square tiles are a classic choice, but you can also use hexagonal, triangular, or other shaped tiles to create a more unique design.
- Color: The color of your tiles will also play a role in the overall look of your backsplash. You can choose to use a single color of tile, or you can mix and match different colors to create a more visually interesting design.
- Budget: The cost of your tiles will vary depending on the type, size, and shape of the tiles you choose. Be sure to factor in the cost of your tiles when you're planning your budget for your project.
Tools and Materials

In addition to your tiles, you'll need a few other tools and materials to complete your DIY mosaic tile backsplash:
- Grout: Grout is the material that fills the spaces between your tiles. You'll need to choose a grout that is compatible with the type of tiles you're using.
- Tile adhesive: Tile adhesive is used to attach your tiles to the wall. You'll need to choose a tile adhesive that is strong enough to hold your tiles in place.
- Tile spacers: Tile spacers are used to create equal spacing between your tiles. This will help to create a professional-looking finished product.
- Level: A level is used to ensure that your tiles are installed evenly.
- Tile saw: A tile saw is used to cut your tiles to size. If you're using large tiles, you may also need a wet saw.
- Safety glasses: Safety glasses are essential to protect your eyes from flying debris.
- Rubber gloves: Rubber gloves will protect your hands from the grout and other materials.
Installation

Once you've gathered all of your tools and materials, you can begin the installation process. Here are the steps involved:
- Prepare the wall. The first step is to prepare the wall that you'll be installing your backsplash on. This means removing any existing tiles or drywall, and making sure that the wall is level and smooth.
- Apply the tile adhesive. Once the wall is prepared, you can apply the tile adhesive to the wall. Be sure to use enough adhesive to create a strong bond between the tiles and the wall.
- Install the tiles. Starting at the bottom of the wall, begin installing the tiles. Use tile spacers to create equal spacing between the tiles. As you're installing the tiles, be sure to check that they're level with a level.
- Grouting the tiles. Once the tiles are installed, you can grout them. This means filling the spaces between the tiles with grout. Be sure to use a grout that is compatible with the type of tiles you're using.
- Sealing the tiles. Once the grout has dried, you can seal the tiles. This will help to protect the tiles from moisture and wear.
That's it! You've now successfully installed your DIY living room mosaic tile backsplash.
Tips for Success
Here are a few tips to help you successfully complete your DIY mosaic tile backsplash project:
- Plan your design ahead of time. This will help you avoid any mistakes during the installation process.
- Use a level to ensure that your tiles are installed evenly. This will help to create a professional-looking finished product.
- Take your time and be patient. Mosaic tile backsplashes can take a little time to complete, but the results are worth it.
- Clean up as you go. This will help to prevent a mess
