
DIY Living Room Mosaic Wall Art Construction
DIY Living Room Mosaic Wall Art Construction
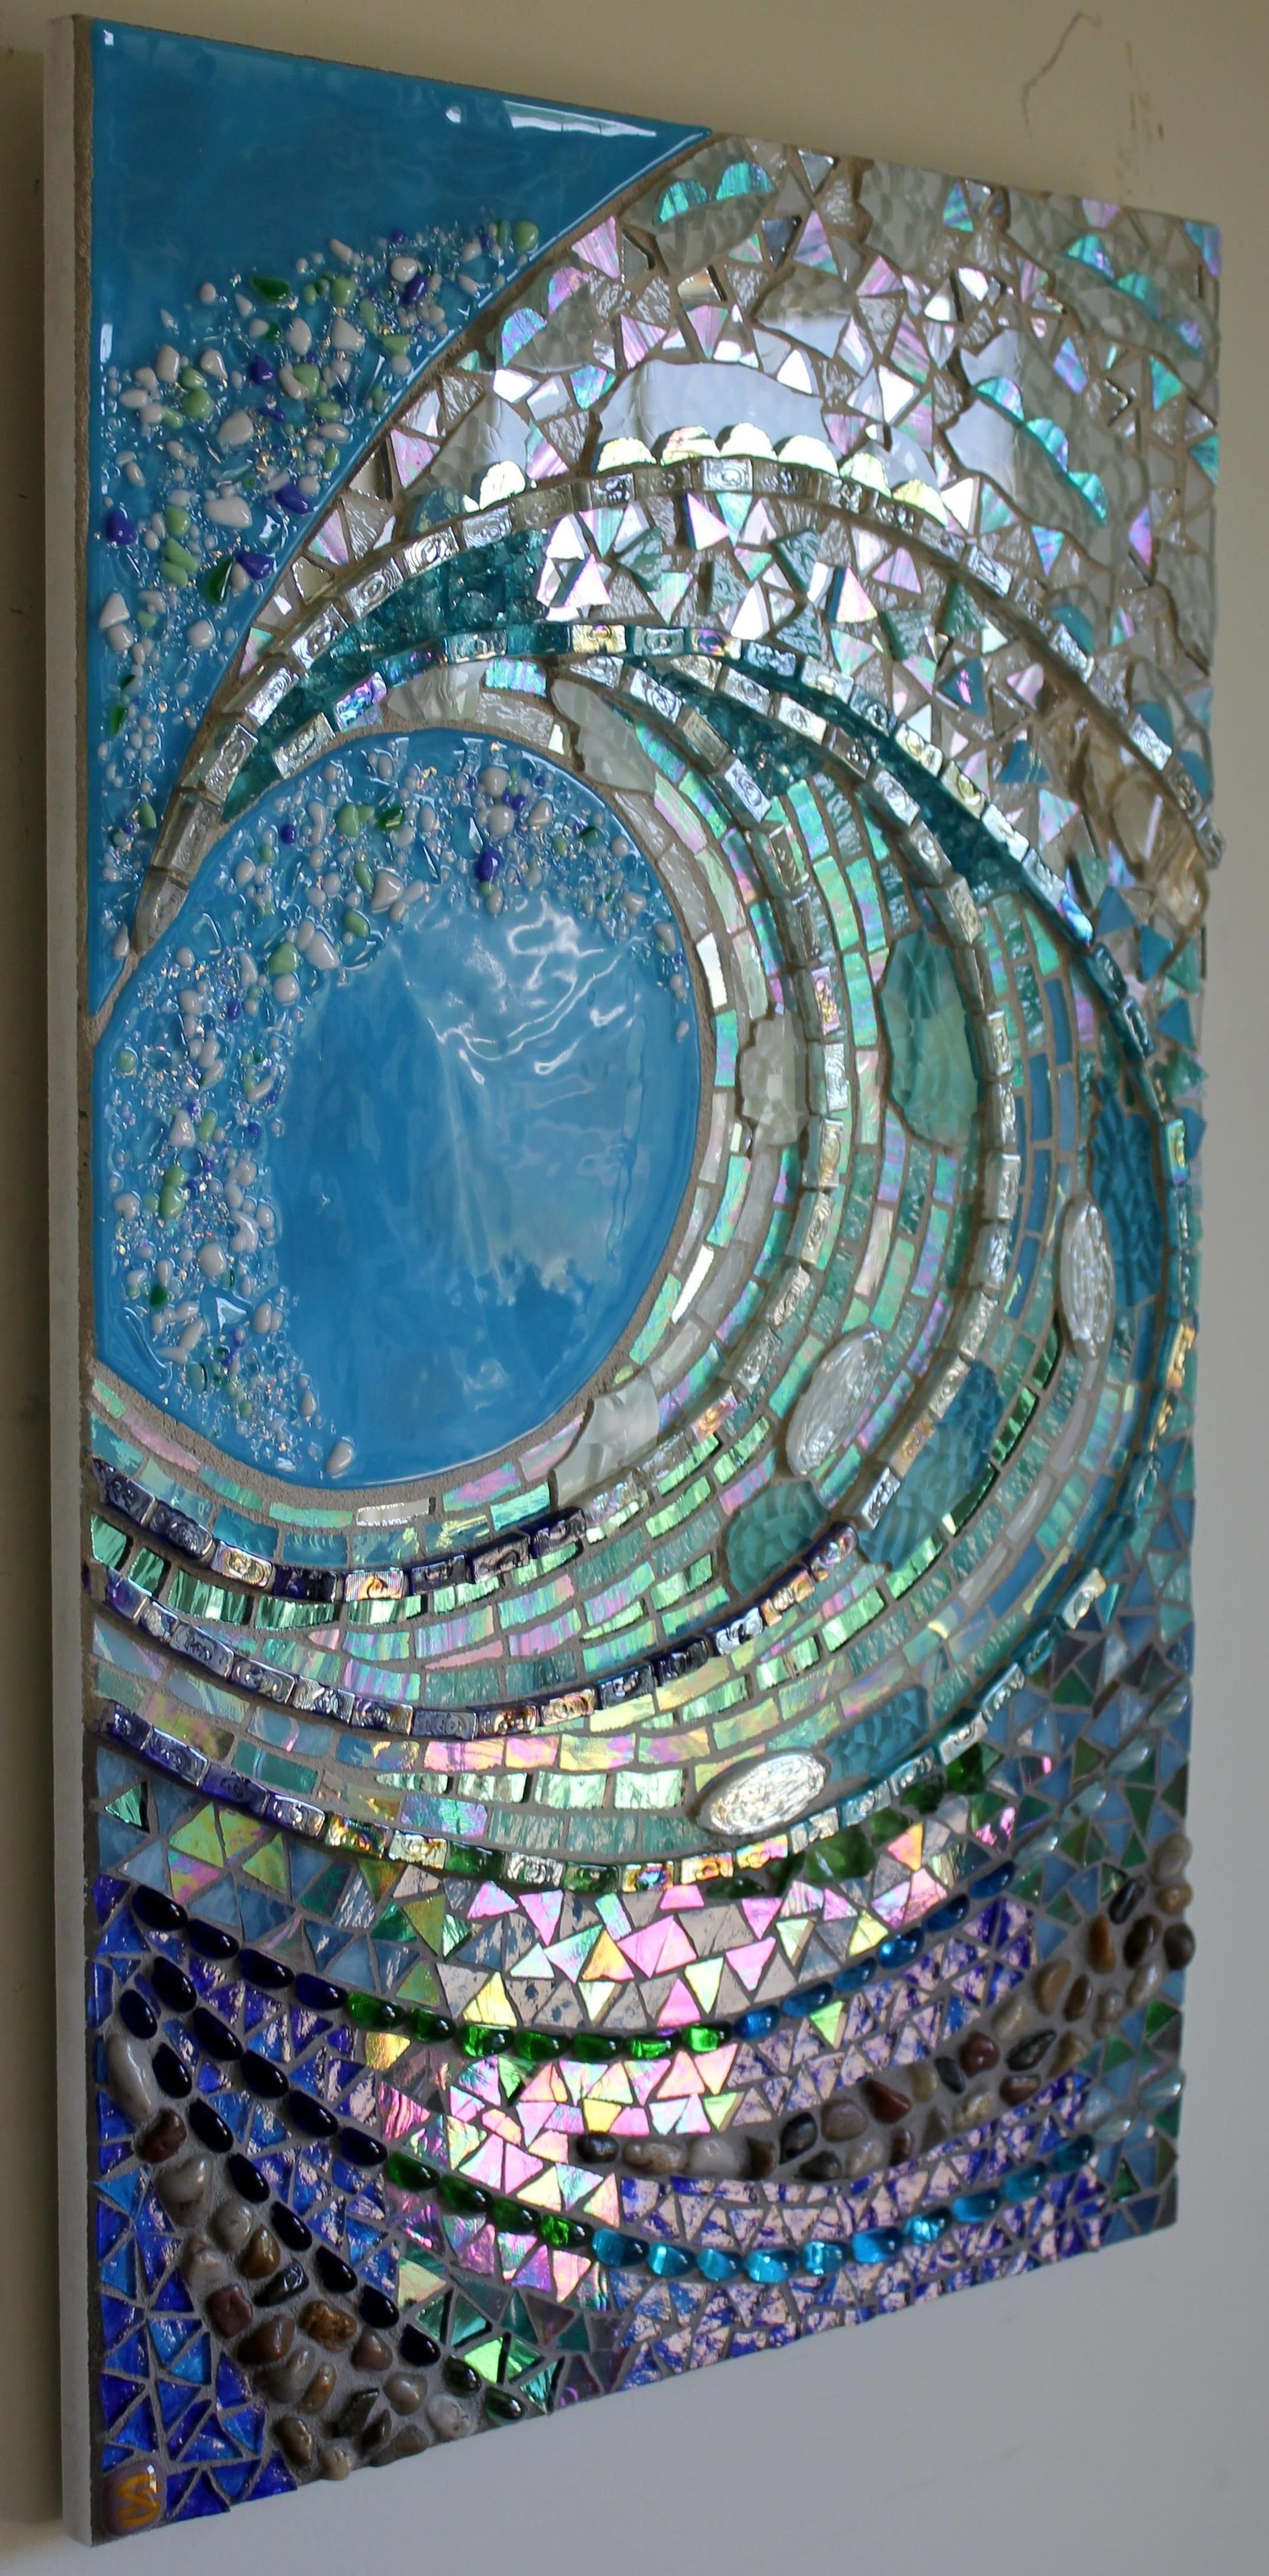
Mosaic wall art is a beautiful and unique way to add personality and interest to your living room. It's also a relatively easy project that you can complete yourself with a little time and effort.
In this article, we'll walk you through the steps of creating your own DIY mosaic wall art. We'll cover everything from choosing the right materials to assembling and installing your finished piece.
So if you're ready to give it a try, let's get started!

Choosing the Right Materials
The first step in creating your DIY mosaic wall art is choosing the right materials. You'll need to decide what type of base you want to use, as well as what type of tiles you want to incorporate.
Base materials
There are a few different options when it comes to base materials for your mosaic wall art. You can use a pre-made canvas, a piece of plywood, or even a piece of cardboard. If you're using a canvas, you'll need to attach it to a frame before you start working.
If you're using plywood or cardboard, you'll need to prime the surface before you start applying the tiles. This will help to prevent the tiles from sticking to the base material.
Tiles
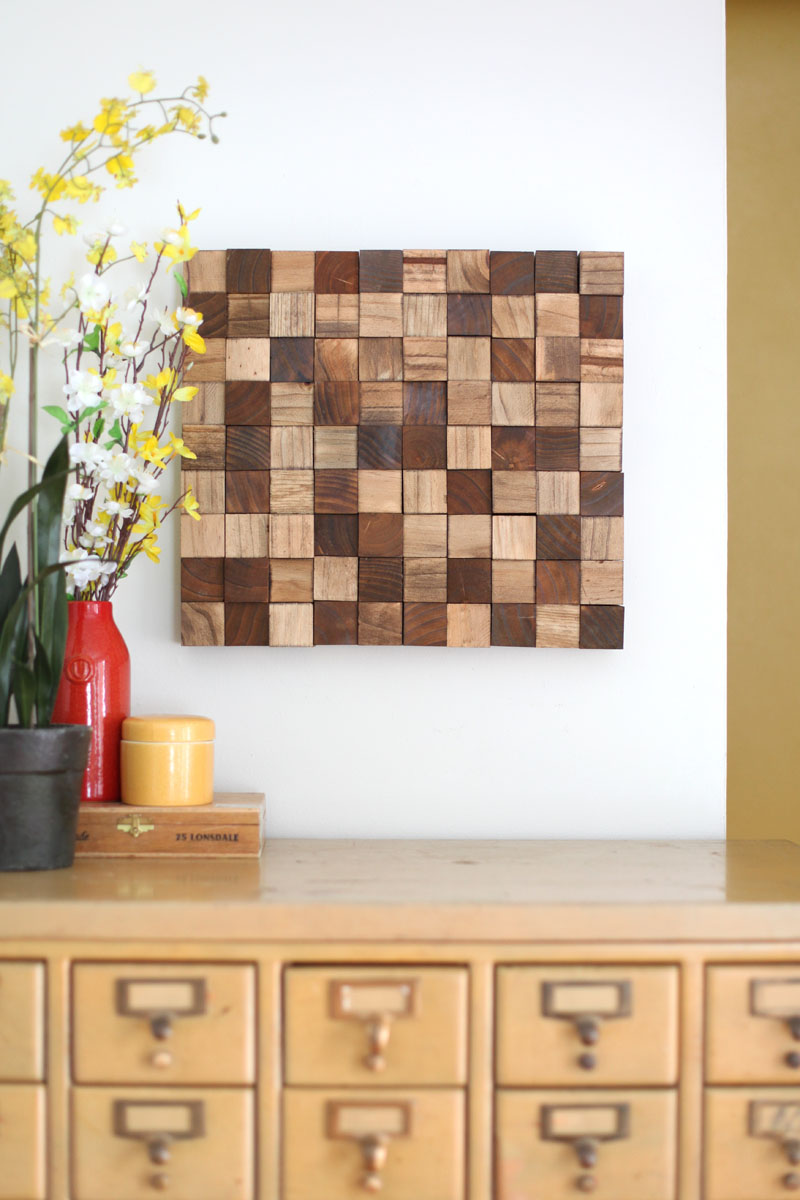
The next step is choosing the tiles for your mosaic wall art. You can use a variety of different materials for your tiles, including glass, ceramic, stone, and even metal. You can also find tiles in a variety of different shapes and sizes.
When choosing your tiles, keep in mind the overall look and feel you're trying to achieve. You may want to choose tiles that are all the same color or size, or you may want to mix and match different types of tiles to create a more unique look.
Gathering Your Supplies
Once you've chosen your materials, you'll need to gather your supplies. You'll need the following items:
- Adhesive
- Grout
- Tile nippers
- Grout float
- Sponge
- Safety glasses
- Gloves
- Newspaper
Preparing the Base
Before you can start applying the tiles, you'll need to prepare the base. If you're using a pre-made canvas, you can skip this step.
If you're using plywood or cardboard, you'll need to prime the surface with a coat of acrylic gesso. This will help to prevent the tiles from sticking to the base material.
Once the gesso is dry, you can begin applying the tiles.
Applying the Tiles
Start by applying a thin layer of adhesive to the back of the tiles. Then, press the tiles firmly onto the base material.
Work your way around the base, overlapping the tiles slightly as you go. Be sure to leave a small gap between each tile for the grout.
Continue applying tiles until you've covered the entire base.
Grouting the Tiles
Once you've applied all of the tiles, you'll need to grout them. Grout is a type of sealant that helps to protect the tiles and keep them in place.
To grout the tiles, mix the grout according to the package directions. Then, use a grout float to apply the grout to the spaces between the tiles.
Work your way around the base, pressing the grout firmly into the gaps. Be sure to remove any excess grout before it dries.
Let the grout dry for at least 24 hours before moving on to the next step.
Sealing the Mosaic
Once the grout is dry, you'll need to seal the mosaic to protect it from moisture and damage.
To seal the mosaic, apply a coat of clear sealant to the entire surface. Be sure to let the sealant dry completely before displaying your finished piece.
Displaying Your Mosaic
Once your mosaic is dry and sealed, you can display it in your living room. You can hang it on the wall, place it on a shelf, or even use it as a coffee table centerpiece.
Your DIY mosaic wall art will be a beautiful addition to your living room and a conversation piece for years to come.
Tips for Creating a Successful DIY Mosaic Wall Art Project
Here are a few tips to help you create a successful DIY mosaic wall art project:
- Choose a simple design. If you're new to mosaics, it's best to start with a simple design. This will make the project more manageable and less likely to overwhelm you.
- Use a variety of tiles. Mixing and matching different types of tiles will create a more interesting and visually appealing mosaic.
- Take your time. Mosaics take time
