
DIY Living Room Storage Ottoman Construction
DIY Living Room Storage Ottoman Construction
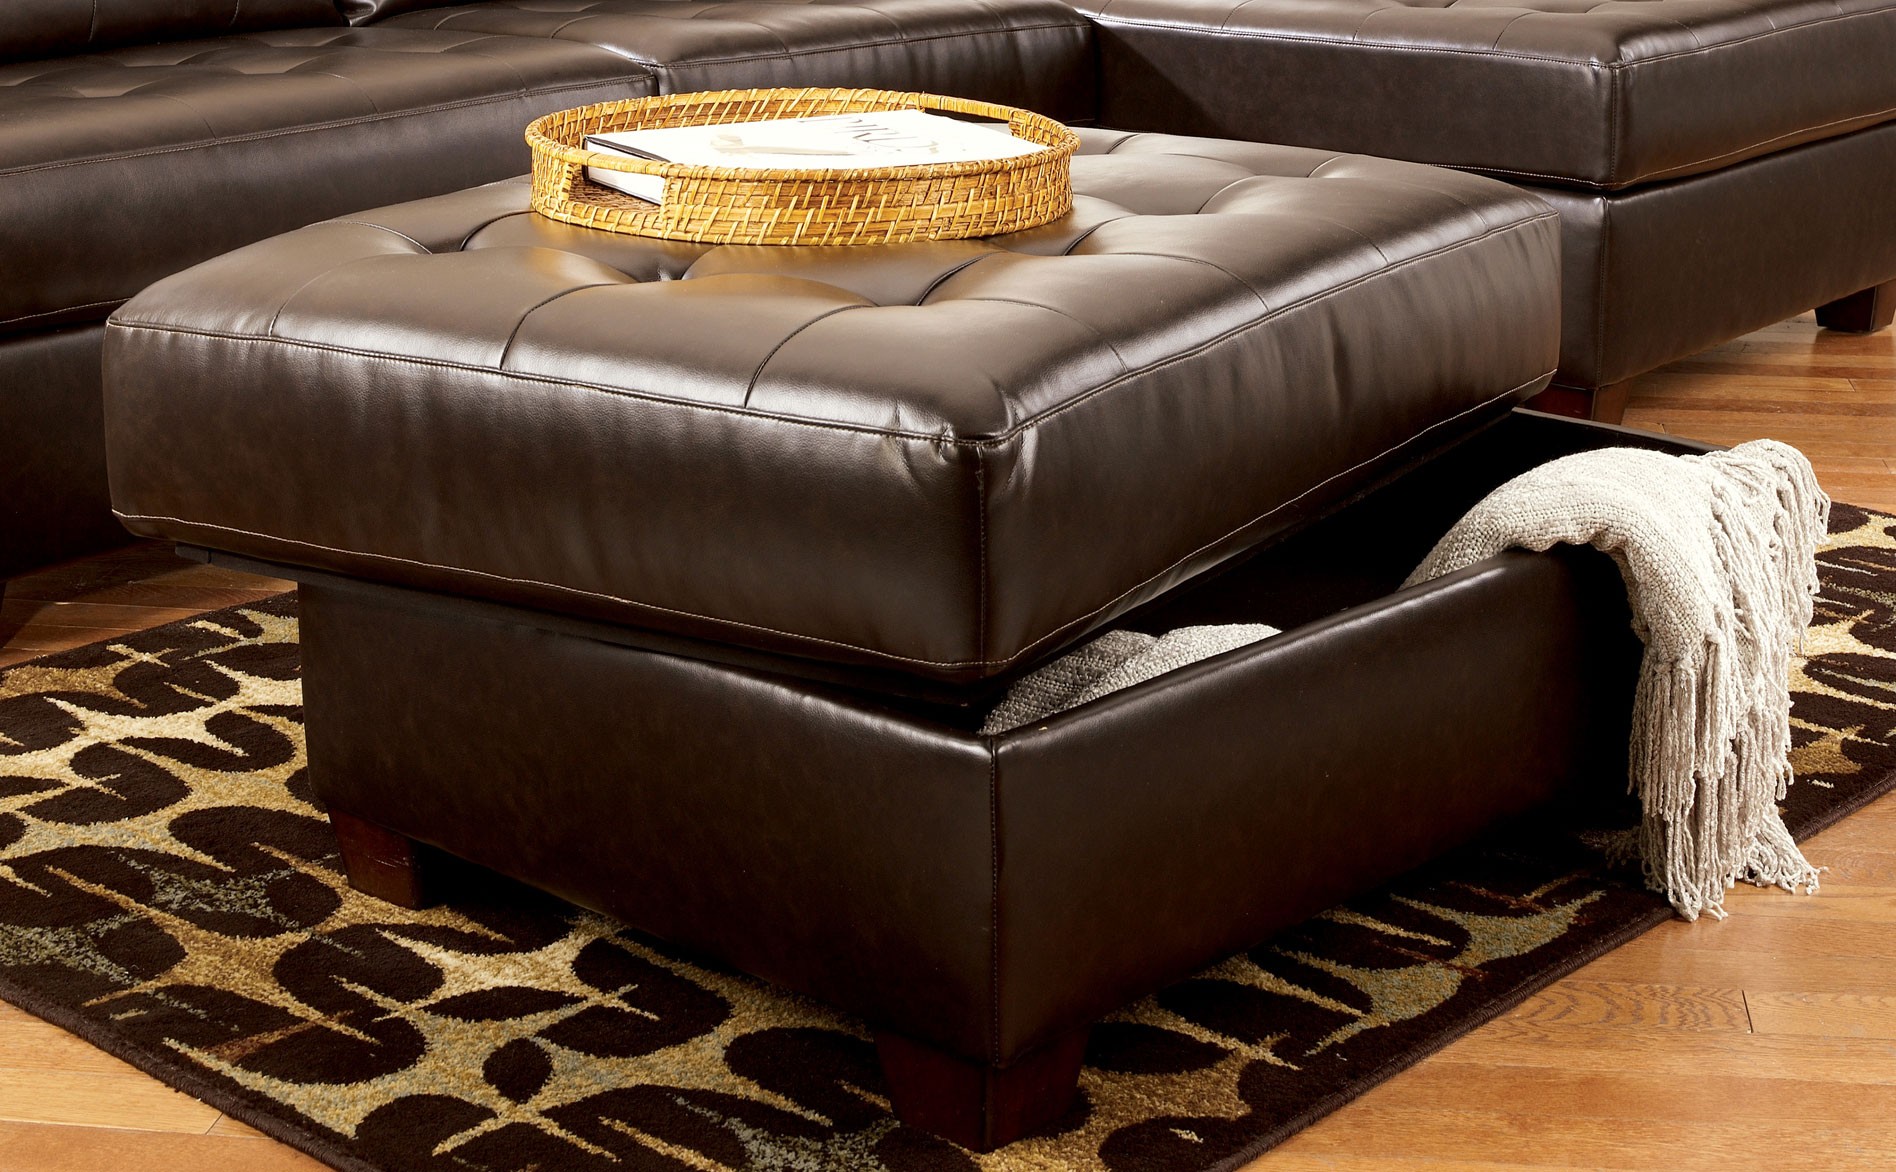
If you're looking for a way to add extra storage to your living room, a DIY storage ottoman is a great option. Ottomans are stylish and functional, and they can be customized to fit your needs. Plus, they're relatively easy to build, even if you don't have a lot of DIY experience.
In this tutorial, we'll walk you through the steps of building a simple storage ottoman. We'll provide detailed instructions and diagrams, so you can follow along easily. By the end of this project, you'll have a beautiful and functional piece of furniture that you can enjoy for years to come.
Materials

- 1 - 2 x 4 (10')
- 1 - 4 x 4 (8')
- 1 - 1/2" plywood (2' x 4')
- 1 - 1/2" MDF (2' x 4')
- 1 - 1/2" foam (2' x 4')
- Fabric (2' x 4')
- 1 - 1" zipper
- Wood glue
- Screws
- Sandpaper
- Stain or paint (optional)
Tools
- Saw
- Drill
- Sander
- Measuring tape
- Level
- Pencil
- Safety glasses

Instructions
- Cut the wood.
Use a saw to cut the following pieces of wood:
- 4 - 2 x 4 (12")
- 4 - 2 x 4 (10")
- 4 - 2 x 4 (8")
- 4 - 2 x 4 (6")
-
1 - 4 x 4 (12")
-
Assemble the frame.
Start by assembling the frame of the ottoman. To do this, you will need to connect the 2 x 4s together using screws.
- Assemble the four 12" pieces of 2 x 4 into a square.
- Connect the four 10" pieces of 2 x 4 to the bottom of the square, creating a box.
- Connect the four 8" pieces of 2 x 4 to the sides of the box.
-
Connect the four 6" pieces of 2 x 4 to the top of the box.
-
Add the plywood and MDF.
Next, you will need to add the plywood and MDF to the frame of the ottoman.
- Cut the plywood and MDF to size.
- Attach the plywood to the top of the frame using wood glue and screws.
-
Attach the MDF to the bottom of the frame using wood glue and screws.
-
Add the foam and fabric.
Now it's time to add the foam and fabric to the ottoman.
- Cut the foam to size.
- Attach the foam to the plywood using wood glue and staples.
- Cover the foam with fabric.
-
Sew the fabric together using a zipper.
-
Finish the ottoman.
Once you have finished adding the foam and fabric, you can finish the ottoman by staining or painting it.
- Stain or paint the wood according to the manufacturer's instructions.
- Allow the stain or paint to dry completely.
Your DIY storage ottoman is now complete! Enjoy your new piece of furniture.
Tips
- If you're not comfortable using a saw, you can have your wood cut at the hardware store.
- Use a level to make sure the frame of the ottoman is square.
- Pre-drill holes for the screws to prevent the wood from splitting.
- Use a staple gun to attach the fabric to the foam.
- Be careful not to stretch the fabric too much.
- If you're not sure how to sew a zipper, you can take your ottoman to a fabric store and have them do it for you.
Variations
There are many different ways to customize your DIY storage ottoman. Here are a few ideas:
- Use a different type of wood for the frame.
- Add decorative trim to the frame.
- Use a different type of fabric for the cover.
- Add a different type of filling for the ottoman.
- Add legs to the ottoman.
- Make the ottoman a different size.
With a little creativity, you can create a DIY storage ottoman that is perfect for your home.
Conclusion
Building a DIY storage ottoman is a great way to add extra storage to your living room and save money. This project is relatively easy to follow, even
