
DIY living room tiered plant stand construction
DIY Living Room Tiered Plant Stand
Introduction
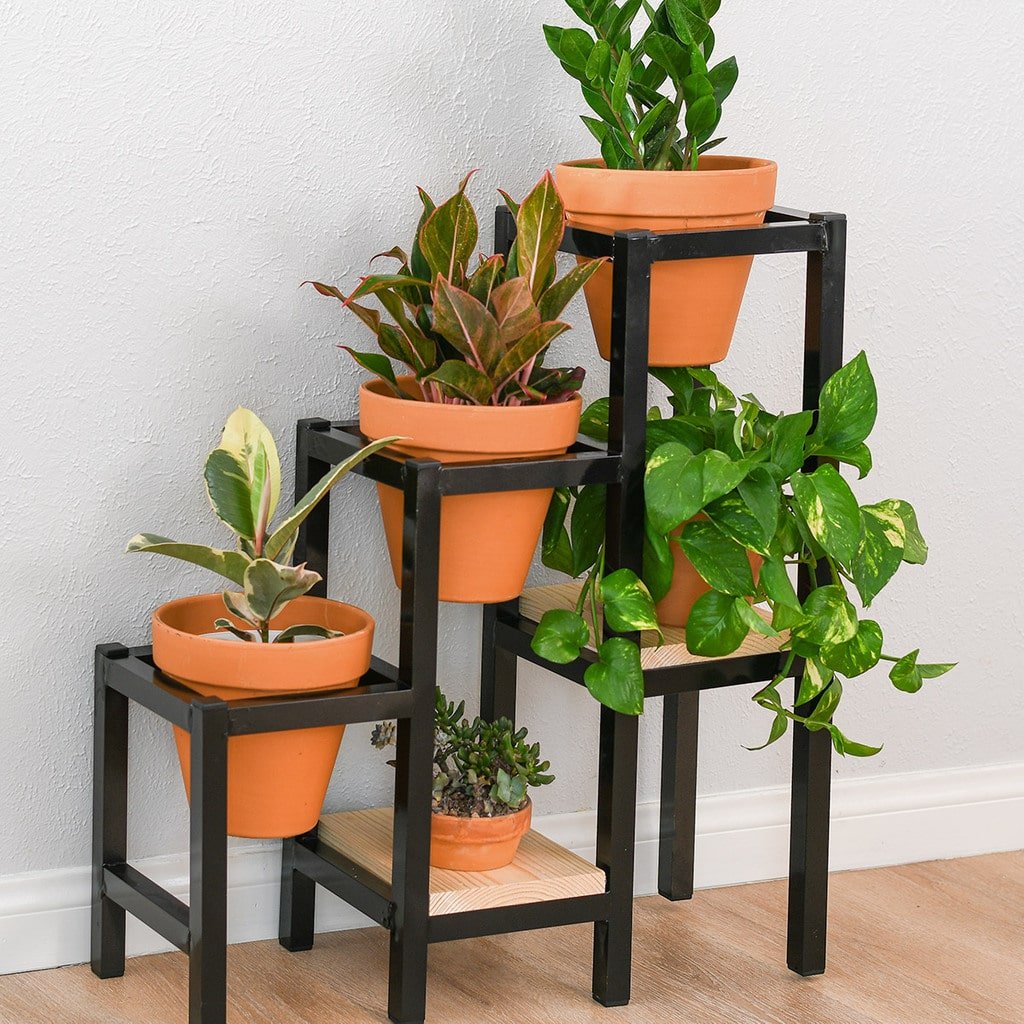
Adding a tiered plant stand to your living room is a great way to add some greenery and visual interest to your space. Tiered plant stands are also a great way to display your favorite plants and show them off to your guests. If you're looking for a fun and easy DIY project, building your own tiered plant stand is a great option. This project is relatively simple and can be completed in a few hours with some basic tools and materials.
Materials

- 2x4s (cut to the following lengths): * 4 - 24 inches long * 4 - 30 inches long * 4 - 36 inches long * Wood screws (1-1/4 inches long) * Wood glue * Stain or paint (optional) * Sandpaper (100-grit) * Safety glasses * Work gloves
Tools
- Saw
- Drill
- Sander
- Measuring tape
- Pencil
- Level
- Safety glasses
- Work gloves
Instructions
-
Assemble the frame.
a. Start by cutting the 2x4s to the desired lengths. b. Assemble the frame by attaching the 24-inch pieces to the 30-inch pieces with wood screws. c. Attach the 36-inch pieces to the 30-inch pieces with wood screws.
-
Add the shelves.
a. Cut the 2x4s to the desired lengths for the shelves. b. Attach the shelves to the frame with wood screws.
-
Stain or paint the plant stand.
a. If you want to stain or paint the plant stand, do so now. b. Allow the stain or paint to dry completely before moving on to the next step.
-
Sand the plant stand.
a. Use a sanding block or sandpaper to sand the plant stand until it is smooth. b. Be sure to sand in the direction of the grain.
-
Apply a sealant.
a. If you want to protect the plant stand from the elements, apply a sealant. b. Allow the sealant to dry completely before using the plant stand.
Tips
- Use a saw guide to make sure your cuts are straight.
- Pre-drill holes for the wood screws to prevent the wood from splitting.
- Use a level to make sure the plant stand is level before attaching the shelves.
- Sand the plant stand in the direction of the grain.
- Apply a sealant to protect the plant stand from the elements.
Finishing Touches
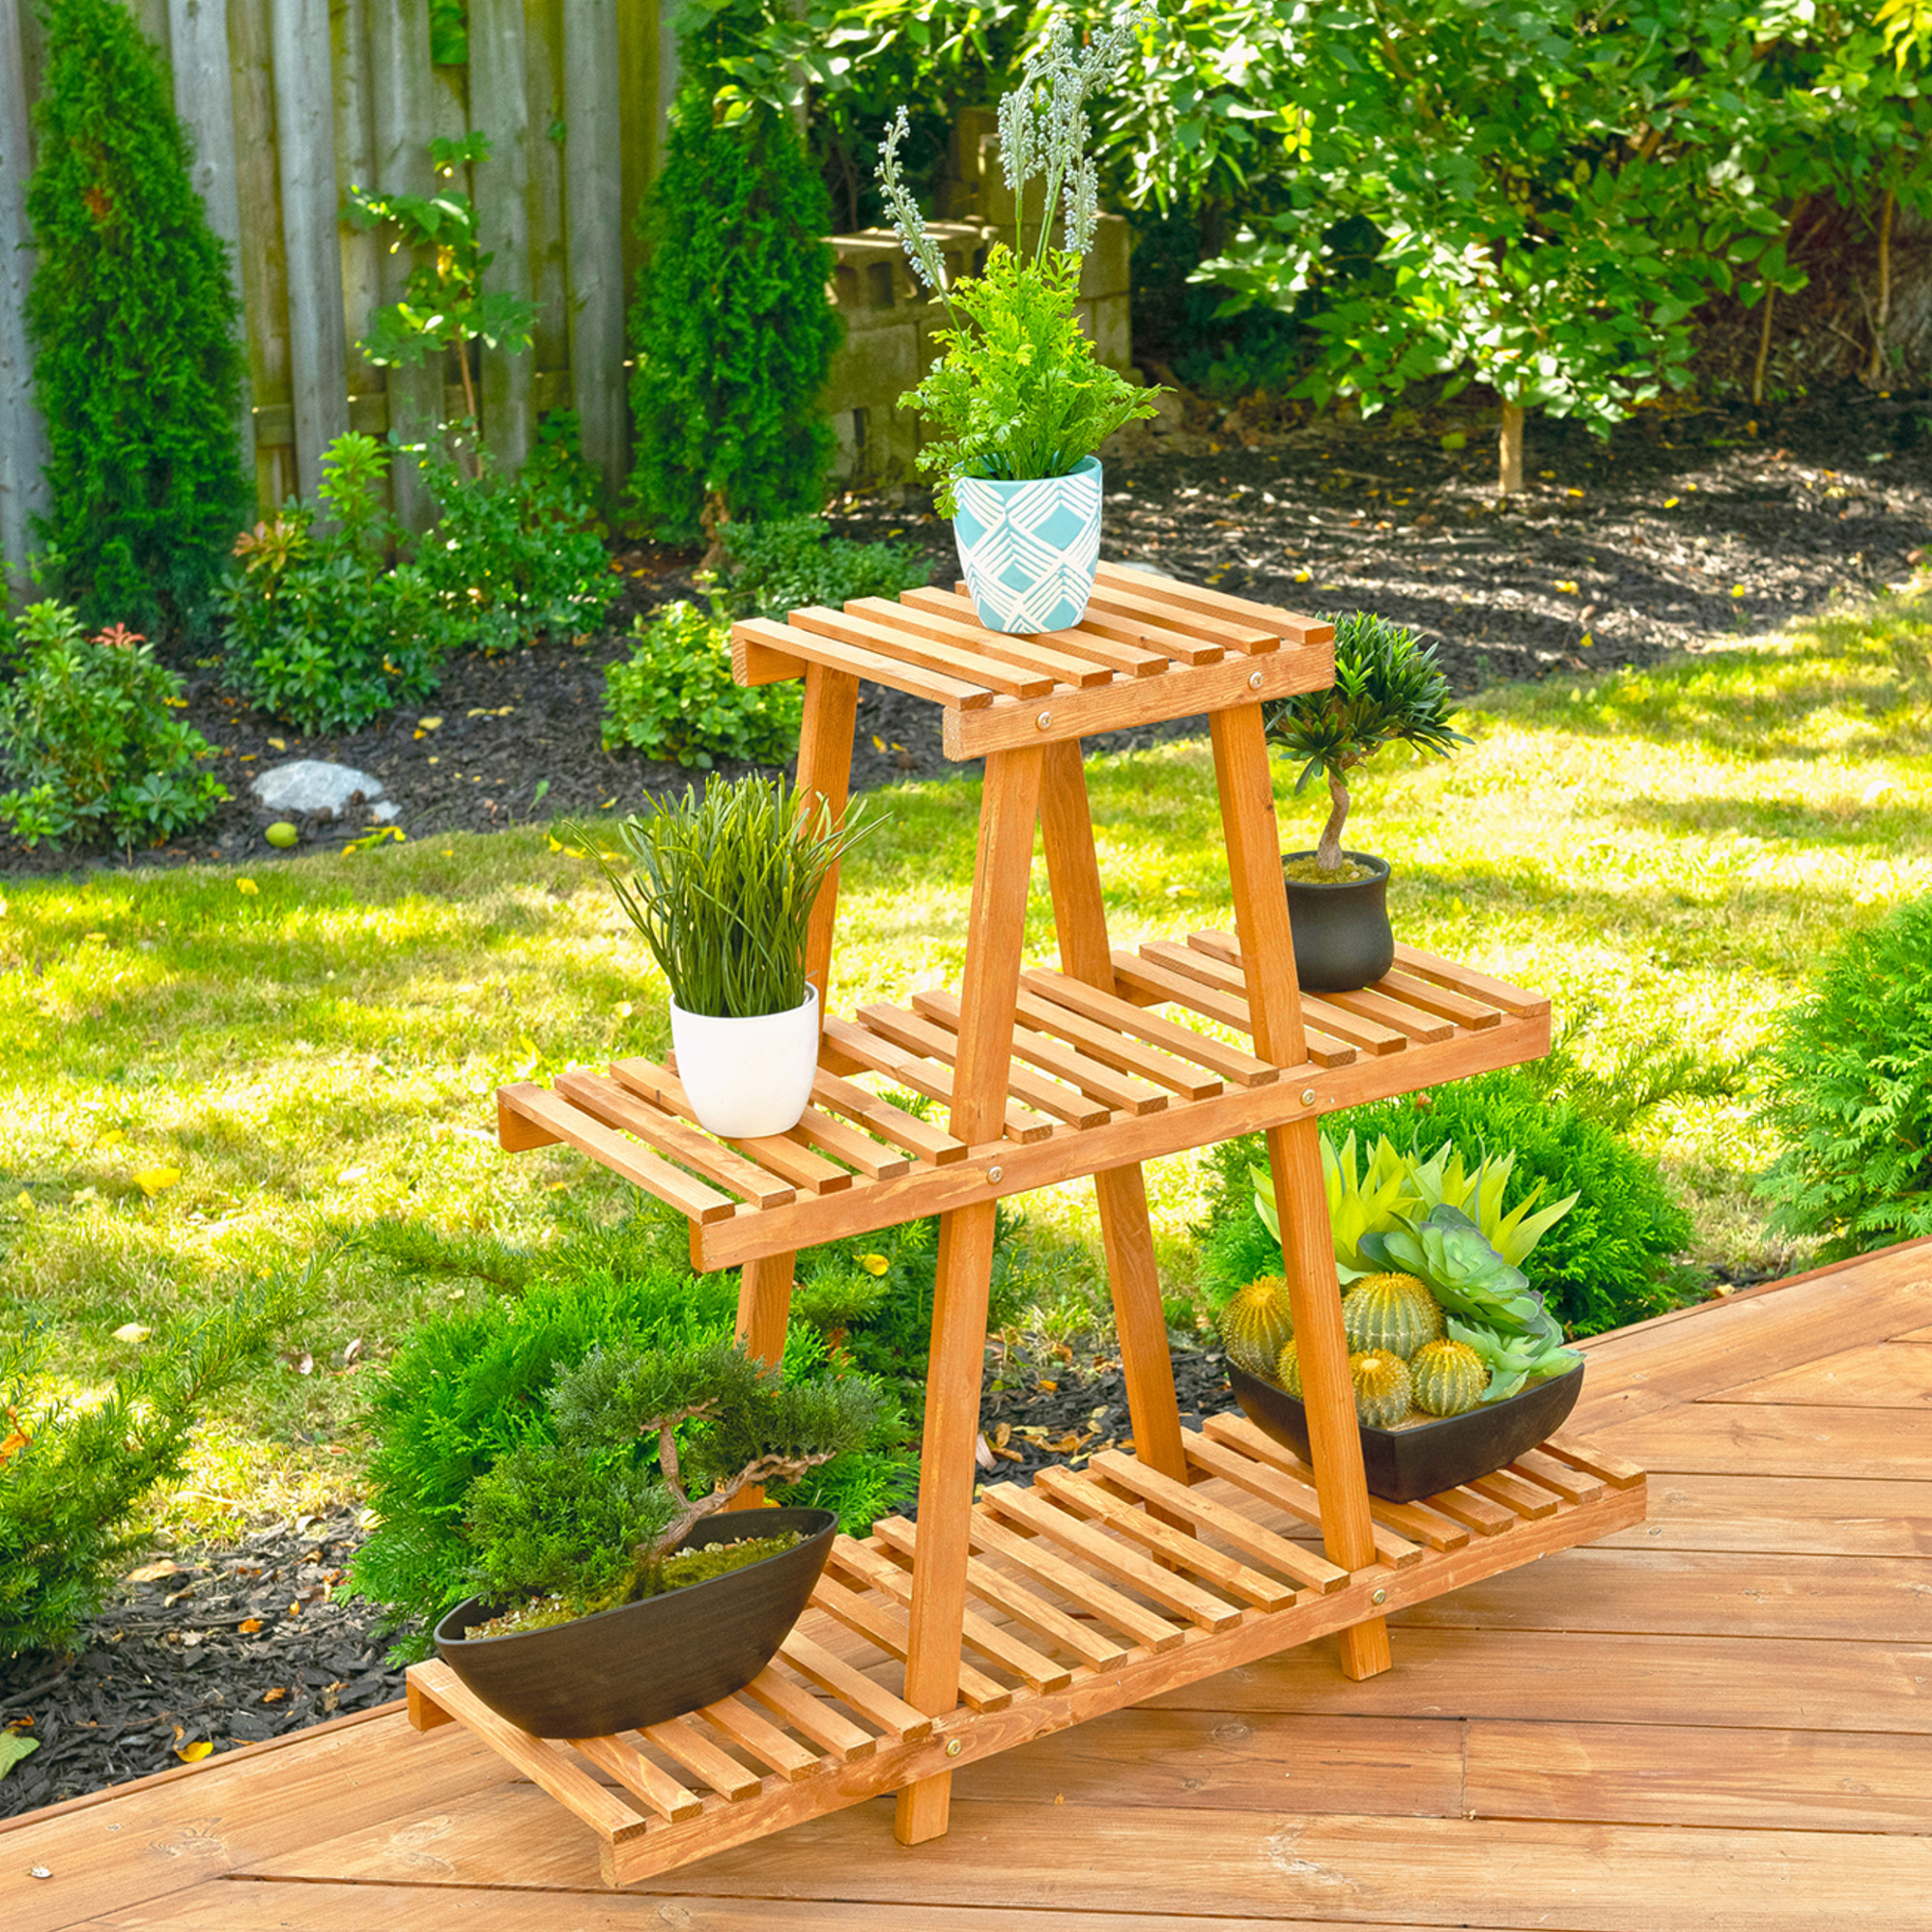
Once your plant stand is built, you can add your favorite plants and display them in your living room. You can also add some decorative elements to the plant stand, such as a vase of flowers or a figurine. Let your creativity shine!
Here are some additional tips for building a tiered plant stand:
- Use a variety of plants to create a visually interesting display.
- Choose plants that will thrive in the conditions in your living room.
- Place the plant stand in a spot where it will get plenty of sunlight.
- Water the plants regularly and fertilize them as needed.
- Enjoy your beautiful new plant stand!
