
DIY Living Room Wall-Mounted Desk Build
car accident attorney,car accident attorneys,attorney for car accident,car accident attorney near me,atlanta car accident attorney henningsen law,attorney car accidents,attorneys car accident,accident attorney car,attorney for car accident near me,car accident attorneys near me,car accidents attorney near me,car accidents attorneys,attorney car accident,attorney near me car accident,attorneys for car accidents near me,best car accident attorney,
DIY living room wall-mounted desk build
DIY Living Room Wall-Mounted Desk Build
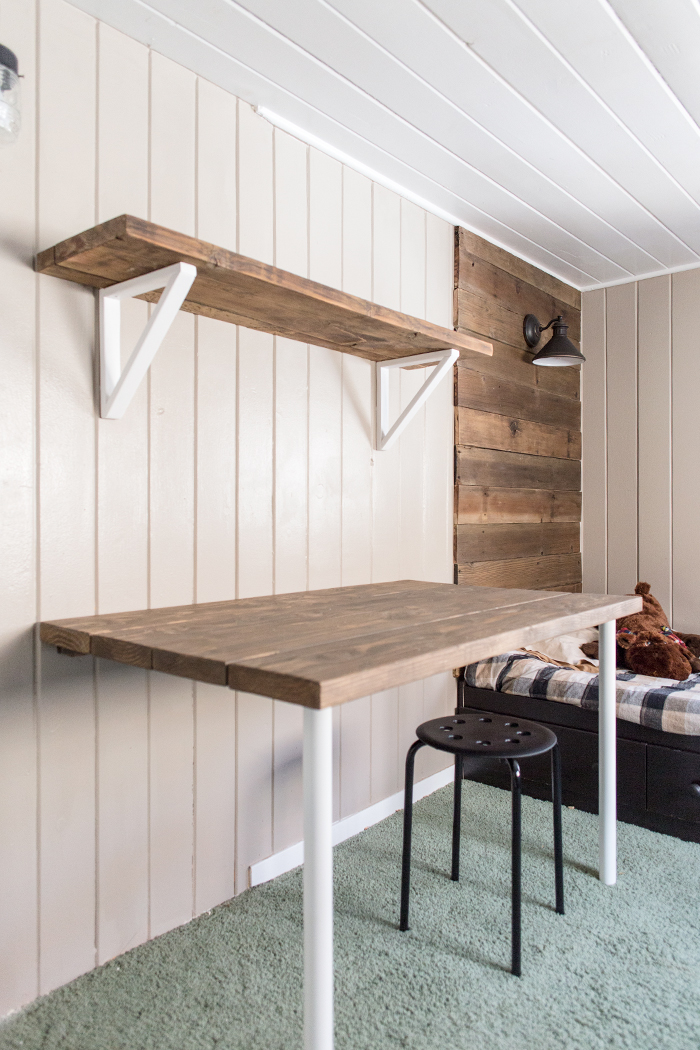
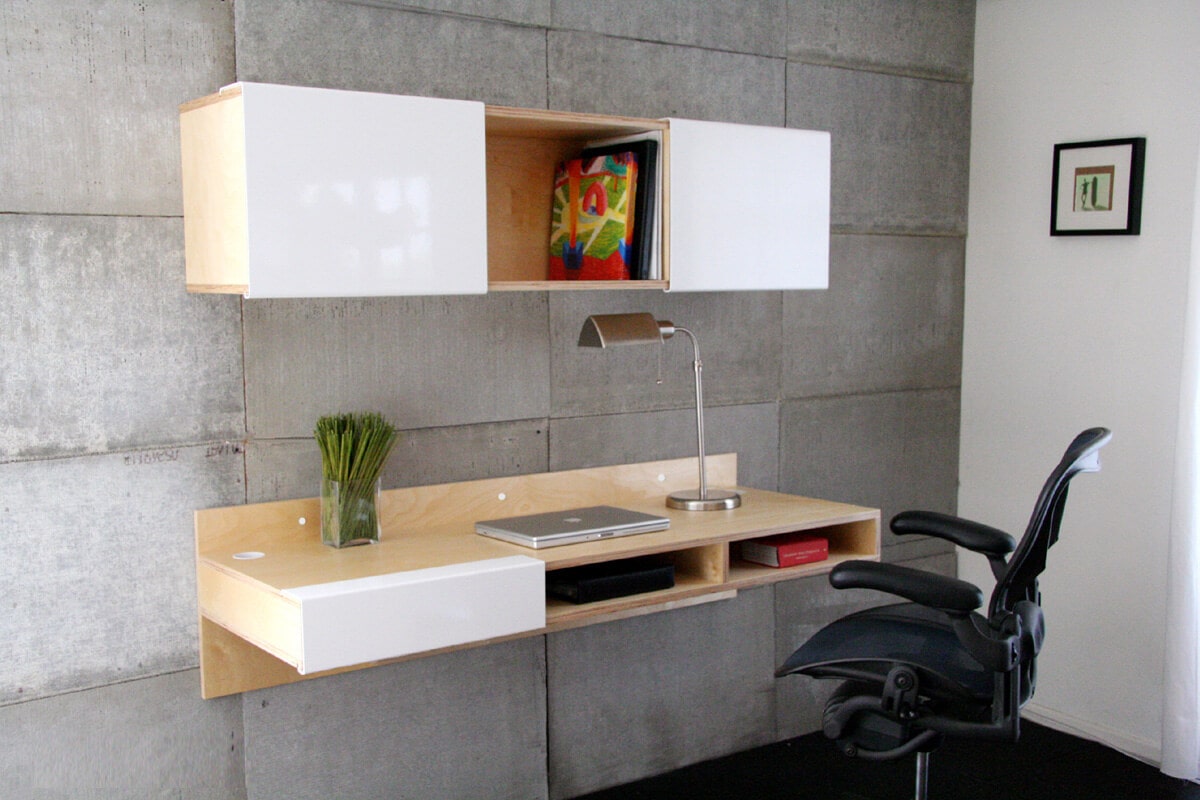
If you're short on space in your living room, a wall-mounted desk is a great way to create a functional workspace without taking up too much floor space. This project is relatively simple to DIY, and you can customize the design to fit your needs.
Materials
- Wood panel (1x4s or 2x4s)
- Wood screws
- Wall anchors
- Level
- Tape measure
- Pencil
- Saw
- Sander
- Drill
- Wood filler
- Sandpaper
- Stain or paint (optional)
Tools
- Measuring tape
- Pencil
- Saw
- Sander
- Drill
- Safety glasses
- Work gloves
Instructions

- Measure the space where you want to install the desk. Make sure to account for the width of the desk, as well as the depth of the desk and the overhang.
- Cut the wood panel to size. The width of the desk will depend on the space you have available. The depth of the desk should be at least 24 inches, and the overhang should be at least 12 inches.
- Sand the wood panel. This will help to smooth out any rough edges and make the desk more comfortable to use.
- Attach the wood panel to the wall. Use wall anchors to secure the wood panel to the wall. Make sure that the anchors are screwed into a stud, or into masonry if you have a concrete wall.
- Drill pilot holes for the screws. This will help to prevent the wood from splitting.
- Attach the desk to the wall. Use wood screws to attach the desk to the wood panel. Make sure that the screws are long enough to go through the desk and into the wood panel.
- Fill any holes with wood filler. This will help to create a smooth surface.
- Sand the wood filler. This will help to smooth out any rough edges.
- Apply stain or paint to the desk. This is optional, but it can help to protect the wood and give it a more finished look.
Tips
- Use a level to make sure that the desk is installed straight.
- Pre-drill holes for the screws to prevent the wood from splitting.
- Use wood screws that are long enough to go through the desk and into the wood panel.
- Fill any holes with wood filler and sand it smooth.
- Apply stain or paint to the desk to protect the wood and give it a more finished look.
Troubleshooting
- If the desk is not level, you can shim it up with pieces of wood or cardboard.
- If the screws are not long enough, you can use longer screws or add washers to the screws.
- If the wood filler is not smooth, you can sand it smooth or apply a second coat of wood filler.
- If the stain or paint is not adhering to the wood, you can use a primer before applying the stain or paint.
Conclusion
A wall-mounted desk is a great way to create a functional workspace in your living room without taking up too much space. This project is relatively simple to DIY, and you can customize the design to fit your needs. So what are you waiting for? Get started on your own wall-mounted desk today!
