
Installing a freestanding bathtub DIY guide
Installing a Freestanding Tub DIY Guide
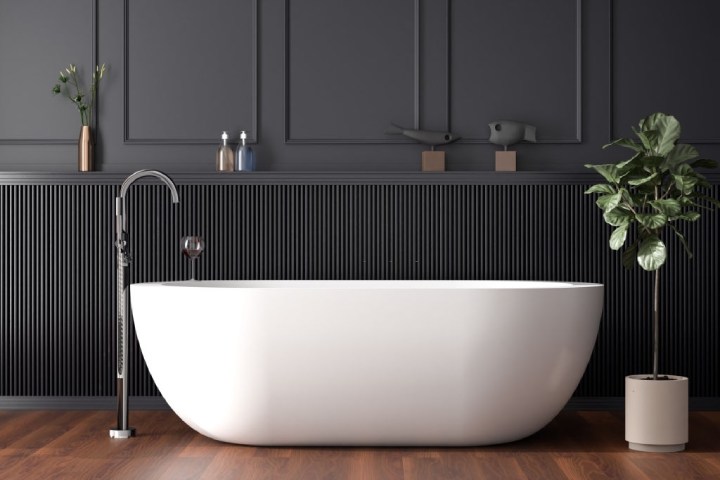
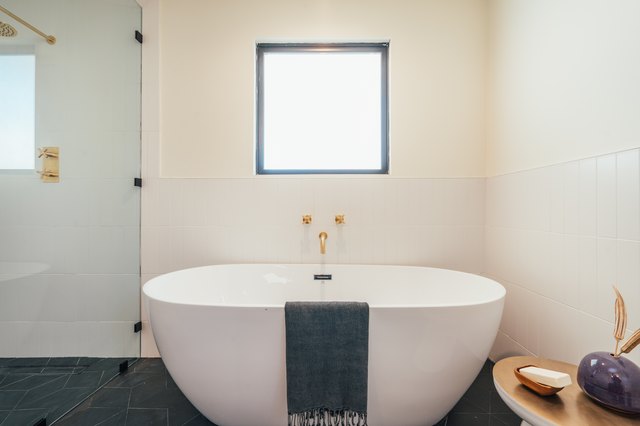
Freestanding bathtubs are a beautiful and stylish addition to any bathroom. They offer a luxurious bathing experience and can make your bathroom feel like a spa. However, installing a freestanding tub can be a daunting task, especially if you're not used to doing DIY projects. But don't worry, we're here to help. In this guide, we'll walk you through the process of installing a freestanding tub, step-by-step.
Tools and Materials
Before you get started, gather all of the tools and materials you'll need. Here's a list of what you'll need:
- Tape measure
- Level
- Pencil
- Combination square
- Saw
- Drill
- Screwdriver
- Hammer
- Silicone sealant
- Plumbing tape
- Plywood
- Concrete mix
- Bricks
- Rubber gasket
- Drain assembly
- Bathtub faucet
- Bathtub filler
- Bathtub spout
Preparing the Space
The first step is to prepare the space for your freestanding tub. This includes removing the old bathtub (if there is one), leveling the floor, and creating a platform for the tub to sit on.
Removing the Old Tub
If you have an old bathtub that you're replacing, you'll need to remove it before you can install the new one. Here's how to do it:
- Turn off the water supply to the bathtub.
- Drain the water from the bathtub.
- Remove the drain assembly.
- Remove the screws that hold the bathtub to the wall.
- Lift the bathtub out of the way.

Leveling the Floor
Once the old bathtub is removed, you'll need to level the floor where the new tub will sit. This is important to ensure that the tub is installed properly and that it doesn't leak.
To level the floor, you can use a level and a piece of plywood. Place the plywood on the floor where the tub will sit and adjust the level until it's level. Then, use a saw to cut the plywood to size.

Creating a Platform for the Tub
If you have a concrete floor, you'll need to create a platform for the tub to sit on. This will help to protect the floor from water damage and will also make it easier to install the tub.
To create a platform, you can use plywood or concrete blocks. If you're using plywood, cut the plywood to size and place it on the floor where the tub will sit. Then, use a hammer and nails to secure the plywood to the floor.
If you're using concrete blocks, stack the blocks to create a platform that's the same height as the tub. Then, use mortar to secure the blocks together.
Installing the Tub
Once the platform is in place, you can install the tub. Here's how to do it:
- Place the tub on the platform.
- Align the tub with the drain and the faucet.
- Mark the holes for the drain and the faucet on the tub.
- Drill the holes for the drain and the faucet.
- Insert the drain and the faucet into the holes.
- Secure the drain and the faucet to the tub with plumber's putty.
- Apply a bead of silicone sealant around the drain and the faucet.
- Allow the silicone sealant to dry.
Connecting the Plumbing
Once the tub is installed, you'll need to connect the plumbing. This includes connecting the drain, the faucet, and the water supply.

To connect the drain, you'll need to connect the drain pipe from the tub to the drain line in the wall. To do this, you'll need to use a slip joint coupling.
To connect the faucet, you'll need to connect the water supply lines from the wall to the faucet. To do this, you'll need to use a compression fitting.
To connect the water supply, you'll need to connect the water supply line from the wall to the tub. To do this, you'll need to use a threaded fitting.

Testing the Tub
Once the plumbing is connected, you'll need to test the tub to make sure that it's installed properly and that it doesn't leak. To do this, fill the tub with water and let it sit for a few hours. If there are any leaks, you'll need to fix them before using the tub.
Adding the Fixtures

Once the tub is installed and tested, you can add the fixtures. This includes the faucet,
Thank you for exploring our website by Installing a freestanding bathtub DIY guide. Your presence fuels our commitment to excellence. Come back for a more enriching experience!
