
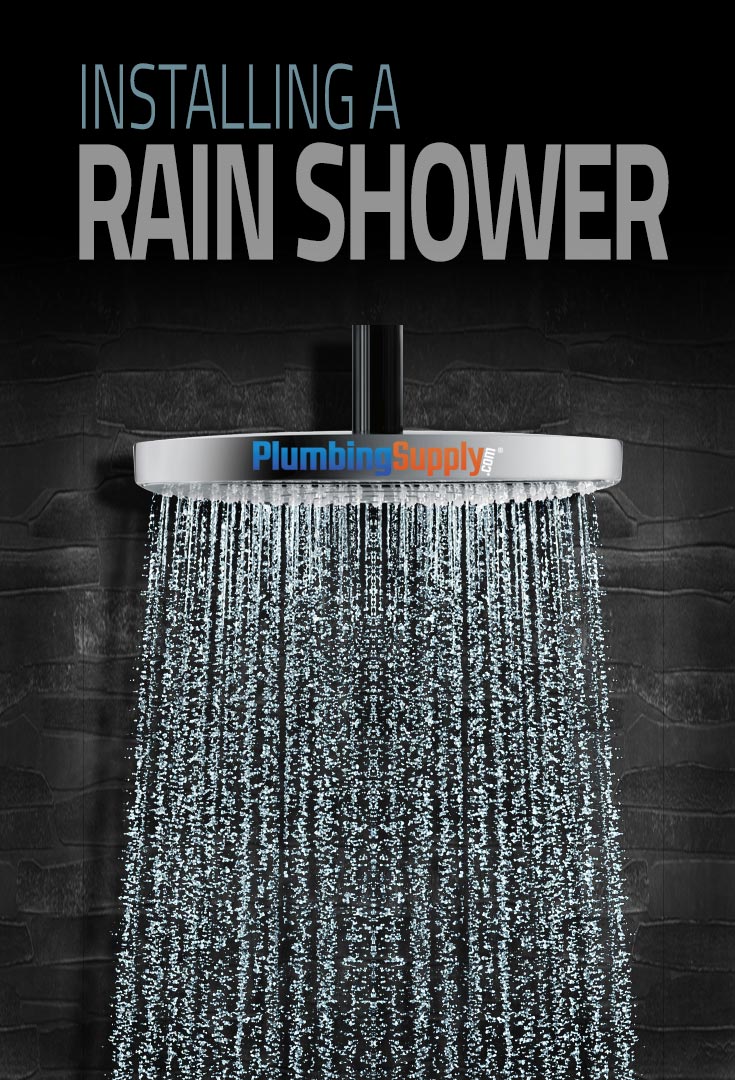
Installing a rainfall shower head DIY
Installing a Rainfall Shower Head DIY
A rainfall shower head is a great way to add luxury and relaxation to your bathroom. It can also help to improve your water pressure and efficiency. If you're handy, you can install a rainfall shower head yourself. This article will walk you through the process, step by step.
Tools and Materials
To install a rainfall shower head, you will need the following tools and materials:
- Tape measure
- Pencil
- Level
- Hacksaw
- Sawzall or reciprocating saw
- Safety glasses
- Pliers
- Screwdriver
- Tape
- Plumber's putty
- Caulk
- Shower head
- Shower arm
- Shower diverter
- Shower hose
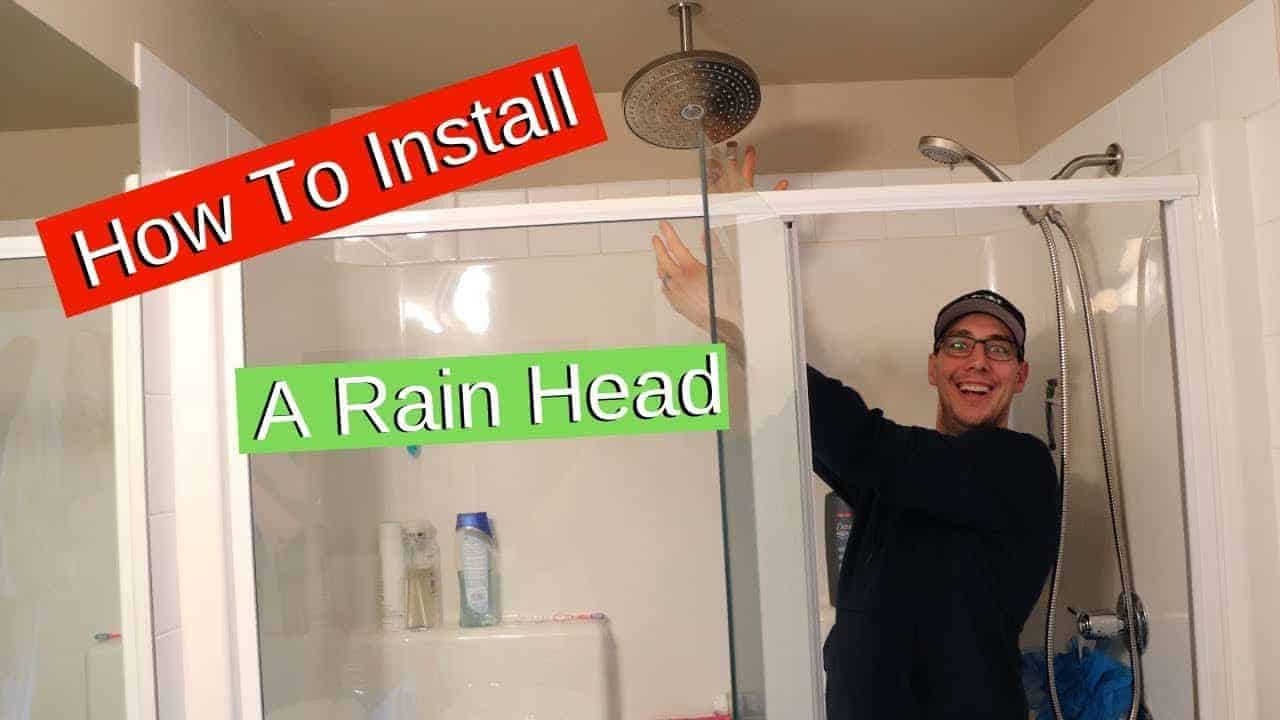
Step 1: Prepare the Shower Stall
The first step is to prepare the shower stall. This includes removing the old shower head and arm, and cleaning the area where the new shower head will be installed.
To remove the old shower head, turn off the water supply to the shower. Then, use a hacksaw or sawzall to cut the shower arm off just below the shower head. Be careful not to damage the pipes.
Once the old shower head is removed, clean the area where the new shower head will be installed. Remove any dirt, debris, or rust.
Step 2: Install the Shower Arm

The next step is to install the shower arm. The shower arm is the pipe that will support the shower head.
To install the shower arm, measure the distance from the wall to the shower drain. Then, cut the shower arm to the appropriate length.
Next, apply plumber's putty to the end of the shower arm. This will help to create a seal between the shower arm and the wall.

Finally, insert the shower arm into the wall and tighten the nuts on either side.
Step 3: Install the Shower Diverter
The shower diverter is a valve that allows you to switch between the shower head and the bathtub faucet.

To install the shower diverter, first remove the old diverter from the shower arm. Then, install the new diverter according to the manufacturer's instructions.
Step 4: Install the Shower Hose
The shower hose connects the shower head to the shower arm.
To install the shower hose, first attach one end of the hose to the shower head. Then, attach the other end of the hose to the shower arm.
Step 5: Install the Shower Head
The final step is to install the shower head.

To install the shower head, first attach the shower head to the shower hose. Then, tighten the nuts on either side of the shower head.
Finally, turn on the water supply to the shower and test the shower head.
Troubleshooting

If you have any problems installing the shower head, here are a few troubleshooting tips:
- Make sure that the shower arm is installed correctly. The shower arm should be level and firmly attached to the wall.
- Make sure that the shower diverter is installed correctly. The shower diverter should be able to switch between the shower head and the bathtub faucet.
- Make sure that the shower hose is installed correctly. The shower hose should be connected to the shower head and the shower arm.
- Make sure that the shower head is installed correctly. The shower head should be firmly attached to the shower hose.
Conclusion
Installing a rainfall shower head is a relatively easy project that can be completed in a few hours. By following these steps, you can add luxury and relaxation to your bathroom.
Thank you for exploring our website by Installing a rainfall shower head DIY. Your presence fuels our commitment to excellence. Come back for a more enriching experience!
