
Painting techniques for DIY living room walls
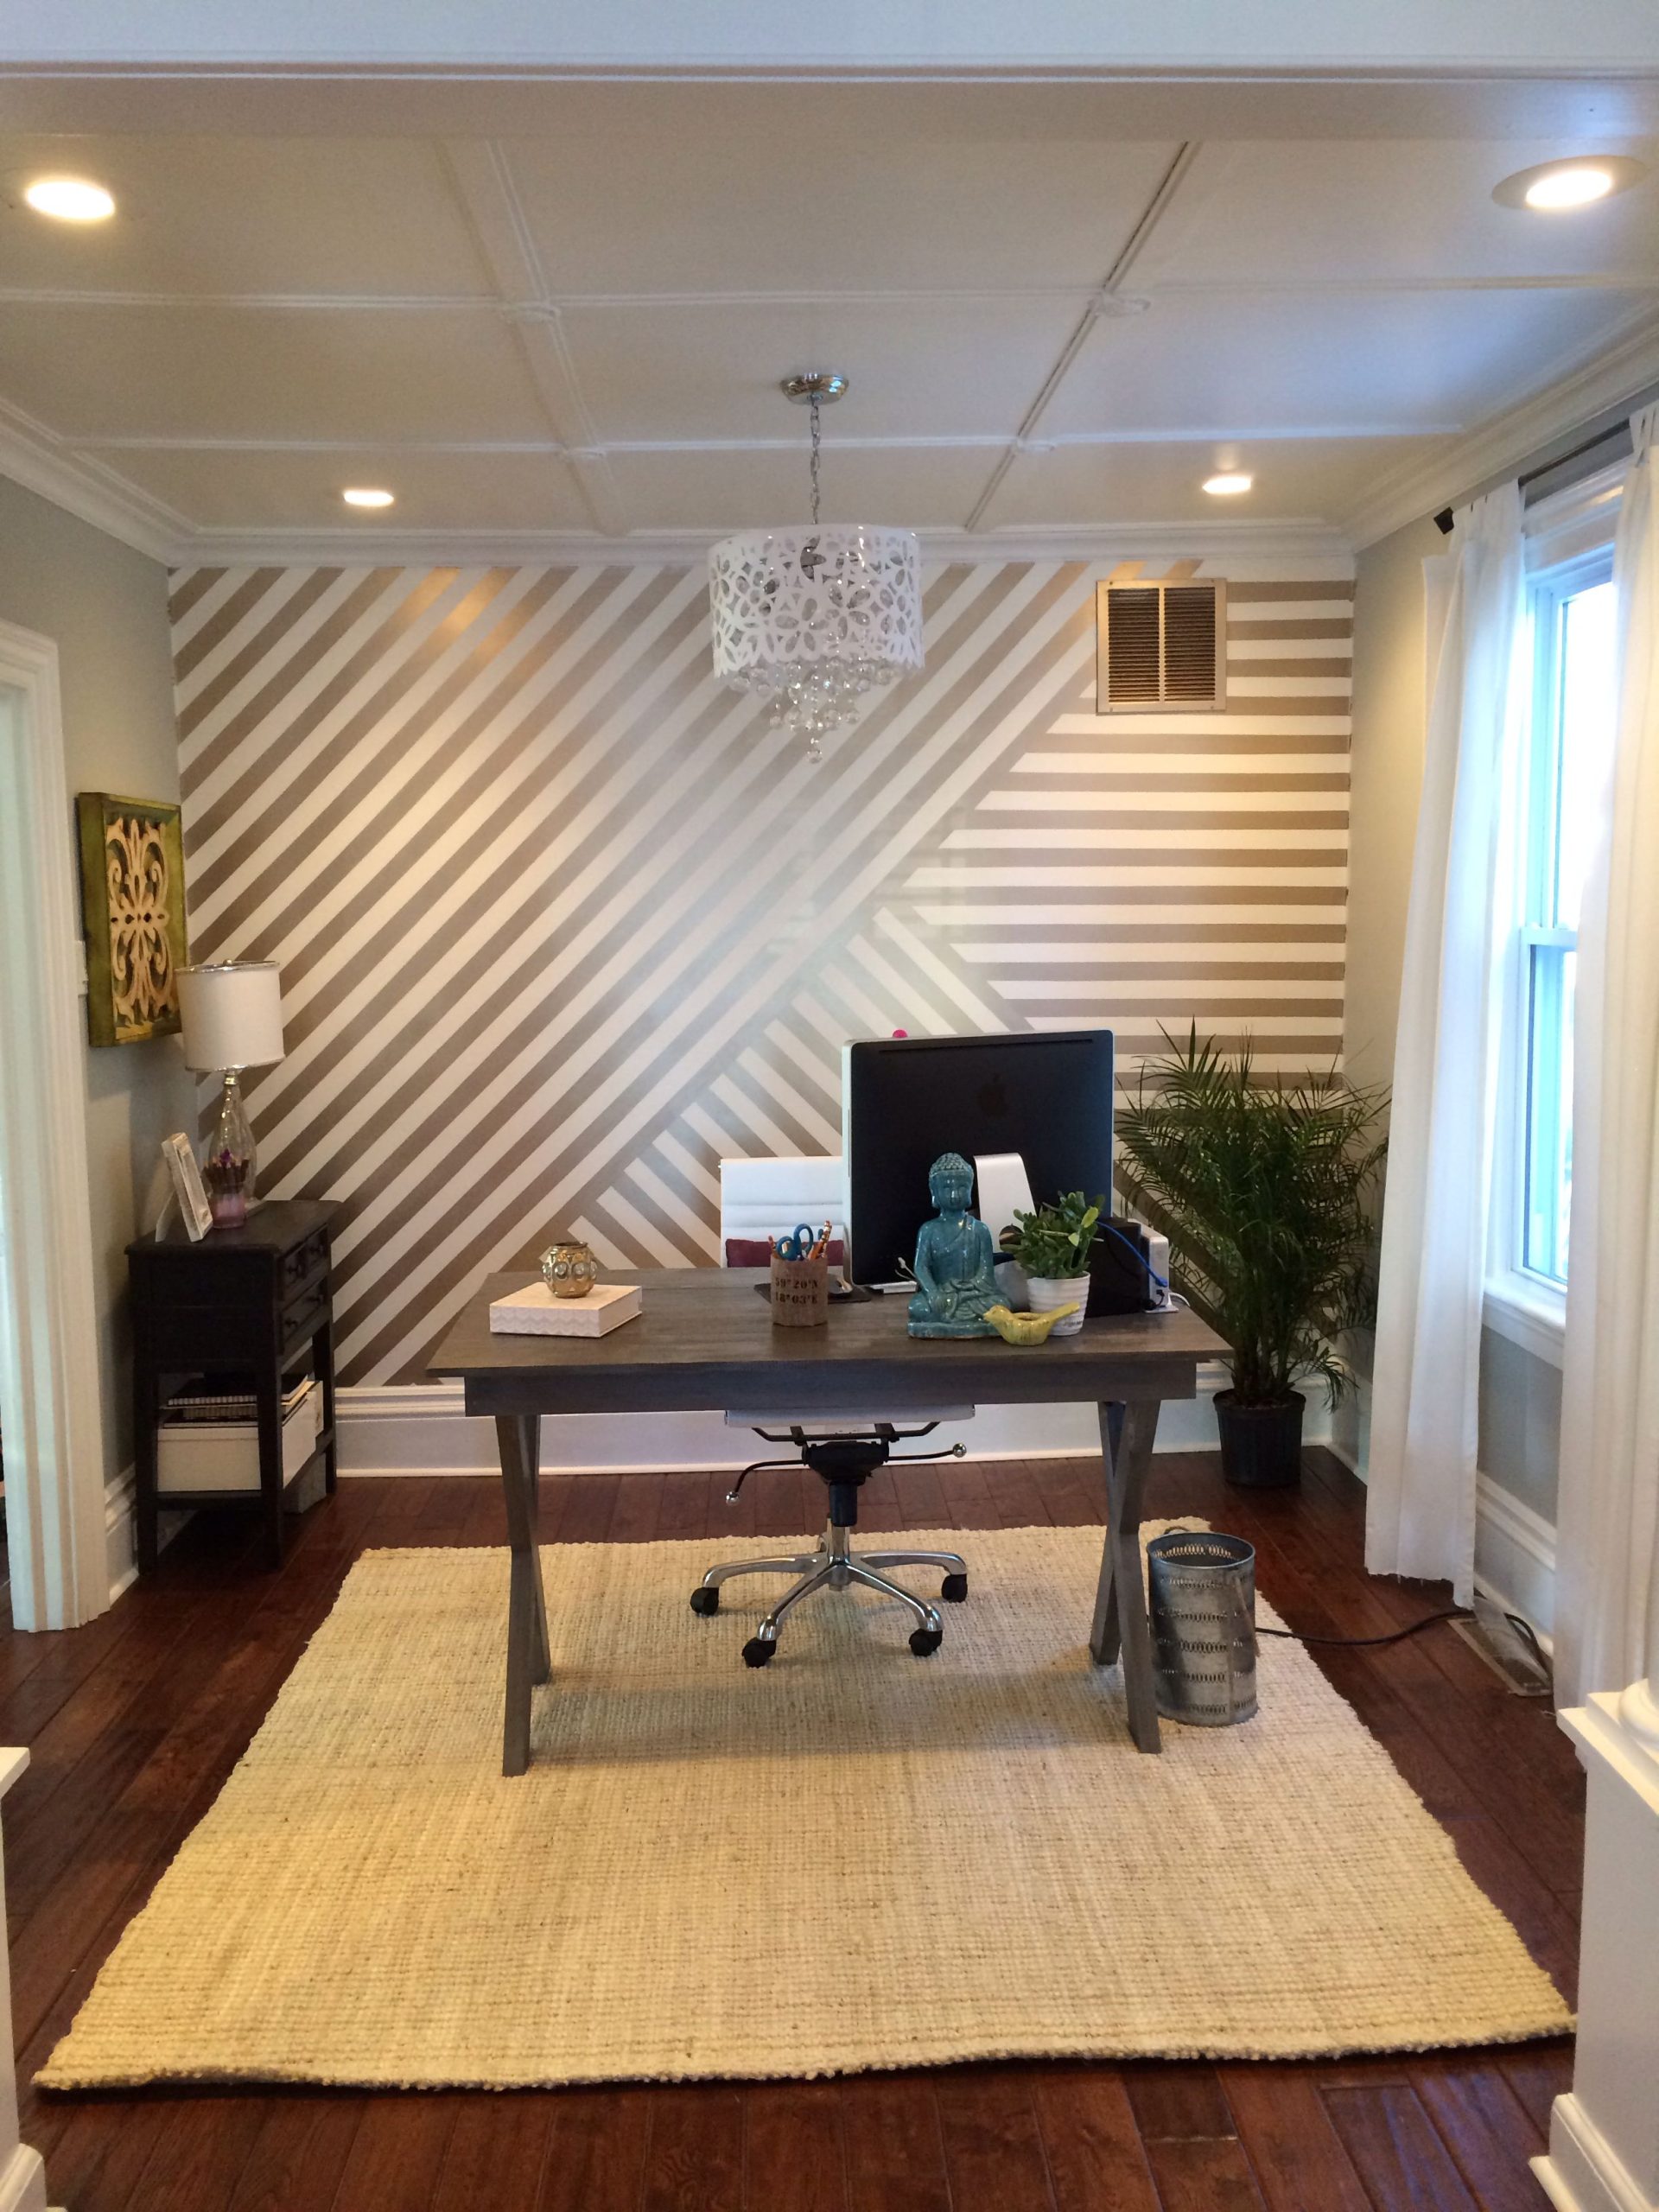
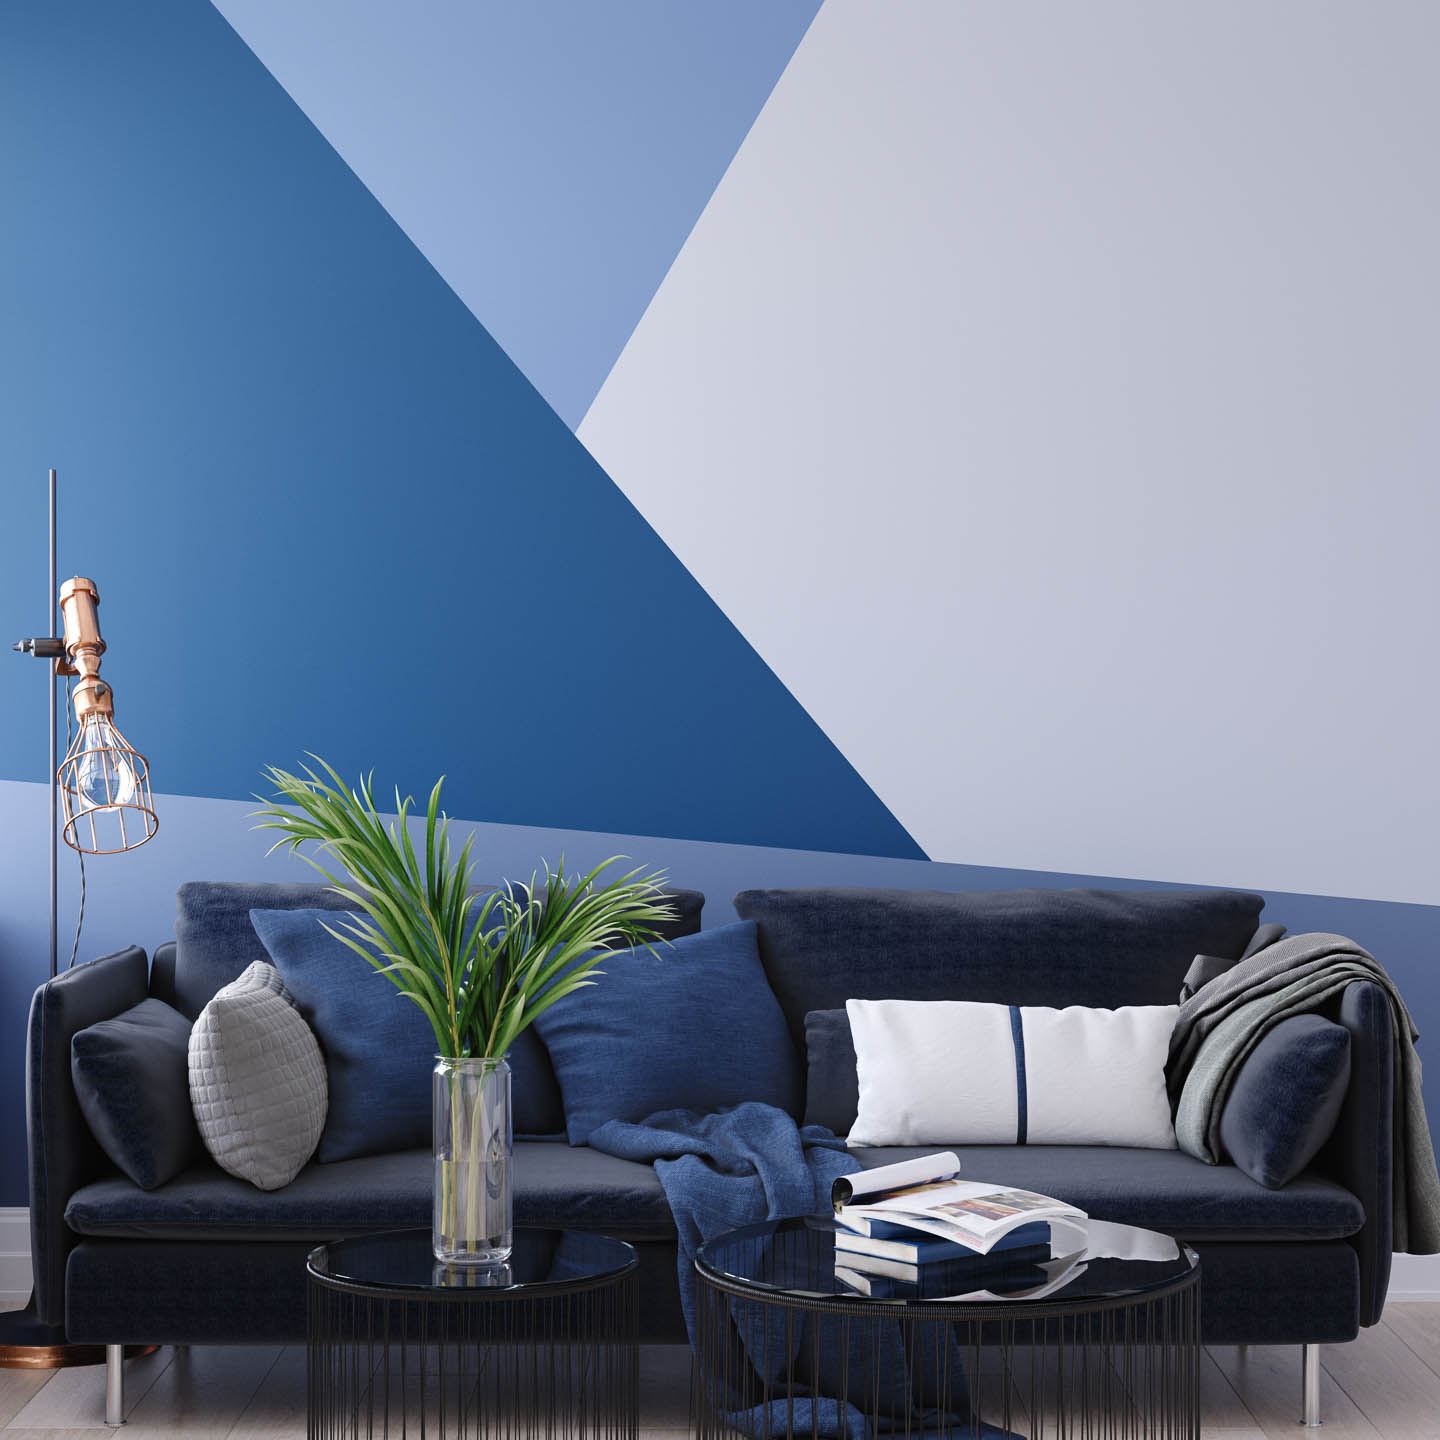
Painting Techniques for DIY Living Room Walls
Painting your living room walls can be a daunting task, but it's also a great way to give your space a fresh new look. With a little planning and some basic painting skills, you can easily transform your living room into a stylish and inviting oasis.
Here are a few painting techniques to help you get the job done:
1. Choose the right paint.
The first step to painting your living room walls is choosing the right paint. You'll want to choose a paint that is durable and easy to clean, as well as one that will complement the overall style of your room.
For a living room that gets a lot of traffic, you'll want to choose a paint that is durable and has a high-gloss finish. This will help to protect the paint from wear and tear, and it will also make the room look brighter and more inviting.
If you have a more casual living room, you may want to choose a paint with a matte finish. This will give the room a more relaxed and inviting feel.
No matter what type of paint you choose, be sure to read the label carefully before you start painting. This will ensure that you are using the paint correctly and that you are getting the results you want.
2. Prepare your walls.
Before you can start painting, you'll need to prepare your walls. This means removing any old paint, patching any holes or cracks, and sanding the walls to create a smooth surface.

If your walls are already painted, you'll need to remove the old paint before you can start with the new paint. You can do this by using a paint stripper or by sanding the walls.
Once you've removed the old paint, you'll need to patch any holes or cracks in the walls. You can do this by using a patching compound or by applying drywall mud.
Once the holes and cracks are patched, you'll need to sand the walls to create a smooth surface. This will help the new paint to adhere better to the walls.
3. Prime your walls.
After you've prepared your walls, you'll need to prime them. Priming your walls will help the new paint to adhere better to the walls and it will also help to prevent the new paint from bleeding through.
You can use a primer that is specifically designed for walls, or you can use a multipurpose primer. Be sure to read the label carefully before you start priming, and follow the directions on the label.
4. Paint your walls.
Now it's time to start painting your walls! You'll want to start by painting the walls with a coat of primer. This will help the new paint to adhere better to the walls and it will also help to prevent the new paint from bleeding through.
Once the primer is dry, you can start painting your walls with the new paint. Be sure to use a paintbrush or roller that is designed for walls. You'll also want to use a paint tray to help you apply the paint evenly.
Start by painting the walls in long, sweeping strokes. Be sure to overlap each stroke slightly to create a smooth finish.
Once you've painted the walls with the first coat of paint, you'll need to let it dry completely. This may take several hours, or even overnight.
Once the first coat of paint is dry, you can apply a second coat of paint. This will help to give the walls a more even and durable finish.
5. Finish your walls.
Once the second coat of paint is dry, you can finish your walls by adding any desired details. You can add molding, trim, or wallpaper to your walls to give them a more finished look.
You can also add decorative elements to your walls, such as paintings, photographs, or mirrors.
Here are a few tips for painting your living room walls:
- Choose a paint color that will complement the overall style of your room.
- Prepare your walls properly before you start painting.
- Prime your walls before you paint them.
- Paint your walls in long, sweeping strokes.
- Let the paint dry completely between coats.
- Finish your walls by adding any desired details.
With a little planning and some basic painting skills, you can easily transform your living room walls into a stylish and inviting oasis.
