
Build your own modern table fire pit
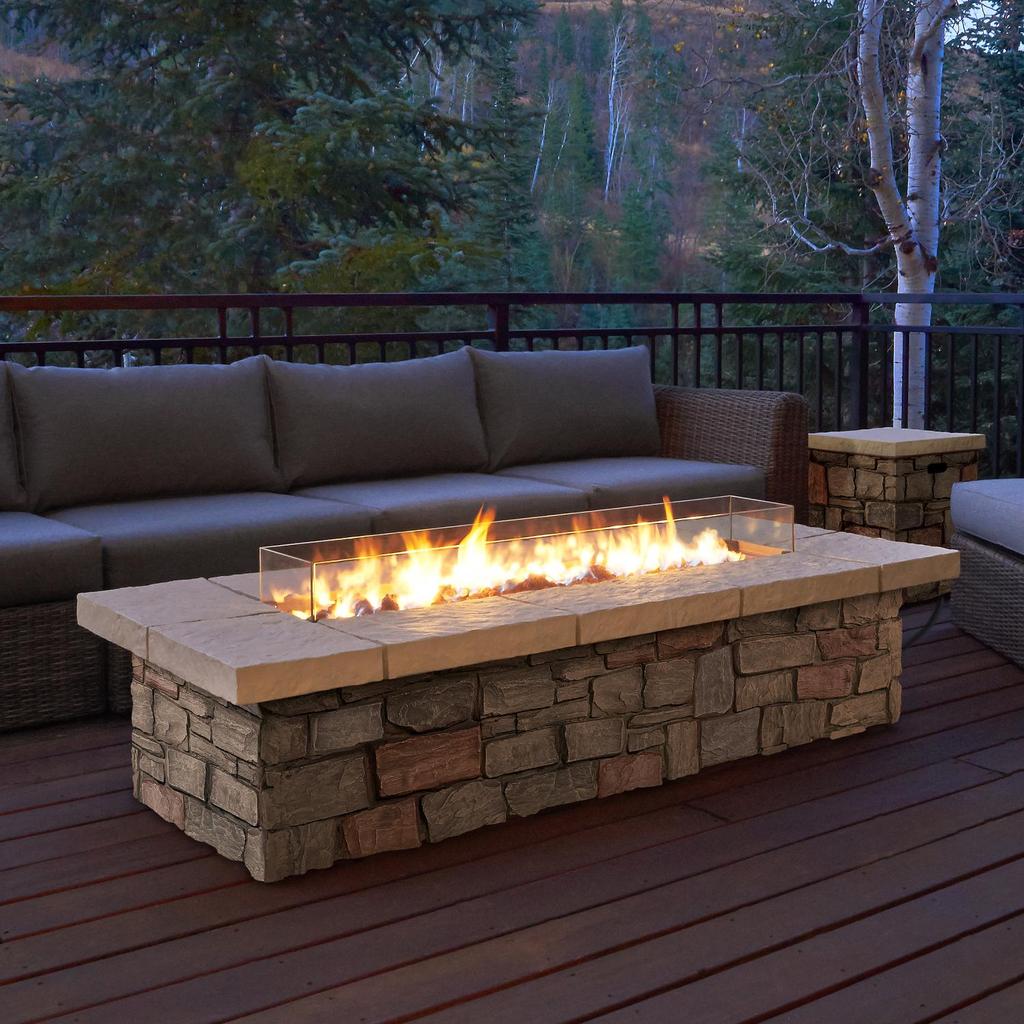
Build Your Own Modern Table Fire Pit
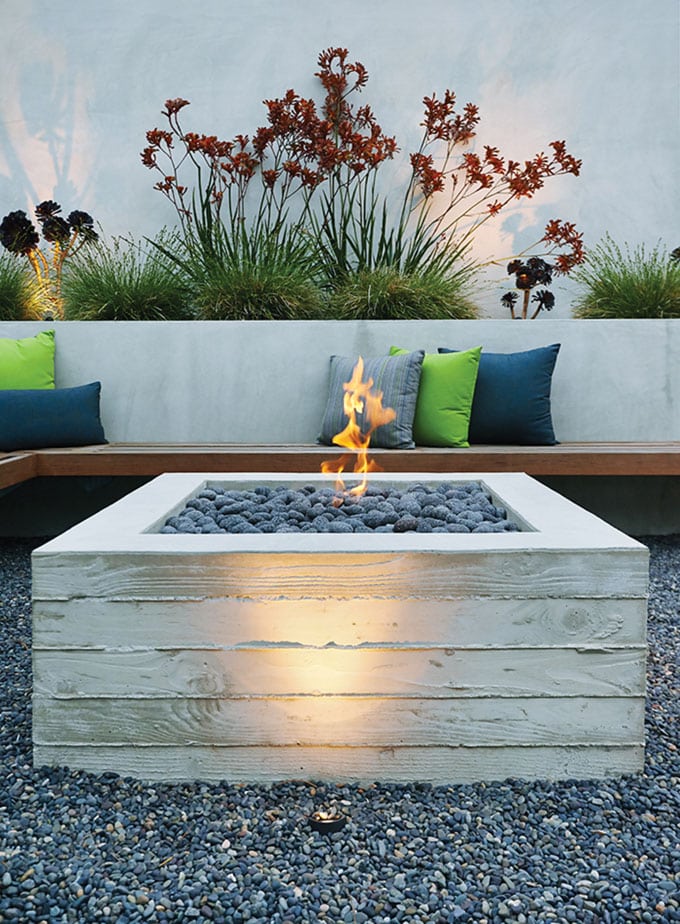
A fire pit is a great way to enjoy the outdoors, whether you're camping, having a backyard party, or just relaxing on your patio. But if you're looking for something a little more stylish than the traditional metal fire pit, you might want to consider building your own modern table fire pit.

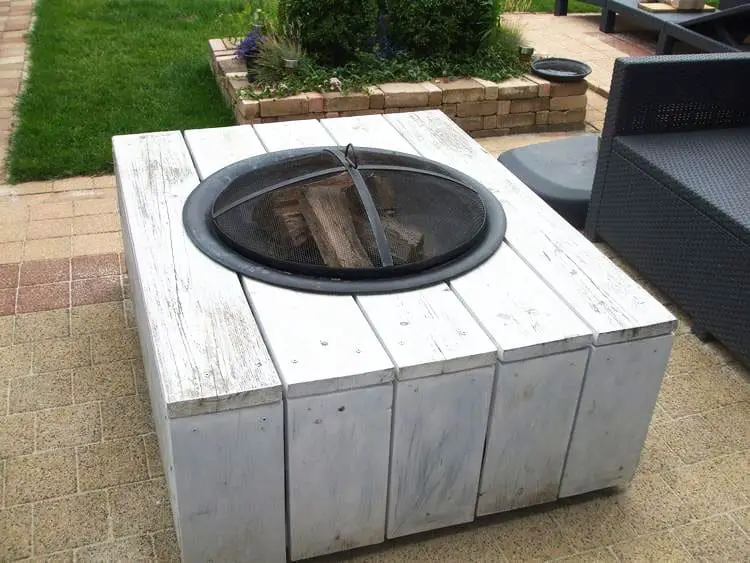
This project is relatively easy to DIY, and it's a great way to add a touch of personality to your outdoor space. Plus, you can customize the design to fit your needs and budget.
Materials
To build a modern table fire pit, you'll need the following materials:

- 2x4s (12)
- 2x6s (4)
- Plywood (1 sheet)
- Firebricks (40)
- Mortar
- Sand
- Concrete sealant
- Stain or paint (optional)
- Tools
- Saw
- Drill
- Sander
- Measuring tape
- Level
- Pencil
- Safety glasses
- Gloves
Steps
- Assemble the frame. Cut the 2x4s to the following lengths:

* 8 pieces at 24 inches long
* 4 pieces at 30 inches long
-
Assemble the frame by attaching the 24-inch pieces to the 30-inch pieces with 2-inch screws. The 24-inch pieces should be placed at the top and bottom of the frame, and the 30-inch pieces should be placed in the middle.
-
Add the plywood. Cut the plywood to the following dimensions:

* 24 inches by 30 inches
-
Attach the plywood to the frame with 1-inch screws.
-
Build the firebox. Cut the firebricks to the following dimensions:
* 8 pieces at 6 inches long
* 8 pieces at 8 inches long
* 8 pieces at 10 inches long
-
Build the firebox by stacking the firebricks in a 4-by-4 square. The 6-inch bricks should be placed on the bottom, the 8-inch bricks should be placed in the middle, and the 10-inch bricks should be placed on top.
-
Mortar the firebox. Apply a thin layer of mortar to the joints between the firebricks.

-
Add sand to the firebox. Fill the firebox with sand to about 1 inch below the top of the firebricks.
-
Seal the fire pit. Apply a coat of concrete sealant to the entire fire pit.

- Stain or paint the fire pit. (Optional) If you want to add a personalized touch to your fire pit, you can stain or paint it.


Tips
- Make sure the fire pit is level before you start building it.
- Use a saw guide to make sure your cuts are straight.
- Pre-drill holes for the screws to prevent the wood from splitting.
- Wear safety glasses and gloves when working with power tools and sharp materials.
- Be careful not to burn yourself when working with the fire pit.

Final Thoughts


Building your own modern table fire pit is a great way to add a touch of personality to your outdoor space. It's a relatively easy project to DIY, and it's a great way to save money. Plus, you can customize the design to fit your needs and budget.
So what are you waiting for? Start building your own modern table fire pit today!
Additional Resources

How to Build Your Own Modern Table Fire Pit
A modern table fire pit is a great addition to any outdoor living space. It provides a warm and inviting place to gather with friends and family, and it can also be used for cooking or simply enjoying the ambiance of a fire.
Building your own table fire pit is a relatively simple project that can be completed in a few hours. With a few basic tools and materials, you can create a unique and functional piece of outdoor furniture that will be the envy of your neighbors.
Materials
- 2x4s (8)
- Plywood (1 sheet)
- Firebricks (24)
- Grate (1)
- Sand
- Water
- Concrete
- Epoxy
- Acrylic paint (optional)
- Decorative elements (optional)
Tools
- Saw
- Drill
- Sander
- Measuring tape
- Level
- Pencil
- Safety glasses
- Work gloves

Instructions
-
Assemble the frame. Cut the 2x4s to the following lengths:
- 4 pieces at 24 inches long
- 4 pieces at 30 inches long
Use the saw to cut the 2x4s to the desired lengths. Then, use the drill to attach the 24-inch pieces to the 30-inch pieces at the corners, creating a square frame.
-
Add the plywood. Cut the plywood to the following dimensions:
- 24 inches by 30 inches
Place the plywood on top of the frame and attach it using the screws.
-
Build the firebox. Cut the firebricks to the following dimensions:
- 8 pieces at 6 inches long
- 8 pieces at 8 inches long
- 8 pieces at 10 inches long
Arrange the firebricks in a square formation, with the 6-inch pieces on the bottom, the 8-inch pieces in the middle, and the 10-inch pieces on top.
-
Add the grate. Place the grate on top of the firebox.
-
Pour the concrete. Mix the concrete according to the package directions. Then, pour the concrete into the frame, around the firebox.
-
Let the concrete set. Allow the concrete to set for at least 24 hours.
-
Apply the epoxy. Once the concrete has set, apply the epoxy to the top of the table. This will protect the concrete from the elements and make it easier to clean.
-
Paint the table (optional). If you want to add a pop of color to your table, you can paint it using acrylic paint.

- Add decorative elements (optional). You can add decorative elements to your table, such as rocks, shells, or plants.

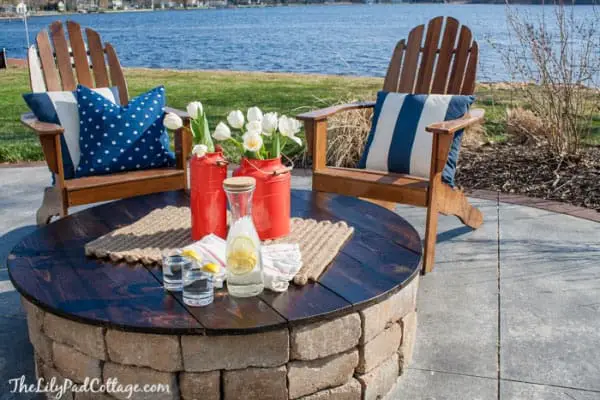
- Enjoy your new table fire pit! Your new table fire pit is now ready to use. Enjoy gathering with friends and family around the fire, cooking delicious food, or simply relaxing and enjoying the ambiance.
Tips

- Use a level to make sure the frame is square before attaching the plywood.
- Be careful not to overfill the firebox with concrete.
- Allow the concrete to set completely before using the table fire pit.
- If you want to paint the table, apply a coat of primer before painting.
- Make sure to clean the table fire pit regularly to prevent it from becoming dirty or damaged.
Safety
- Always use caution when working with fire.
- Keep children and pets away from the fire pit when it is in use.
- Never leave the fire pit unattended.
- Extinguish the fire completely before leaving the area.
By following these tips, you can safely enjoy your new table fire pit for years to come.


