
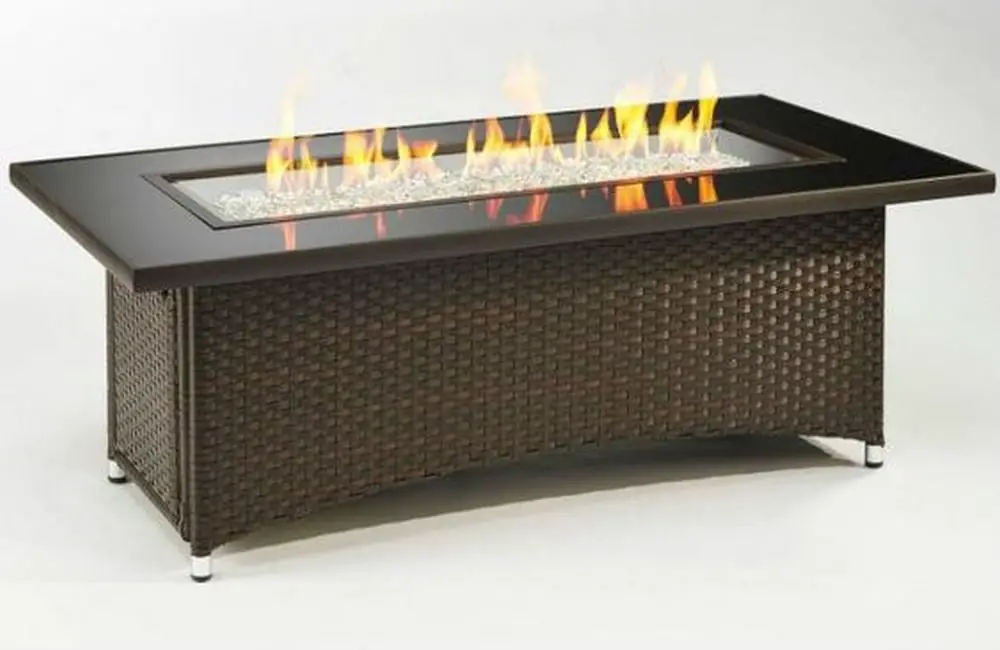
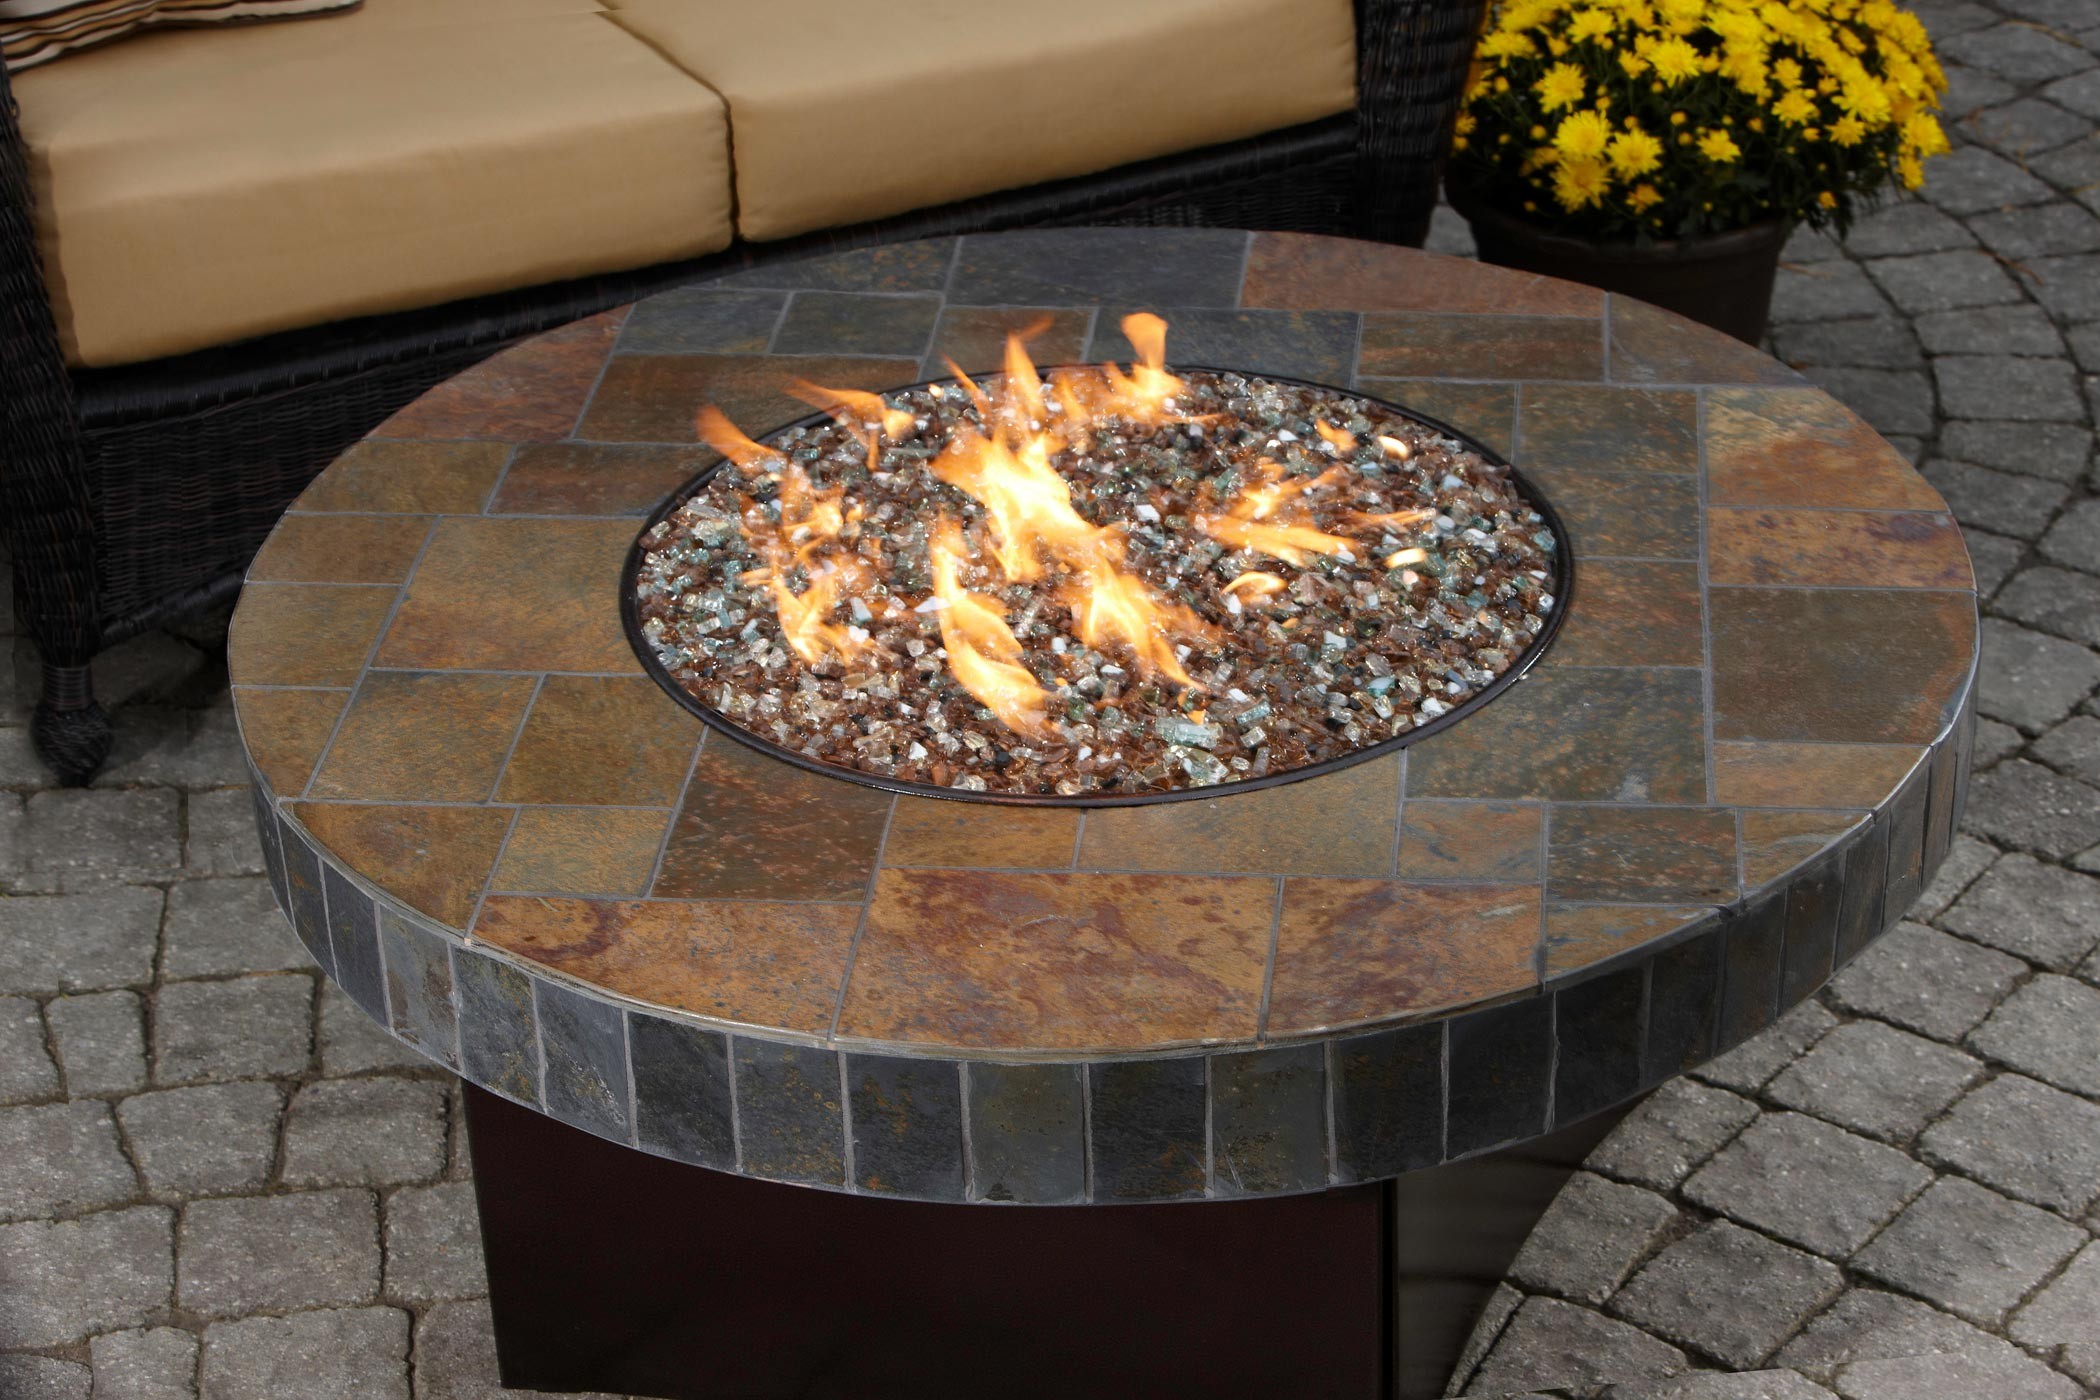
Customizable table fire pit DIY


Customizable Table Fire Pit DIY
A fire pit is a great way to enjoy the outdoors, whether you're camping, entertaining guests, or just relaxing on your patio. But if you're looking for something a little more unique, you can try making your own customizable table fire pit. This project is relatively easy to DIY, and it's a great way to add your own personal touch to your outdoor space.

Materials

- 24-inch diameter metal patio table
- 24-inch metal fire bowl
- 12-inch metal fire ring
- 1/2-inch thick sheet metal
- 1/2-inch steel rod
- 1/2-inch steel angle iron
- Welding rod
- Welder
- Safety glasses
- Gloves
- Measuring tape
- Level
- Drill
- Saw
- Sandpaper
- Paint
- Stain
- Sealer
Instructions

- Cut the sheet metal. You will need to cut two pieces of sheet metal: one for the fire pit base and one for the fire ring. The fire pit base should be 24 inches in diameter and 1/2 inch thick. The fire ring should be 12 inches in diameter and 1/2 inch thick.
- Drill the holes. You will need to drill four holes in the fire pit base: two on the top and two on the bottom. The holes should be 1/2 inch in diameter and 1 inch apart.
- Cut the steel rod. You will need to cut four pieces of steel rod: two 12-inch pieces and two 18-inch pieces.
- Assemble the fire pit. First, attach the two 12-inch pieces of steel rod to the fire pit base with the 1/2-inch steel angle iron. Then, attach the fire ring to the fire pit base with the 18-inch pieces of steel rod.
- Weld the pieces together. Once you have the fire pit assembled, you will need to weld the pieces together. Make sure to wear safety glasses and gloves when welding.
- Sand and paint the fire pit. Once the fire pit is welded together, you will need to sand it and paint it. You can paint the fire pit any color you like, but make sure to use a heat-resistant paint.
- Install the fire pit. Once the fire pit is painted, you can install it in your outdoor space. Place the fire pit on a level surface and make sure that it is away from any flammable objects.

Tips
- When choosing a metal patio table, make sure that it is sturdy enough to support the weight of the fire pit.
- When choosing a fire bowl, make sure that it is the right size for your fire pit.
- When cutting the sheet metal, be sure to use a sharp blade and wear safety glasses.
- When drilling the holes, be sure to use a drill bit that is the same diameter as the steel rod.
- When welding the pieces together, make sure to use a low heat setting and to move the welder slowly.
- When sanding and painting the fire pit, be sure to use a fine-grit sandpaper and a quality paint.
- When installing the fire pit, make sure that it is level and that it is away from any flammable objects.

Safety


Fire pits can be dangerous, so it is important to take precautions when using them. Here are a few safety tips:
- Always use a fire pit outdoors.
- Never leave a fire pit unattended.
- Keep children and pets away from the fire pit.
- Never use gasoline or other flammable liquids to start a fire.
- Make sure that the fire pit is on a level surface and that it is away from any flammable objects.
- Extinguish the fire pit completely before leaving it unattended.

Conclusion

A customizable table fire pit is a great way to add your own personal touch to your outdoor space. This project is relatively easy to DIY, and it's a great way to enjoy the outdoors with family and friends.
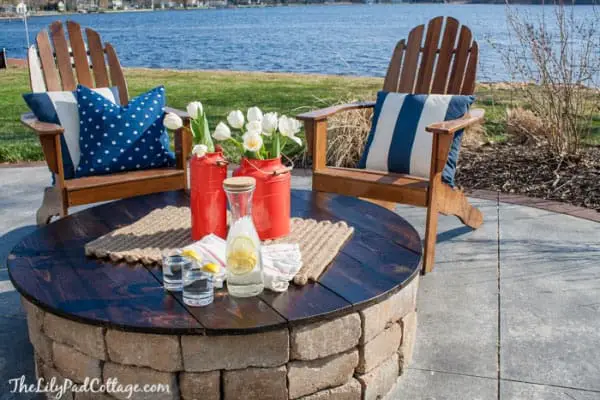
Customizable Table Fire Pit DIY
A fire pit is a great way to enjoy the outdoors, whether you're camping, entertaining guests, or just relaxing on your own. But if you're looking for something a little more unique, you can build your own customizable table fire pit. This project is relatively simple, and it's a great way to add a personal touch to your outdoor space.

Materials
- 2x4s (10)
- 2x6s (4)
- Plywood (1 sheet)
- Fire resistant sealant
- Galvanized steel pipe (10 feet)
- Galvanized steel pipe caps (2)
- Sand
- Concrete pavers (optional)
Tools

- Saw
- Drill
- Sander
- Measuring tape
- Level
- Pencil
- Safety glasses
- Work gloves
Instructions
- Cut the wood. Cut the 2x4s into 24-inch lengths. Cut the 2x6s into 12-inch lengths.
- Assemble the frame. Assemble the frame of the fire pit by attaching the 2x4s to the 2x6s with screws. Make sure the frame is square by using a level.
- Sand the wood. Sand the wood to smooth out any rough edges.
- Apply the sealant. Apply a fire resistant sealant to the wood to protect it from the elements.
- Add the fire pit insert. Place the fire pit insert in the center of the frame.
- Add the sand. Fill the fire pit with sand to a depth of about 6 inches.
- Add the pavers (optional). If you want to add a decorative touch, you can place concrete pavers around the fire pit.

Tips
- Use treated wood for the frame of the fire pit to protect it from the elements.
- Make sure the fire pit is located in a safe area away from overhanging branches and structures.
- Never leave a fire unattended.
- Extinguish the fire completely before leaving the area.
Variations

You can customize your table fire pit by changing the size, shape, or materials used. For example, you could make a larger fire pit for entertaining guests or a smaller fire pit for a more intimate setting. You could also use different types of wood or metal for the frame.
No matter how you customize it, a table fire pit is a great way to enjoy the outdoors. It's a fun and easy project that you can do yourself, and it's sure to add a touch of personality to your backyard.
Conclusion

A fire pit is a great way to enjoy the outdoors, and a table fire pit is a unique and customizable way to add a personal touch to your backyard. This project is relatively simple, and it's a great way to learn some basic woodworking skills. So what are you waiting for? Get started on your own customizable table fire pit today!.


