
DIY collapsible table fire pit

DIY Collapsible Table Fire Pit
Introduction
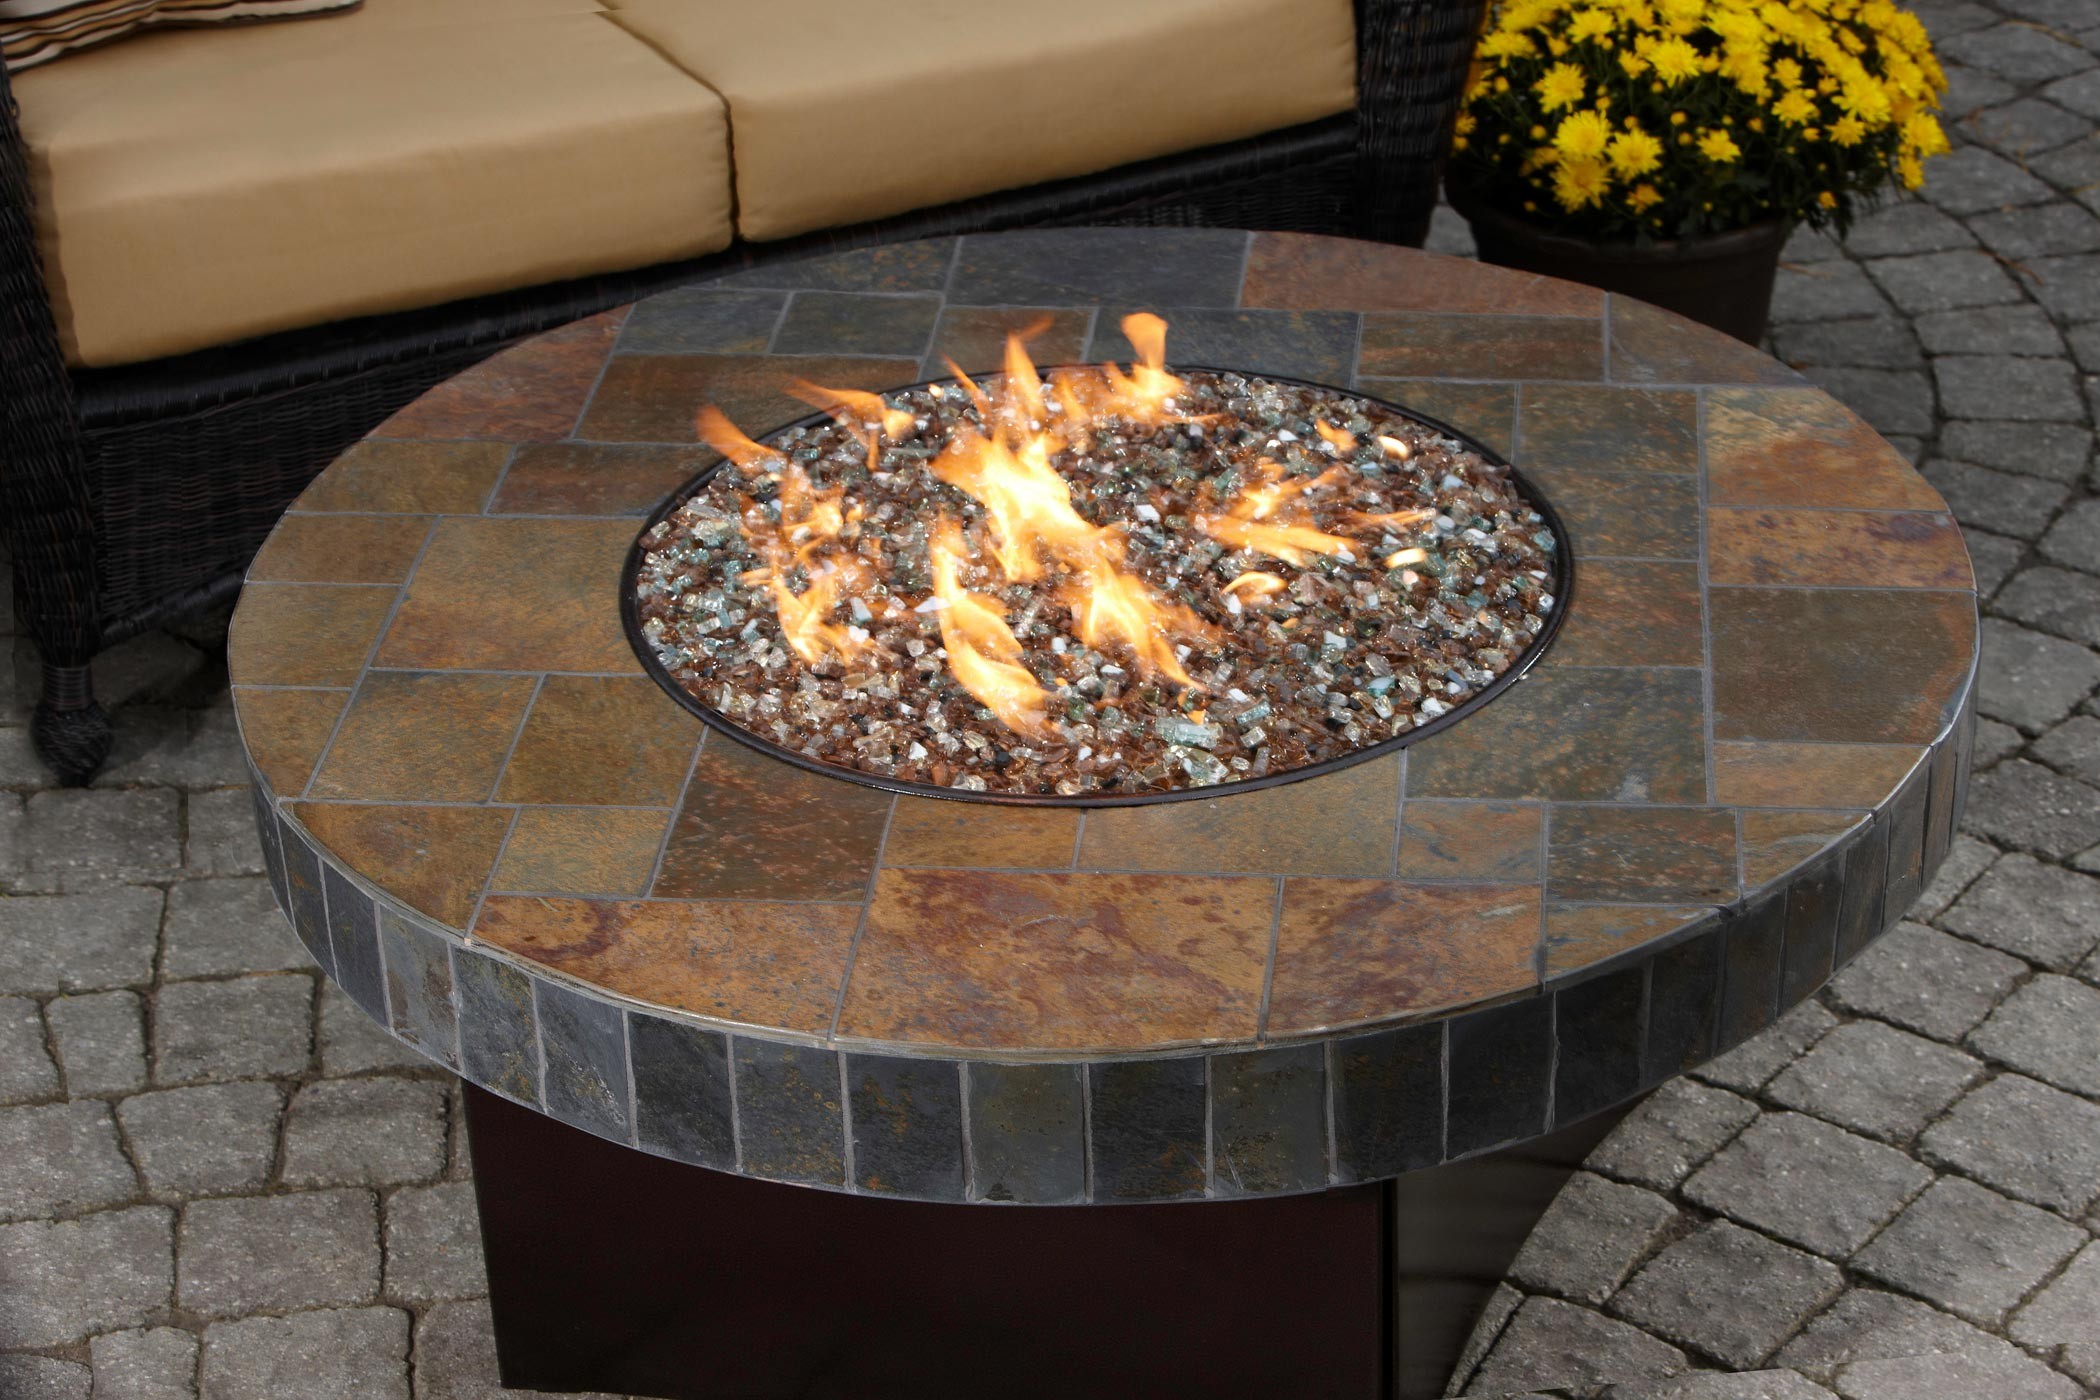
Campfires are a great way to enjoy the outdoors, but they can be a hassle to set up and clean up. If you're looking for a more convenient way to enjoy a campfire, a collapsible table fire pit is a great option.

Collapsible table fire pits are portable, easy to set up, and relatively clean. They're also a great way to save space, as they can be folded up and stored when not in use.
In this article, we'll show you how to build your own collapsible table fire pit. We'll provide step-by-step instructions and a list of materials you'll need.
Materials

To build a collapsible table fire pit, you'll need the following materials:
- 2 - 2x4s (8 feet long)
- 2 - 2x6s (8 feet long)
- 1 - 1x4 (8 feet long)
- 1 - 1x6 (8 feet long)
- 1 - 2x2 (8 feet long)
- 1 - 1/2-inch plywood (24 inches by 30 inches)
- 4 - 1-inch screws
- 4 - 2-inch screws
- 4 - 3-inch screws
- Wood glue
- Sandpaper
- Stain or paint (optional)
Tools
You'll also need the following tools to build the fire pit:
- Saw
- Drill
- Sander
- Measuring tape
- Level
- Pencil
- Safety glasses
Instructions

-
Cut the wood. Use a saw to cut the 2x4s, 2x6s, and 1x4 to the following lengths:
- 2x4s: 4 pieces at 24 inches long
- 2x6s: 4 pieces at 16 inches long
- 1x4: 2 pieces at 16 inches long
- 1x6: 2 pieces at 24 inches long
- 2x2: 1 piece at 24 inches long
-
Assemble the frame. Lay the 2x4s on a flat surface and attach them together using 2-inch screws. The 2x4s should form a rectangle that is 24 inches by 30 inches.
-
Attach the 1x4s to the frame. Attach the 1x4s to the front and back of the frame using 1-inch screws. The 1x4s should be flush with the top of the frame.

-
Attach the 1x6s to the frame. Attach the 1x6s to the sides of the frame using 1-inch screws. The 1x6s should be flush with the top of the frame.
-
Attach the 2x2 to the frame. Attach the 2x2 to the center of the frame using 3-inch screws. The 2x2 should be flush with the top of the frame.

- Attach the plywood to the frame. Center the plywood on the frame and attach it using wood glue and 4-inch screws.


-
Sand the fire pit. Use a sander to smooth out any rough edges on the fire pit.
-
Stain or paint the fire pit. (Optional) If desired, stain or paint the fire pit to protect it from the elements.

Tips

- Make sure the wood you use is treated for outdoor use.
- Use a fire resistant sealant on the inside of the fire pit.
- Place the fire pit on a level surface.
- Never leave a fire unattended.
- Extinguish the fire completely before leaving the area.
Conclusion

A collapsible table fire pit is a great way to enjoy a campfire without having to deal with the hassle of setting up and cleaning up. It's portable, easy to set up, and relatively clean. Plus, it can be folded up and stored when not in use.

If you're looking for a convenient and easy way to enjoy a campfire, a collapsible table fire pit is a great option.
DIY Collapsible Table Fire Pit
Materials
- 2x4s (10)
- 2x6s (4)
- 1x4s (8)
- Plywood (1 sheet)
- Galvanized steel pipe (10 ft)
- Galvanized steel fittings (4 elbows, 4 Ts, 4 nipples)
- Fire pit ring (optional)
- Sand (for leveling the fire pit)
- Stain or paint (optional)
Tools
- Saw
- Drill
- Sander
- Level
- Tape measure
- Pencil
- Safety glasses
- Work gloves
Instructions
-
Cut the 2x4s to the following lengths:
- 4 pieces at 24 inches long
- 4 pieces at 30 inches long
- 2 pieces at 36 inches long
-
Cut the 2x6s to the following lengths:
- 2 pieces at 24 inches long
- 2 pieces at 30 inches long
-
Cut the 1x4s to the following lengths:
* 4 pieces at 12 inches long
* 4 pieces at 18 inches long
-
Assemble the table frame by attaching the 24-inch 2x4s to the 30-inch 2x4s with 2-inch screws. The 24-inch 2x4s should be placed at the top and bottom of the frame, and the 30-inch 2x4s should be placed in the middle.
-
Attach the 36-inch 2x4s to the front and back of the frame with 2-inch screws.
-
Attach the 24-inch 2x6s to the inside of the frame with 1-inch screws. The 24-inch 2x6s should be placed flush with the top of the frame.
-
Attach the 30-inch 2x6s to the outside of the frame with 1-inch screws. The 30-inch 2x6s should be placed flush with the bottom of the frame.
-
Attach the 12-inch 1x4s to the front and back of the frame with 1-inch screws. The 12-inch 1x4s should be placed 1 inch from the top and bottom of the frame.
-
Attach the 18-inch 1x4s to the sides of the frame with 1-inch screws. The 18-inch 1x4s should be placed 1 inch from the front and back of the frame.
-
Cut the galvanized steel pipe to the following lengths:
- 4 pieces at 18 inches long
- 4 pieces at 30 inches long
-
Assemble the fire pit by attaching the 18-inch galvanized steel pipes to the corners of the frame with the elbows. The 30-inch galvanized steel pipes should be placed inside the 18-inch galvanized steel pipes.
-
(Optional) Place a fire pit ring inside the fire pit.
-
Fill the fire pit with sand to level the surface.
- Stain or paint the table and fire pit to protect the wood from the elements.
Tips
- Use a saw guide to make sure your cuts are straight.
- Pre-drill holes for the screws to prevent the wood from splitting.
- Use a level to make sure the table is level before attaching the legs.
- Sand the wood before staining or painting to create a smooth surface.
- Apply several coats of stain or paint for a long-lasting finish.
Safety
- Always use caution when working with fire.
- Never leave a fire unattended.
- Extinguish the fire completely before leaving the area.
Conclusion
A DIY collapsible table fire pit is a great way to enjoy the outdoors without having to build a permanent fire pit. It's easy to set up and take down, and it can be moved anywhere you want. With a little bit of time and effort, you can create a beautiful and functional fire pit that will add to your backyard oasis.


