
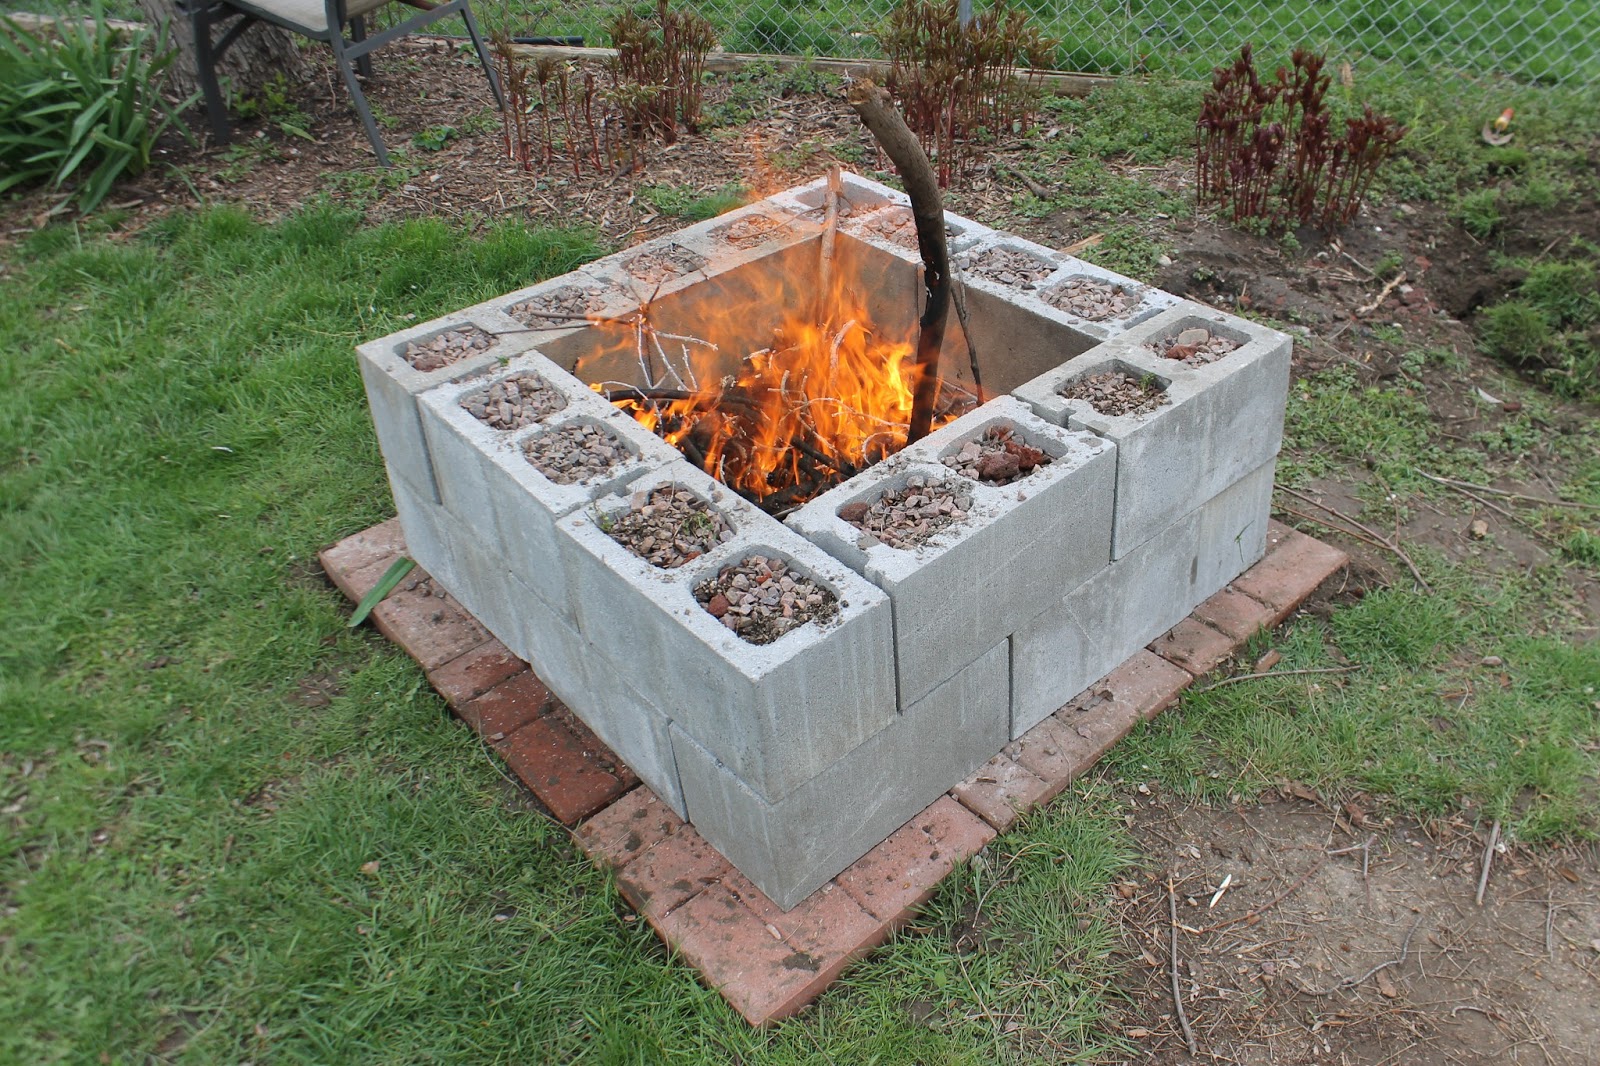
DIY concrete table fire pit
A fire pit is a great way to enjoy the outdoors, whether you're camping, tailgating, or just relaxing in your backyard. And if you're handy with a few tools, you can make your own concrete table fire pit for a fraction of the cost of a store-bought one.

This DIY project is relatively simple, but it does require some time and effort. But if you're up for the challenge, you'll be rewarded with a beautiful and functional fire pit that will be the envy of your friends and family.
Materials
- 1 cubic yard of concrete mix
- 4 bags of quick-setting cement
- 1 bag of sand
- 2 bags of gravel
- 1 2x4" piece of plywood
- 1 2x6" piece of plywood
- 4 2x4"x8' pieces of lumber
- 4 2x6"x8' pieces of lumber
- 1 roll of 1/2" galvanized sheet metal
- 1 roll of 1" galvanized sheet metal
- 2 1/2" galvanized screws
- 1" galvanized screws
- Safety glasses
- Work gloves
- Level
- Tape measure
- Shovel
- Wheelbarrow
- Trowel
- Saw
- Drill
- Sander
- Stain or paint (optional)

Instructions
- Prepare the work area. Clear a level area in your yard where you will build the fire pit. Make sure the area is free of debris and rocks.
-
Build the form. Cut the 2x4" pieces of lumber to the following lengths:
- 4 pieces at 24" long
- 4 pieces at 30" long

Assemble the form by attaching the 24" pieces to the 30" pieces with 2 1/2" galvanized screws. The 24" pieces should be placed at the top and bottom of the form, and the 30" pieces should be placed in the middle.
-
Pour the concrete. Mix the concrete according to the package directions. Pour the concrete into the form, leaving about 1" of space at the top. Use a trowel to smooth the surface of the concrete.
-
Cure the concrete. Cover the concrete with plastic sheeting and allow it to cure for at least 24 hours.

-
Remove the form. After the concrete has cured, carefully remove the form. Use a hammer and chisel to break away any concrete that is stuck to the form.
-
Stain or paint the fire pit. If desired, you can stain or paint the fire pit to protect it from the elements. Allow the stain or paint to dry completely before using the fire pit.
-
Install the metal fire ring. Cut the 1/2" galvanized sheet metal to the following dimensions:

* 1 piece at 24" x 30"
Bend the sheet metal into a circle and attach it to the top of the fire pit with 1" galvanized screws.

- Install the fire grate. Cut the 1" galvanized sheet metal to the following dimensions:


* 1 piece at 24" x 30"
Bend the sheet metal into a rectangle and attach it to the bottom of the fire pit with 1" galvanized screws.

- Enjoy your new fire pit! Now that your fire pit is complete, you can enjoy it for years to come. Be sure to use caution when using a fire pit, and never leave it unattended.


Tips
- For a more durable fire pit, use a concrete mix that is specifically designed for outdoor use.
- Make sure the fire pit is level before you pour the concrete.
- Cover the fire pit with a tarp when it is not in use to protect it from the elements.
- Never use gasoline or other flammable liquids to start a fire in your fire pit.
- Always be careful when using a fire pit, and never leave it unattended.

Conclusion

Building a concrete table fire pit is a great way to add a touch of rustic charm to your backyard. This DIY project is relatively simple, but it does require some time and effort. But if you're up for the challenge, you'll be rewarded with a beautiful and functional fire pit that will be the envy of your friends and family.
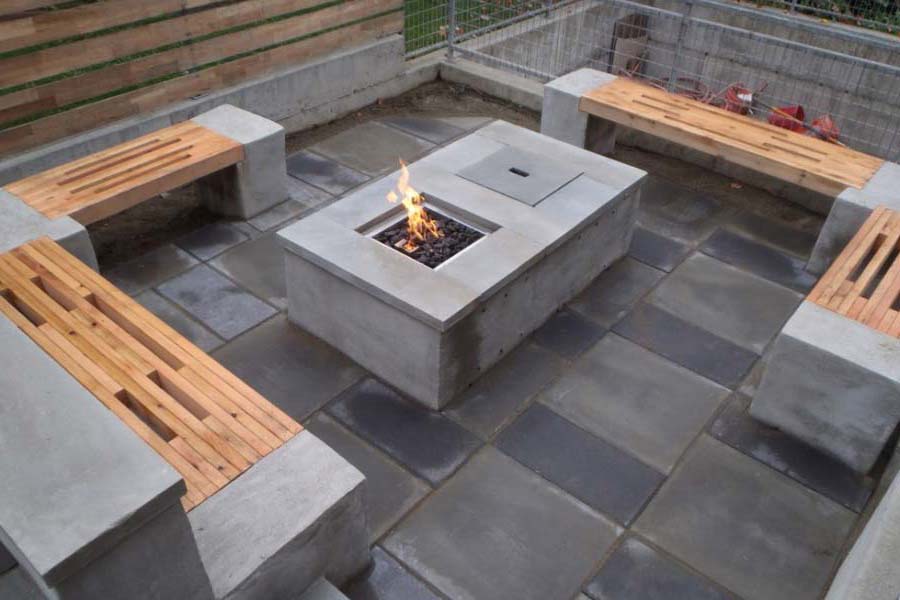
DIY Concrete Table Fire Pit
A concrete table fire pit is a great way to add a touch of warmth and ambiance to your outdoor space. It's also a fun and relatively easy project that you can do yourself.
Materials
- Concrete mix
- Rebar
- 2x4s
- Sand
- Water
- Round fire bowl (optional)
- Patio stones or bricks (optional)
Tools
- Mixing bowl
- Trowel
- Level
- Sledgehammer
- Safety glasses
- Work gloves
Instructions
- Prepare the work area. Clear a level spot in your yard where you want to build the fire pit. Remove any debris and level the ground.
- Build the form. Cut four 2x4s to the desired height of your fire pit. Then, attach the 2x4s together to form a square or rectangle. Make sure the form is level.
- Add sand to the form. Pour a 2-inch layer of sand into the form. This will help to prevent the concrete from sticking to the form.
- Mix the concrete. Follow the instructions on the concrete mix package.
- Pour the concrete into the form. Add the concrete to the form in several batches, tamping it down with a trowel as you go. Make sure to fill the form completely.
- Level the concrete. Use a level to make sure the concrete is level.
- Let the concrete cure. Cover the concrete with plastic sheeting and let it cure for at least 24 hours.
- Remove the form. Carefully remove the form from the concrete.
- Add the fire bowl. If you want to add a fire bowl to your fire pit, do so now. Center the fire bowl on the concrete and secure it in place with mortar.
- Add patio stones or bricks. If you want to add a border around your fire pit, do so now. Place the patio stones or bricks around the edge of the fire pit and secure them in place with mortar.
Tips
- Use a mixing bowl that is large enough to hold the entire batch of concrete.
- Wear safety glasses and work gloves to protect your eyes and hands.
- Work in a well-ventilated area.
- Be careful not to spill concrete on your clothes. If you do, rinse it off immediately with water.
- Don't rush the curing process. Allow the concrete to cure for at least 24 hours before using it.
Safety
Fire pits can be dangerous, so it's important to take precautions when using them. Here are a few safety tips:
- Never leave a fire pit unattended.
- Keep children and pets away from the fire pit.
- Never add gasoline or other flammable liquids to the fire.
- Extinguish the fire completely before leaving the area.
Conclusion
A concrete table fire pit is a great way to enjoy the outdoors. It's a fun and easy project that you can do yourself. With a little planning and effort, you can create a beautiful and functional addition to your backyard.


