
DIY table fire pit instructions
DIY Table Fire Pit Instructions
A fire pit is a great way to enjoy the outdoors, whether you're camping, entertaining guests, or just relaxing on your own property. But if you don't want to spend a lot of money on a pre-made fire pit, you can easily build your own.

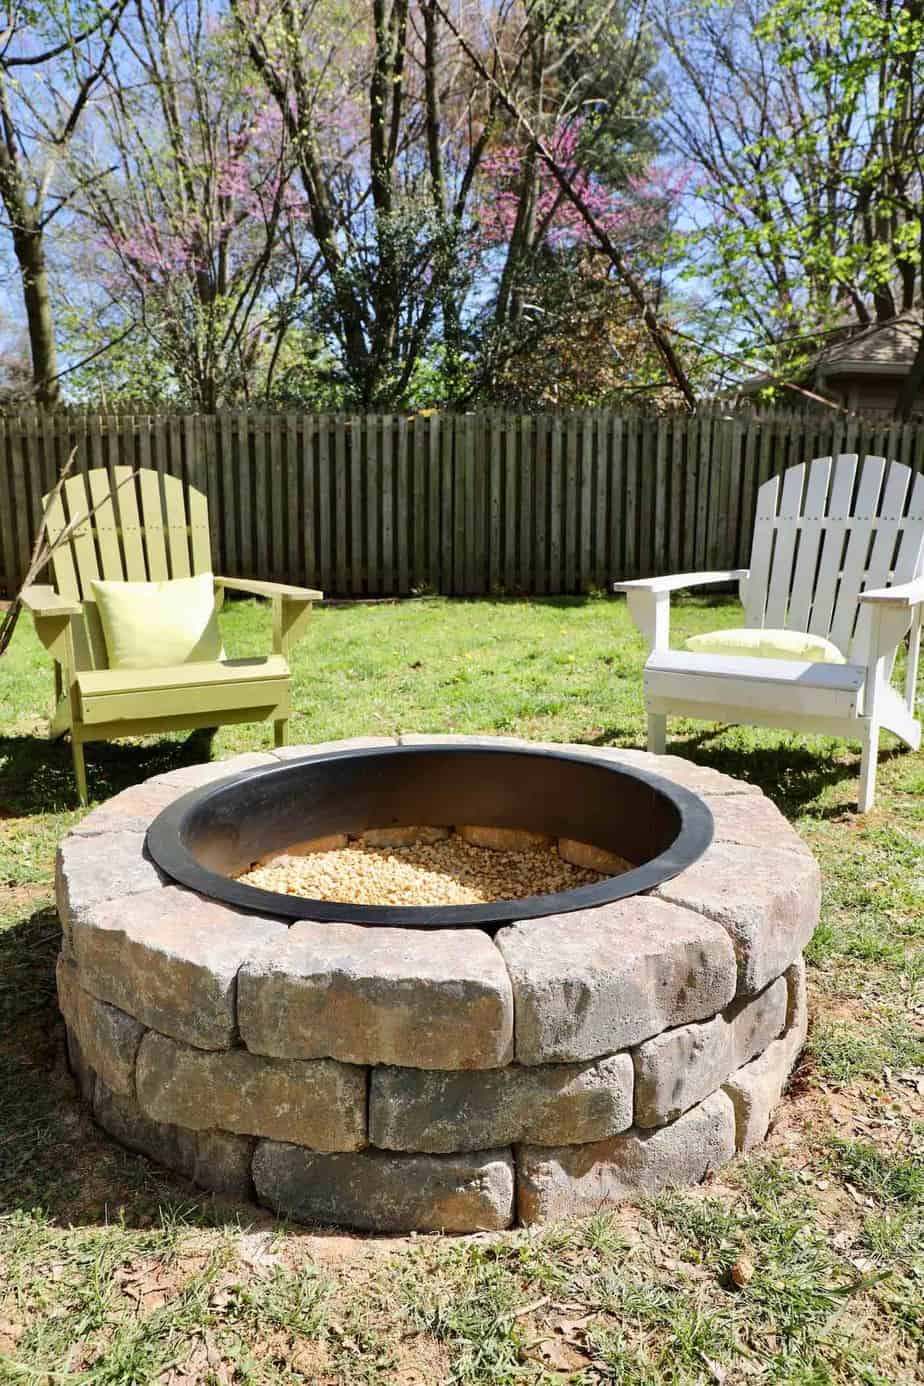
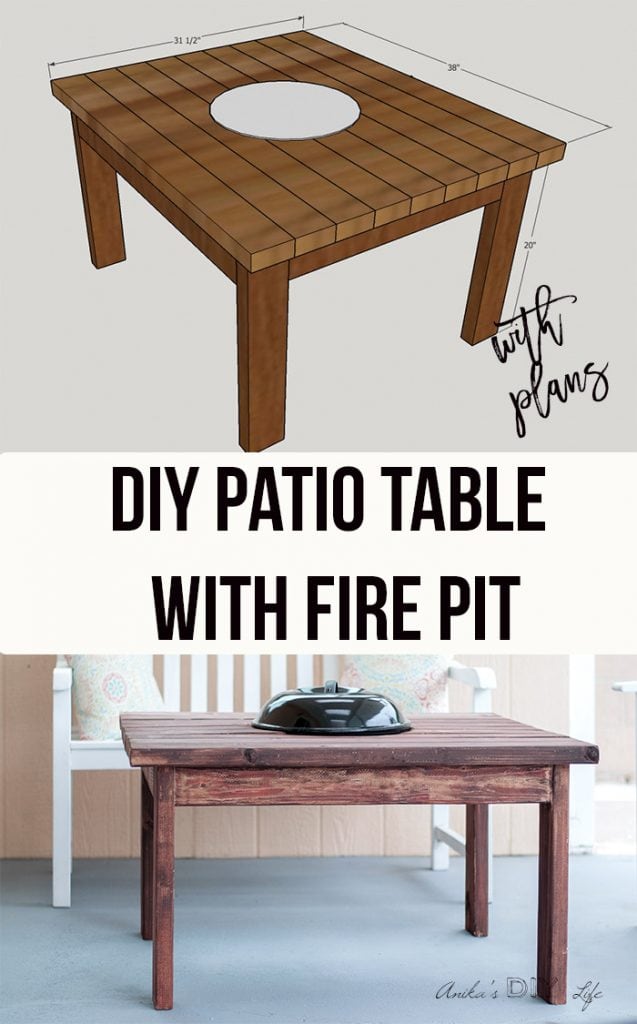
This DIY table fire pit is a great option for those who want a stylish and functional addition to their outdoor space. It's made from concrete, so it's durable and will last for years to come. Plus, the built-in table provides a convenient place to set drinks and snacks.
To build this fire pit, you'll need the following materials:
- Concrete (at least 1 cubic foot)
- Rebar (12 pieces, 12 inches long)
- Sand
- Water
- Circular saw
- Drill
- Circular saw blade
- Safety glasses
- Work gloves

Instructions:
- Prepare the work area. Clear a level spot in your yard where you want to build the fire pit. Make sure the area is free of debris and that the ground is firm.
- Build the form. Cut a piece of plywood to the desired size of the fire pit. Then, use the circular saw to cut four pieces of 2x4 lumber to the same size as the plywood.
- Assemble the form. Place the plywood on the ground and attach the 2x4s to the sides of the plywood using screws or nails. Make sure the form is level.
- Pour the concrete. Mix the concrete according to the package directions. Then, pour the concrete into the form.
- Level the concrete. Use a trowel to level the concrete. Be careful not to overwork the concrete, as this can create air bubbles.
- Add the rebar. While the concrete is still wet, insert the rebar into the concrete. The rebar should be evenly spaced throughout the fire pit.
- Cover the concrete. Cover the concrete with a tarp or plastic sheet to protect it from the elements. Allow the concrete to cure for at least 24 hours.
- Remove the form. After the concrete has cured, carefully remove the form from the fire pit.
- Finish the fire pit. You can finish the fire pit by adding a sealant to protect it from the elements. You can also add a layer of sand to the bottom of the fire pit to help with drainage.

Tips:

- When mixing the concrete, be sure to add water slowly and mix thoroughly. This will help to prevent air bubbles from forming.
- To level the concrete, use a long straightedge to draw a line across the surface of the concrete. Then, use a trowel to scrape away any excess concrete until the surface is level with the line.
- When inserting the rebar, be sure to push it all the way down into the concrete. The rebar should be evenly spaced throughout the fire pit.
- When removing the form, be careful not to damage the concrete. You may need to use a pry bar to loosen the form.
- You can finish the fire pit by adding a sealant to protect it from the elements. You can also add a layer of sand to the bottom of the fire pit to help with drainage.
Safety:

- When building a fire pit, it's important to take safety precautions. Always wear safety glasses and work gloves.
- Make sure the area where you're building the fire pit is clear of debris and that the ground is firm.
- Never build a fire pit near overhanging branches or other objects that could catch fire.
- Never leave a fire unattended. Always extinguish the fire completely before leaving the area.


By following these instructions, you can easily build your own DIY table fire pit. This fire pit is a great way to enjoy the outdoors, and it will provide you with years of enjoyment.
FAQs
Q: How much does it cost to build a DIY table fire pit?


A: The cost of building a DIY table fire pit will vary depending on the materials you use. However, you can expect to spend between $50 and $100 for materials.
Q: How long does it take to build a DIY table fire pit?
A: The time it takes to build a DIY table fire pit will vary depending on your skill level. However, you can expect to spend between 2 and 4 hours on the project.


**Q: What are
DIY Table Fire Pit Instructions
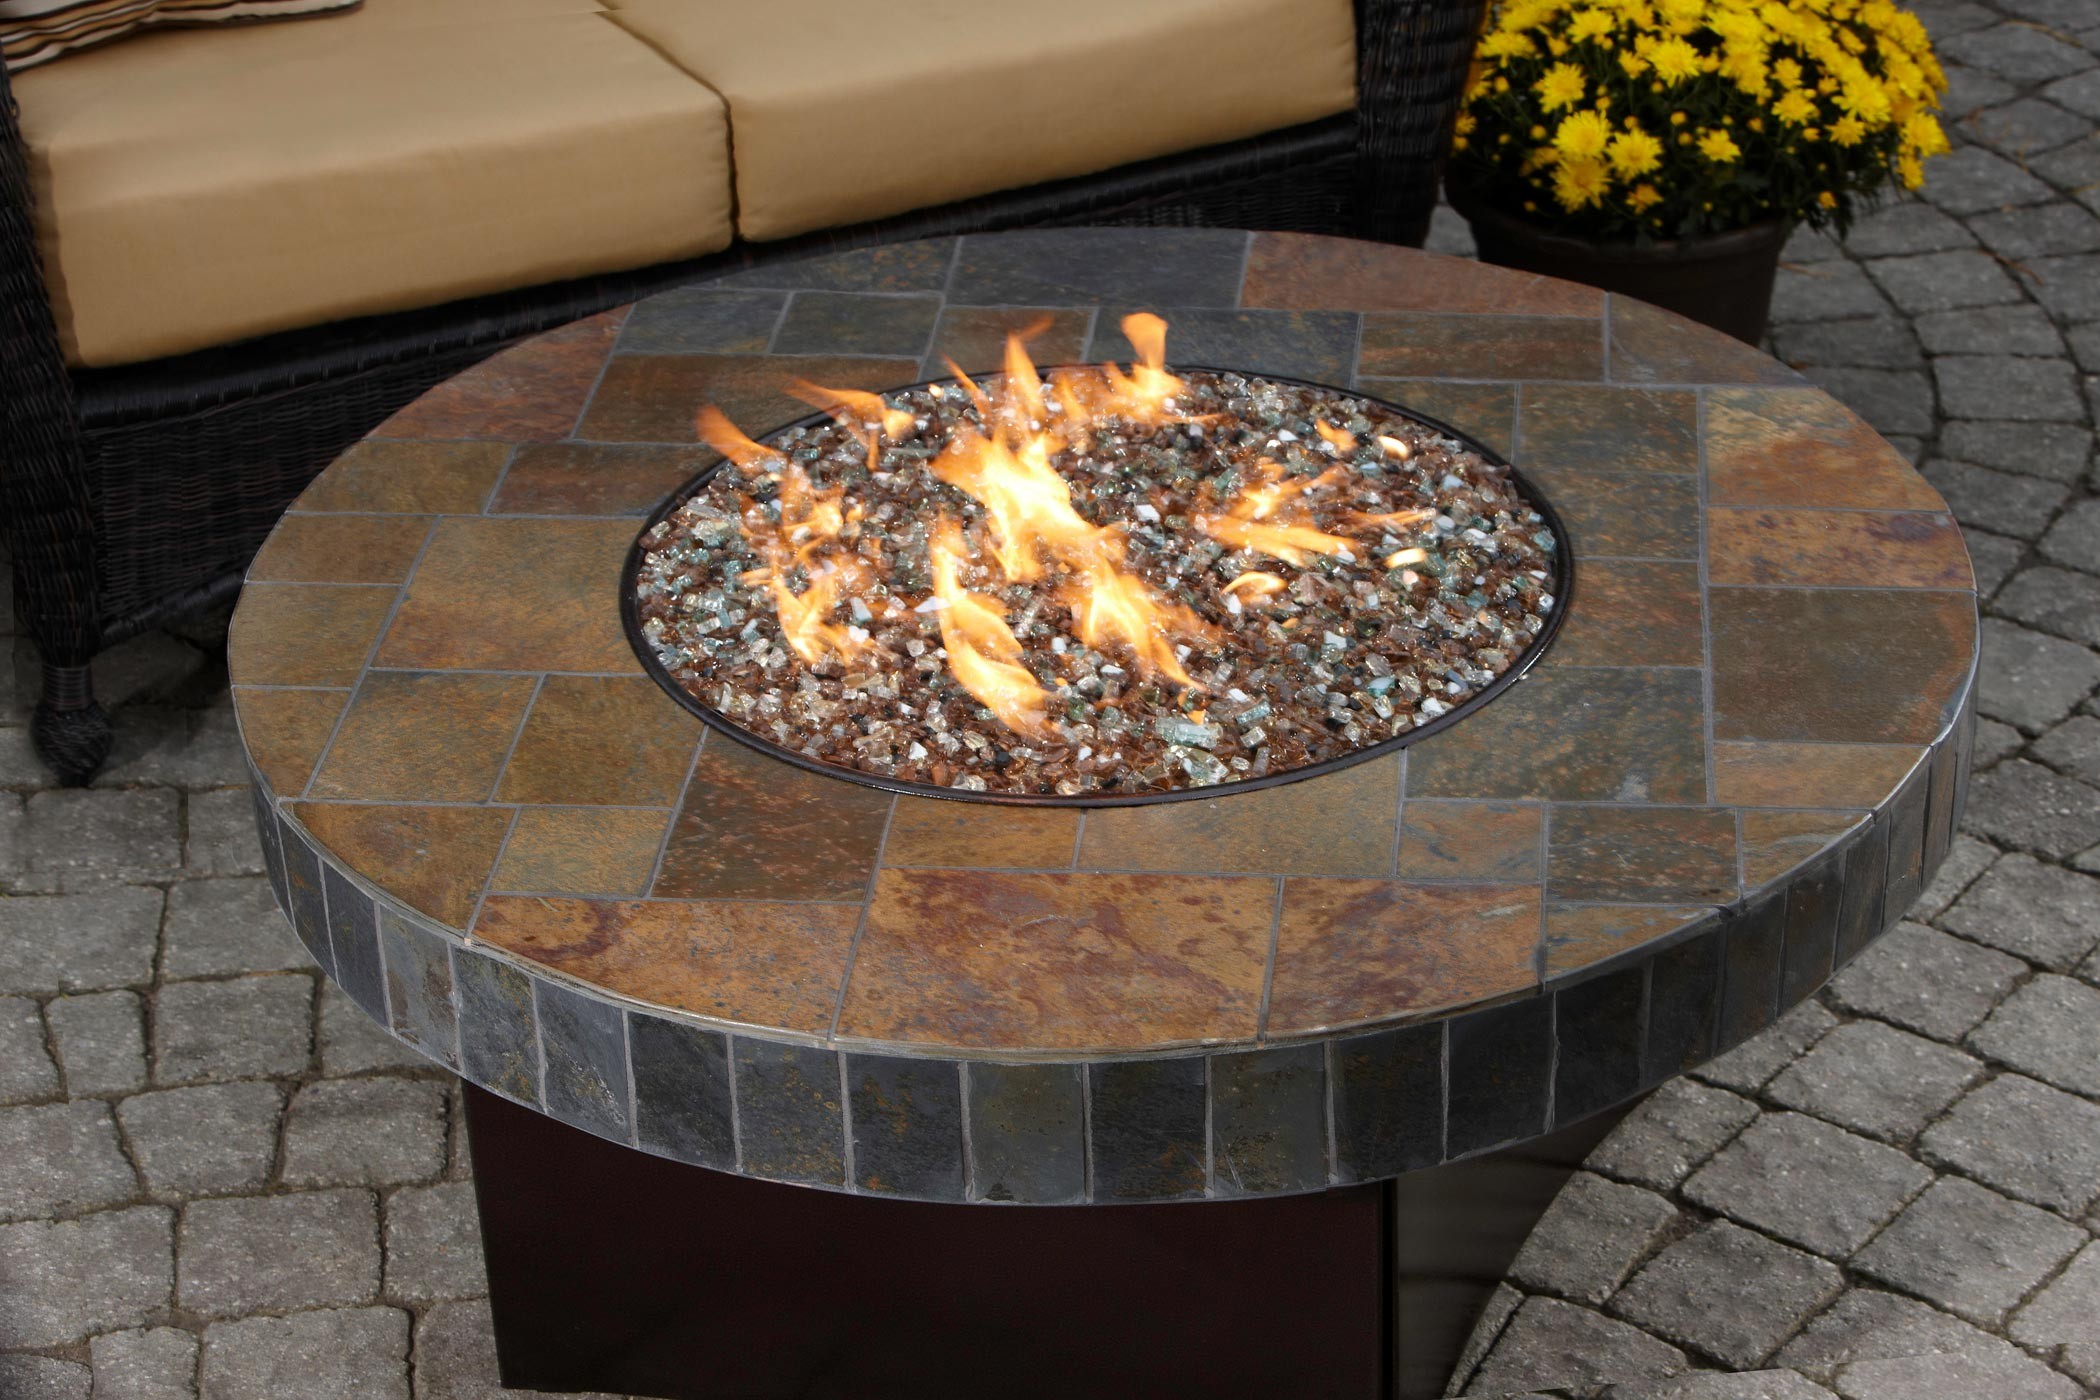
A table fire pit is a great way to add ambiance and warmth to your outdoor space. It's also a fun and easy project that you can do yourself.
Materials
- A sturdy table, such as a coffee table or end table
- A fire pit ring
- Fire pit fuel (such as lava rocks or fire glass)
- A heat-resistant sealant
- A fireproof mat
- A fire poker
- A pair of gloves
Tools
- A drill
- A saw
- A hammer
- A screwdriver
- A tape measure
- A level
- A pencil
Instructions
- Measure the table and cut the fire pit ring to size. The fire pit ring should be slightly smaller than the top of the table. To cut the ring, use a saw to score the metal along the desired line, then bend the ring until it snaps.
- Attach the fire pit ring to the table. Use a drill to drill pilot holes through the fire pit ring and into the table. Then, use screws to attach the ring to the table.
- Apply a heat-resistant sealant around the fire pit ring. This will help to protect the table from heat damage.
- Place a fireproof mat under the fire pit ring. This will help to protect the ground from heat and sparks.
- Fill the fire pit ring with fire pit fuel. You can use lava rocks, fire glass, or another type of fire pit fuel.
- Light the fire pit. Use a fire poker to light the fuel.
- Enjoy your new table fire pit!
Tips
- When choosing a fire pit ring, make sure it is made of a durable material that can withstand heat.
- Be sure to use a heat-resistant sealant around the fire pit ring to protect the table from heat damage.
- Place a fireproof mat under the fire pit ring to protect the ground from heat and sparks.
- Use only approved fire pit fuel. Never use gasoline or other flammable liquids.
- Never leave a fire unattended. Always extinguish the fire completely before leaving it.
- Be aware of local fire regulations.
Safety
Fire pits can be dangerous, so it's important to take precautions to stay safe. Here are a few tips:
- Never leave a fire unattended. Always extinguish the fire completely before leaving it.
- Be aware of local fire regulations.
- Keep children and pets away from the fire pit.
- Never use gasoline or other flammable liquids to light the fire.
- Use a fire poker to light the fire and to stir the coals.
- Never pour water on a fire. This can cause the water to boil and splatter, which can be dangerous.
- Be sure to have a fire extinguisher nearby in case of an emergency.
By following these tips, you can enjoy your table fire pit safely.
