
Easy table fire pit DIY
Easy Table Fire Pit DIY
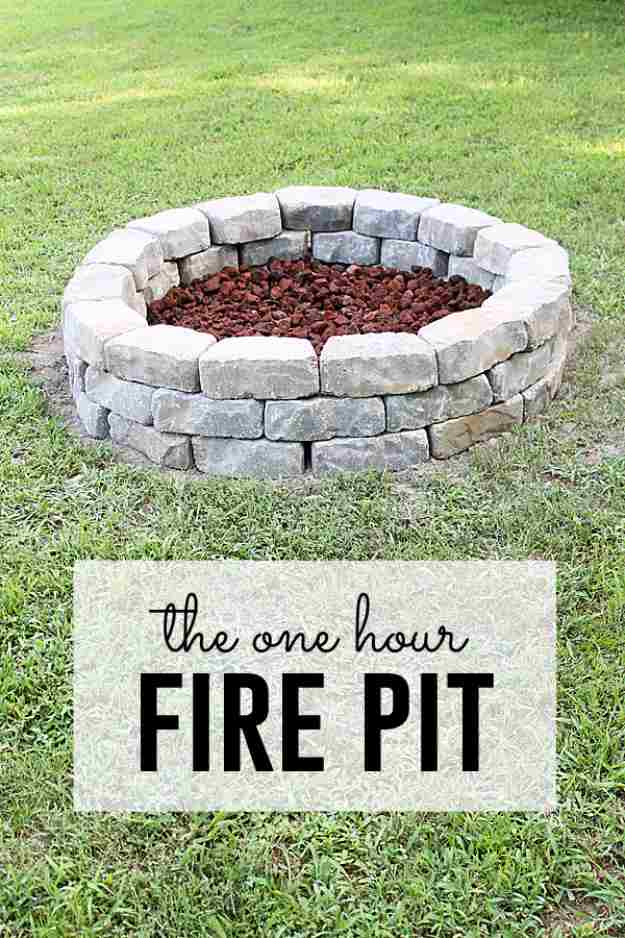
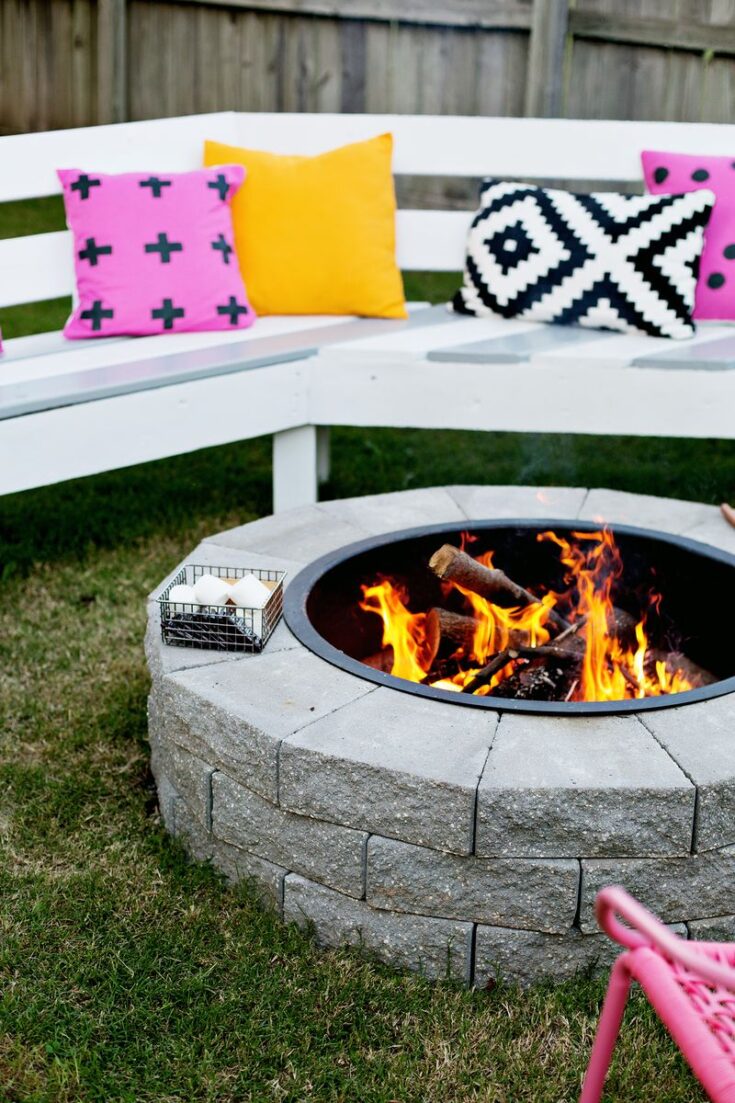
If you're looking for a fun and easy project to do this weekend, consider building your own table fire pit. This project is perfect for those who want to enjoy the outdoors without having to go all out and build a permanent structure. With a few simple materials and tools, you can have a cozy fire pit in your backyard in no time.

Materials
- 2x4s (6)
- 2x6s (4)
- Plywood (1 sheet)
- Sandpaper
- Stain or paint (optional)
- Fire pit ring (optional)
- Firewood
Tools

- Saw
- Drill
- Sander
- Measuring tape
- Level
- Pencil
- Safety glasses
Instructions
- Cut the wood. Use a saw to cut the 2x4s and 2x6s to the following lengths:

* 2x4s: 24 inches long (4 pieces)
* 2x6s: 18 inches long (4 pieces)
* Plywood: 24 inches by 36 inches
-
Assemble the frame. Lay the 2x4s on the ground in a square formation. The long sides of the 2x4s should be facing each other. Connect the 2x4s together using screws or nails.
-
Add the 2x6s. Attach the 2x6s to the top of the frame, creating a 2-by-4 grid. The 2x6s should be flush with the top of the frame.

-
Attach the plywood. Cut the plywood to fit the inside of the frame. Center the plywood on the frame and attach it using screws or nails.
-
Sand the wood. Use a sanding block or sandpaper to smooth out any rough edges on the wood.
-
Stain or paint the wood. This step is optional, but it can help to protect the wood and make it look more attractive. If you choose to stain or paint the wood, make sure to use a product that is specifically designed for outdoor use.


-
Add a fire pit ring. A fire pit ring is not necessary, but it can help to protect the wood from the heat of the fire. If you choose to add a fire pit ring, place it in the center of the pit and secure it in place using rocks or bricks.
-
Enjoy your fire pit! Now that your fire pit is complete, you can enjoy it for years to come. Add some firewood to the pit and light it up for a warm and cozy evening.

Tips
- When choosing a location for your fire pit, make sure it is away from trees, structures, and overhanging branches.
- Be sure to follow all local fire regulations when building your fire pit.
- Never leave your fire unattended.
- Extinguish your fire completely before leaving it.
Safety

Fire pits can be dangerous if not used properly. Here are a few safety tips to keep in mind:
- Never build a fire pit on a windy day.
- Keep the fire small and contained.
- Never add gasoline or other flammable liquids to a fire.
- Be careful not to spill hot ashes.
- Extinguish your fire completely before leaving it.
By following these tips, you can enjoy your fire pit safely and without any problems.

Conclusion

Building your own table fire pit is a fun and easy project that can be completed in a few hours. With a few simple materials and tools, you can have a cozy fire pit in your backyard in no time. So what are you waiting for? Get started today!
Easy Table Fire Pit DIY
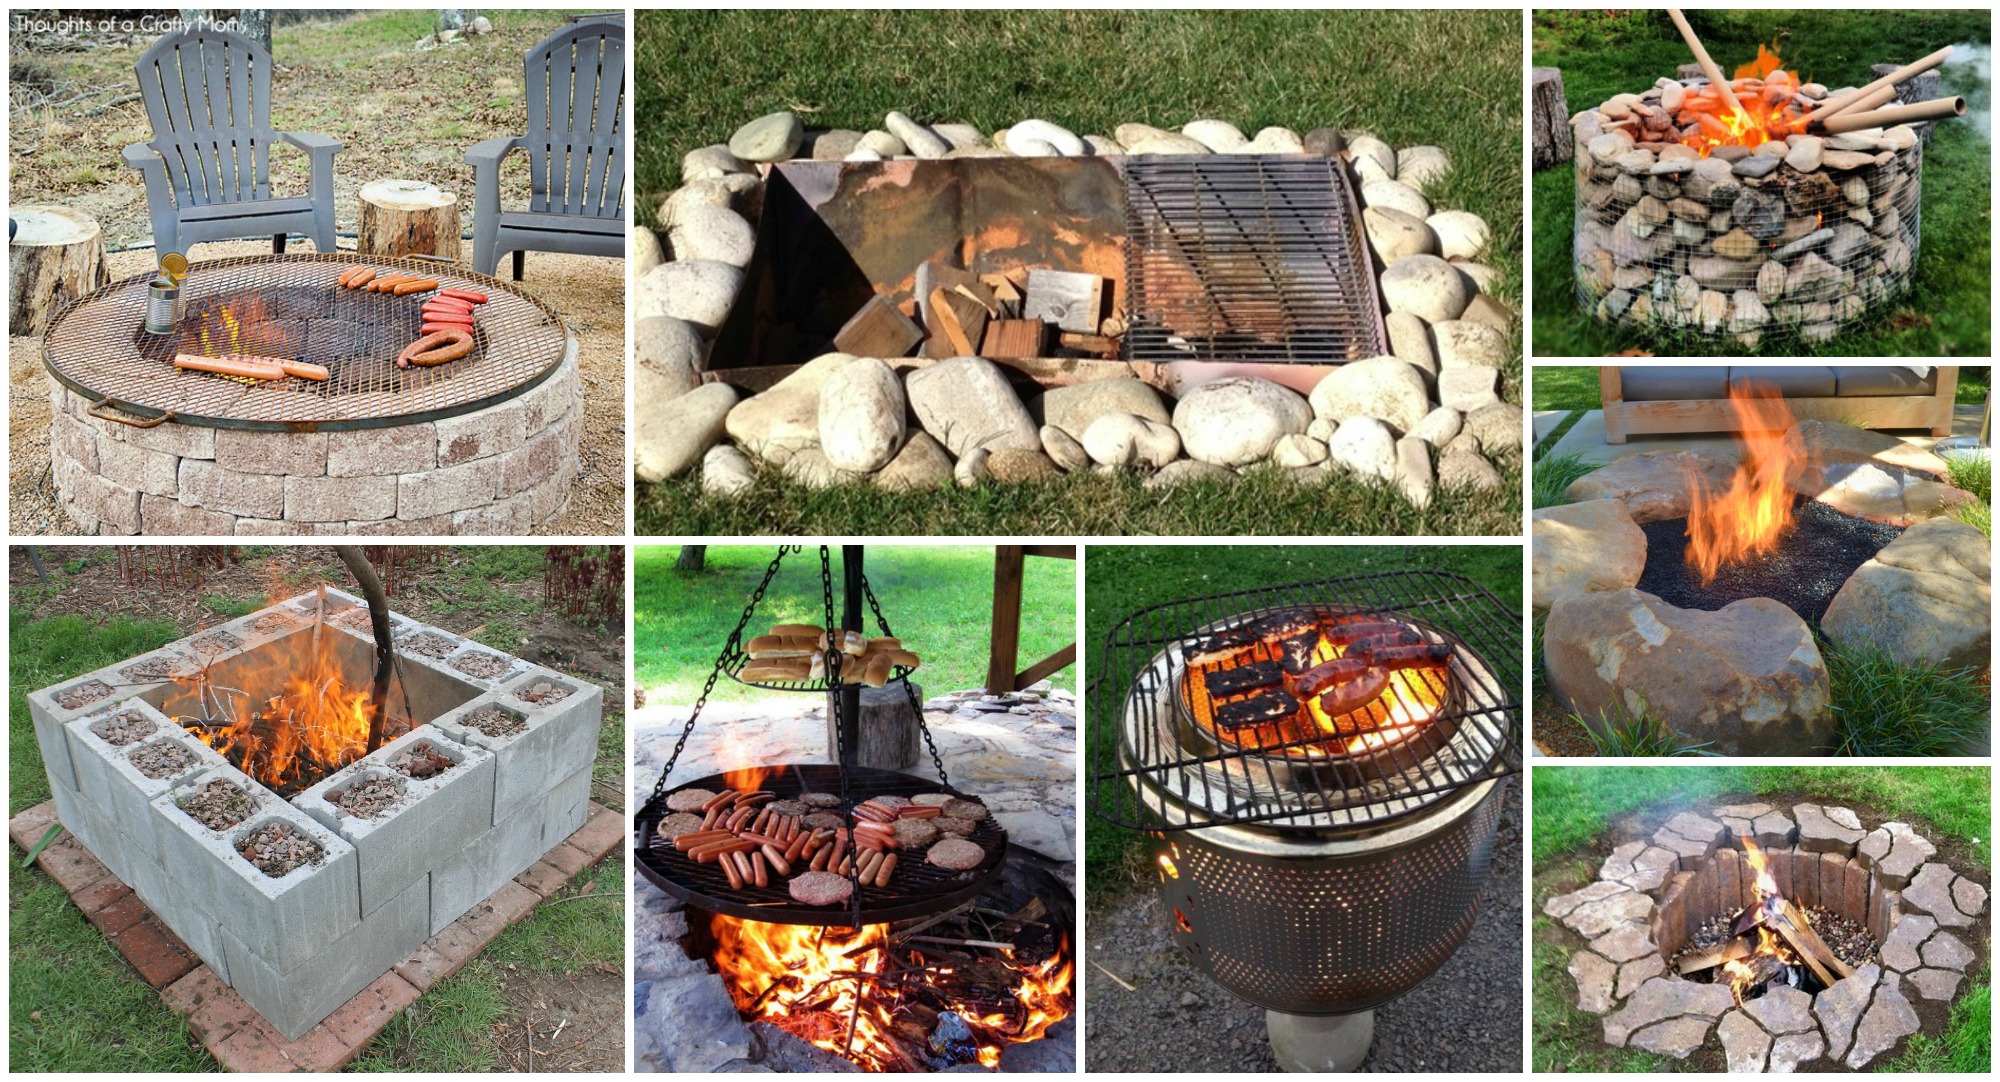
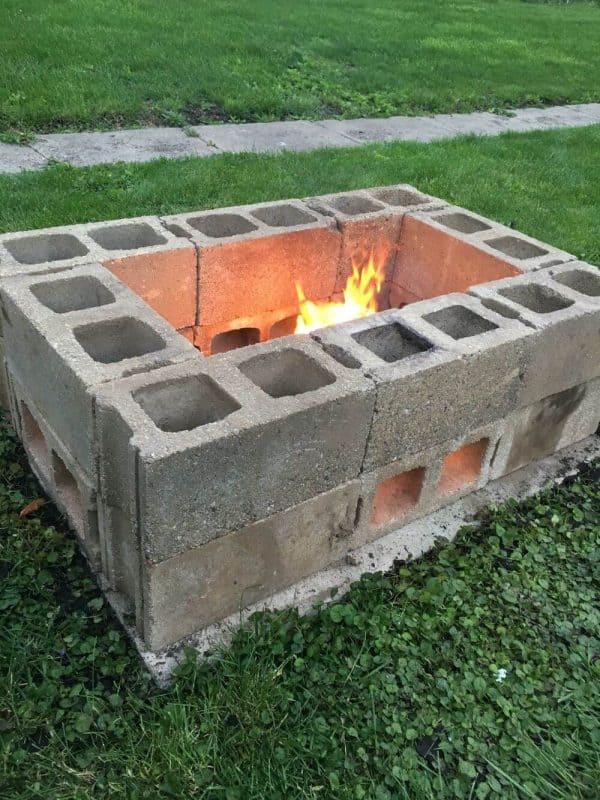
A fire pit is a great way to enjoy the outdoors, whether you're camping, having a backyard barbecue, or just relaxing on your patio. But if you don't have a lot of space, or if you're not interested in digging a hole in your yard, you can still enjoy the benefits of a fire pit with a simple DIY project.
This project will show you how to build a table fire pit that can be used on any flat surface. It's made from inexpensive materials that are easy to find, and it can be built in just a few hours.
Materials
- 2x4s (10)
- 2x6s (2)
- Plywood (1 sheet)
- Galvanized steel roofing (1 sheet)
- Sandpaper
- Stain or paint (optional)
- Fire pit ring (optional)

Tools
- Saw
- Drill
- Sander
- Measuring tape
- Level
- Pencil
- Safety glasses
- Gloves
Instructions

-
Cut the wood. Cut the 2x4s to the following lengths:
- 8 pieces at 24 inches long
- 2 pieces at 16 inches long
-
Assemble the frame. Lay the 2x4s out on a flat surface in the following order:
* 4 pieces at 24 inches long, forming a square
* 2 pieces at 16 inches long, placed diagonally across the square
-
Drill the holes. Drill pilot holes through the 2x4s at each intersection. This will help prevent the wood from splitting when you drive the screws.
-
Secure the frame. Drive screws through the pilot holes to secure the frame together.


-
Attach the plywood. Cut the plywood to the same size as the frame. Then, attach the plywood to the frame using wood screws.
-
Apply the finish. Sand the wood to smooth out any rough edges. Then, apply a stain or paint to protect the wood from the elements.

- Add the fire pit ring. (Optional) If you want to add a fire pit ring to your table fire pit, you can do so by placing it on top of the plywood. Make sure that the ring is large enough to allow for airflow around the fire.


- Enjoy your fire pit! Now that your table fire pit is complete, you can enjoy it for years to come. Just be sure to follow all safety precautions when using a fire pit.
Tips

- When choosing a location for your fire pit, make sure that it is away from overhanging branches and other flammable objects.
- Never leave a fire unattended. Always put it out completely before leaving it.
- Be careful not to burn yourself or others. Keep children and pets away from the fire pit.

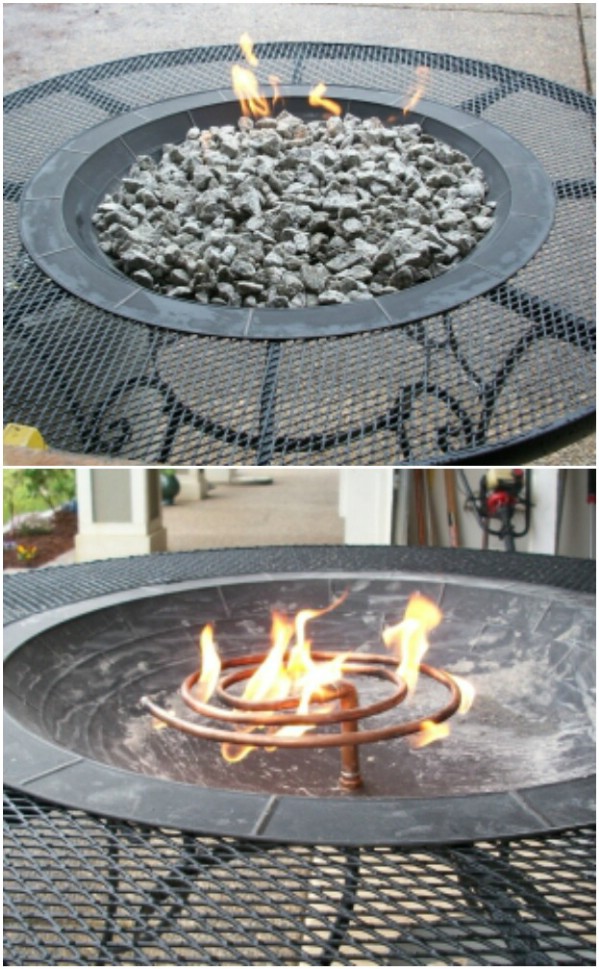
Final product
Your finished table fire pit will look something like this:
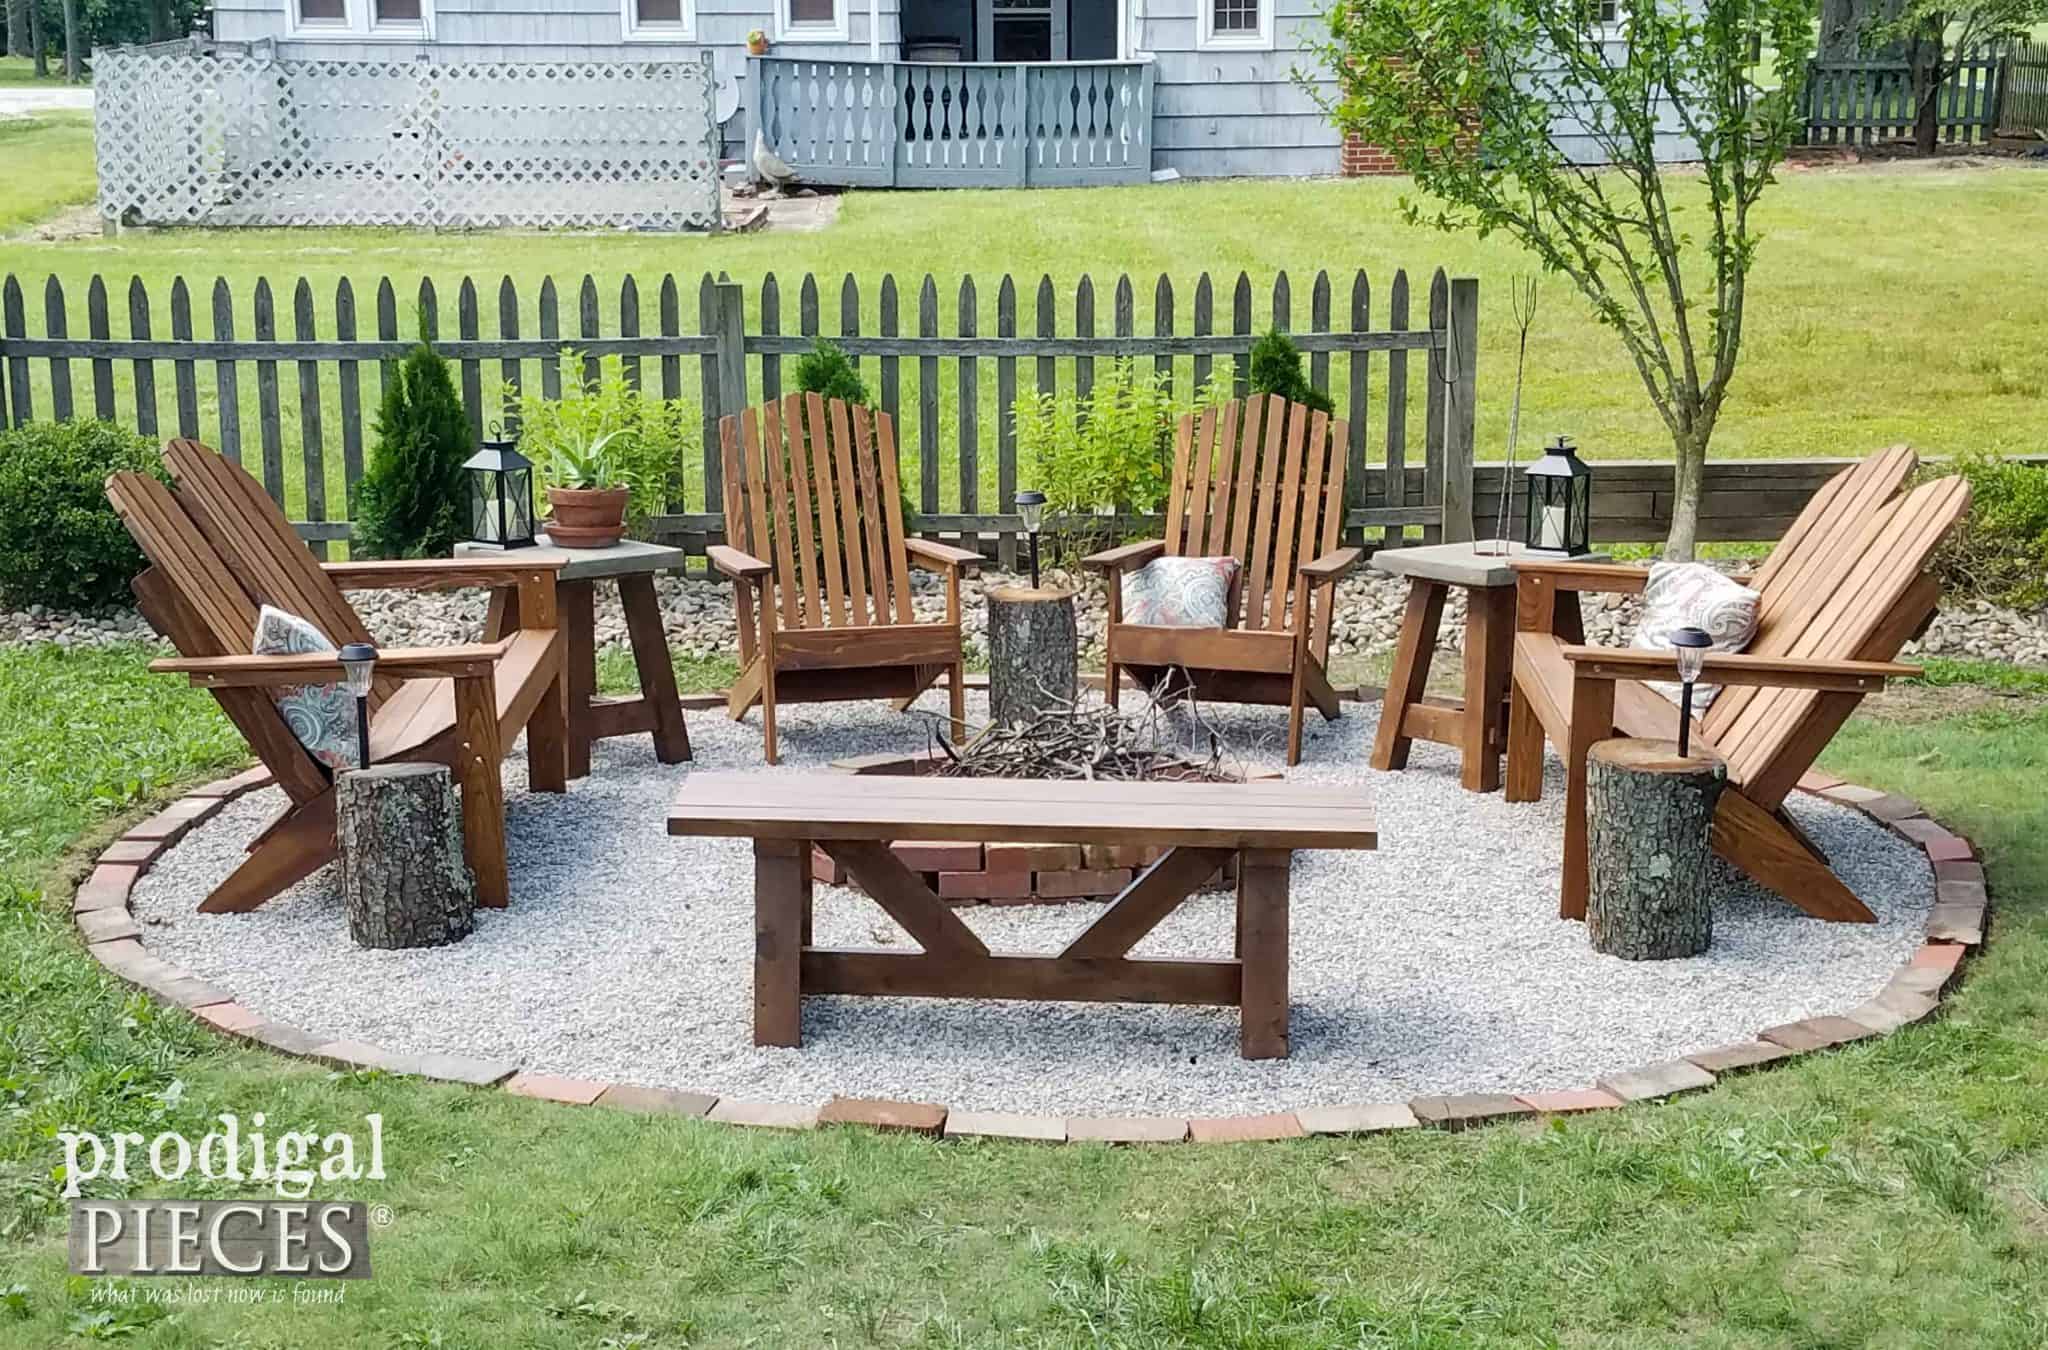
[Image of a finished table fire pit]


This is a great project for anyone who wants to enjoy the outdoors without having to dig a hole in their yard. It's also a relatively inexpensive project, so you can get started on it for just a few dollars.
