
first birthday picture display pallet


First Birthday Picture Display Pallet


A first birthday is a momentous occasion, and you want to make sure you have plenty of photos to commemorate it. A picture display pallet is a great way to do just that. You can gather all of your favorite photos of your child from their first year and display them in a creative and eye-catching way.

There are many different ways to create a picture display pallet. You can use a variety of materials, such as wood, cardboard, or even fabric. You can also use a variety of different methods to attach the photos to the pallet, such as glue, tape, or pushpins.
No matter how you choose to create your picture display pallet, it's sure to be a cherished keepsake for years to come. Here are a few tips for creating a beautiful and memorable first birthday picture display pallet:


- Choose a theme. What do you want the overall feel of your picture display pallet to be? Do you want it to be whimsical and fun, or more elegant and sophisticated? Once you have a theme in mind, you can start choosing materials and colors that will reflect that theme.
- Gather your photos. This is the fun part! Go through your photos and choose the ones that you want to display. Make sure to include a variety of photos, such as close-ups, full-body shots, and candid shots. You can also include photos of your child with family and friends.
- Arrange your photos. Once you have your photos, it's time to start arranging them on the pallet. You can arrange them in a chronological order, or you can group them by theme. You can also create a more abstract arrangement, using the photos to create a unique and eye-catching design.
- Attach your photos. There are many different ways to attach your photos to the pallet. You can use glue, tape, or pushpins. If you're using fabric, you can also sew the photos in place.
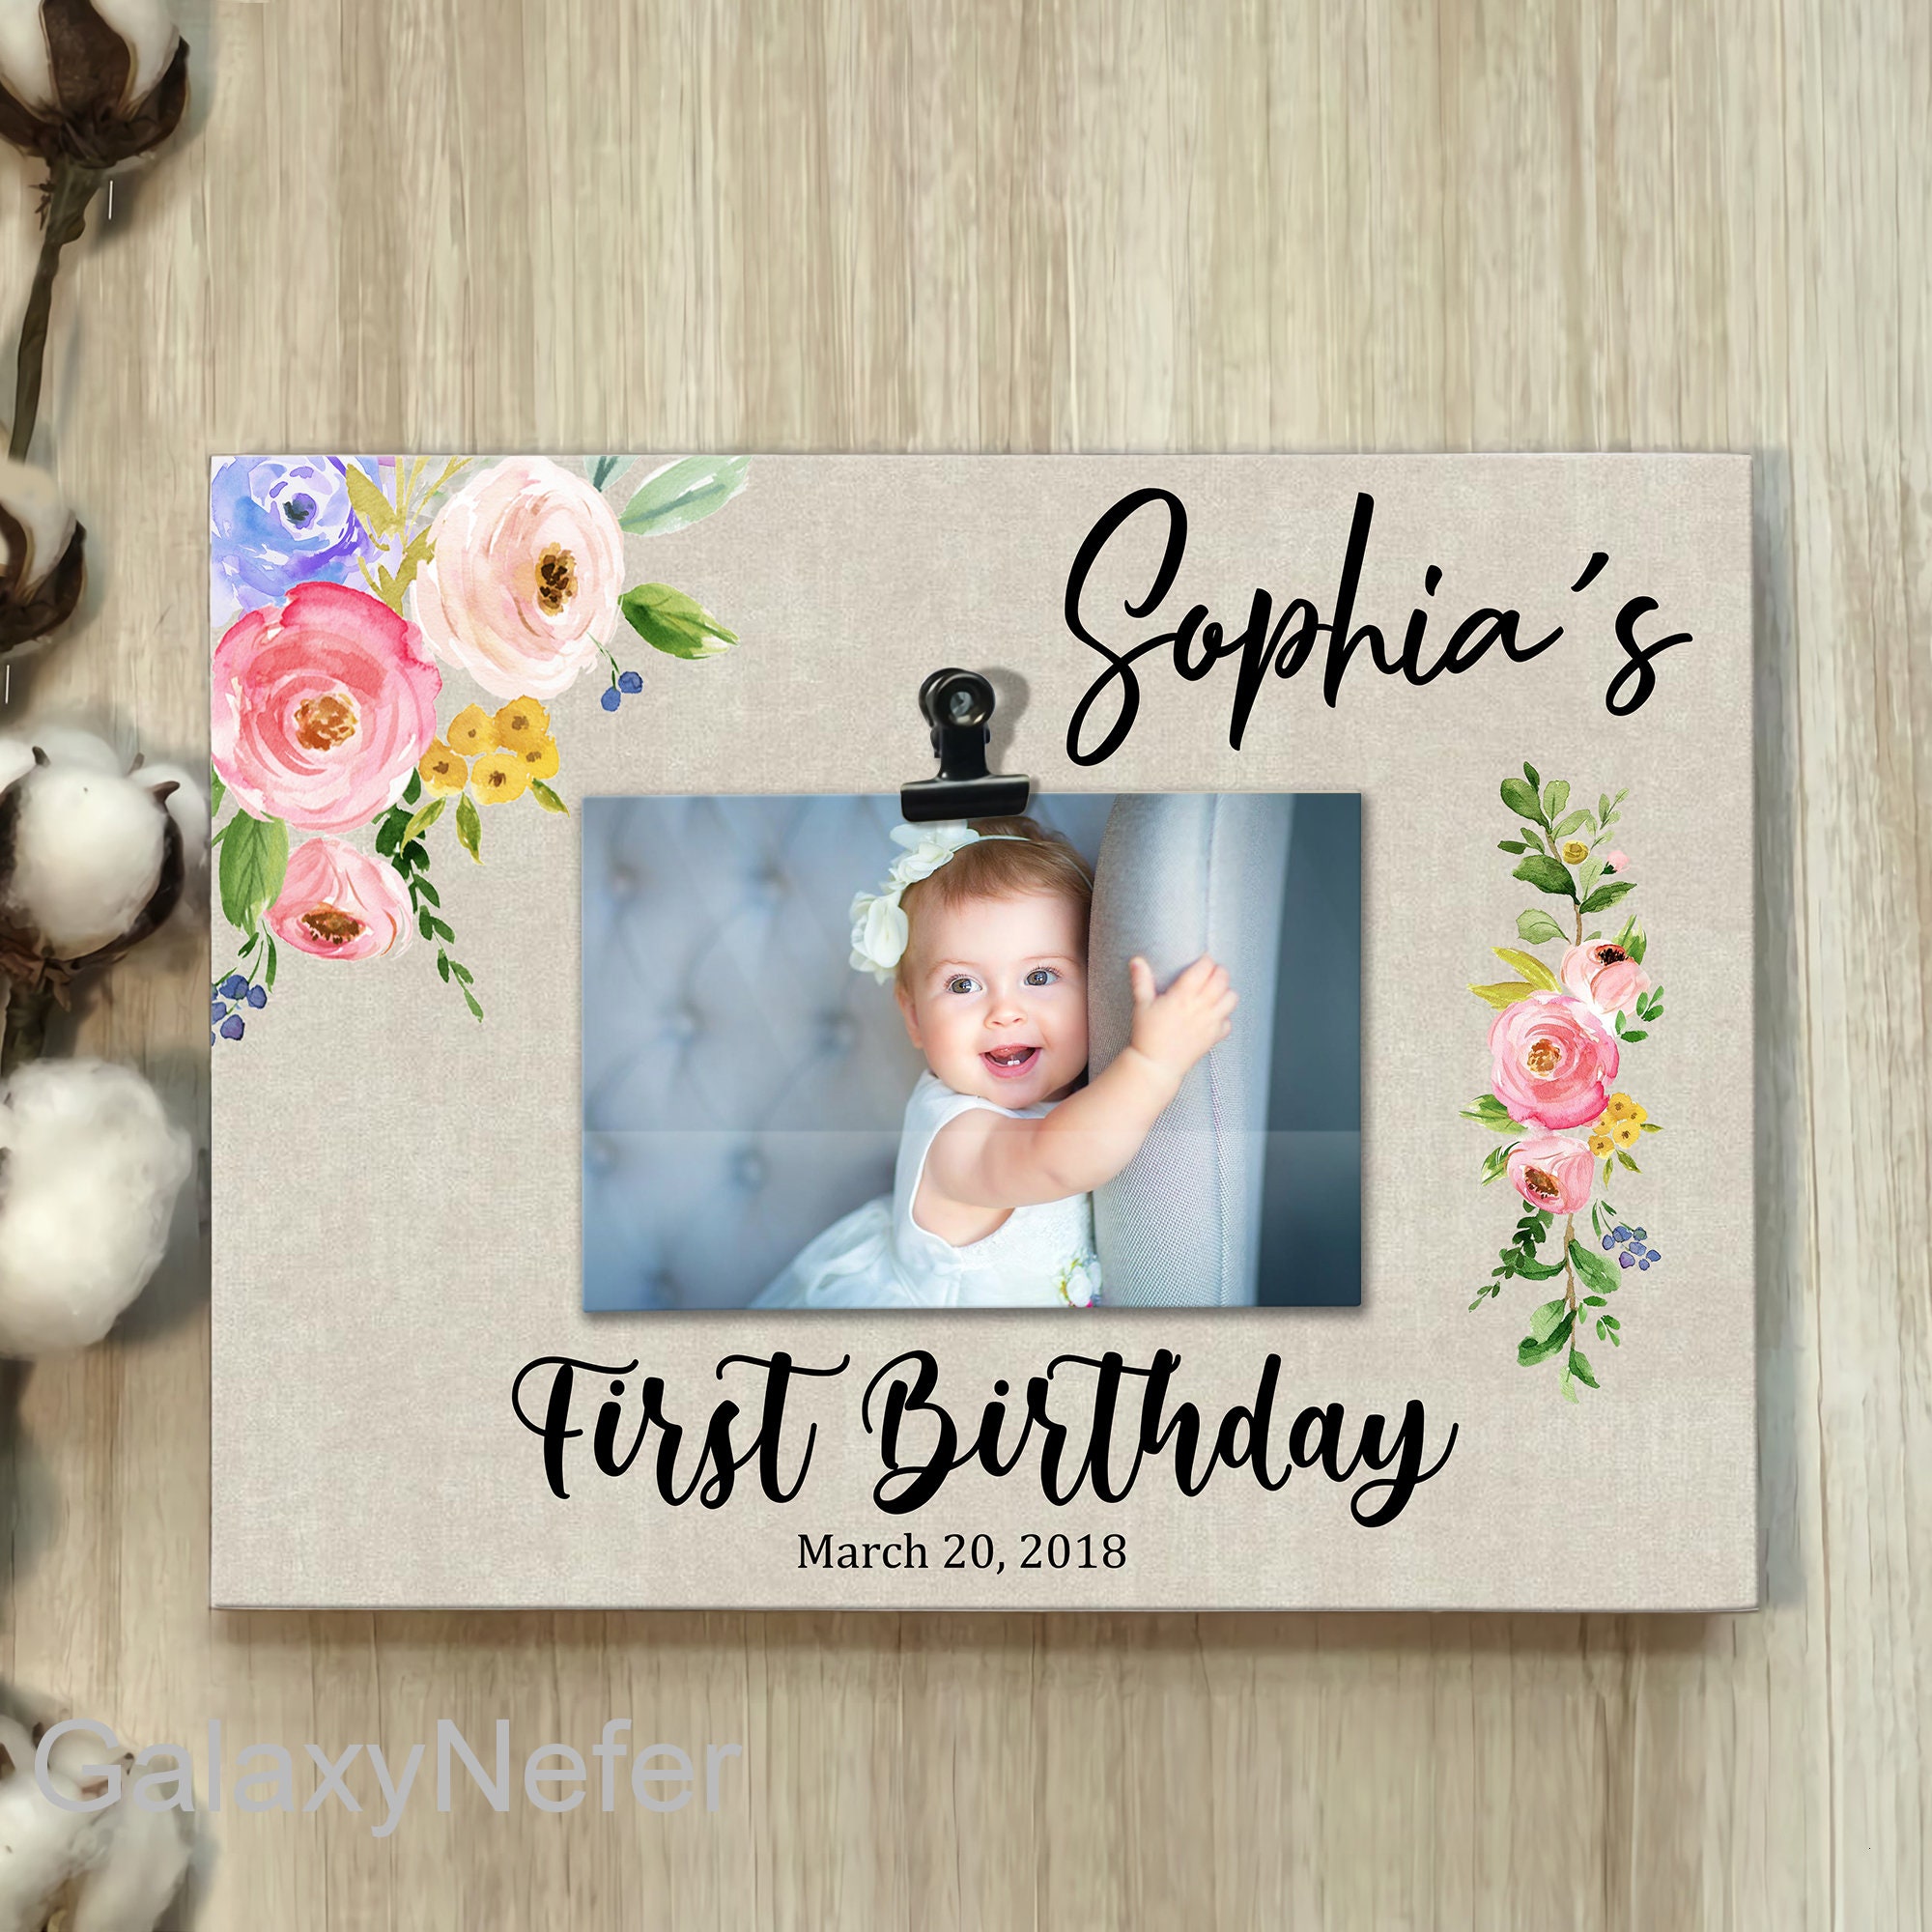
- Add finishing touches. Once you've attached your photos, you can add any finishing touches that you like. You can add ribbons, bows, or other embellishments. You can also write a message on the pallet, such as your child's name or the date of their birthday.

Your picture display pallet is now complete! It's a beautiful and unique way to commemorate your child's first birthday. Be sure to display it in a place where you can see it every day and enjoy it for years to come.
Here are some additional tips for creating a picture display pallet:

- Use high-quality photos. The better the quality of your photos, the better your picture display pallet will look.
- Use a variety of sizes and shapes of photos. This will help to create a more interesting and visually appealing display.
- Don't be afraid to experiment with different arrangements. There is no right or wrong way to create a picture display pallet. Just have fun and let your creativity flow!

A picture display pallet is a great way to celebrate your child's first birthday and cherish the memories of their special day for years to come. So what are you waiting for? Start creating your own picture display pallet today!
Step-by-step instructions for creating a picture display pallet


- Gather your materials. You will need:
- A pallet (wooden, cardboard, or fabric)
- Photos of your child
- Glue, tape, or pushpins
- Ribbons, bows, or other embellishments
- A message (optional)
- Choose a theme for your picture display pallet. This could be anything from whimsical and fun to elegant and sophisticated.
- Gather your photos. Make sure to include a variety of photos, such as close-ups, full-body shots, and candid shots. You can also include photos of your child with family and friends.
- Arrange your photos. You can arrange them in a chronological order, or you can group them by theme. You can also create a more abstract arrangement, using the photos to create a unique and eye-catching design.
- Attach your photos. You can use glue, tape, or pushpins to attach your photos to the pallet. If you're using fabric, you can also sew the photos in place.
- Add finishing touches. This could include adding ribbons, bows, or other embellishments. You can also write a message on the pallet, such as your child's name or the date of their birthday.
- Display your picture display pallet! It's a beautiful and unique way to commemorate your child's first birthday. Be sure to display it in a place where you can see it


First Birthday Picture Display Pallet
A first birthday picture display pallet is a fun and creative way to show off your child's first year of life. It's also a great way to document your child's milestones and memories.

To make a first birthday picture display pallet, you will need the following materials:

- A wooden pallet
- Acrylic paint or spray paint
- Paintbrushes or spray paint applicator
- Ribbon or twine
- Photos of your child
- Hot glue gun and glue sticks
- Scissors
Instructions:

- Paint the pallet. If you are using acrylic paint, you will need to apply two coats of paint. Allow each coat to dry completely before applying the next coat. If you are using spray paint, follow the directions on the can.
- Add ribbon or twine. Tie a piece of ribbon or twine around the pallet to hang it on the wall.
- Add photos. Hot glue photos of your child to the pallet. You can arrange the photos in any way you like.

Once you have finished your first birthday picture display pallet, hang it on the wall in your child's room or another central location in your home. It will be a beautiful reminder of your child's first year of life.
Here are some tips for making your first birthday picture display pallet:

- Choose a pallet that is the right size for the space you have available.
- Use bright colors or fun patterns to paint the pallet.
- Add a variety of photos to the pallet, including photos of your child at different ages and stages.
- Use hot glue to attach the photos to the pallet.
- Hang the pallet on the wall in a place where you will see it often.
Your first birthday picture display pallet will be a cherished keepsake for years to come. It will be a reminder of your child's first year of life, and it will make you smile every time you see it.
