
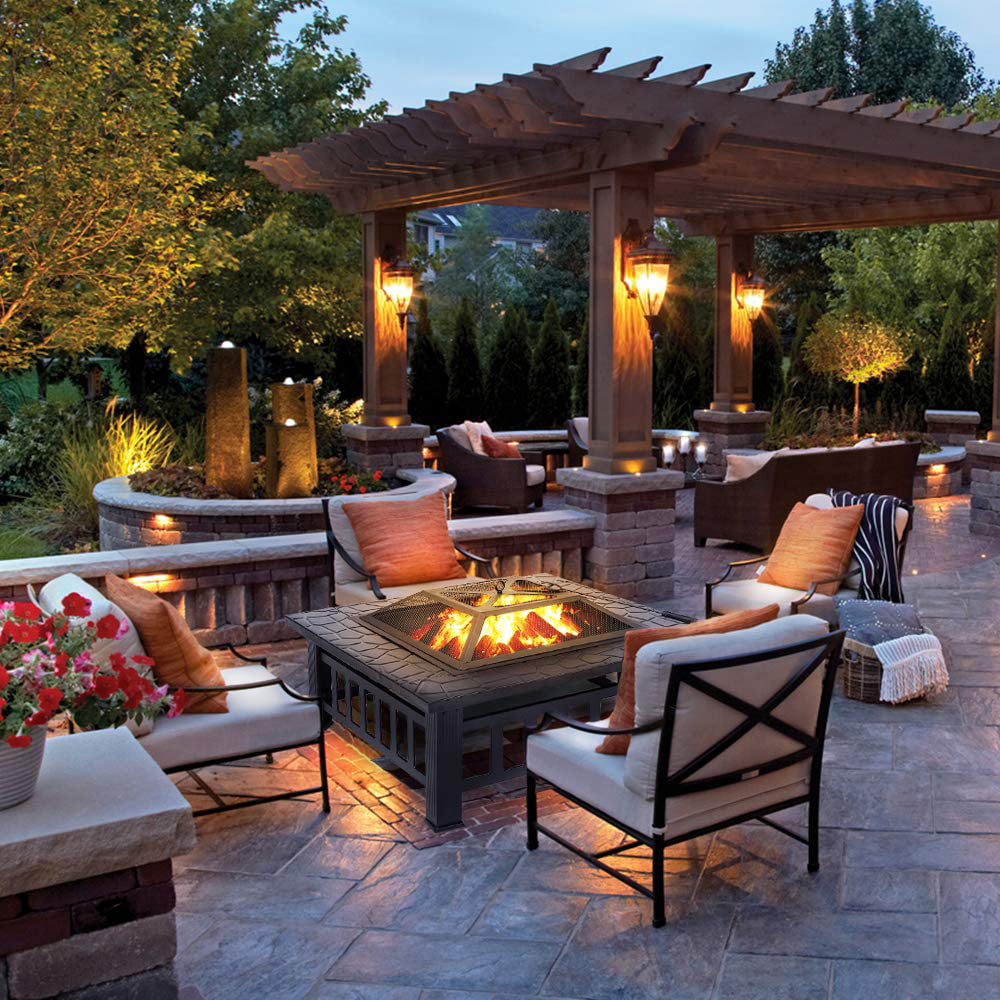
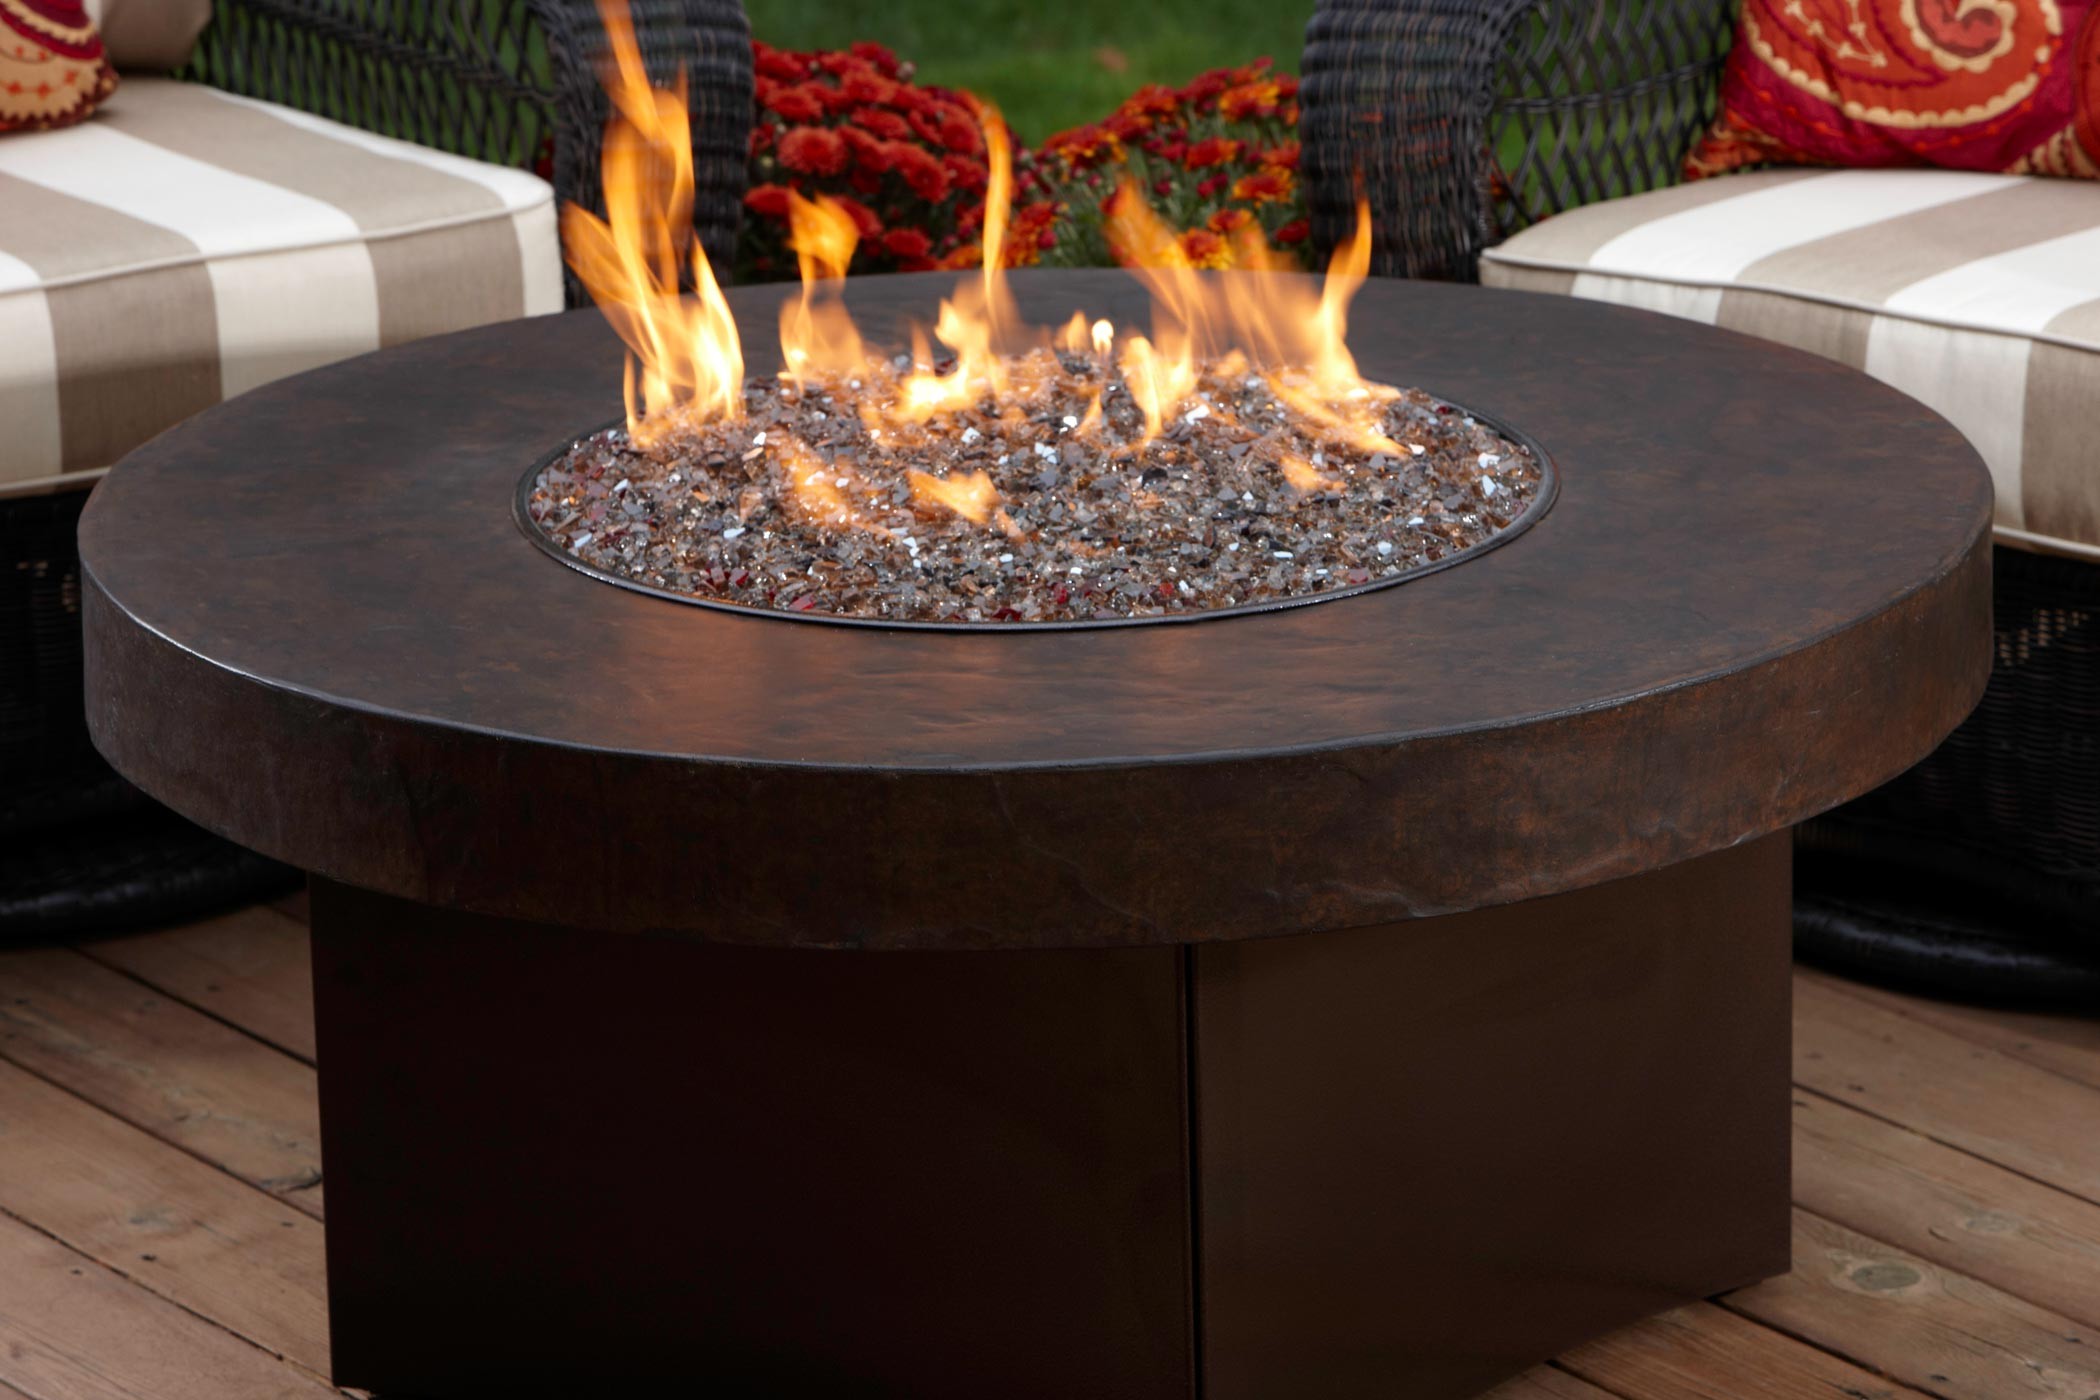
Outdoor table fire pit build


An outdoor fire pit is a great way to enjoy the outdoors, entertain guests, and stay warm on cool nights. Building your own fire pit is a relatively simple project that can be completed in a weekend. With a few basic tools and materials, you can create a custom fire pit that will add beauty and functionality to your outdoor space.
Materials
The following materials are needed to build an outdoor table fire pit:

- Concrete blocks (8)
- Fire pit ring (1)
- Patio pavers (6)
- Sand (1 bag)
- Gravel (1 bag)
- Mortar mix (1 bag)
- Level
- Trowel
- Shovel
- Tape measure
- Safety glasses
- Work gloves

Instructions
- Choose a location for your fire pit. The fire pit should be located in a well-drained area that is away from overhanging trees and structures.
- Mark the area where you will build the fire pit. Use a tape measure and stake out a 4-foot by 4-foot square.
- Dig out the fire pit. Use a shovel to dig out the center of the square to a depth of 12 inches.
- Add sand to the bottom of the fire pit. Pour a 2-inch layer of sand into the bottom of the hole and tamp it down with a shovel.
- Set the concrete blocks. Place the concrete blocks around the edge of the hole, leaving a 1-inch gap between each block.
- Add mortar to the joints between the blocks. Use a trowel to apply a thin layer of mortar to the joints between the blocks.
- Set the fire pit ring. Place the fire pit ring on top of the concrete blocks.
- Add pavers to the fire pit. Place the patio pavers around the fire pit ring, leaving a 1-inch gap between each paver.
- Add gravel to the fire pit. Pour a 2-inch layer of gravel into the fire pit.
- Light the fire pit. Use a fire starter to light a small fire in the center of the fire pit.


Tips
- Use fire-resistant materials for the fire pit, such as concrete, brick, or stone.
- Make sure the fire pit is at least 3 feet away from any structures or overhanging trees.
- Never leave a fire unattended.
- Extinguish the fire completely before leaving the area.
Safety
When building and using an outdoor fire pit, it is important to take precautions to avoid accidents. Here are a few safety tips:

- Never build a fire pit on a windy day.
- Keep children and pets away from the fire pit at all times.
- Never use gasoline or other flammable liquids to start a fire.
- Extinguish the fire completely before leaving the area.
Conclusion


Building an outdoor fire pit is a great way to enjoy the outdoors, entertain guests, and stay warm on cool nights. With a few basic tools and materials, you can create a custom fire pit that will add beauty and functionality to your outdoor space.
Outdoor Table Fire Pit Build
An outdoor table fire pit is a great way to enjoy the outdoors while staying warm. It can be used for cooking, roasting marshmallows, or simply sitting around and enjoying the fire. This project is relatively simple to complete and can be done in a weekend.
Materials
- 2x4s (4)
- 2x6s (4)
- Plywood (1 sheet)
- Fire pit ring (1)
- Mortar
- Sand
- Rebar
- Safety glasses
- Gloves
- Saw
- Drill
- Level
- Tape measure
Tools
- Hammer
- Tape measure
- Level
- Pencil
- Sander
- Safety glasses
- Gloves
- Saw
- Drill
- Circular saw
- Sander
Instructions
- Assemble the frame. Cut the 2x4s to the following lengths:
- 4 pieces at 24 inches long
- 4 pieces at 30 inches long
- Assemble the frame by attaching the 24-inch pieces to the 30-inch pieces with 2-inch screws. The 24-inch pieces should be placed at the top and bottom of the frame, and the 30-inch pieces should be placed in the middle.
-
Attach the plywood to the frame. Cut the plywood to the following dimensions:
- 24 inches by 30 inches
-
Attach the plywood to the frame with 1-inch screws. The plywood should be placed flush with the top of the frame.
- Install the fire pit ring. Center the fire pit ring on the plywood and attach it with mortar. Allow the mortar to dry completely.
-
Fill the fire pit with sand. This will help to protect the plywood from the heat of the fire.
-
Enjoy your new outdoor table fire pit!
Tips

- Use a level to make sure that the frame is square before attaching the plywood.
- Pre-drill holes for the screws when attaching the plywood to the frame. This will help to prevent the wood from splitting.
- Use a fire resistant sealant on the plywood to help protect it from the heat of the fire.
- Be sure to follow all safety precautions when using a fire pit.
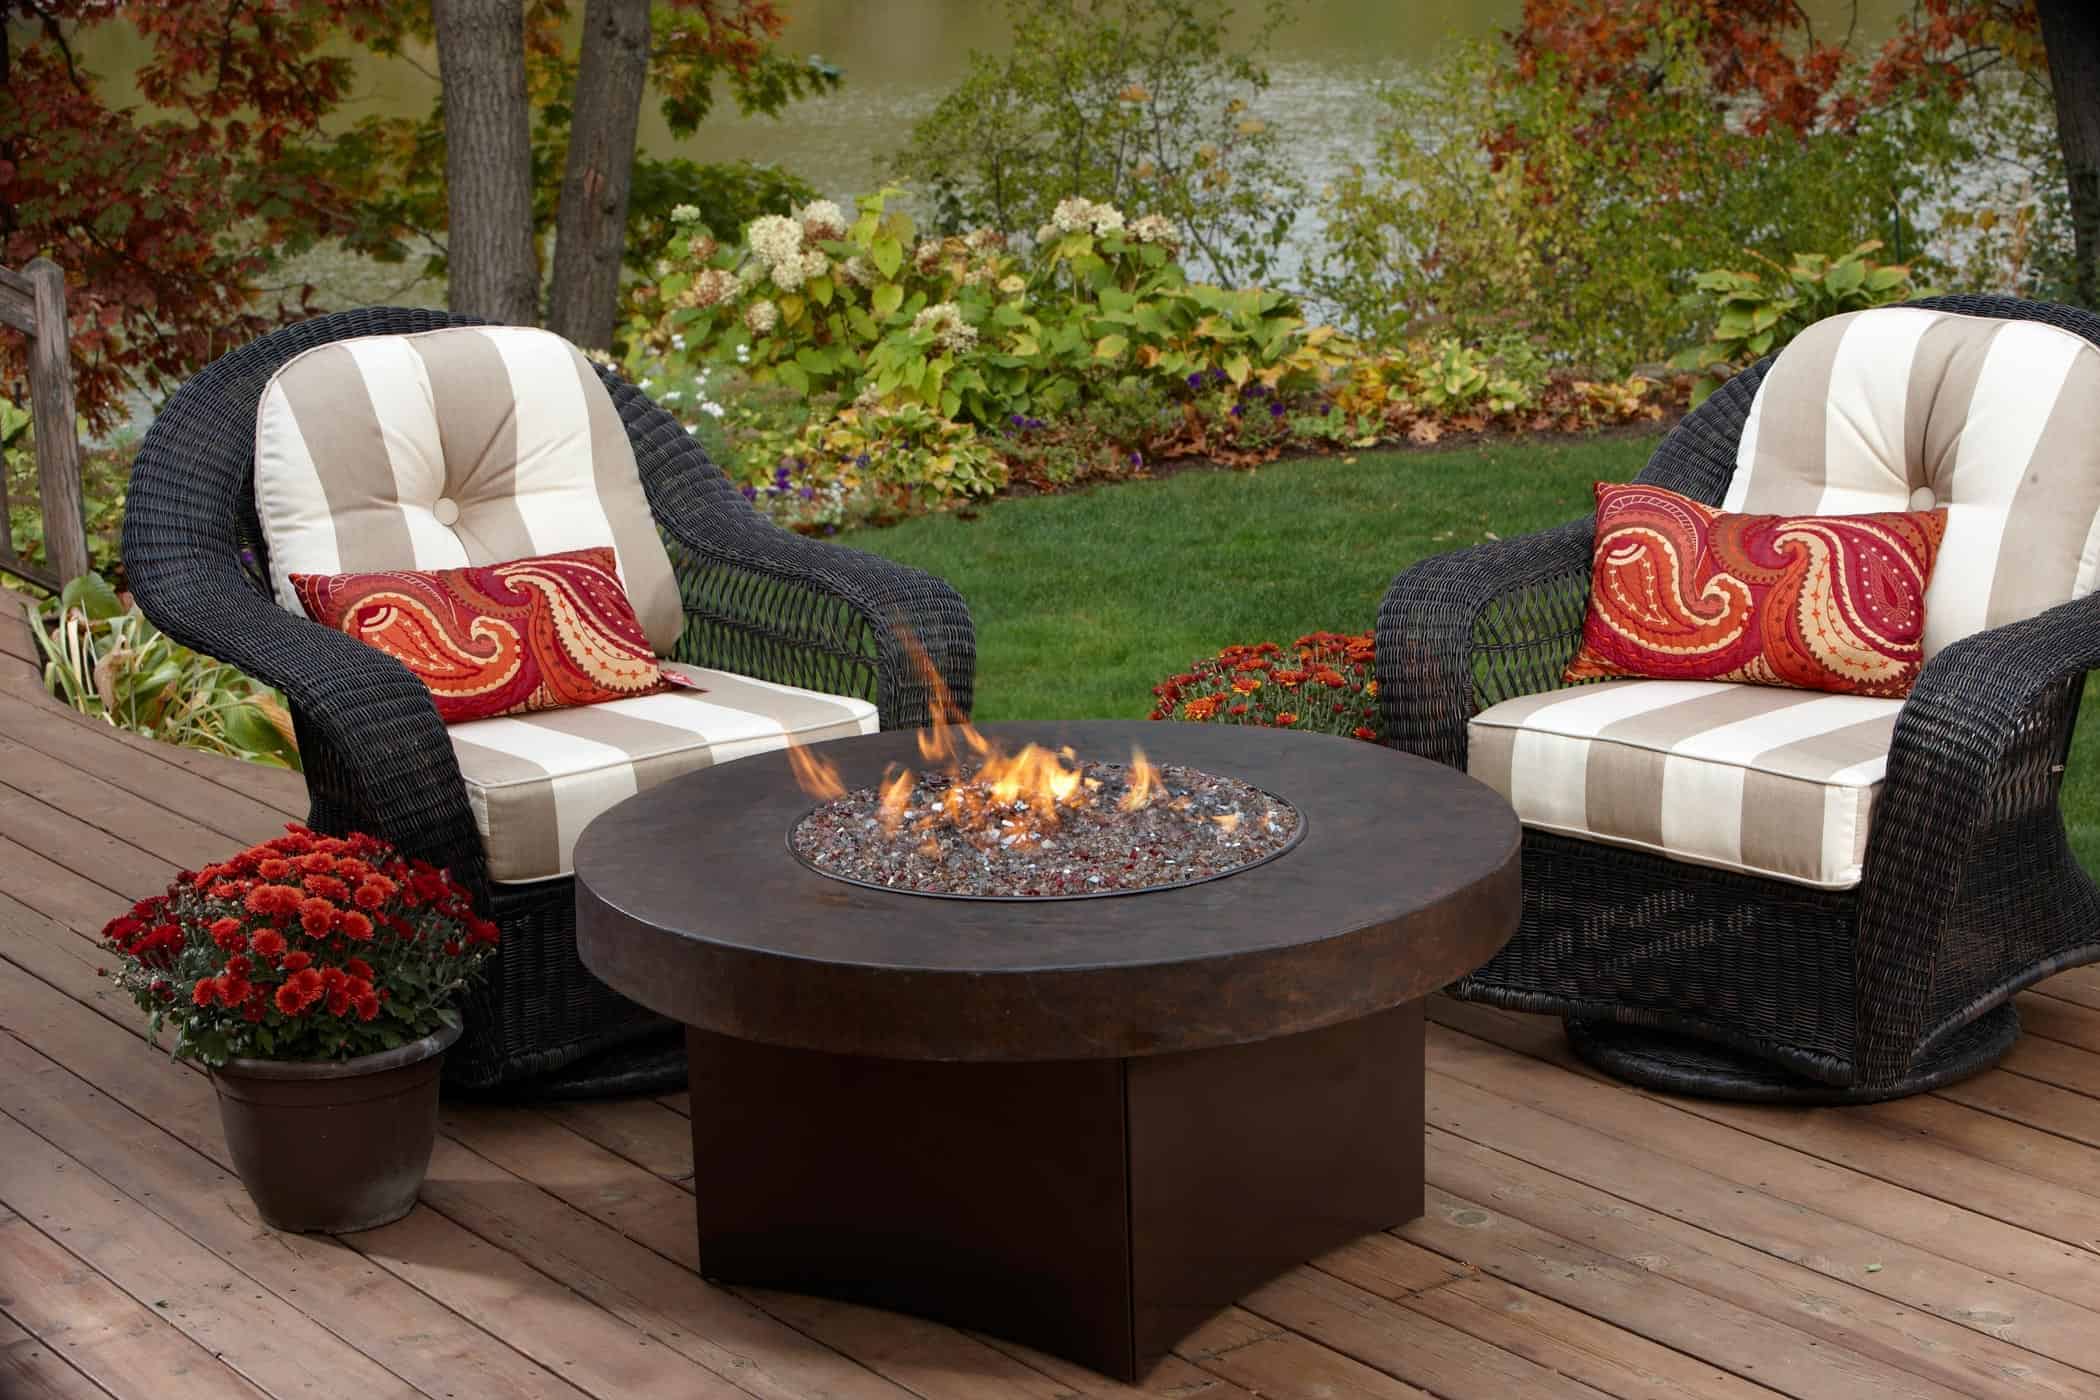
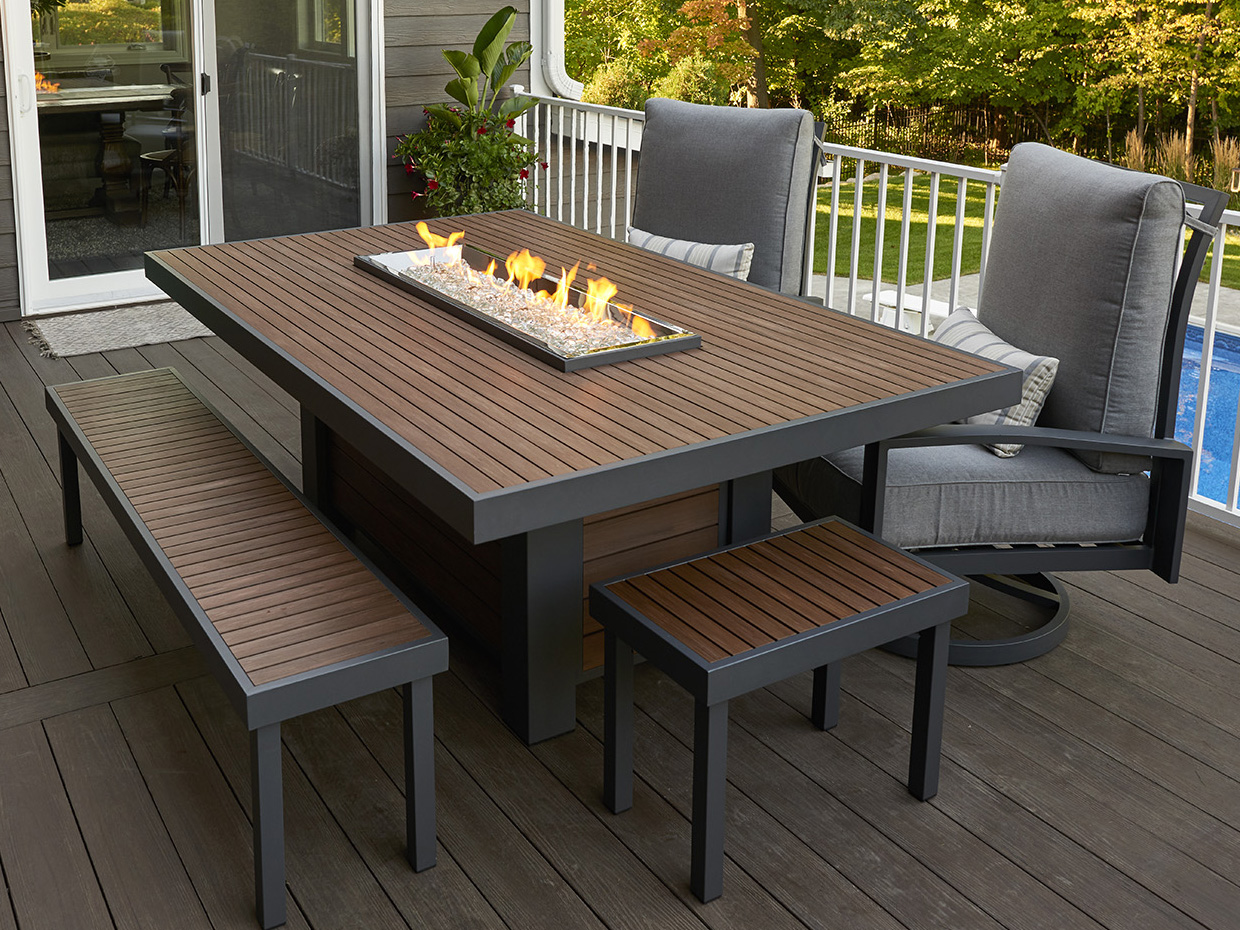
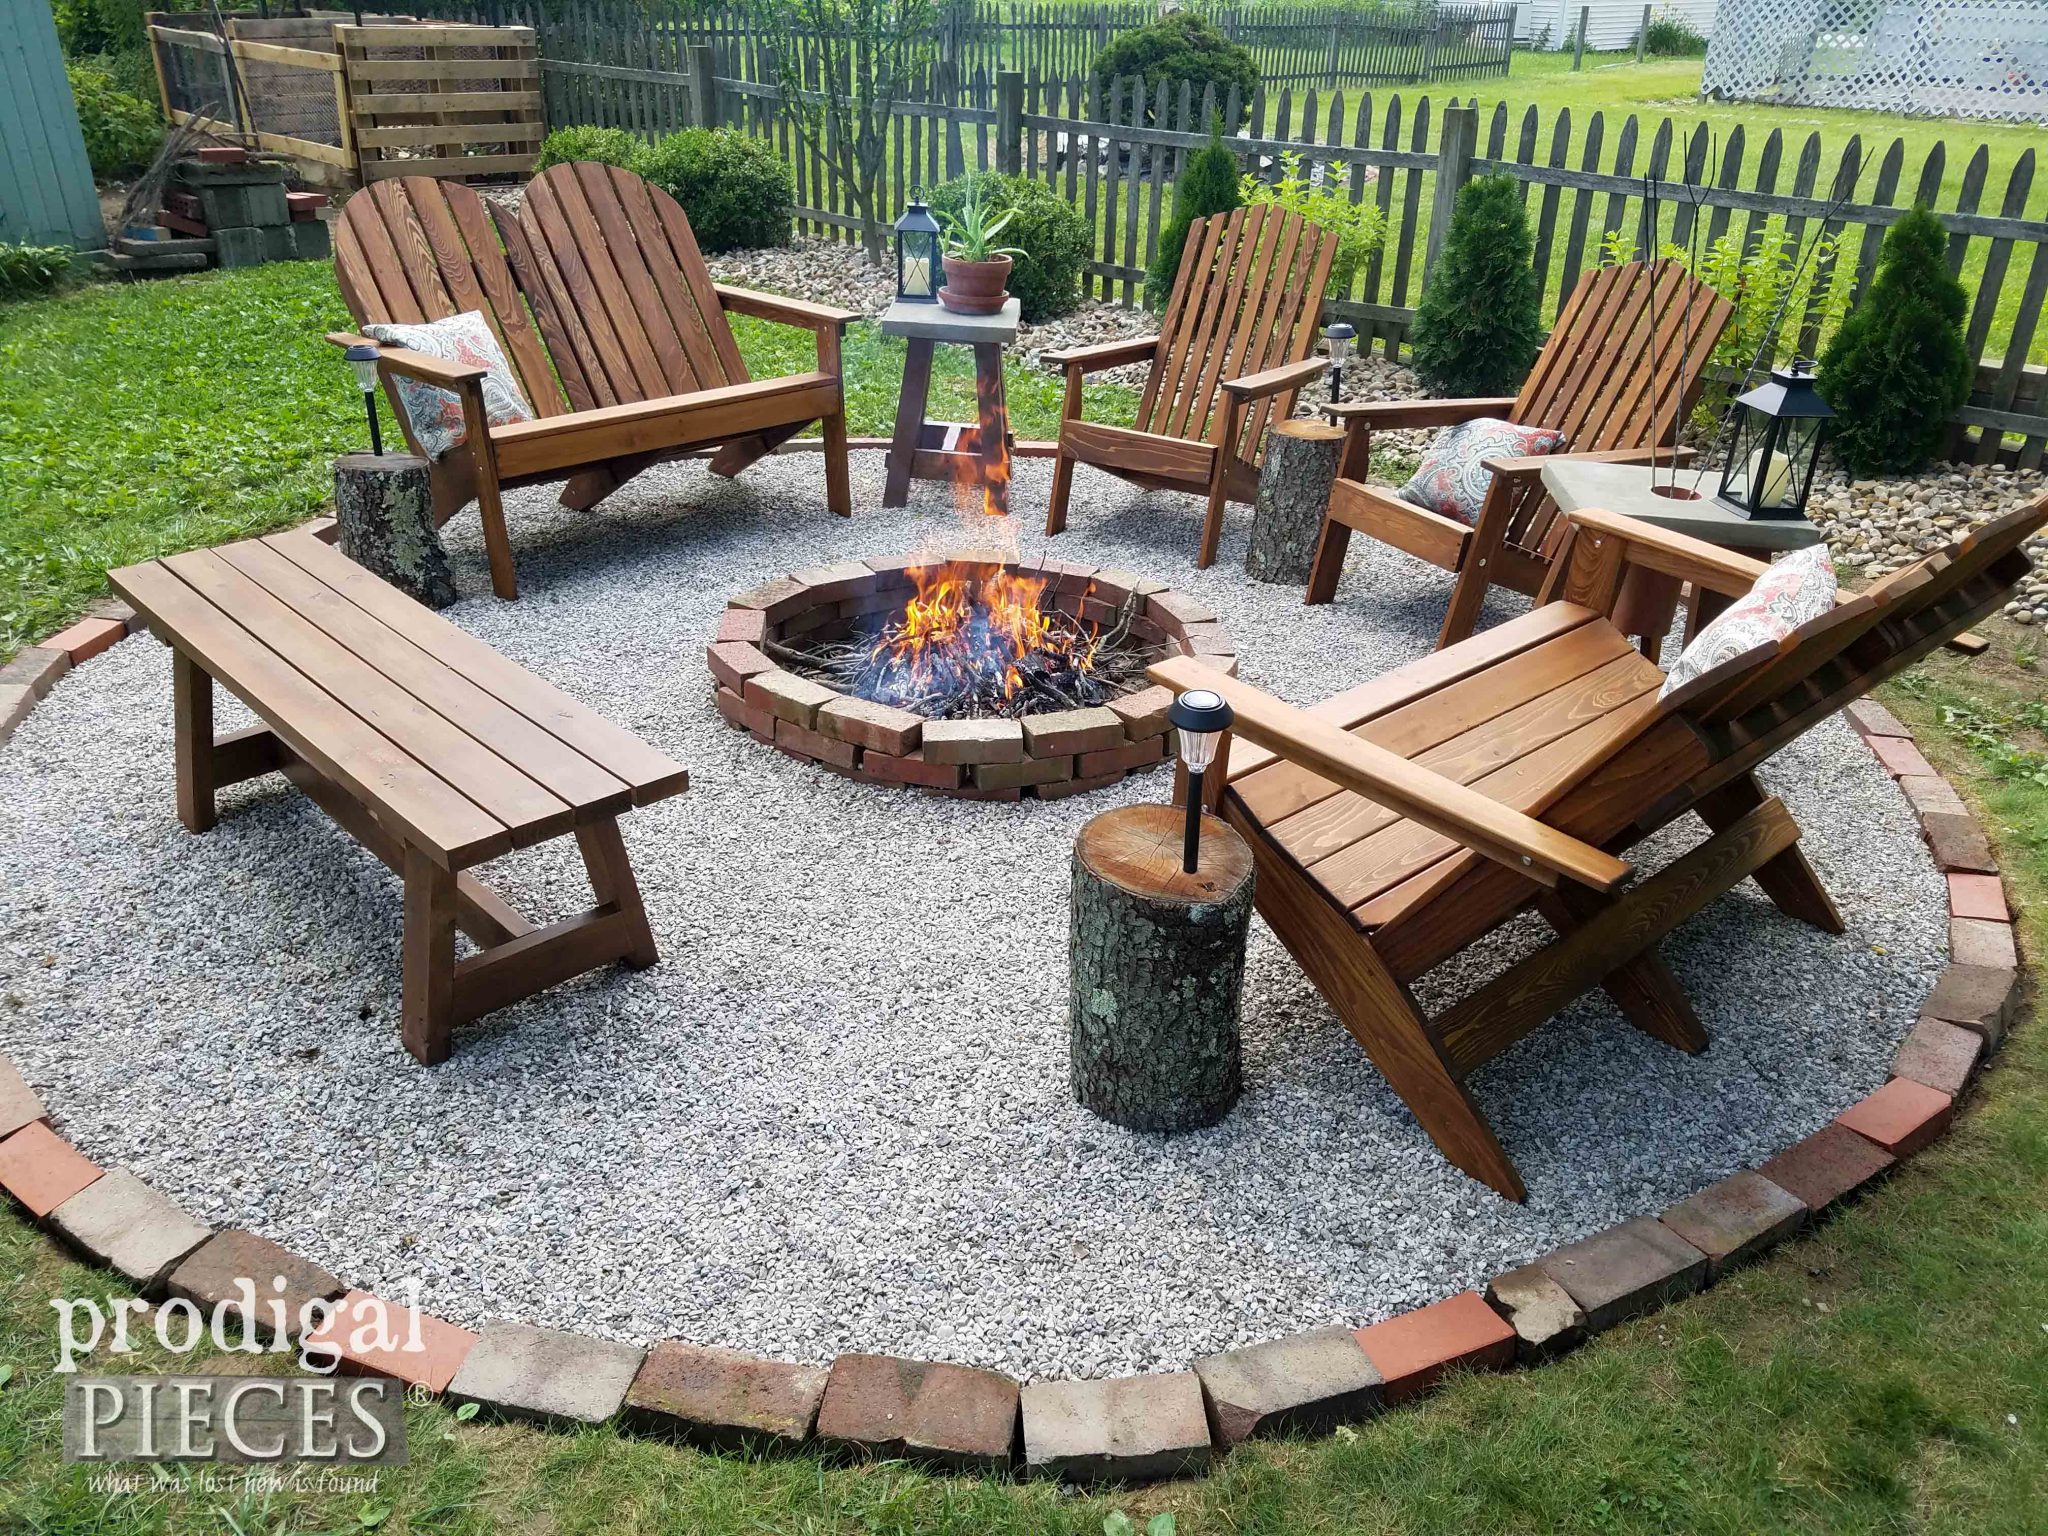
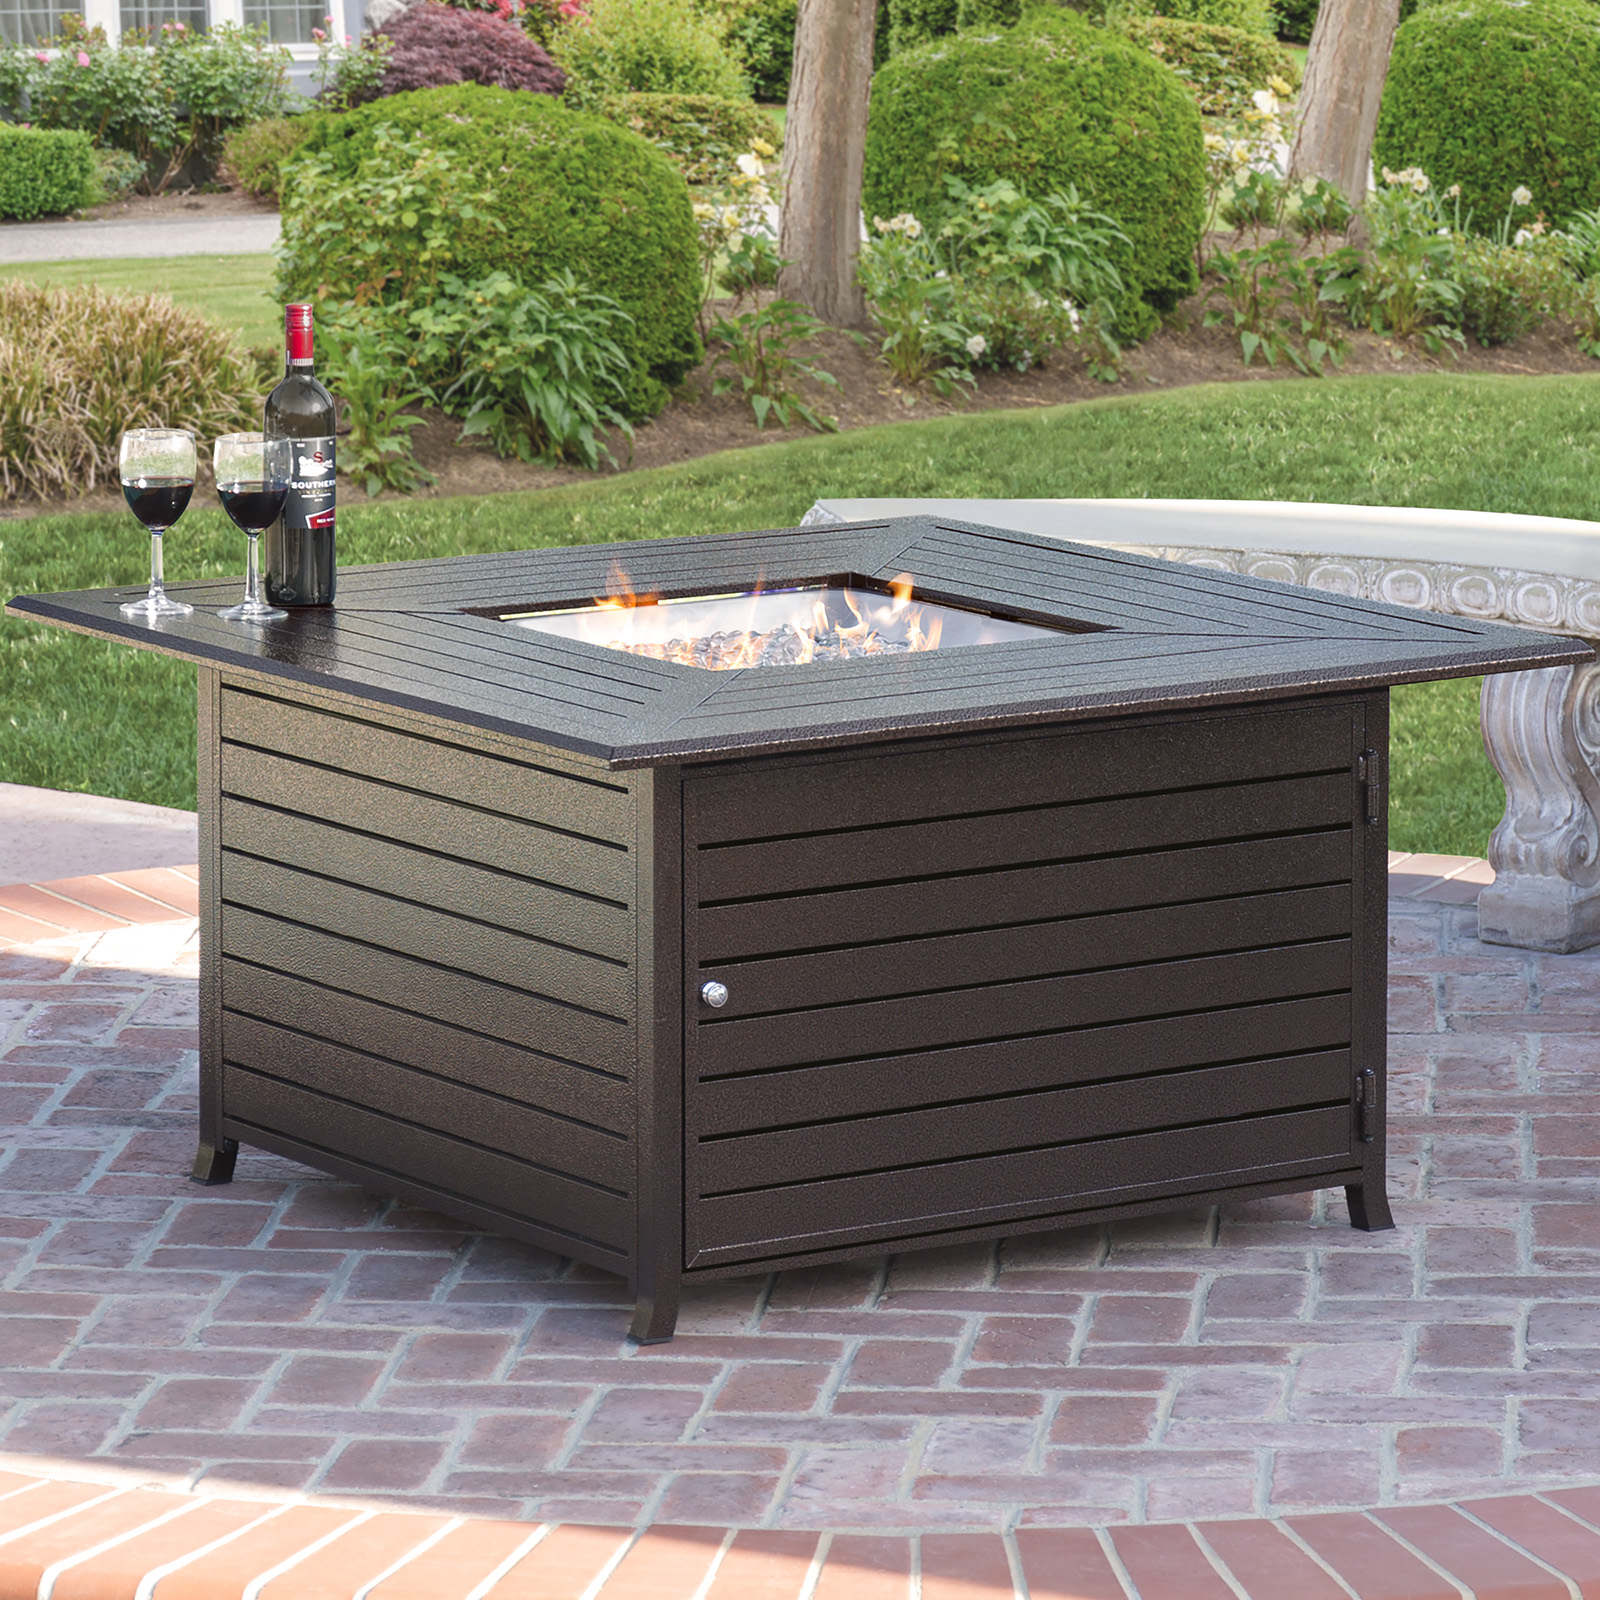
Final product
The finished product should look like this:
[Image of a completed outdoor table fire pit].
