
pallet picture display graduation diy
Pallet Picture Display Graduation DIY

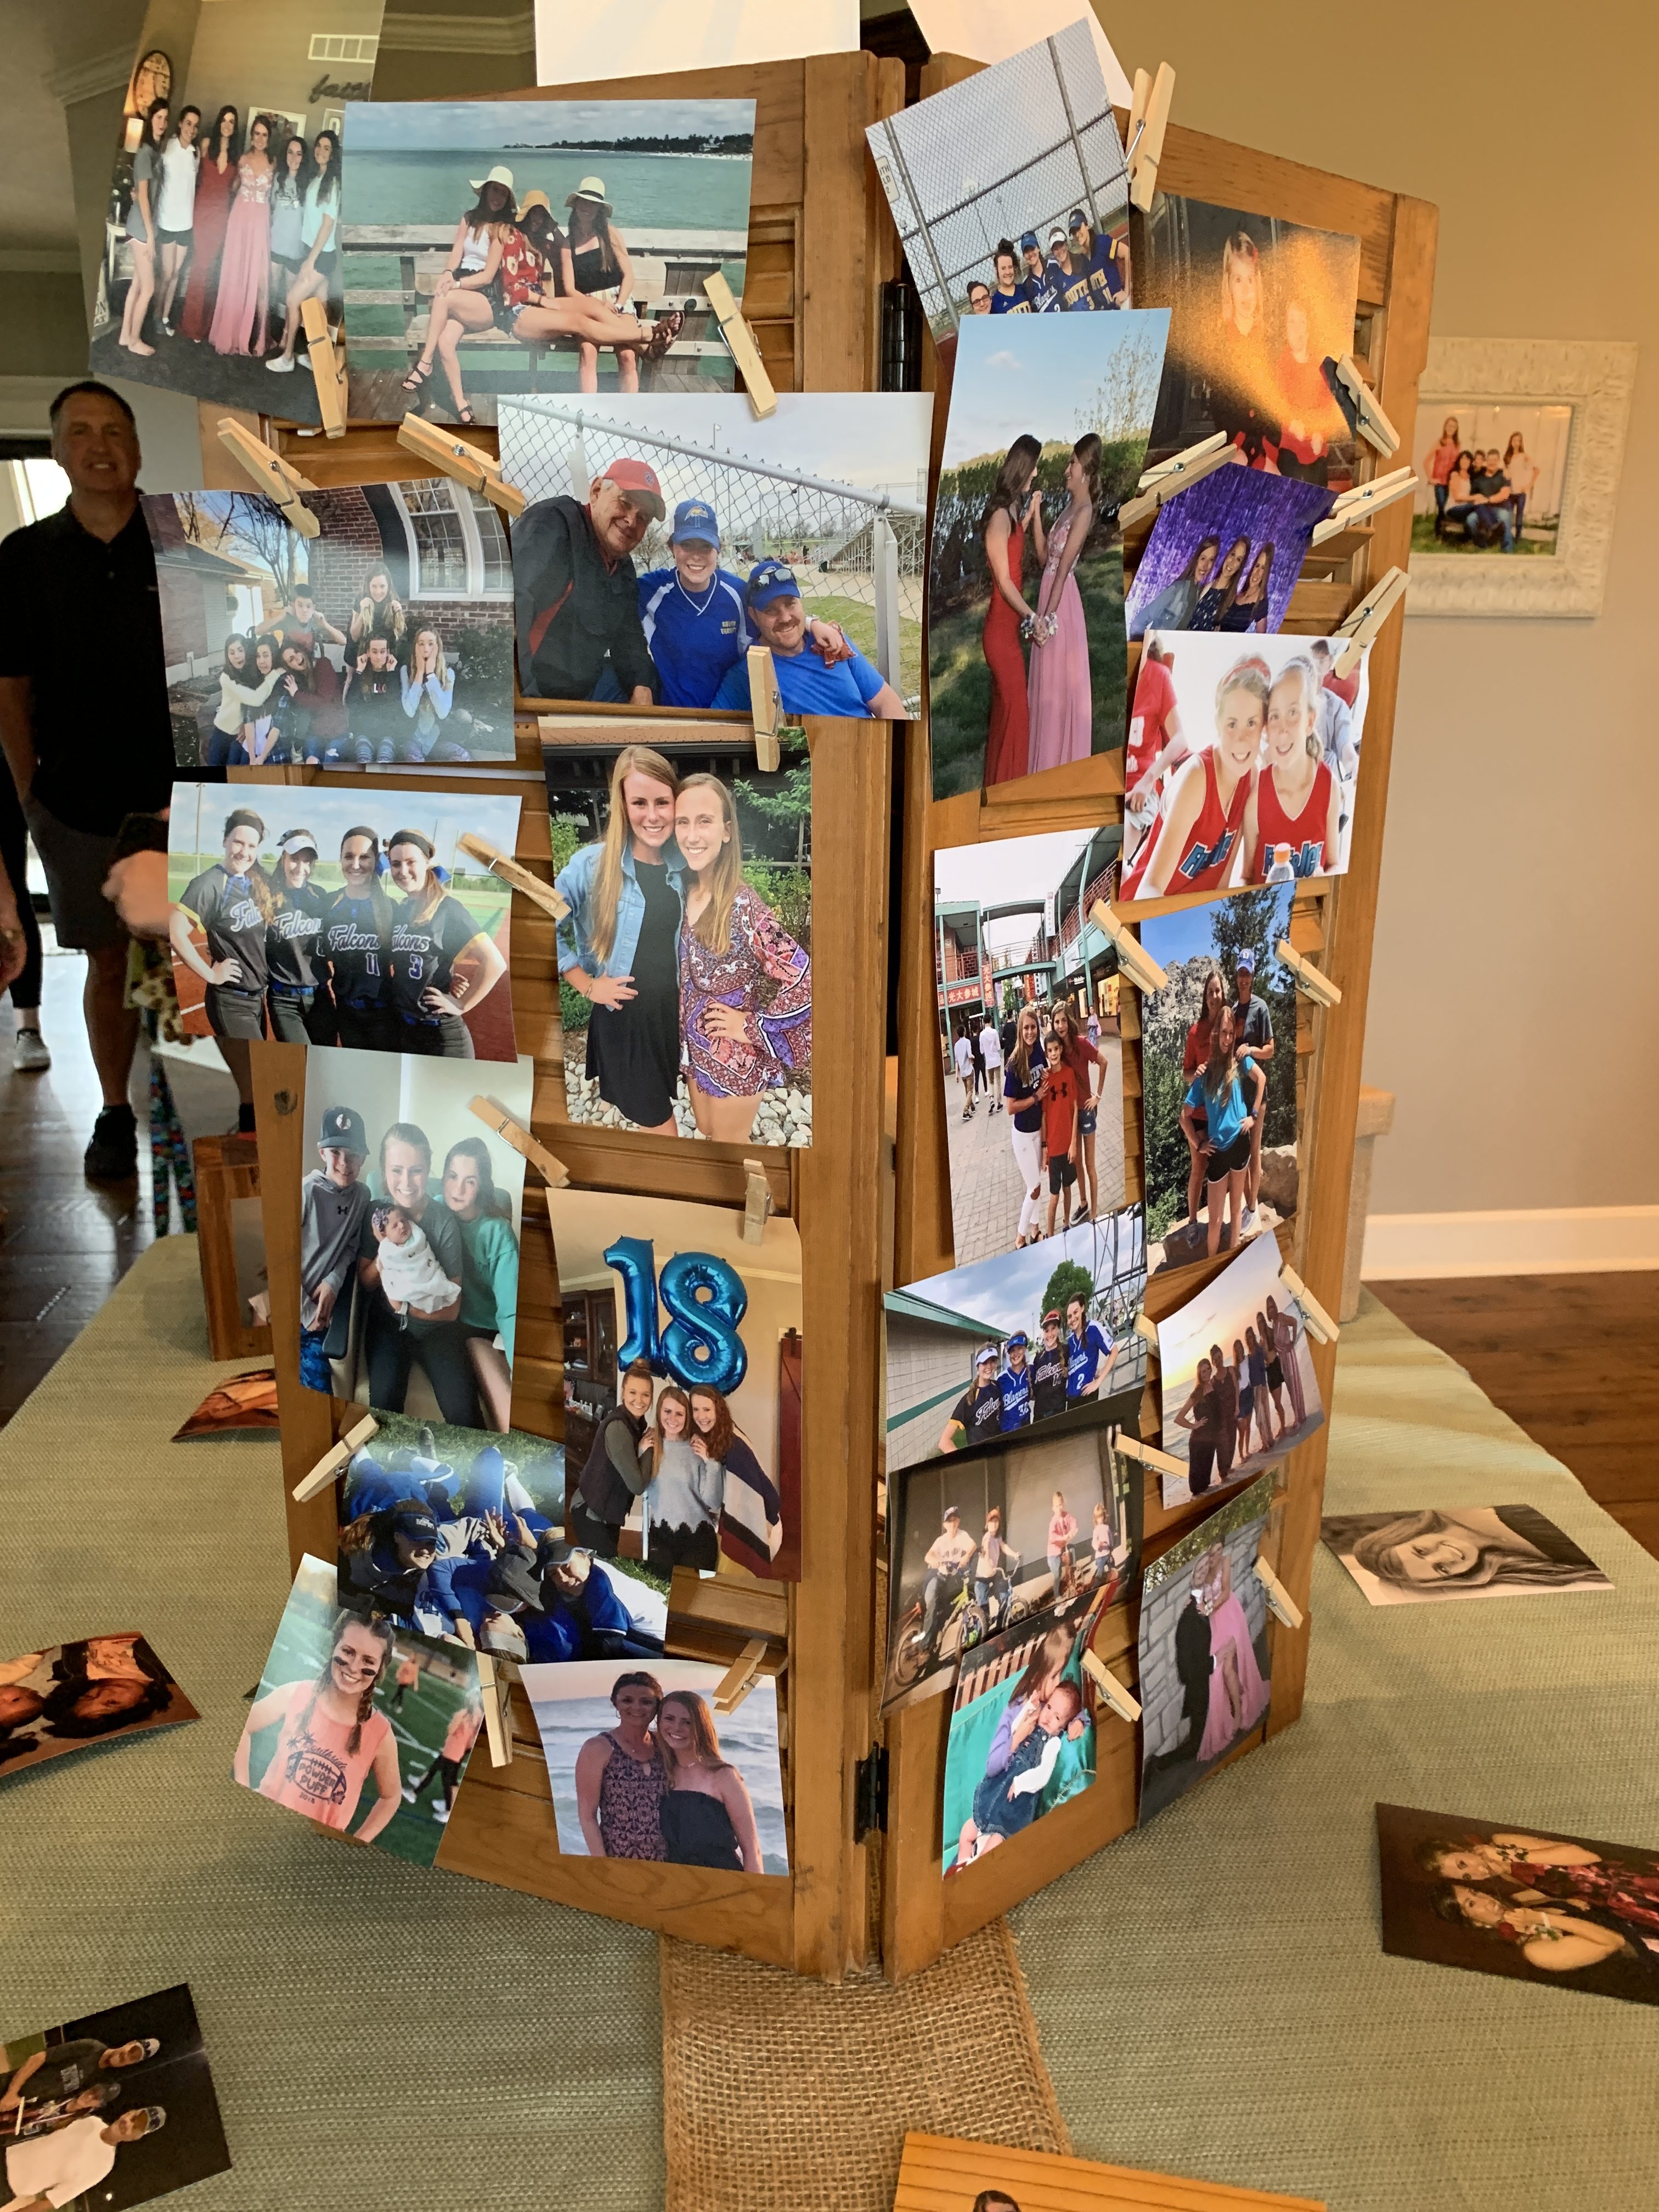
Pallets are a great way to upcycle and recycle materials, and they can be used for a variety of projects, including picture displays. This DIY project is perfect for a graduation party or any other special event. It's easy to follow, and the finished product is both stylish and functional.


What You Need
- 1 pallet
- 2x4s
- Wood screws
- Sandpaper
- Stain or paint (optional)
- Pictures or other decorations

Instructions


- Start by disassembling the pallet. You will need to remove the boards from the pallet frame.
- Use the 2x4s to create a frame for the picture display. The frame should be the same width as the pallet boards, and it should be about 12 inches tall.
- Screw the 2x4s to the pallet boards.
- Sand the wood to smooth out any rough edges.
- Stain or paint the wood, if desired.
- Arrange the pictures or other decorations on the pallet display.
- Enjoy!
Tips

- If you want to make a larger picture display, you can use multiple pallets.
- You can also use different types of wood for the frame.
- If you want to add a touch of personality to your picture display, you can decorate it with paint, stencils, or other embellishments.


Variations
This DIY project can be customized to fit your needs and preferences. Here are a few variations to consider:

- Use a different type of wood for the pallet. For example, you could use reclaimed wood, cedar, or pine.
- Paint the wood a different color. This is a great way to add a pop of color to your picture display.
- Add decorations to the wood. You could use stencils, paint, or other embellishments to personalize your picture display.
- Use different types of pictures or decorations. You could use family photos, graduation pictures, or other special mementos.


Conclusion
This DIY project is a great way to upcycle and recycle materials, and it's perfect for a graduation party or any other special event. It's easy to follow, and the finished product is both stylish and functional. So what are you waiting for? Get started on your own pallet picture display today!

Resources


Pallet Picture Display Graduation DIY
Pallets are a great way to create unique and stylish picture displays. They are also a relatively inexpensive way to do so, making them a great option for students on a budget. This tutorial will show you how to create a pallet picture display for your graduation.

Materials:


- Pallet
- Wood screws
- Wood glue
- Stain or paint (optional)
- Nails
- Picture frames
- Hooks
- Twine or rope
Instructions:

- Assemble the pallet. If your pallet is not already assembled, you will need to do so before you can begin building your picture display. To do this, simply screw the boards together using wood screws.
- Stain or paint the pallet. This is an optional step, but it can help to protect the wood and give your picture display a more finished look. If you choose to stain or paint the pallet, be sure to allow it to dry completely before moving on to the next step.
- Attach the picture frames to the pallet. To do this, you will need to screw or nail the frames to the pallet. Be sure to place the frames in a way that you like.
- Add hooks to the back of the pallet. This will allow you to hang your picture display on the wall. You can use nails, screws, or hooks to do this.
- Thread twine or rope through the hooks. This will create a way to hang your pictures from the display. You can use any type of twine or rope that you like.
- Hang your pictures on the display. Once you have threaded the twine or rope through the hooks, you can hang your pictures on the display. Be sure to hang the pictures in a way that you like.
Your pallet picture display is now complete! You can display it in your home, office, or anywhere else you like.
