
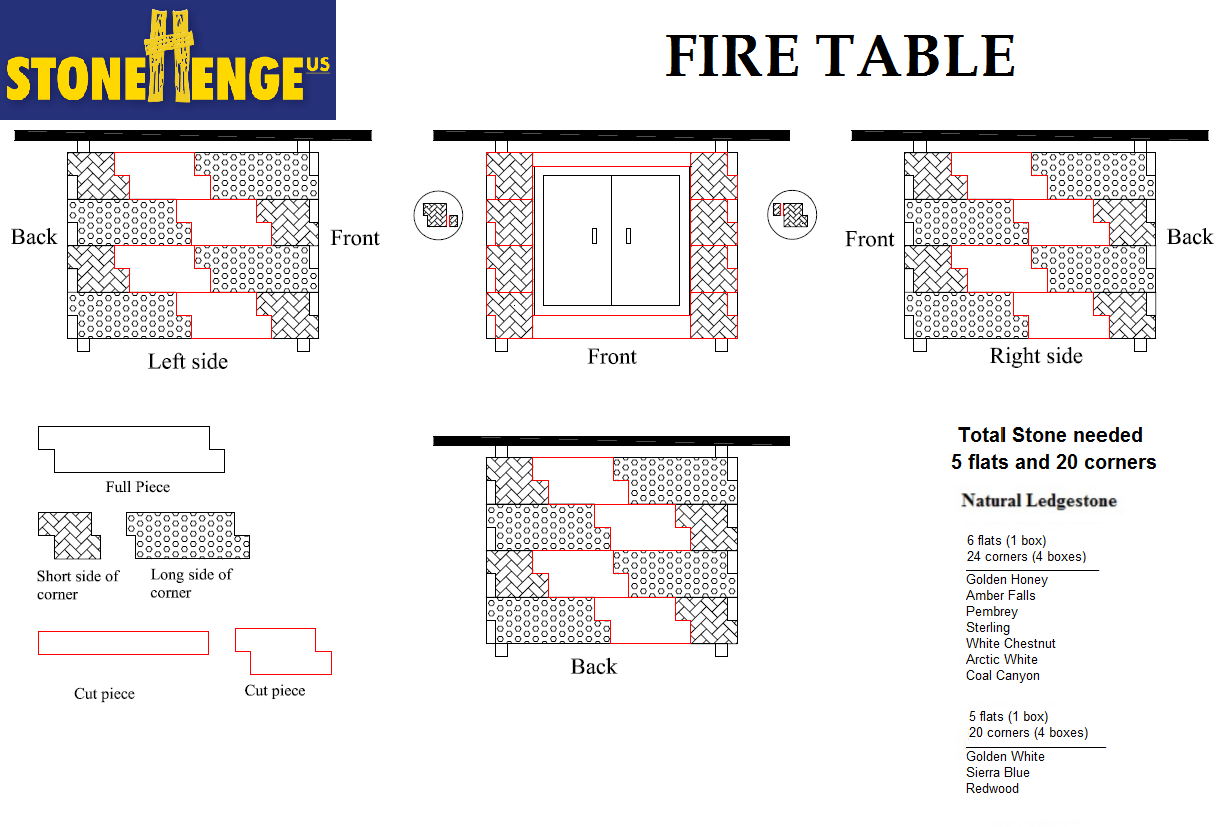
Table fire pit assembly guide

Table fire pits are a great way to enjoy the outdoors without having to worry about building a fire in the ground. They're also a great option for those who have limited space.
If you're thinking about adding a table fire pit to your backyard, this guide will walk you through the assembly process.

Tools and Materials
You will need the following tools and materials to assemble your table fire pit:
- Table fire pit kit
- Tape measure
- Level
- Pencil
- Sander
- Safety glasses
- Gloves
- Hammer
- Nails
- Screws
- Wood glue
- Stain or paint (optional)


Instructions
- Assemble the fire pit base. The fire pit base is typically made of metal or concrete. If you're using a metal base, you will need to weld the pieces together. If you're using a concrete base, you will need to mix the concrete according to the package directions and pour it into the mold.
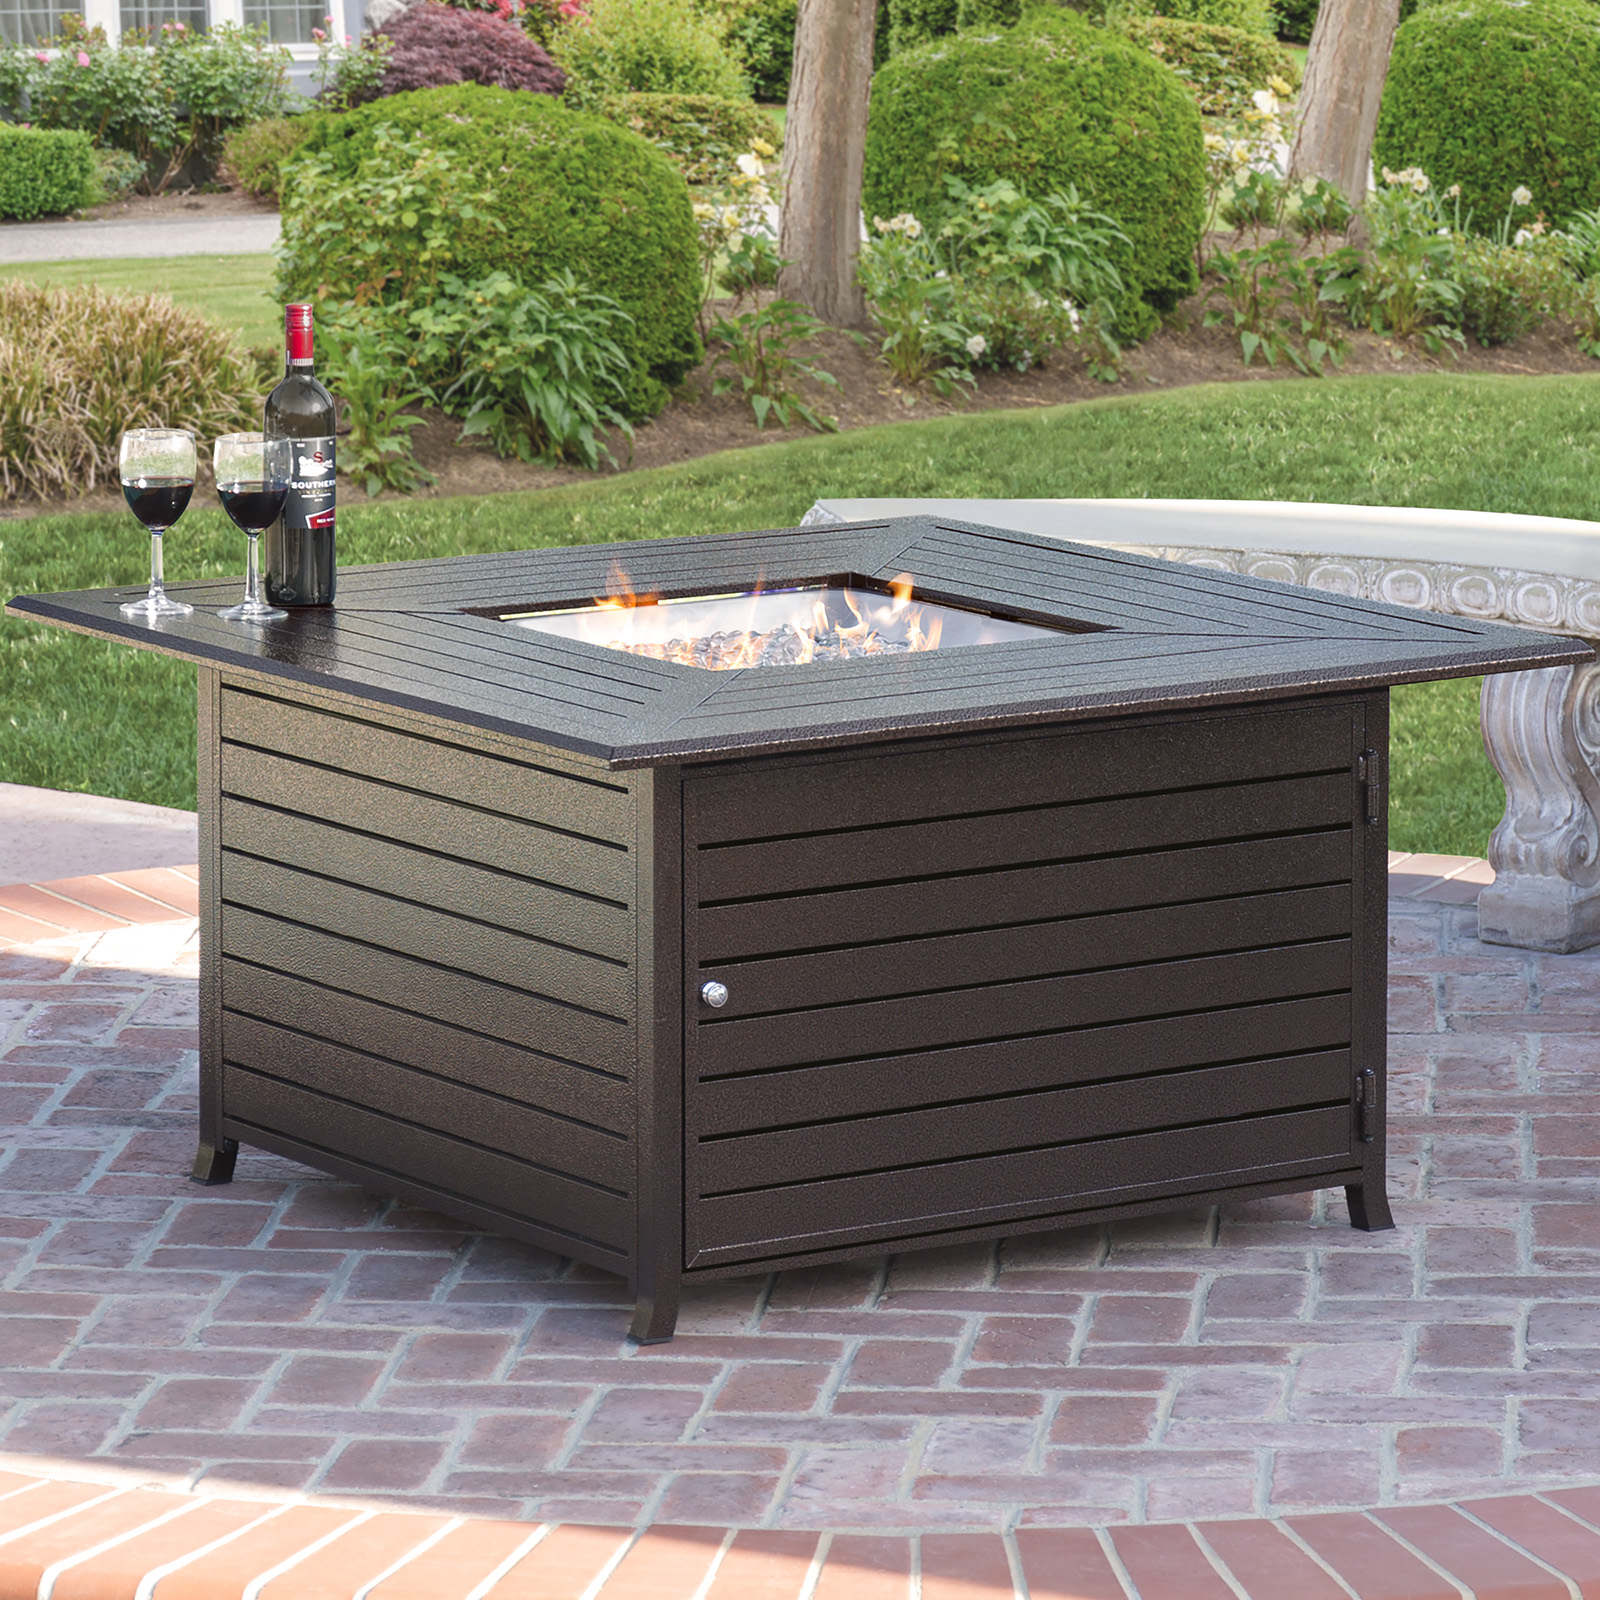
- Attach the fire pit table. The fire pit table is typically made of wood. You will need to attach the table to the base using screws or nails.
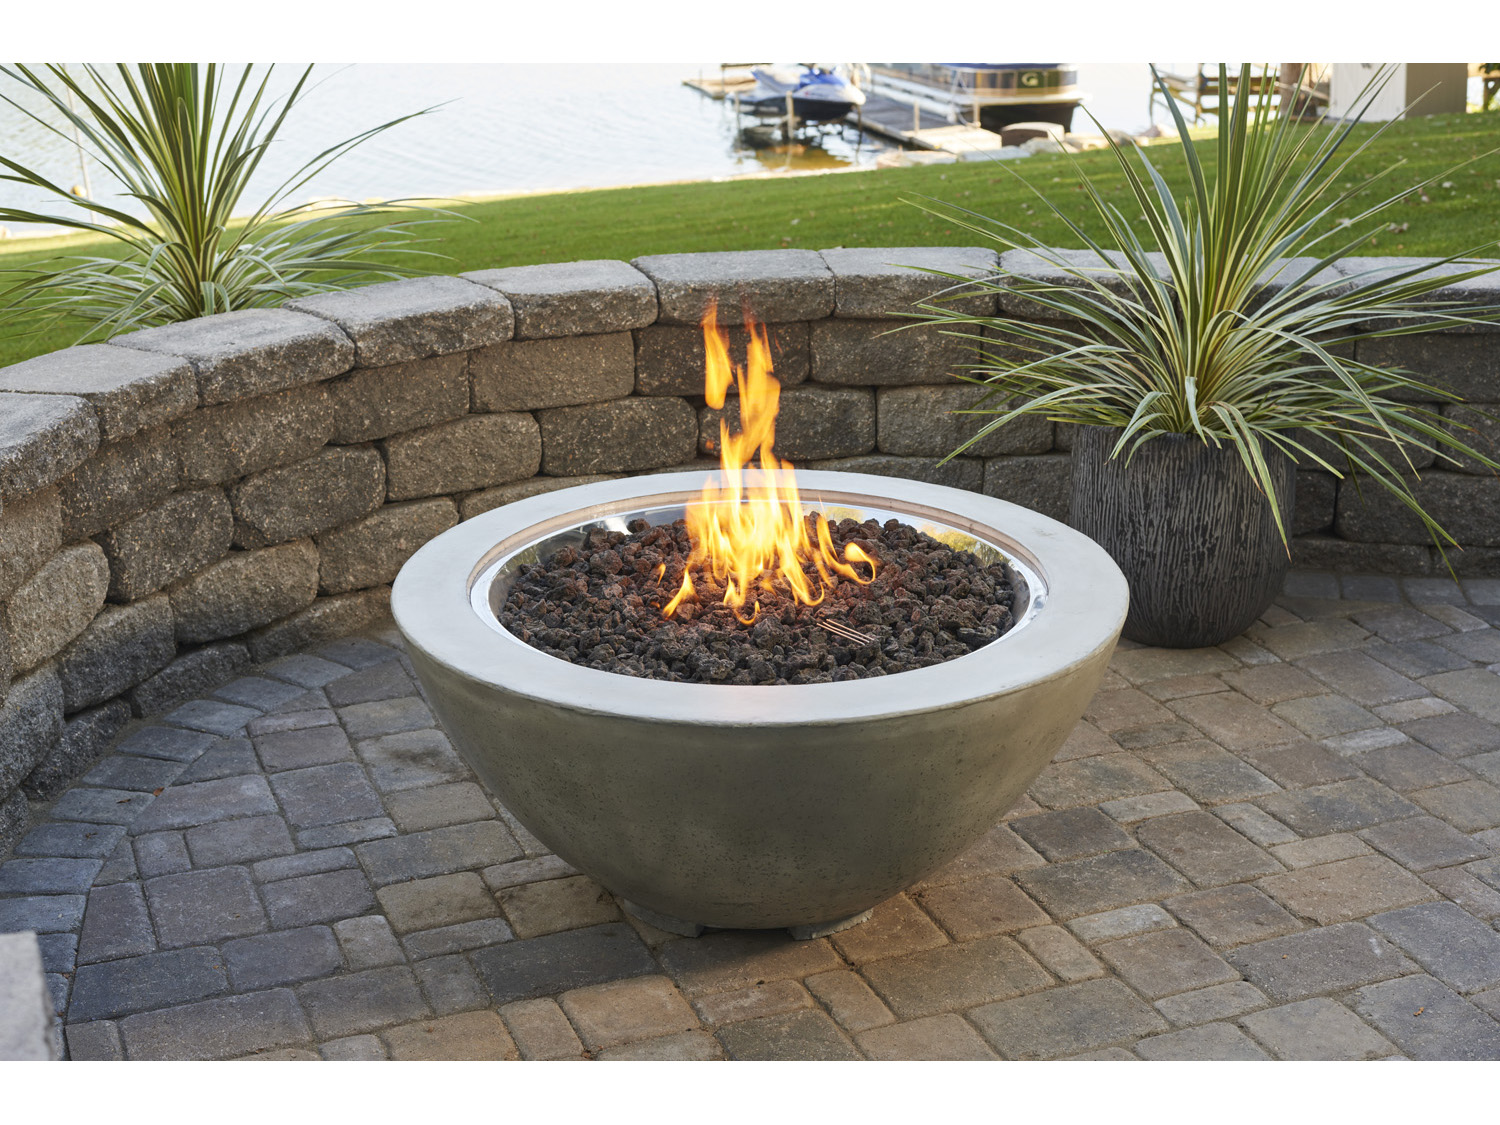
- Add the fire pit insert. The fire pit insert is typically made of metal or ceramic. You will need to place the insert in the fire pit and secure it in place with screws or nails.
- Sit back and enjoy! Once your table fire pit is assembled, you can light a fire and enjoy the warm glow.
Tips for Assembly


- Be sure to read the instructions carefully before you begin assembly.
- Work in a well-ventilated area.
- Wear safety glasses and gloves to protect yourself from flying debris.
- Use a level to make sure the fire pit is level.
- Pre-drill holes for screws and nails to prevent the wood from splitting.
- Use wood glue to help secure the pieces together.
- Stain or paint the fire pit to protect it from the elements.
Troubleshooting

If you're having trouble assembling your table fire pit, here are a few tips:

- Check the instructions to make sure you're following them correctly.
- If you're using a metal base, make sure the pieces are properly welded together.
- If you're using a concrete base, make sure the concrete is mixed according to the package directions and poured into the mold evenly.
- If you're having trouble attaching the table to the base, try using longer screws or nails.
- If the fire pit insert is not sitting level, try adjusting the screws or nails that secure it in place.
Safety Tips

When using a table fire pit, it's important to take precautions to prevent accidents. Here are a few safety tips:

- Never leave a fire unattended.
- Keep children and pets away from the fire.
- Do not use flammable materials near the fire.
- Be sure the fire pit is stable and level.
- Extinguish the fire completely before leaving the area.
Conclusion

Table fire pits are a great way to enjoy the outdoors without having to worry about building a fire in the ground. They're also a great option for those who have limited space.

By following these instructions, you can easily assemble your own table fire pit and enjoy it for years to come.
Table Fire Pit Assembly Guide
Tools and materials
- Table fire pit
- Fire pit insert
- Firewood
- Newspaper
- Matches or lighter
- Safety glasses
- Gloves
- Wrench
- Pliers
Steps
- Assemble the table fire pit. Follow the instructions provided with your fire pit to assemble it.
- Place the fire pit insert in the fire pit. The fire pit insert should be level and centered in the fire pit.
- Add firewood to the fire pit insert. Start with a small pile of kindling, then add larger pieces of firewood on top.
- Light the fire. Use newspaper and a match or lighter to light the kindling.
- Watch the fire and add more firewood as needed. Be careful not to overfill the fire pit.
- Enjoy your fire pit! Stay warm and cozy by the fire pit on a cold winter night.
Safety tips
- Always wear safety glasses and gloves when working with fire.
- Never leave a fire unattended.
- Extinguish the fire completely before leaving the area.
- Be aware of the surrounding area and make sure there are no flammable objects nearby.
- Never burn treated wood or other materials that could produce toxic fumes.
Additional information
- For more information on how to build a table fire pit, you can visit the following websites:


