How to Add Board and Batten to Your Bedroom Wall
How to Add Board and Batten to Your Bedroom Wall
Introduction

Board and batten is a classic wall cladding that has been used for centuries. It is a simple yet effective way to add texture and interest to your walls. Board and batten can be used in any room in your home, but it is especially popular in bedrooms.
Board and batten walls are relatively easy to install, and you can do it yourself with a few simple tools. In this tutorial, we will walk you through the steps of adding board and batten to your bedroom wall.
Materials and Tools

To install board and batten, you will need the following materials:
- Boards: You will need to purchase boards that are the same thickness and width. The most common board size for board and batten is 1x6 inches.
- Battens: Battens are thin strips of wood that are nailed or screwed to the boards. The most common batten size is 1x2 inches.
- Nails or screws: You will need nails or screws to attach the boards and battens to the wall.
- Wood filler: You will need wood filler to fill any gaps between the boards and battens.
- Paint or stain: You will need paint or stain to finish the boards and battens.
You will also need the following tools:

- Saw: You will need a saw to cut the boards and battens to size.
- Measuring tape: You will need a measuring tape to measure the wall and cut the boards and battens to size.
- Level: You will need a level to make sure the boards and battens are installed straight.
- Hammer: You will need a hammer to nail or screw the boards and battens to the wall.
- Sander: You will need a sander to smooth the edges of the boards and battens.
- Paintbrush or roller: You will need a paintbrush or roller to apply paint or stain to the boards and battens.
Step-by-Step Instructions
- Measure the wall and cut the boards and battens to size.

The first step is to measure the wall and cut the boards and battens to size. You will need to cut the boards to the same length as the wall. The battens should be cut to the same width as the boards.
- Install the boards.
Start by installing the boards to the wall. The boards should be installed vertically, with a 1-inch gap between each board. Use nails or screws to attach the boards to the wall.

- Install the battens.
Once the boards are installed, you can install the battens. The battens should be installed horizontally, between the boards. The battens should be spaced evenly apart. Use nails or screws to attach the battens to the boards.
- Fill any gaps.

Once the battens are installed, you can fill any gaps between the boards and battens with wood filler. Allow the wood filler to dry completely.
- Sand the boards and battens.

Once the wood filler is dry, you can sand the boards and battens. This will smooth out any rough edges.


- Paint or stain the boards and battens.
The final step is to paint or stain the boards and battens. This will protect the wood and give it a finished look.

Tips


- Make sure the boards and battens are installed straight. Use a level to check the alignment as you work.
- Use nails or screws that are long enough to go through the boards and into the wall stud.
- Fill any gaps between the boards and battens with wood filler. This will help to create a smooth, finished surface.
- Sand the boards and battens before painting or staining them. This will help to create a smooth surface that will accept the paint or stain evenly.
- Choose a paint or stain that is appropriate for the location of the board and batten wall. If the wall is in a high-traffic area, you may want to choose a durable paint or stain.
Conclusion

Adding board and batten to your bedroom wall is a simple and effective way to add texture and interest to your space. With a few simple tools and materials, you can easily transform your bedroom wall into a beautiful focal point.


Keywords: bedroom wall, board and batten

How to Add Board and Batten to Your Bedroom Wall
Bedrooms are often the most personal spaces in our homes. They're where we relax, unwind, and get ready for the day ahead. If you're looking to add a touch of personality to your bedroom, consider adding board and batten to your walls. Board and batten is a classic design element that can add warmth, texture, and interest to any space.
In this tutorial, we'll show you how to add board and batten to your bedroom wall. We'll cover everything from measuring and cutting your materials to installing the board and batten itself. So if you're ready to give your bedroom a makeover, read on!

What is Board and Batten?
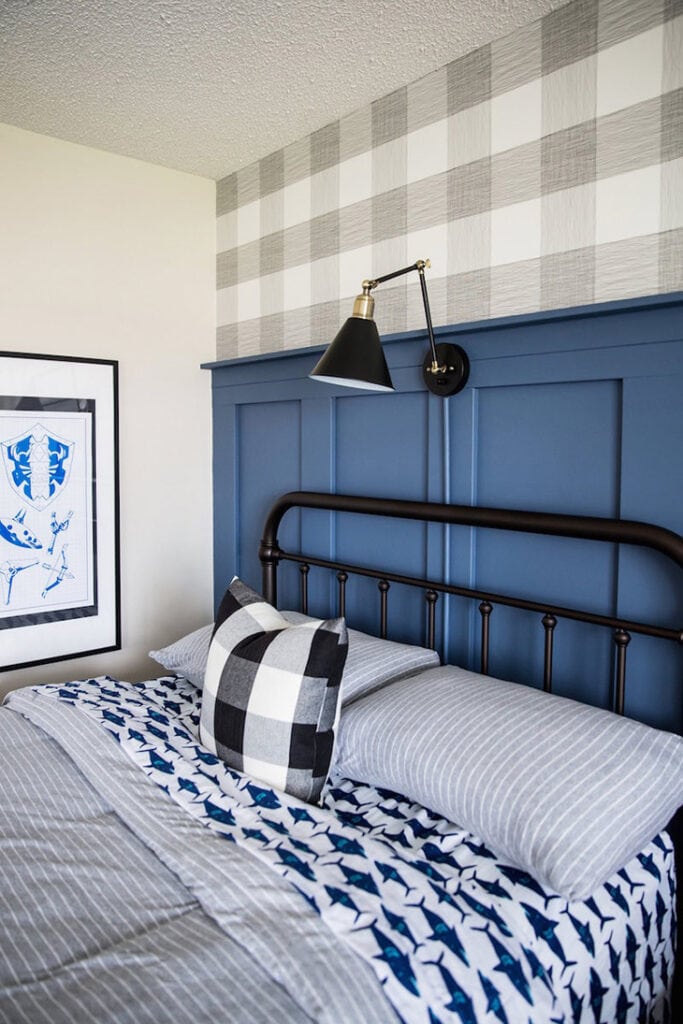
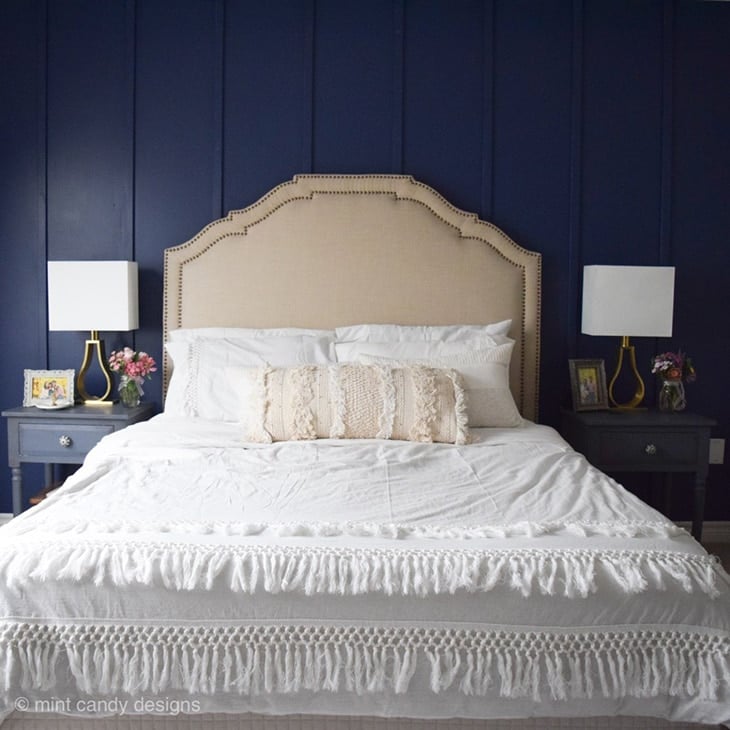
Board and batten is a type of wall cladding that is made by attaching narrow boards (battens) to a wider board (the board). This creates a textured, wainscoting-like effect that is both stylish and durable. Board and batten can be used on any wall in your home, but it is particularly well-suited for bedrooms because it can add warmth and character to a space.
Board and batten is a relatively easy DIY project, and it can be completed in a weekend. However, it is important to measure and cut your materials carefully to ensure that the finished product looks its best.

What Materials Do You Need?
To install board and batten on your bedroom wall, you will need the following materials:
- Boards (1x6 or 1x8)
- Battens (1x2 or 1x3)
- Nails or screws
- Wood filler
- Primer and paint
- Tape measure
- Circular saw or miter saw
- Drill
- Level
- Safety glasses

How to Install Board and Batten
To install board and batten on your bedroom wall, follow these steps:
- Measure your wall and cut your boards and battens to size.
- Attach the boards to the wall using nails or screws.
- Attach the battens to the boards using nails or screws.
- Fill any holes with wood filler and sand smooth.
- Prime and paint your board and batten wall.

Measuring and Cutting Your Materials
The first step in installing board and batten is to measure your wall and cut your materials to size. To measure your wall, you will need to measure the width and height of the area where you want to install the board and batten.
Once you have measured your wall, you can cut your boards and battens to size. To cut your boards, you will need to use a circular saw or miter saw. To cut your battens, you can use a hand saw or a miter saw.


Attaching the Boards to the Wall
Once your boards and battens are cut to size, you can attach them to the wall. To attach the boards to the wall, you will need to use nails or screws.

To attach the boards, start by measuring and marking the location of each board on the wall. Once you have marked the location of each board, you can begin attaching them to the wall.


To attach a board to the wall, you will need to drill a pilot hole through the board and into the wall. Once you have drilled the pilot hole, you can insert a nail or screw through the board and into the wall.
Repeat this process for each board until all of the boards are attached to the wall.

Attaching the Battens to the Boards


Once the boards are attached to the wall, you can attach the battens to the boards. To attach the battens, you will need to use nails or screws.
To attach a batten to a board, you will need to measure and mark the location of each batten on the board. Once you have marked the location of each batten, you can begin attaching them to the boards.

To attach a batten to a board, you will need to drill a pilot hole through the batten and into the board. Once you have drilled the pilot hole, you can insert a nail or screw through the batten and into the board.

Repeat this process for each batten until all of the battens are attached to the boards..


