
How to Build a DIY Living Room TV Wall That's Both Stylish and Functional
How to Build a DIY Living Room TV Wall That's Both Stylish and Functional
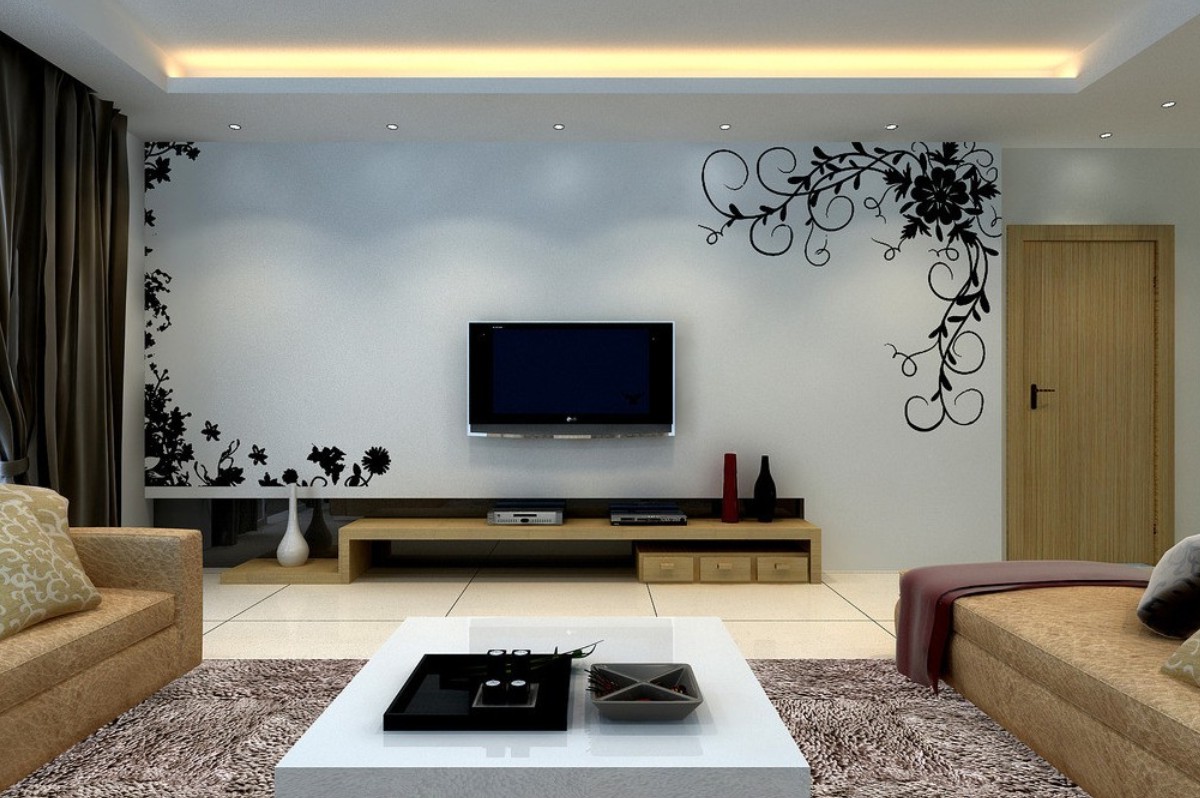
Your living room TV wall is the focal point of your home, so it's important to get it right. Whether you're looking for a sleek and modern look or a more traditional feel, there are plenty of DIY TV wall ideas to choose from.
In this blog post, we'll walk you through the process of building a DIY living room TV wall that's both stylish and functional. We'll provide tips on choosing the right materials, designing your wall, and assembling it.
So if you're ready to give your living room a makeover, read on for all the information you need to know!

Choosing the Right Materials
The first step in building a DIY living room TV wall is choosing the right materials. You'll need to decide what type of wall you want to build, as well as what materials you'll need to complete the project.
Types of TV Walls

There are three main types of TV walls:
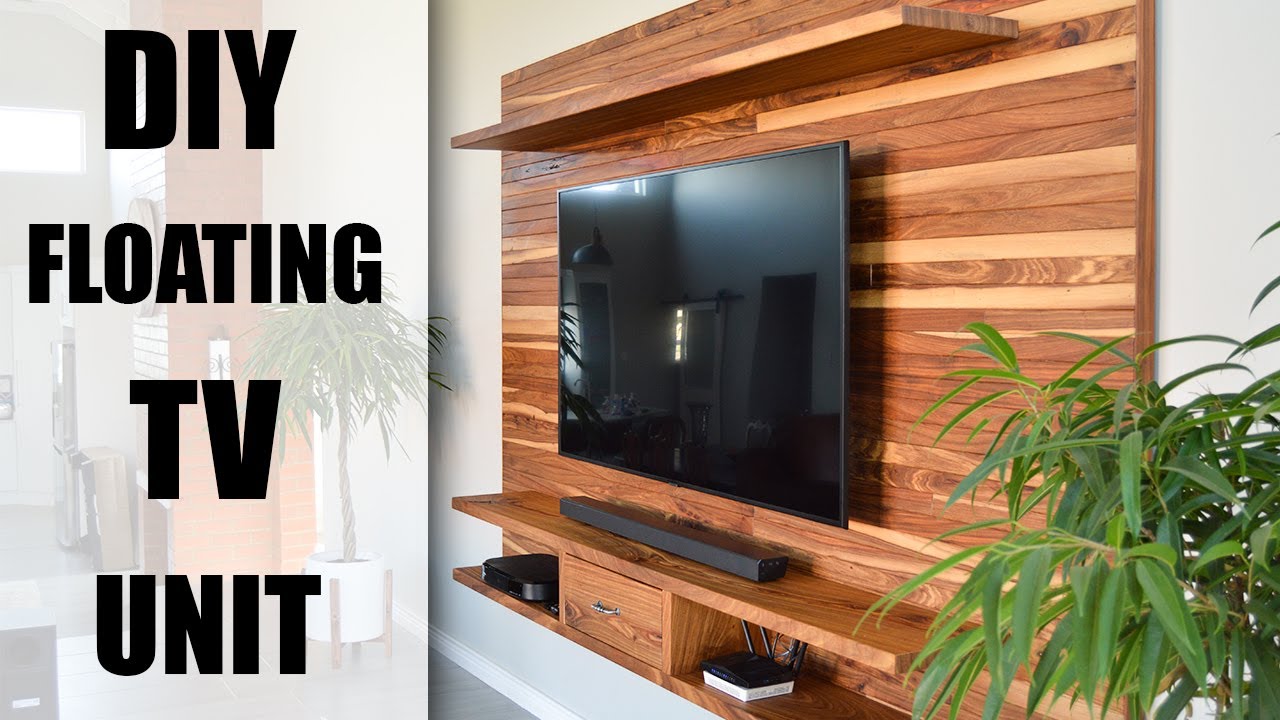
- Floating TV walls are built away from the wall, creating a floating effect. This type of TV wall is ideal for smaller spaces, as it doesn't take up as much wall space.
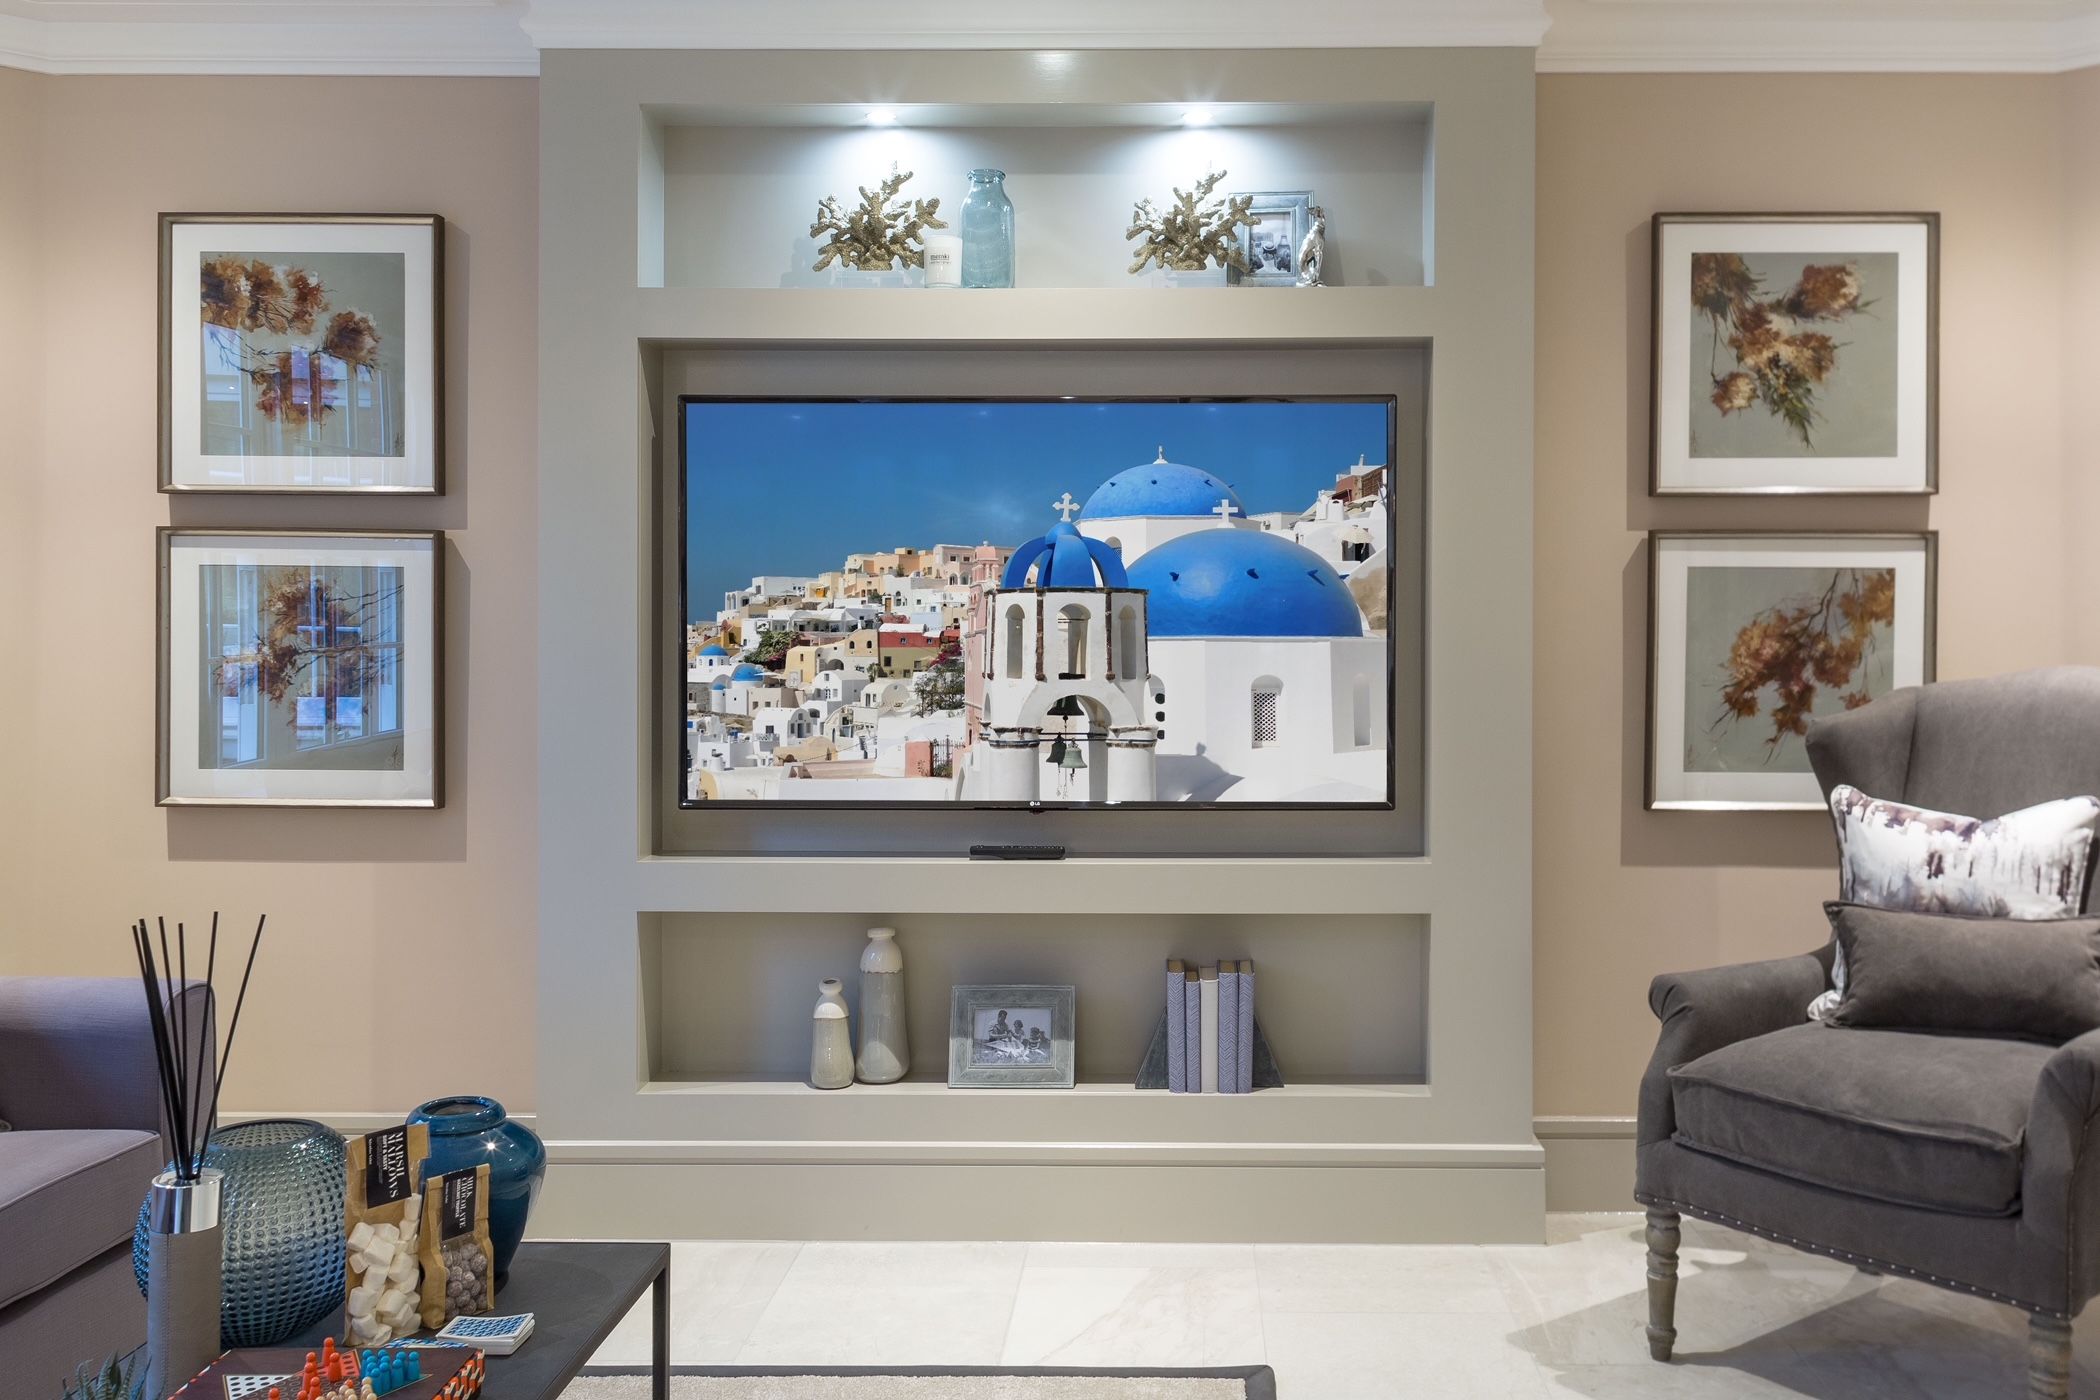
- Recessed TV walls are built into the wall, creating a seamless look. This type of TV wall is ideal for larger spaces, as it can accommodate larger TVs.
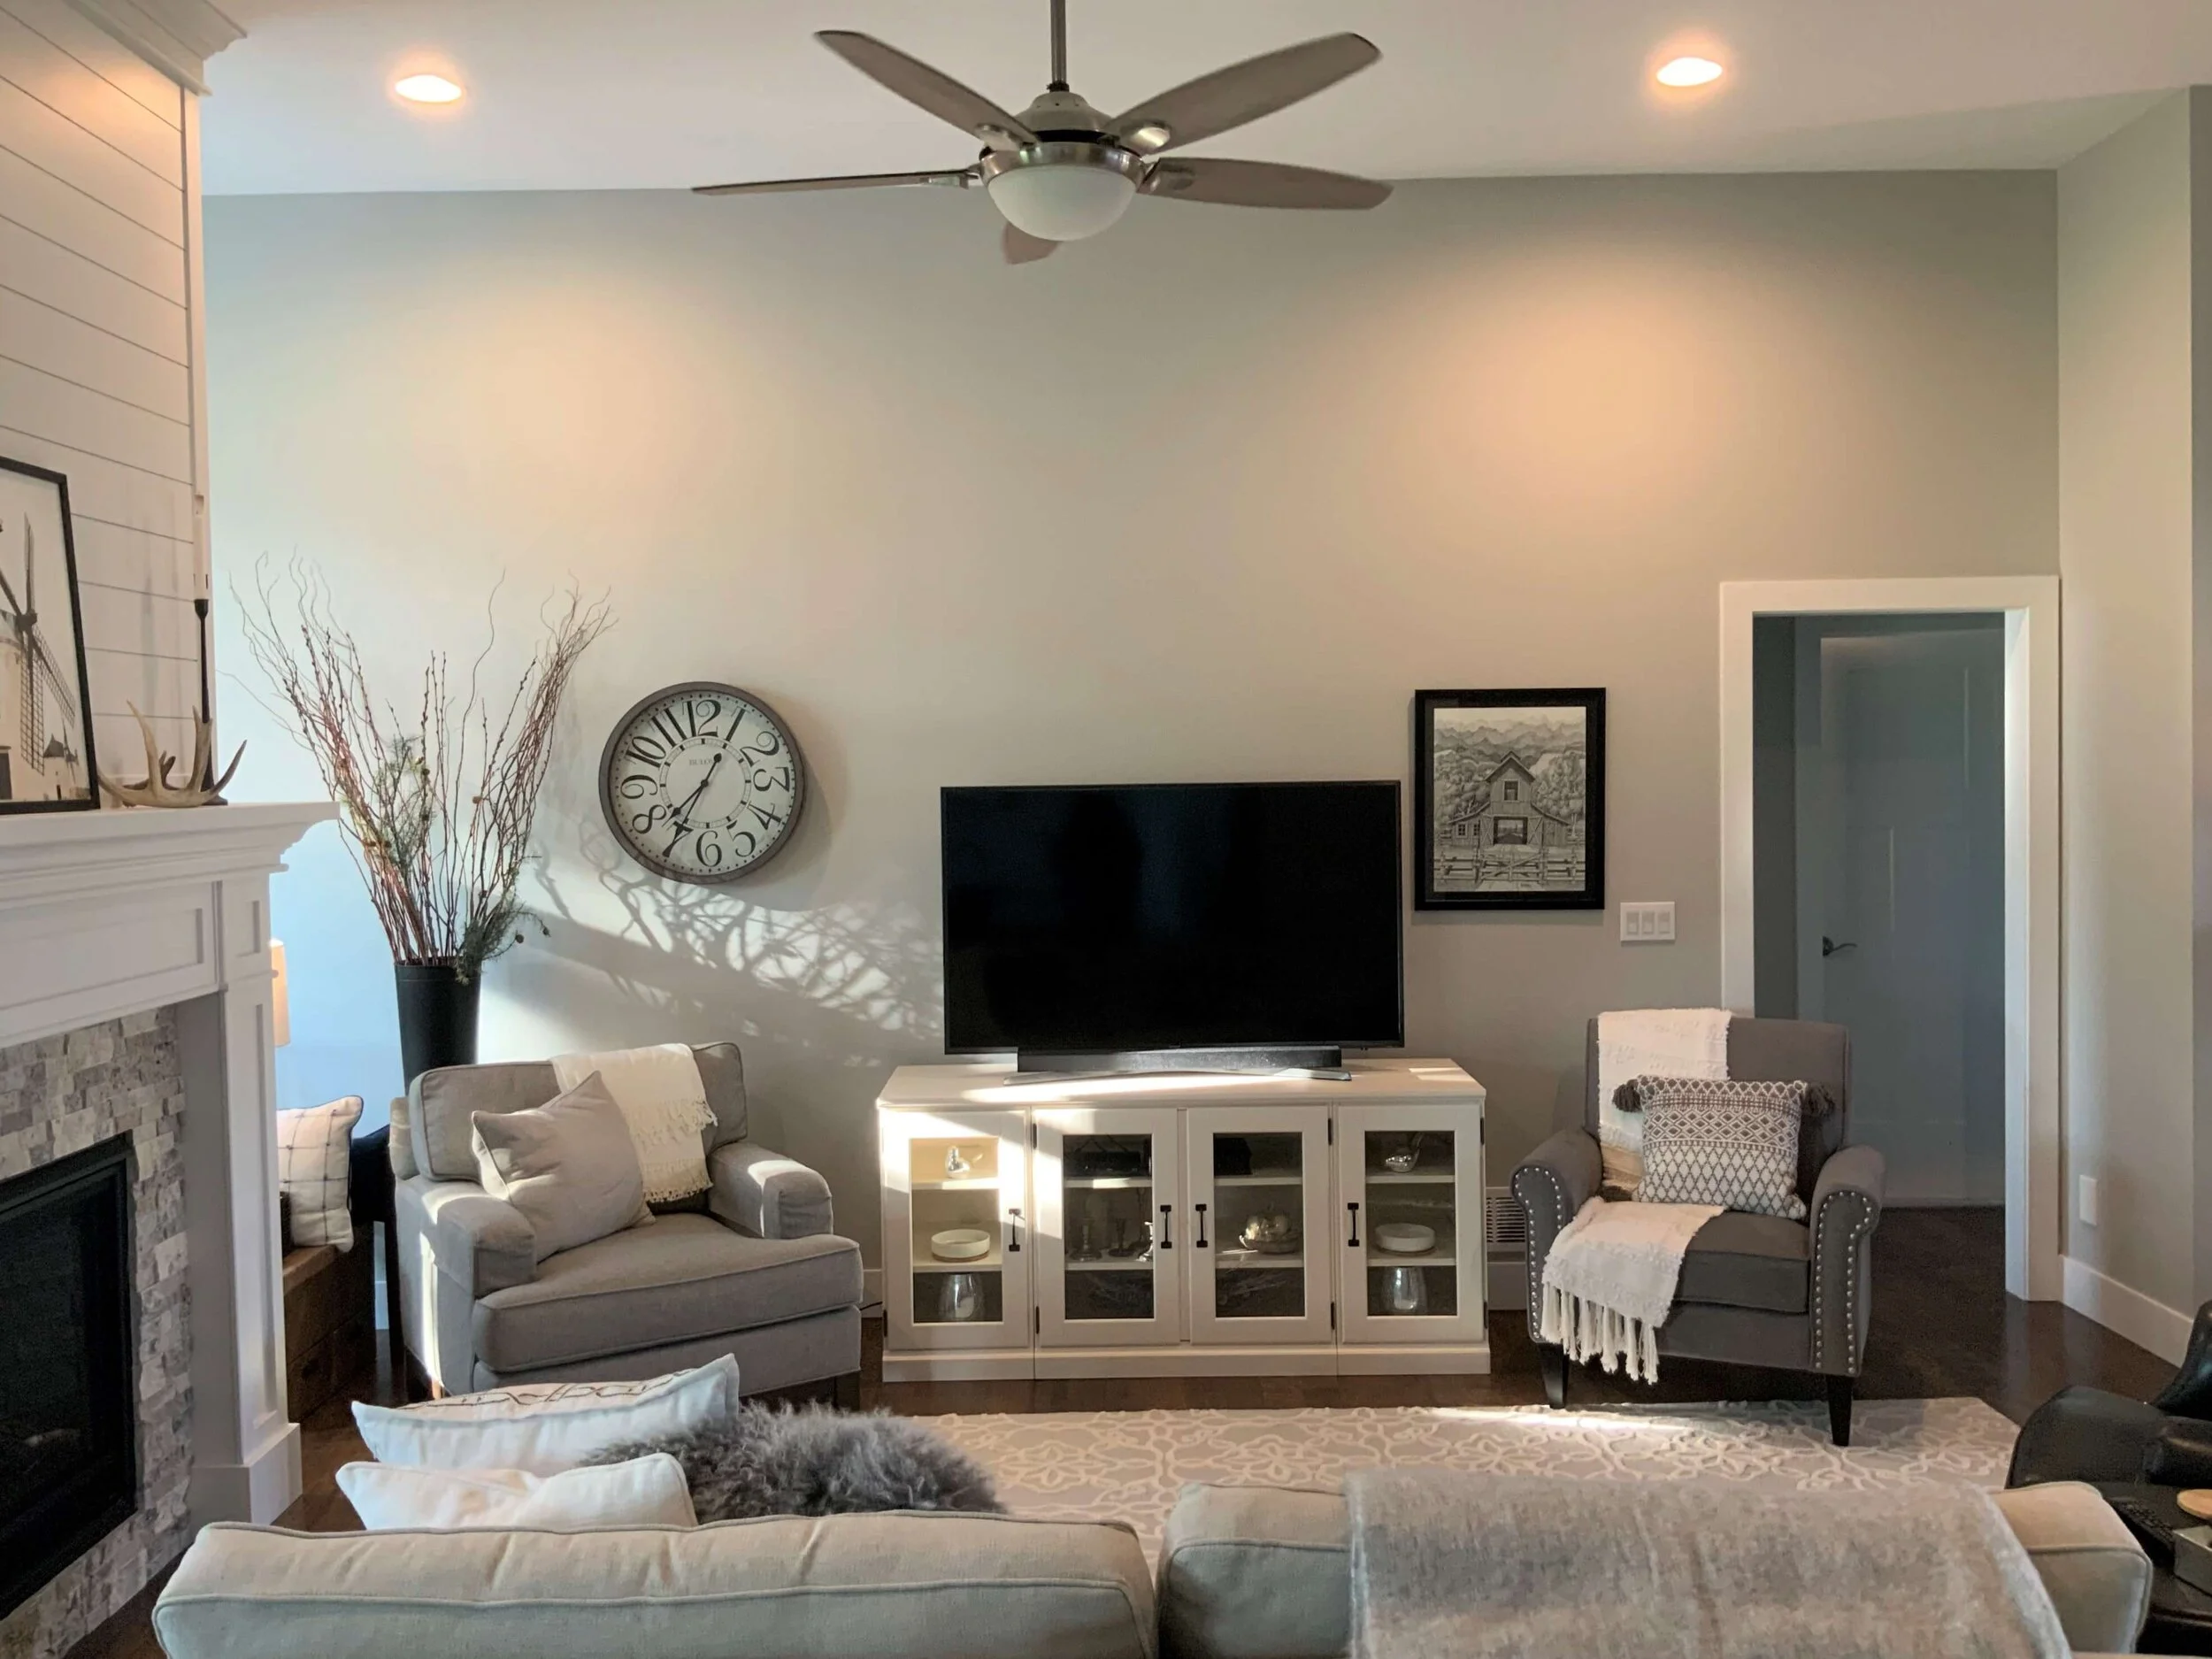
- Standing TV walls are freestanding units that can be placed anywhere in the room. This type of TV wall is ideal for people who want to be able to move their TV around easily.
Materials

The materials you need for your DIY TV wall will depend on the type of wall you choose. For a floating TV wall, you'll need:
- 2x4s for the frame
- Plywood for the backing
- Molding for the trim
- Drywall for the finish
For a recessed TV wall, you'll need:

:max_bytes(150000):strip_icc()/RanchoEncinitasTreehouse-LivingRoom26-31e31f5d18a84c2c8bb365bc37137d40.jpg)
- Sheetrock for the walls
- Drywall screws
- Tape and mud
- Paint

For a standing TV wall, you'll need:
- A sturdy piece of furniture, such as a bookcase or credenza
- A TV mount
- Power cords
- Cable management system


Designing Your Wall
Once you've chosen the right materials, it's time to design your wall. This step is important, as it will determine the overall look and feel of your finished product.
Here are a few things to keep in mind when designing your wall:


- Size: The size of your TV will determine the size of your wall. Make sure to leave enough space around the TV for the speakers and other components.
- Shape: The shape of your wall can be customized to fit your space. You can choose from a rectangular, square, or L-shaped wall.
- Color: The color of your wall can be used to create a specific mood or atmosphere. Choose a color that complements the rest of your décor.
- Style: The style of your wall can be anything you want it to be. You can choose from a modern, traditional, or rustic look.

Assembling Your Wall
Once you've designed your wall, it's time to start assembling it. Here are the steps involved:


- Build the frame: If you're building a floating or recessed TV wall, you'll need to start by building the frame. To do this, measure the area where you want to install the wall and cut the 2x4s to size. Then, assemble the frame according to the instructions.
- Attach the plywood backing: Once the frame is assembled, attach the plywood backing. To do this, use a nail gun to attach the plywood to the frame.
- Install the molding: If you're building a floating or recessed TV wall, you'll need to install the molding. To do this, measure the molding and cut it to size. Then, attach the molding to the frame using a nail gun or construction adhesive.
- Install the drywall: If you're building a recessed TV wall, you'll need to install the drywall. To do this, measure the area where you want to install the drywall and cut the drywall to size. Then, attach the drywall to the frame using drywall screws.
- Tape and mud the drywall: Once the drywall is installed, you'll need to tape and mud it. To do this,
Living Room TV Wall DIY
Do you want to add a touch of personality to your living room? A DIY living room TV wall is a great way to do just that. With a little creativity and some DIY know-how, you can create a custom TV wall that will make your living room the envy of your friends and family.
In this tutorial, we'll walk you through the steps of building a DIY living room TV wall. We'll cover everything from choosing the right materials to installing the TV and mounting the shelves. By the end of this project, you'll have a beautiful and functional TV wall that you can be proud of.
Step 1: Choose the Right Materials
The first step is to choose the right materials for your TV wall. You'll need to decide what type of wood you want to use, as well as the size and shape of the shelves.

For the wood, we recommend using a hardwood like oak or maple. Hardwoods are durable and beautiful, and they'll give your TV wall a classic look. If you're on a budget, you can also use a softwood like pine or fir. Just be aware that softwoods are not as durable as hardwoods, and they may require more maintenance.
As for the size and shape of the shelves, you'll need to decide what will work best in your living room. If you have a large TV, you'll need shelves that are deep enough to accommodate it. If you want to use the shelves for storage, you'll need to make sure they're wide enough to hold your belongings.
Step 2: Design the TV Wall
Once you've chosen the materials, you can start designing your TV wall. You'll need to decide where you want to place the TV and the shelves, and how you want them to be arranged.
If you're not sure where to start, you can use a free online design tool to help you visualize your project. There are many different tools available, so you can find one that fits your needs and budget.
Once you've designed your TV wall, you can draw a sketch of it and take it to your local hardware store. The staff there can help you order the materials you need and give you advice on how to install them.
Step 3: Build the TV Wall
Now it's time to start building your TV wall! The first step is to cut the wood to the correct size. You can use a miter saw or a circular saw to do this.
Once the wood is cut, you can start assembling the TV wall. You'll need to use wood screws to attach the pieces of wood together. Make sure to pre-drill the holes for the screws so that the wood doesn't split.

As you're building the TV wall, it's important to make sure that it's level. You can use a level to check this. If the TV wall is not level, it will be difficult to mount the TV and the shelves.
Step 4: Install the TV
Once the TV wall is built, you can install the TV. The easiest way to do this is to use a wall mount. Wall mounts come in a variety of styles, so you can find one that fits your needs and budget.

To install the wall mount, you'll need to find a stud in the wall. You can use a stud finder to do this. Once you've found a stud, you can attach the wall mount to the stud using screws.
Once the wall mount is installed, you can attach the TV to it. Make sure to follow the manufacturer's instructions for attaching the TV to the wall mount.

Step 5: Install the Shelves


Now it's time to install the shelves! The easiest way to do this is to use L-brackets. L-brackets are metal brackets that are shaped like an L. You can attach the L-brackets to the TV wall and then attach the shelves to the L-brackets.
Make sure to pre-drill the holes for the screws so that the wood doesn't split. Also, make sure that the shelves are level.

Step 6: Add Accessories


Now that your TV wall is built, you can add some accessories to it. You can add decorative items, photos, or plants. You can also use the shelves to store your belongings.
Let your creativity flow and make your TV wall your own!

Here are some tips for building a successful DIY living room TV wall:

- Choose the right materials for your project.
- Design the TV wall before you.


