
How to Create a Stunning TV Wall with Gypsum Board

How to Create a Stunning TV Wall with Gypsum Board
Gypsum board is a versatile material that can be used to create a variety of stunning wall designs, including TV walls. A TV wall is a great way to add a focal point to your living room or home theater, and gypsum board is the perfect material to create a custom look that fits your style.
In this article, we will show you how to create a stunning TV wall with gypsum board. We will walk you through the process step-by-step, from planning and design to installation and finishing. By the end of this article, you will have the skills and confidence to create your own beautiful TV wall.

Planning and Design
The first step in creating a TV wall is to plan and design your project. This includes deciding on the size and shape of the wall, as well as the materials and finishes you will use.
Size and Shape

The size and shape of your TV wall will depend on the size of your TV and the space you have available. If you have a large TV, you will need a large wall to accommodate it. However, you don't want the TV wall to overwhelm the rest of your living room.
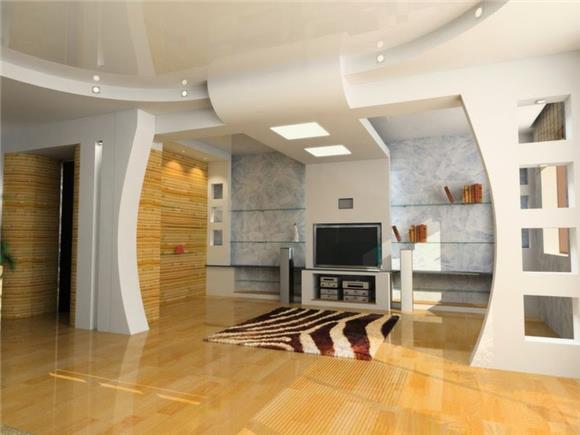
The shape of your TV wall is also important. You can choose from a variety of shapes, including rectangular, square, curved, or even custom-shaped. The shape you choose should complement the style of your living room and the overall look you are trying to achieve.
Materials and Finishes

The materials and finishes you use for your TV wall will depend on your budget and personal preferences. Gypsum board is a versatile material that can be used with a variety of materials and finishes.
For the framing of your TV wall, you can use either wood or metal studs. Wood is a traditional choice that is warm and inviting, while metal studs are more modern and sleek.
For the drywall, you can use either a standard gypsum board or a moisture-resistant board. Standard gypsum board is suitable for most applications, but moisture-resistant board is a good choice if your TV wall is in a humid area.
The finish you choose for your TV wall will give it its final look. You can choose from a variety of paints, wallpapers, and tiles. The finish you choose should complement the style of your living room and the overall look you are trying to achieve.
Installation
Once you have planned and designed your TV wall, it is time to start the installation process. The installation process for a TV wall is relatively simple, but it is important to follow the steps carefully to ensure that the wall is properly installed.
Step 1: Framing
The first step in installing a TV wall is to frame the wall. To do this, you will need to install a frame of wood or metal studs around the perimeter of the wall. The studs should be spaced 16 inches apart, which is the standard spacing for drywall.
Once the studs are installed, you can begin attaching the drywall to the frame. To do this, you will need to use a drywall saw to cut the drywall to size. Then, you will need to apply a bead of construction adhesive to the back of the drywall and attach it to the frame with drywall screws.

Step 2: Wiring
If you plan to mount your TV to the wall, you will need to run the necessary wiring before you install the drywall. To do this, you will need to find a stud behind where you plan to mount the TV and drill a hole through the stud. Then, you will need to feed the wiring through the hole and into the wall.

Step 3: Drywall


Once the wiring is in place, you can begin installing the drywall. To do this, you will need to cut the drywall to size and attach it to the frame with drywall screws. Be sure to use a level to make sure that the drywall is installed straight.
Step 4: Tape and Mud

Once the drywall is installed, you will need to tape and mud the joints. To do this, you will need to apply a thin layer of joint compound to the joints and then use a taping knife to smooth it out. You will need to allow the joint compound to dry completely before moving on to the next step.


Step 5: Sanding
Once the joint compound has dried, you will need to sand it smooth. To do this, you will need to use a sanding block or sandpaper to remove any excess joint compound. Be sure to sand in the direction of the drywall seams.
Step 6: Primer and Paint

Once the drywall is sanded smooth

Living Room TV Wall Gypsum
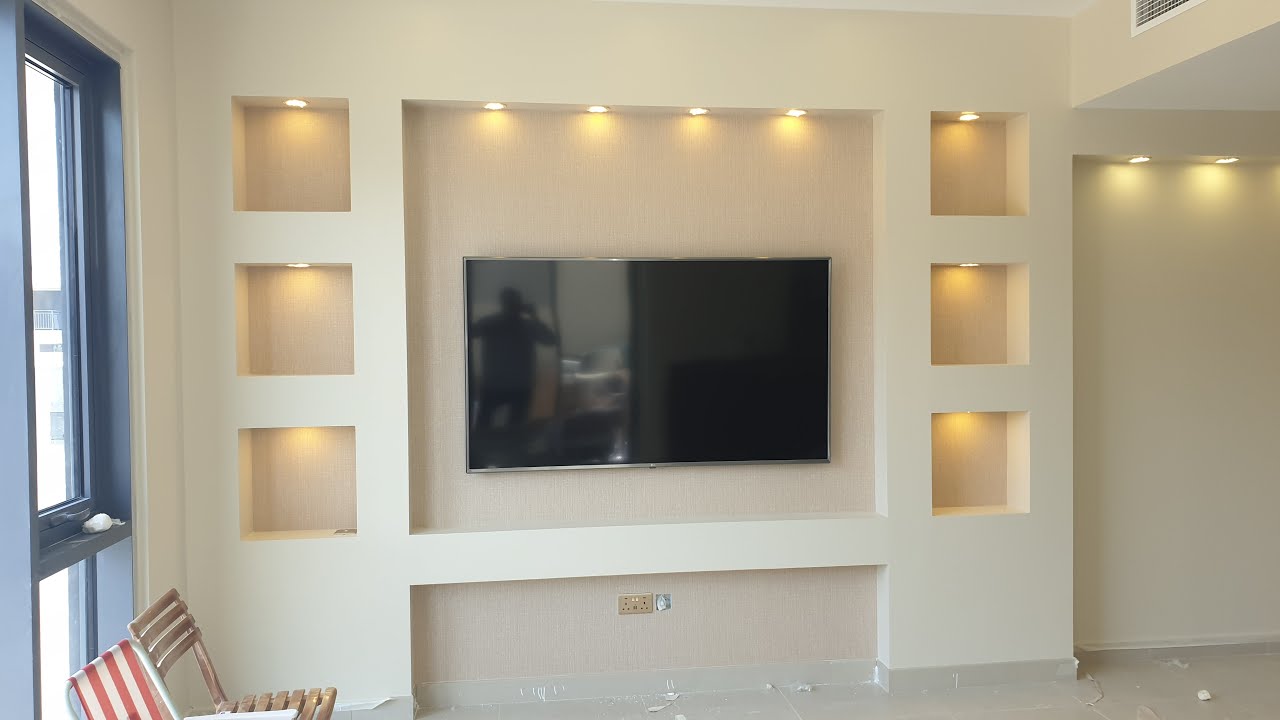
Gypsum is a versatile material that can be used to create stunning living room TV walls. It is durable, easy to work with, and comes in a variety of colors and finishes. Whether you want a modern, traditional, or rustic look, gypsum can be used to create the perfect TV wall for your living room.
Here are 5 ways to create a stunning living room TV wall with gypsum:
- Use a simple design. A simple design can be just as effective as a more complex one. A single panel of gypsum can be used to create a clean, modern look. Or, you can use a few panels to create a more geometric design.
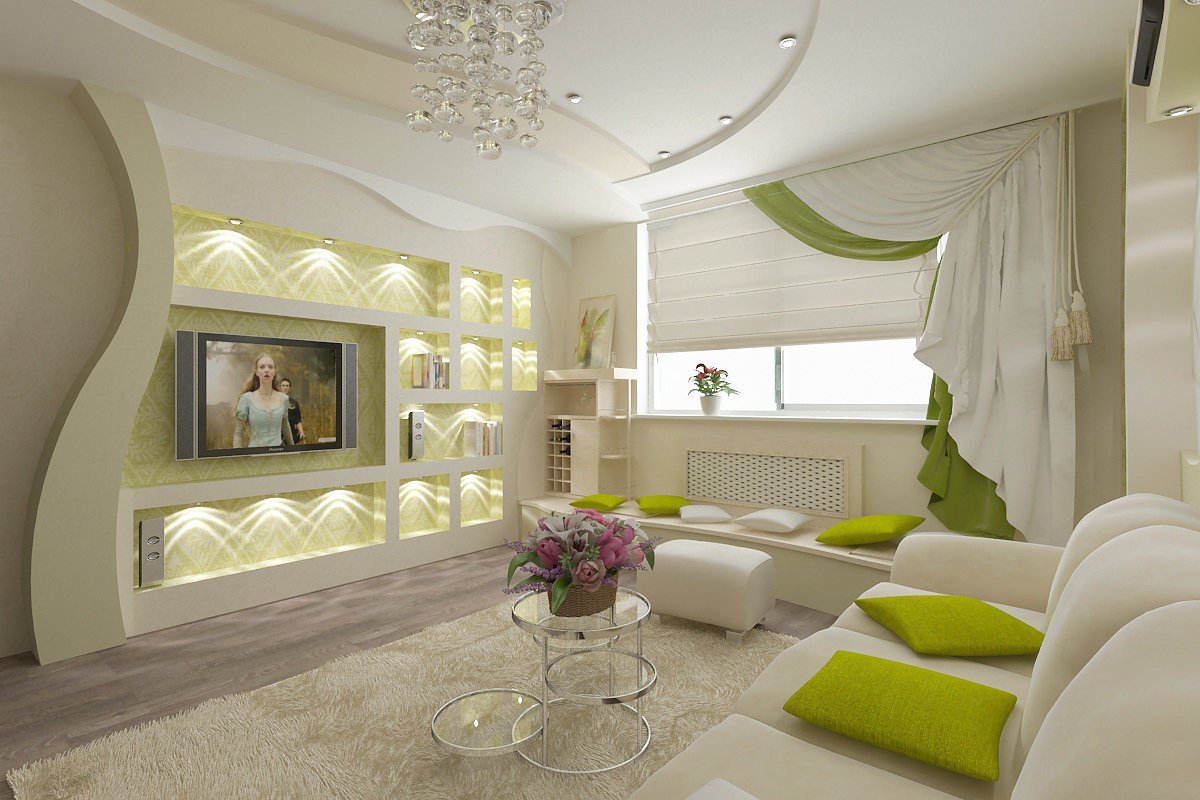
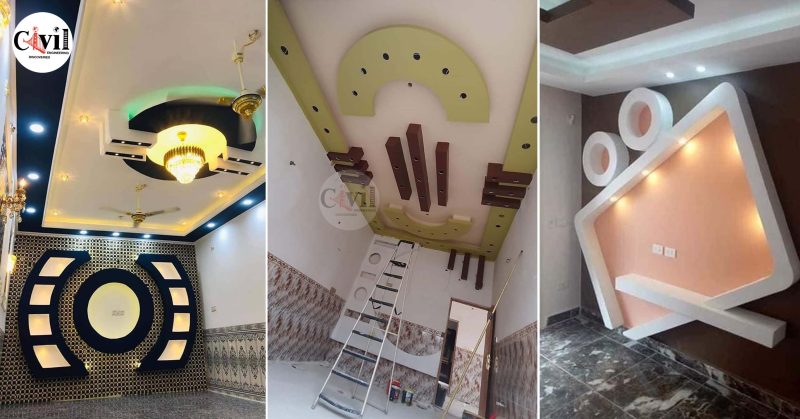
- Add texture. Texture can add depth and interest to a TV wall. You can add texture by using different types of gypsum panels, or by adding molding or other decorative elements.
- Use color. Color can be used to create a focal point for your TV wall. Choose a color that complements the rest of your living room décor.
- Add lighting. Lighting can be used to highlight your TV wall and create a warm and inviting atmosphere. You can use recessed lighting, track lighting, or even candles to create a dramatic effect.
- Add accessories. Accessories can be used to personalize your TV wall and make it your own. You can add framed photos, plants, or even a piece of art.
Here are some additional tips for creating a stunning living room TV wall with gypsum:
- Use a professional drywaller. Gypsum is a heavy material, and it is important to install it correctly. A professional drywaller will be able to install your TV wall properly and ensure that it is safe.
- Plan your design ahead of time. It is important to have a plan in place before you start installing your TV wall. This will help you avoid mistakes and ensure that your TV wall turns out the way you want it to.
- Take your time. Installing a TV wall can be a time-consuming process. Be patient and take your time, and you will be rewarded with a stunning finished product.
With a little planning and effort, you can create a stunning living room TV wall with gypsum that will be the envy of your guests.

Word of the paragraph:
Paragraph 1: Effortless
Paragraph 2: Dramatic
Paragraph 3: Personalized
Paragraph 4: Enviable.


