3 Easy DIY Wall Art Ideas for Your Bedroom
3 Easy DIY Wall Art Ideas for Your Bedroom
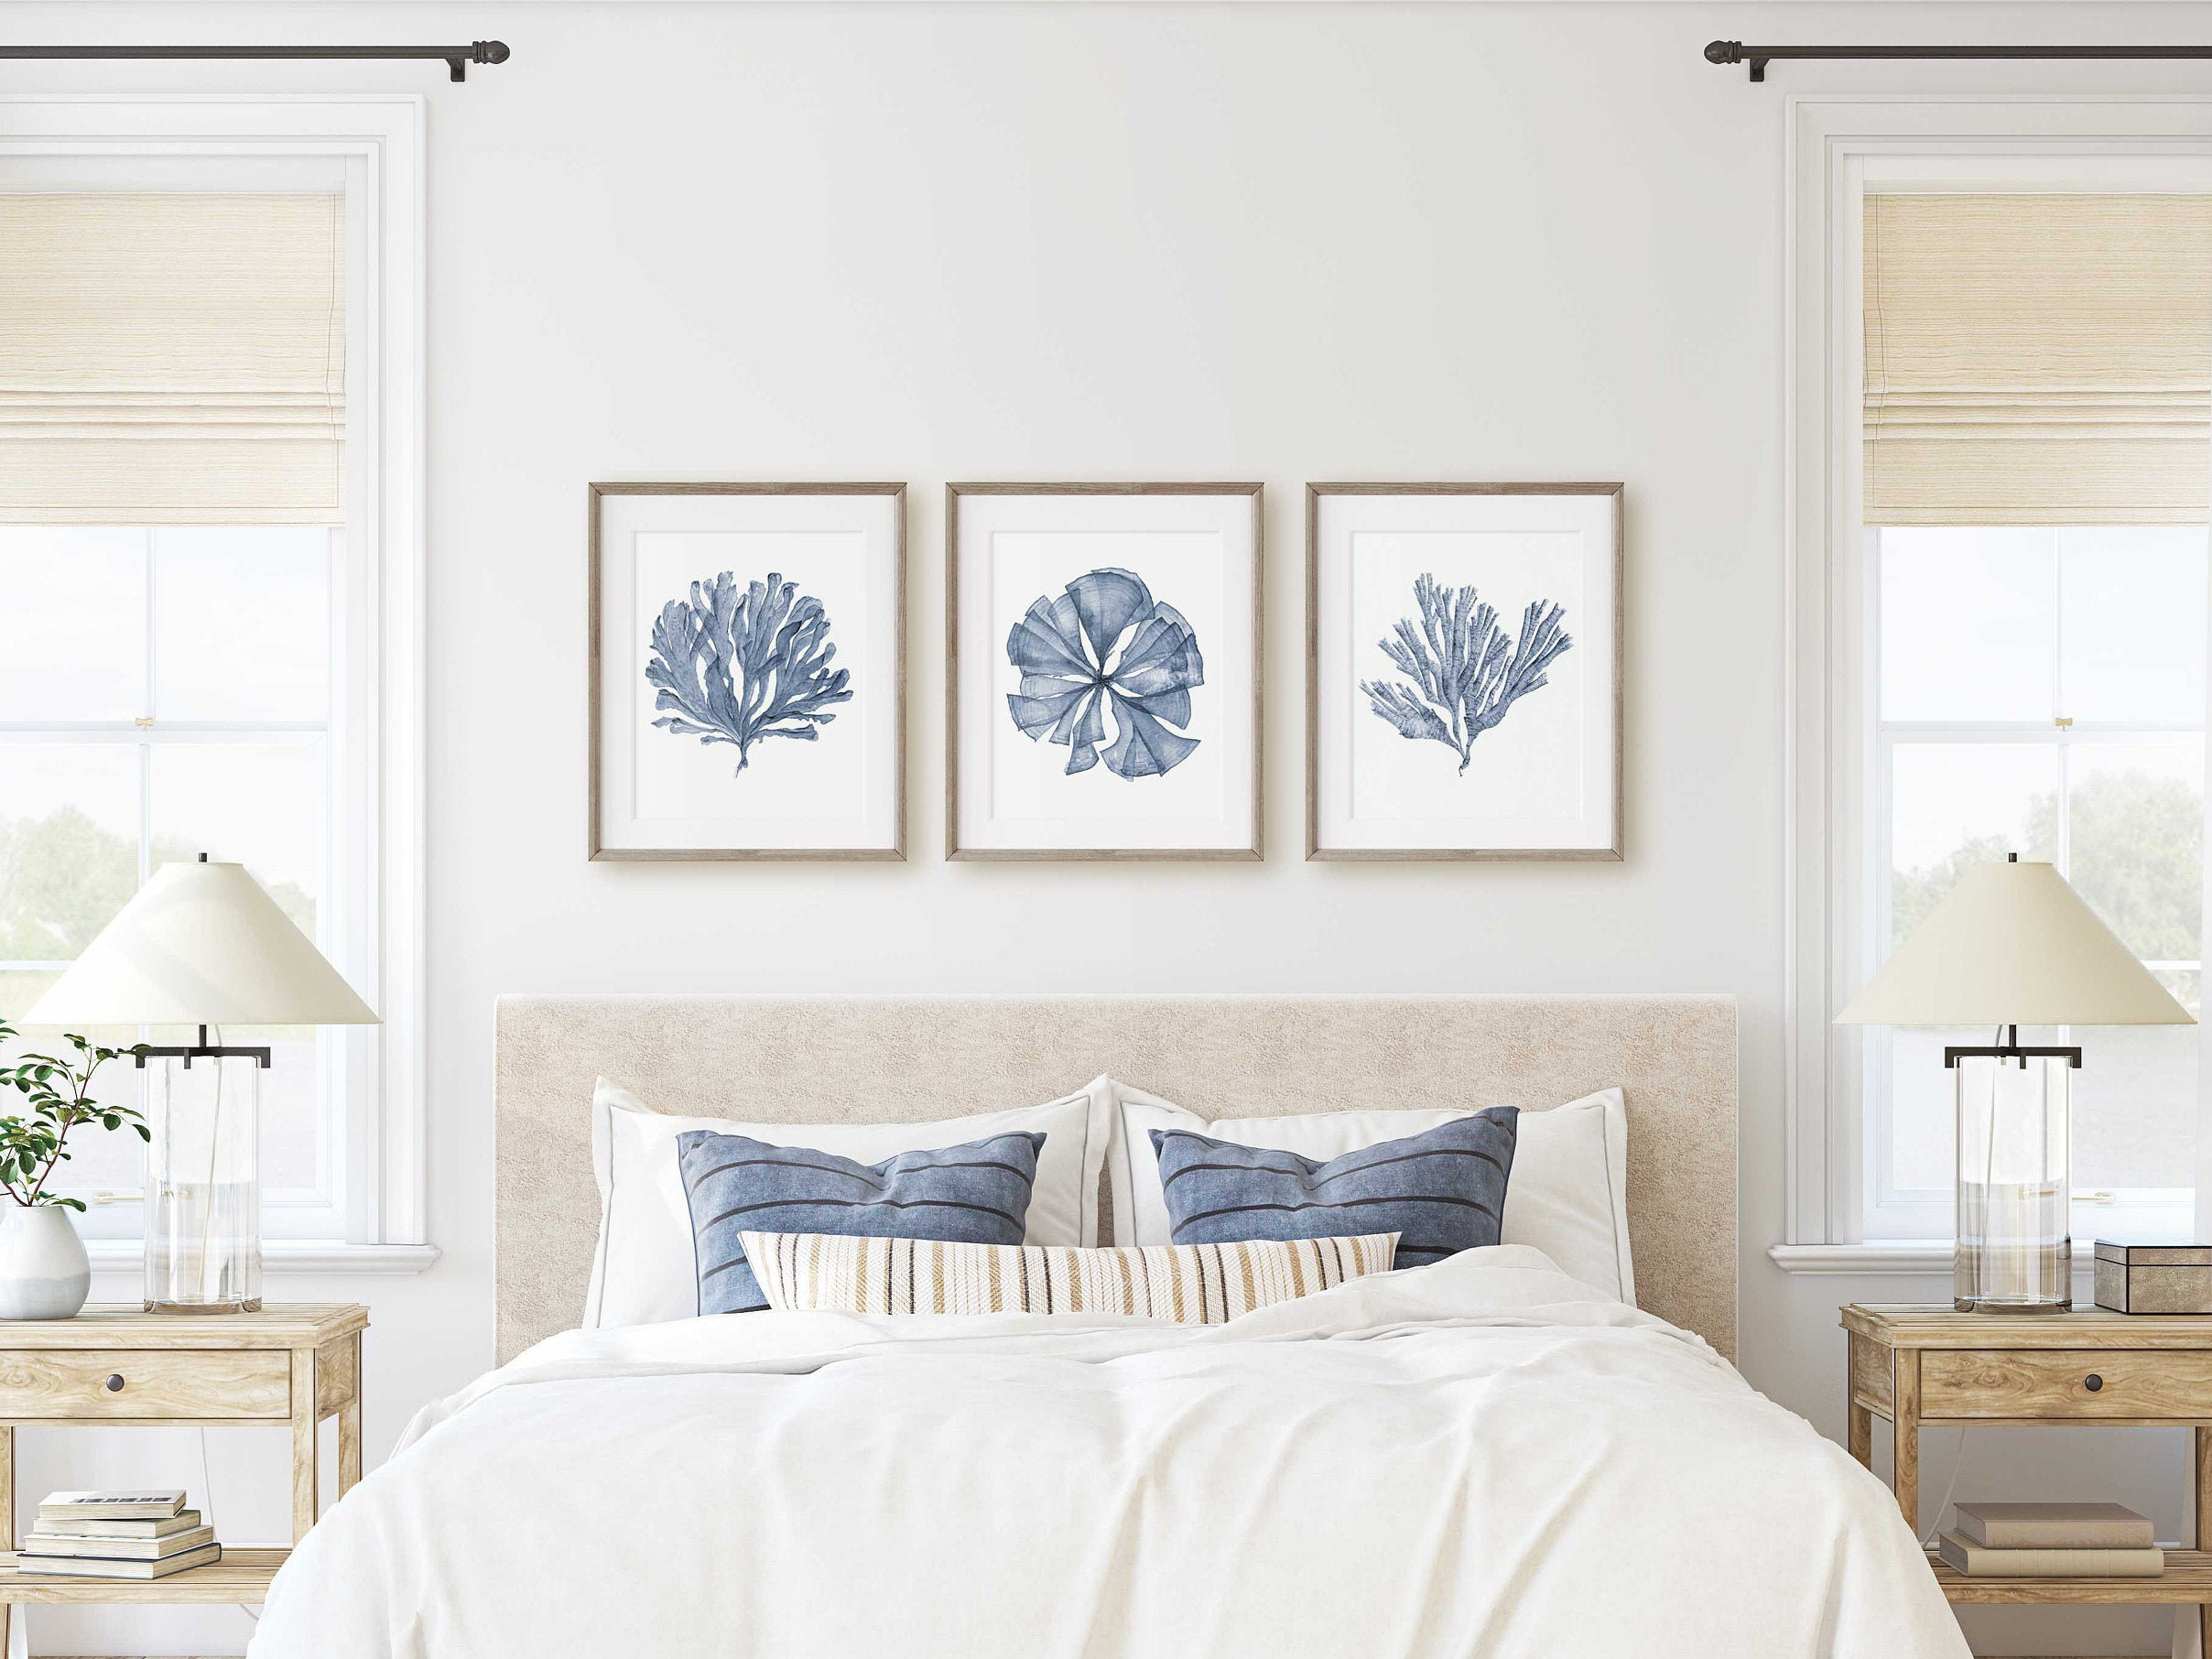
Do you want to add some personality and style to your bedroom without spending a lot of money? One easy and affordable way to do this is to create your own DIY wall art. With a few simple supplies, you can easily create a unique piece of art that will add a touch of your personality to your space.
In this blog post, we will share three easy DIY wall art ideas that you can easily do yourself. We will provide step-by-step instructions and photos so that you can follow along.
1. Canvas Wall Art
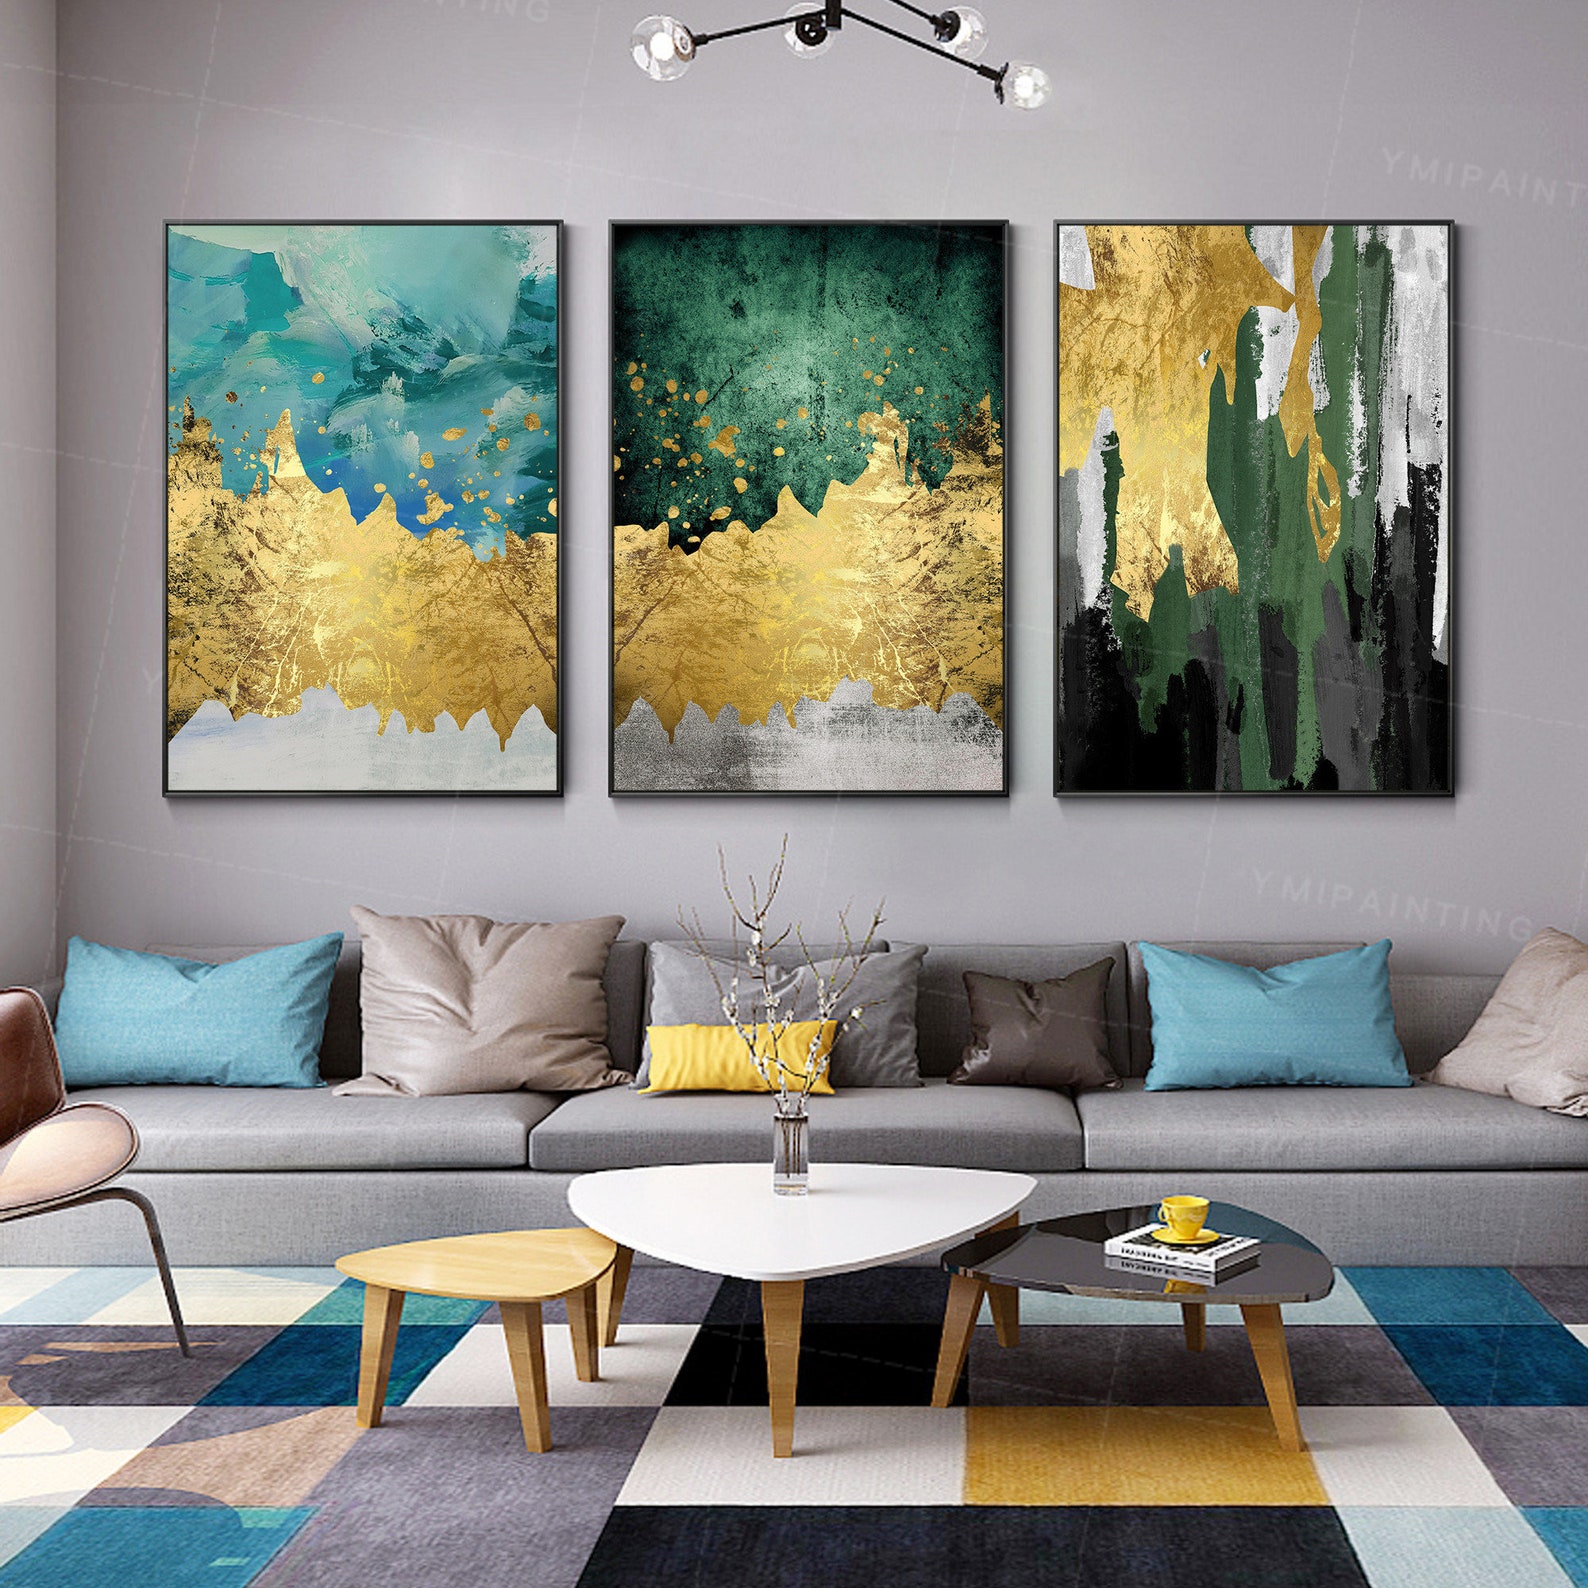
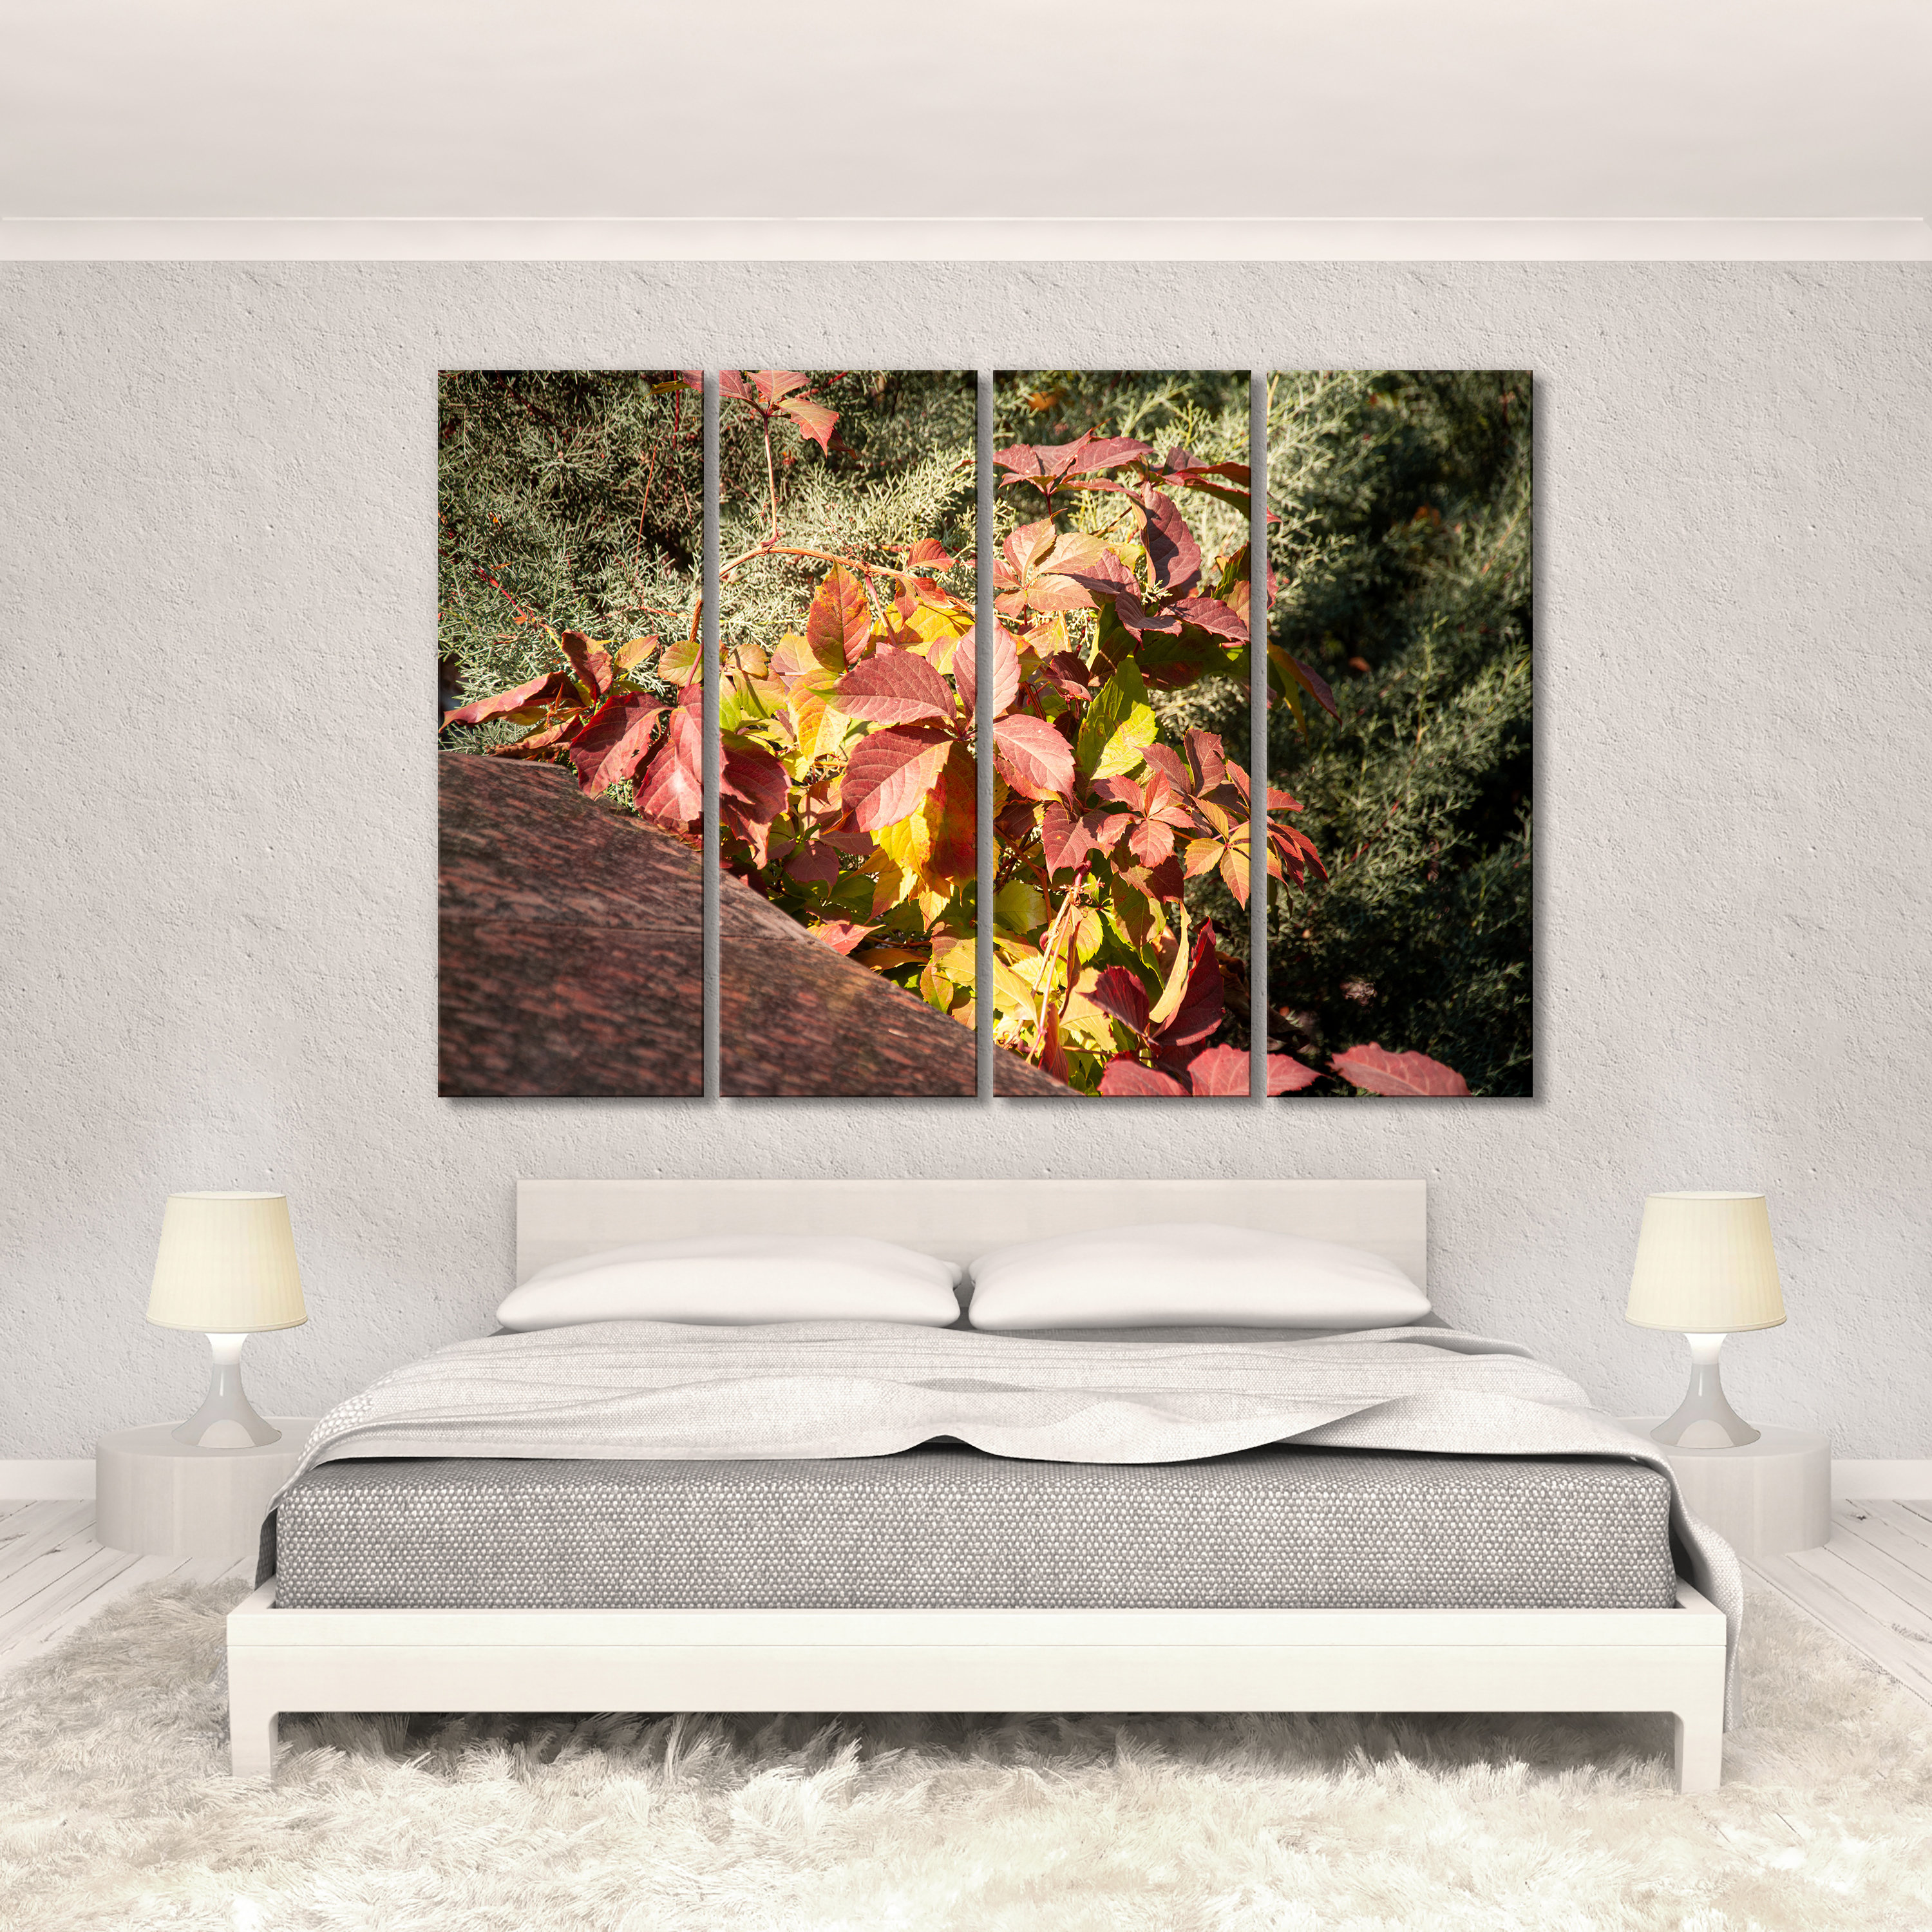
Canvas wall art is a classic and versatile option that can be easily customized to fit your style. You can choose from a variety of colors and sizes of canvases, and you can use any type of paint or media that you like.
To create your own canvas wall art, you will need the following supplies:
- Canvases (the size will depend on your desired finished product)
- Paint or other media
- Brushes or other tools
- Adhesive (such as Mod Podge or hot glue)
- Scissors or other cutting tools
- Other embellishments (such as beads, glitter, or sequins)
Instructions:
- Choose a design for your canvas art. You can find inspiration online or in magazines. You can also create your own design from scratch.
- Paint or draw your design onto the canvas. If you are using acrylic paint, you will need to apply two coats. Allow the paint to dry completely between coats.
- Add embellishments to your canvas art, if desired. You can use beads, glitter, sequins, or other materials to add interest and personality to your piece.
- Apply adhesive to the back of your canvas art and attach it to the wall.
2. Wood Wall Art
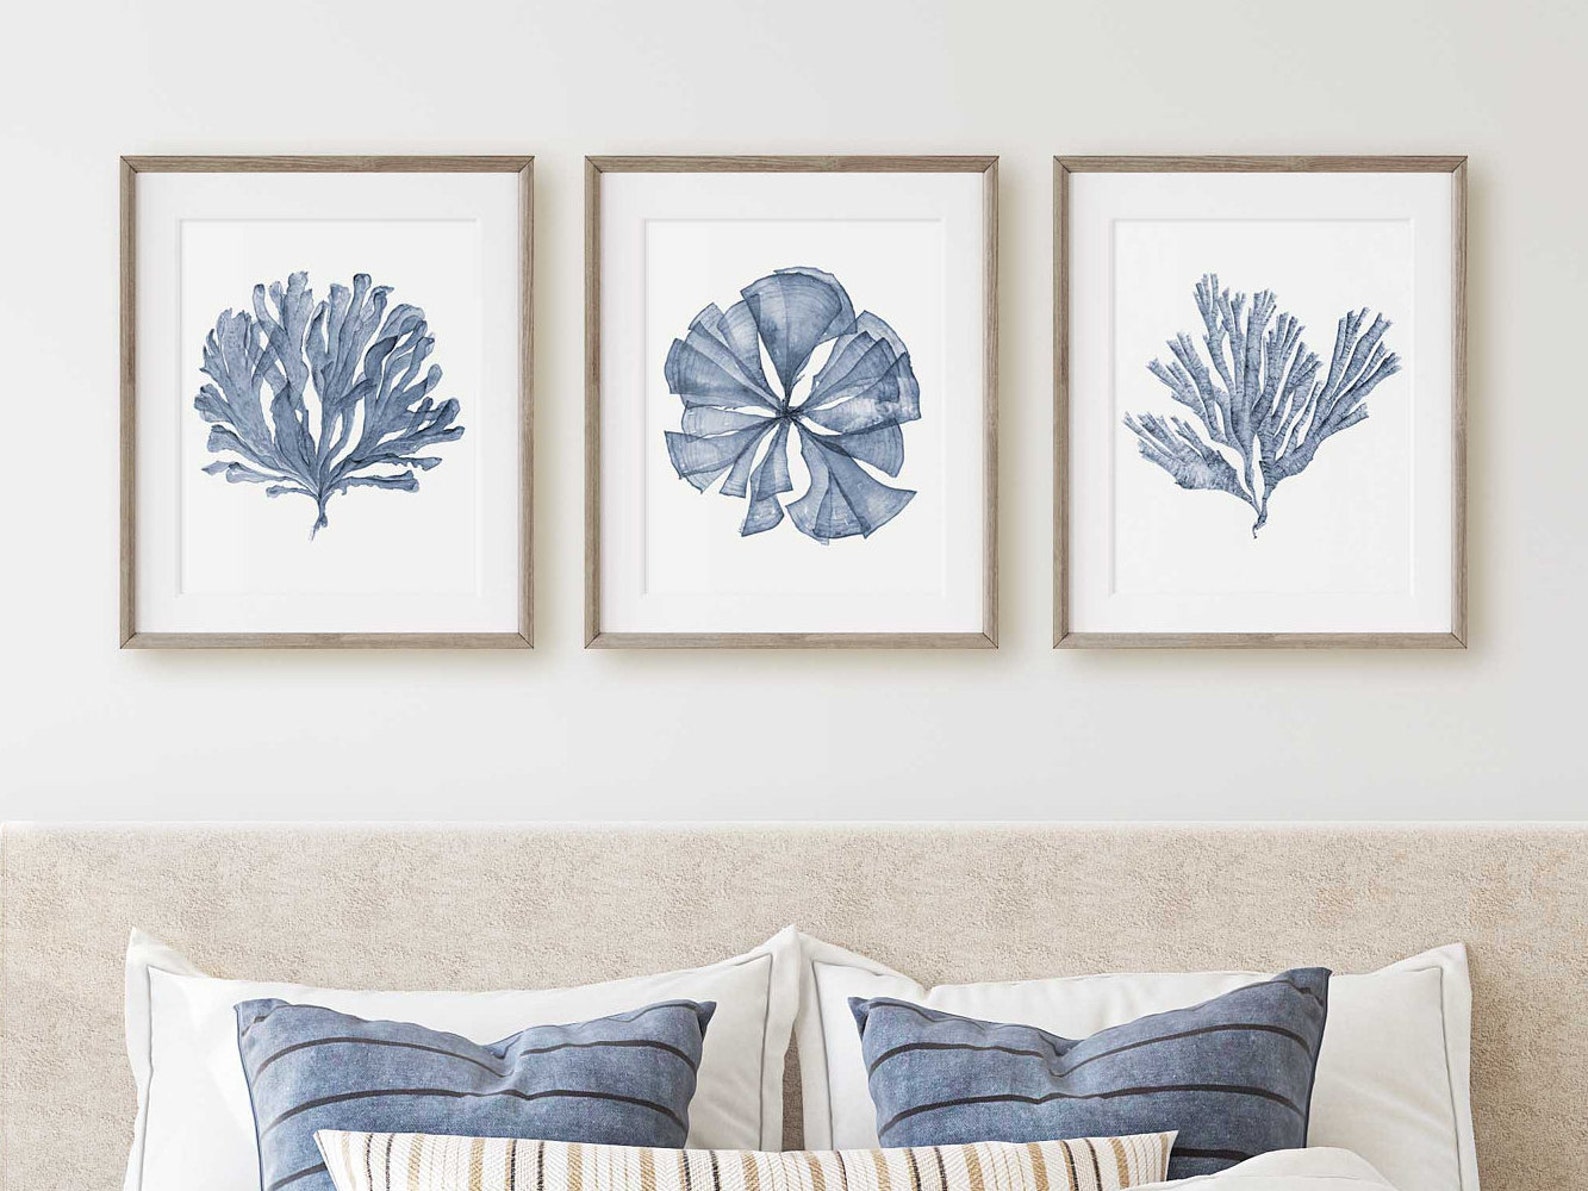
Wood wall art is another great option for adding a touch of rustic charm to your bedroom. You can use reclaimed wood, plywood, or any other type of wood that you like.
To create your own wood wall art, you will need the following supplies:
- Wood (the size and type will depend on your desired finished product)
- Paint or other media
- Brushes or other tools
- Adhesive (such as Mod Podge or hot glue)
- Scissors or other cutting tools
- Other embellishments (such as beads, glitter, or sequins)

Instructions:

- Choose a design for your wood wall art. You can find inspiration online or in magazines. You can also create your own design from scratch.
- Cut your wood into the desired shape. You can use a saw or other cutting tool.
- Paint or draw your design onto the wood. If you are using acrylic paint, you will need to apply two coats. Allow the paint to dry completely between coats.
- Add embellishments to your wood wall art, if desired. You can use beads, glitter, sequins, or other materials to add interest and personality to your piece.
- Apply adhesive to the back of your wood wall art and attach it to the wall.
3. Gallery Wall
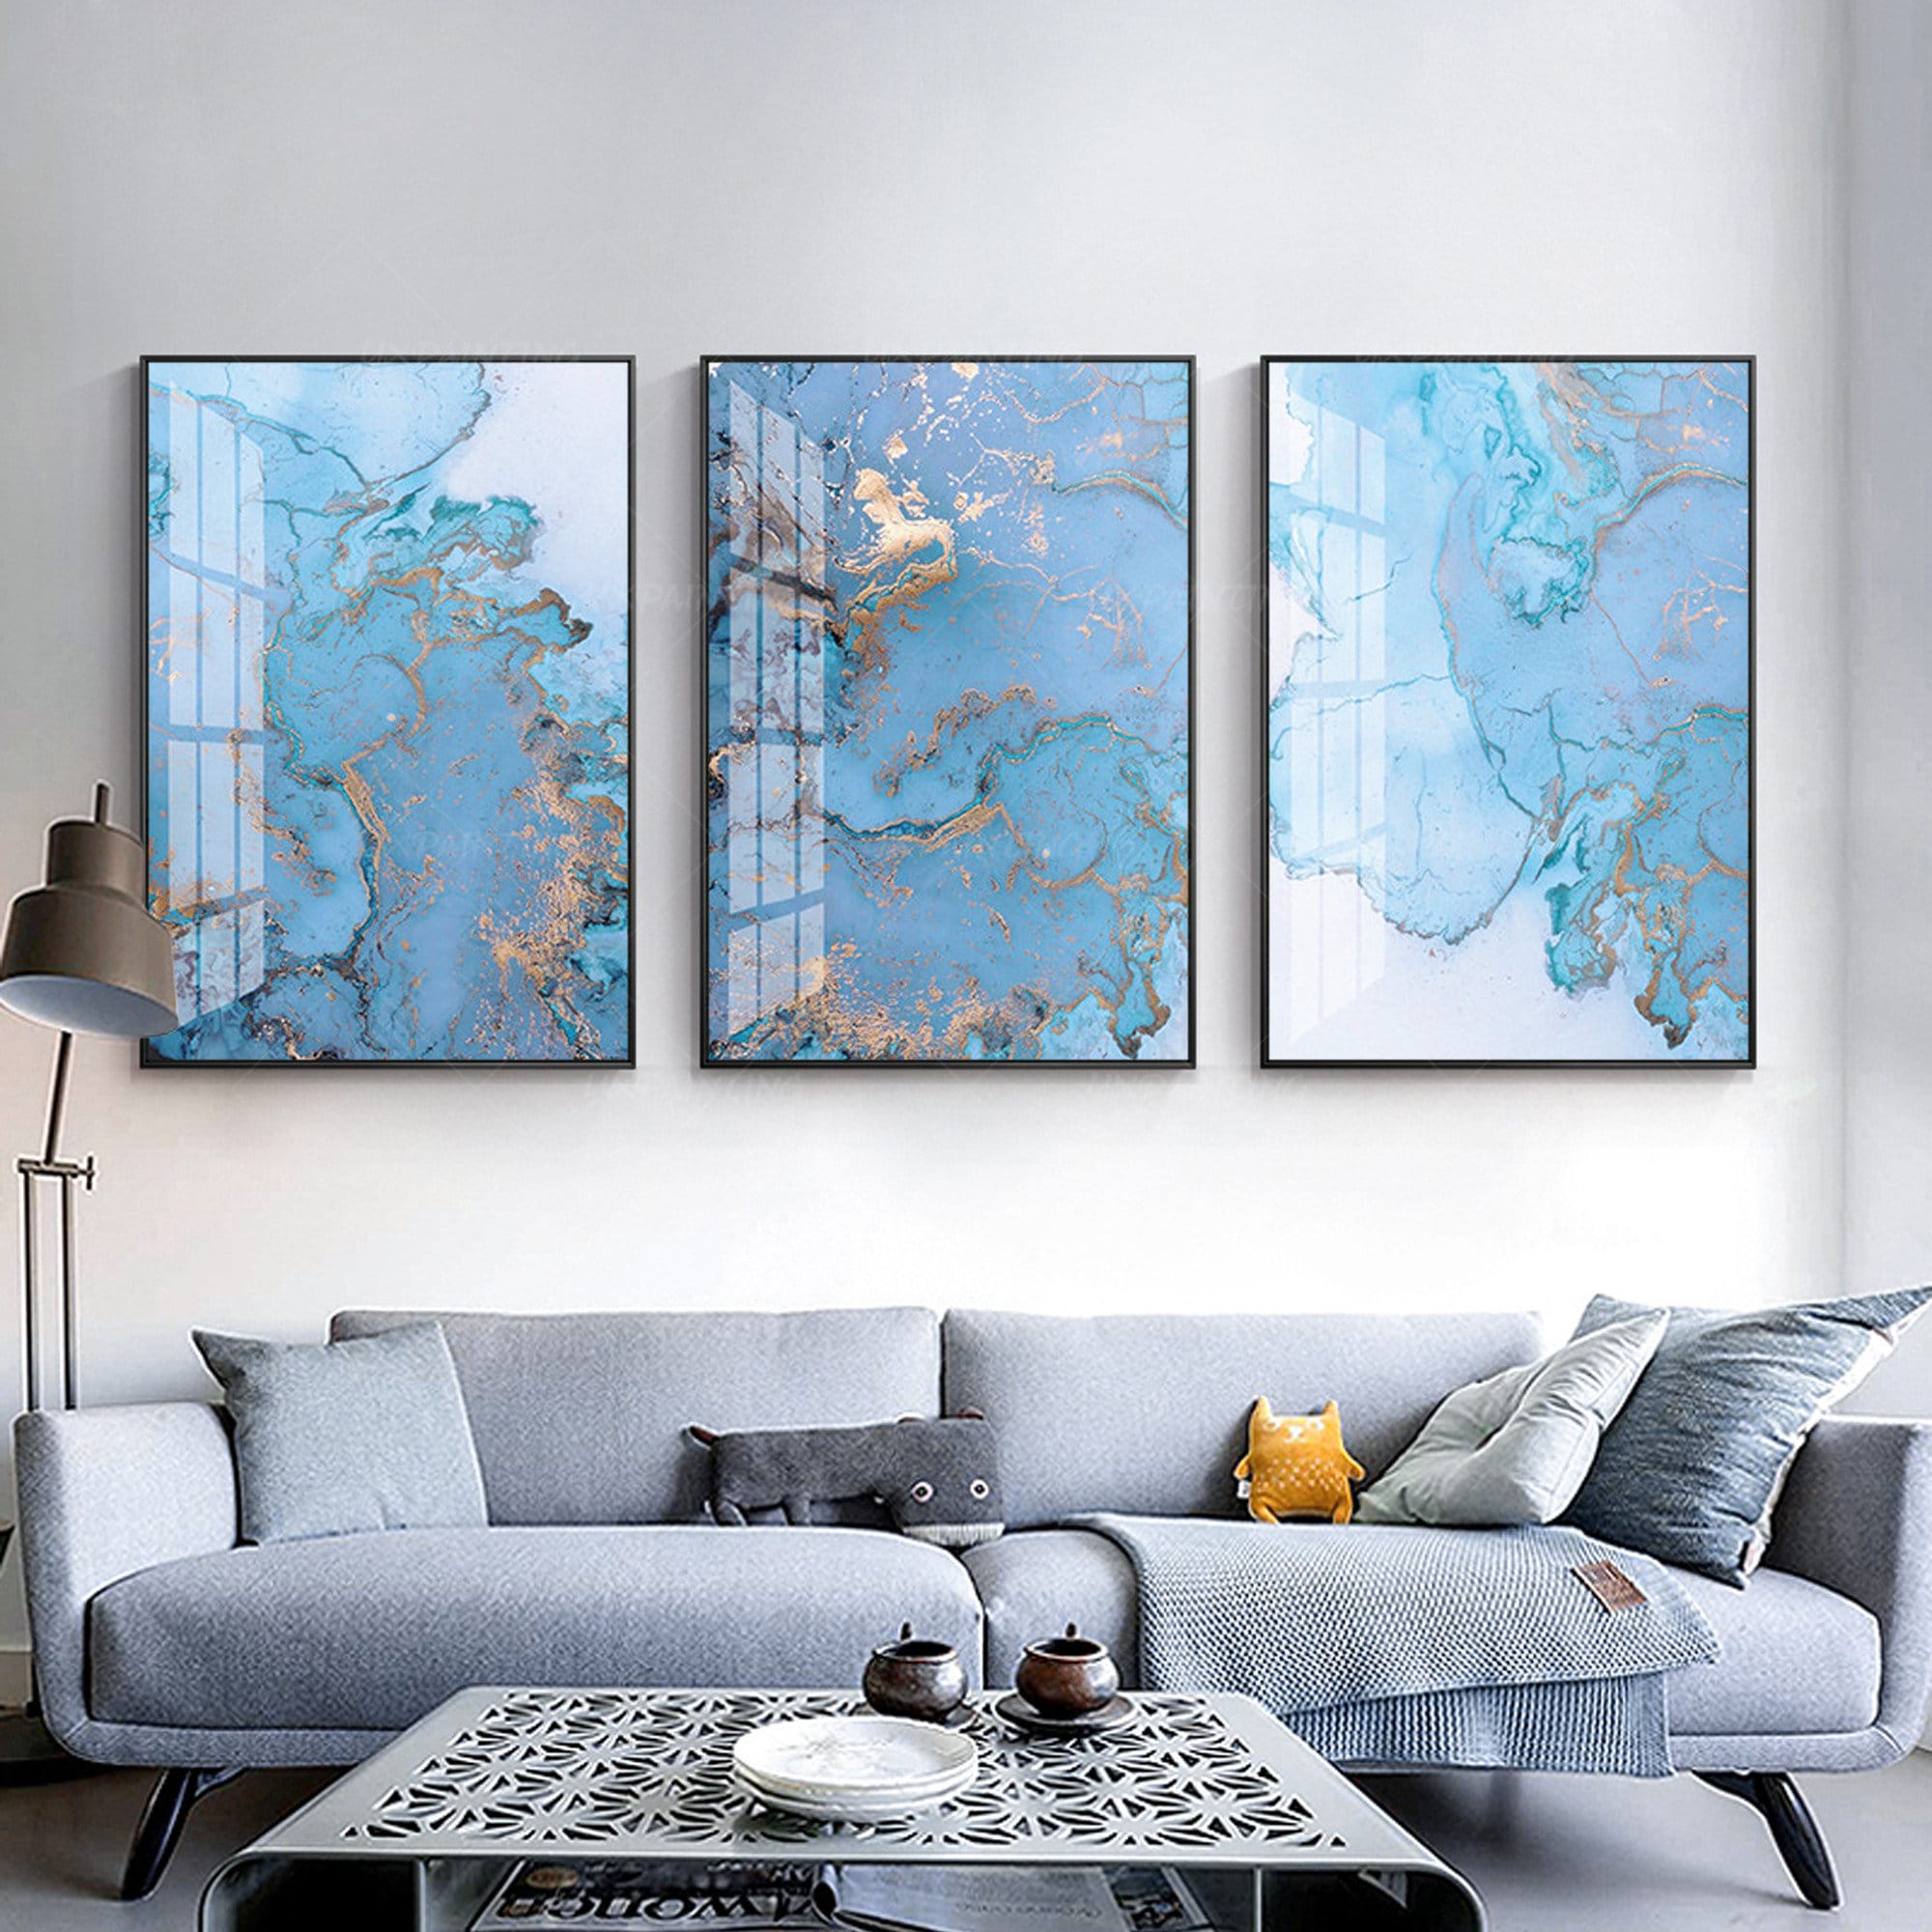

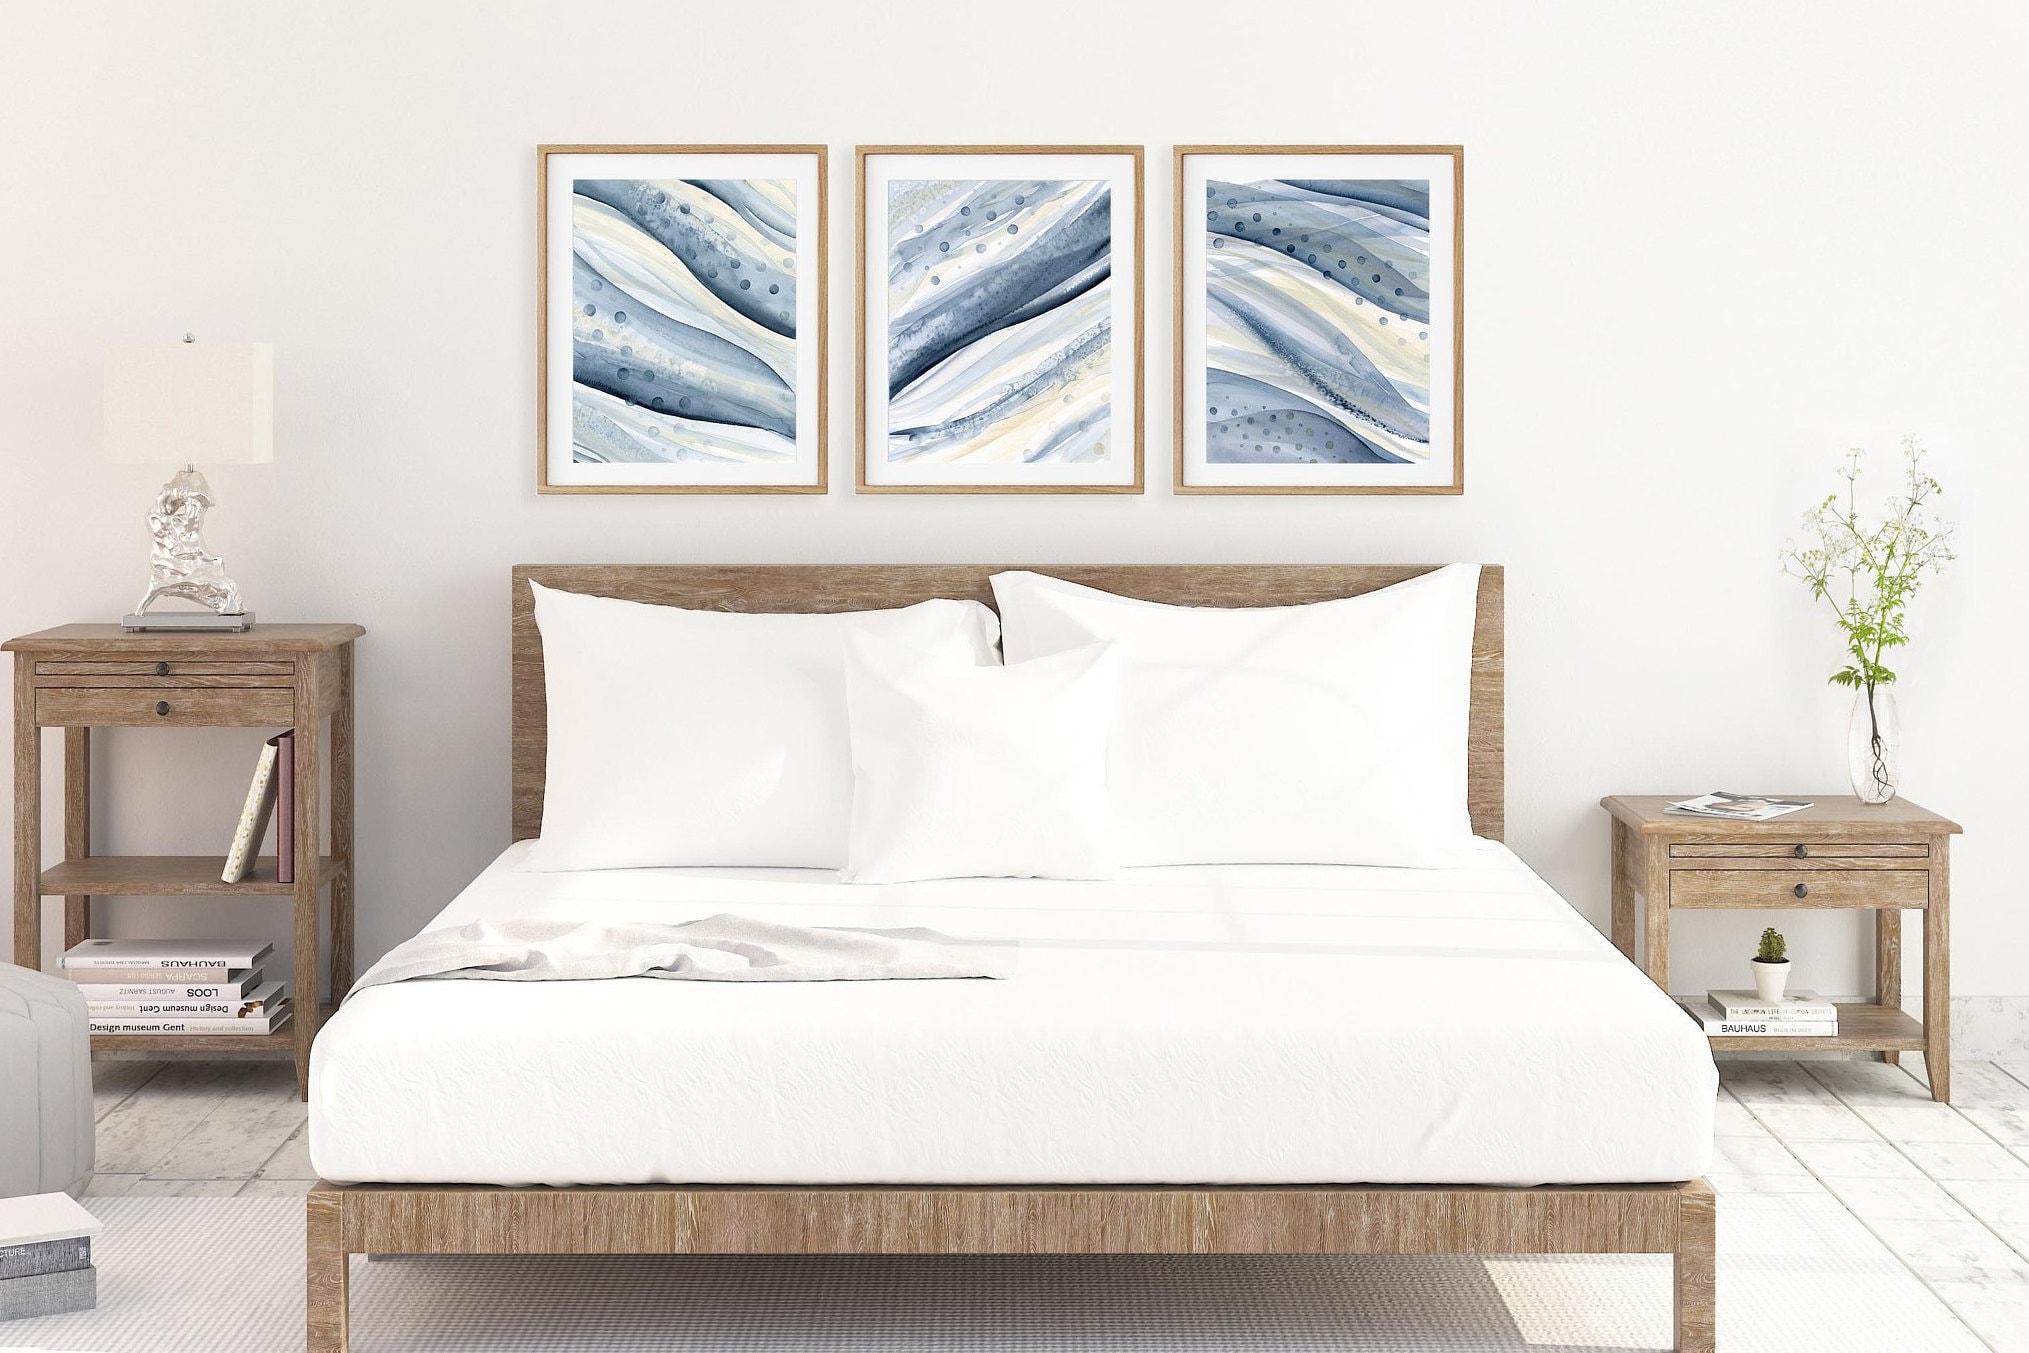
A gallery wall is a great way to display your favorite photos, artwork, and other mementos. You can create a gallery wall in any size or shape, and you can use any type of frames that you like.
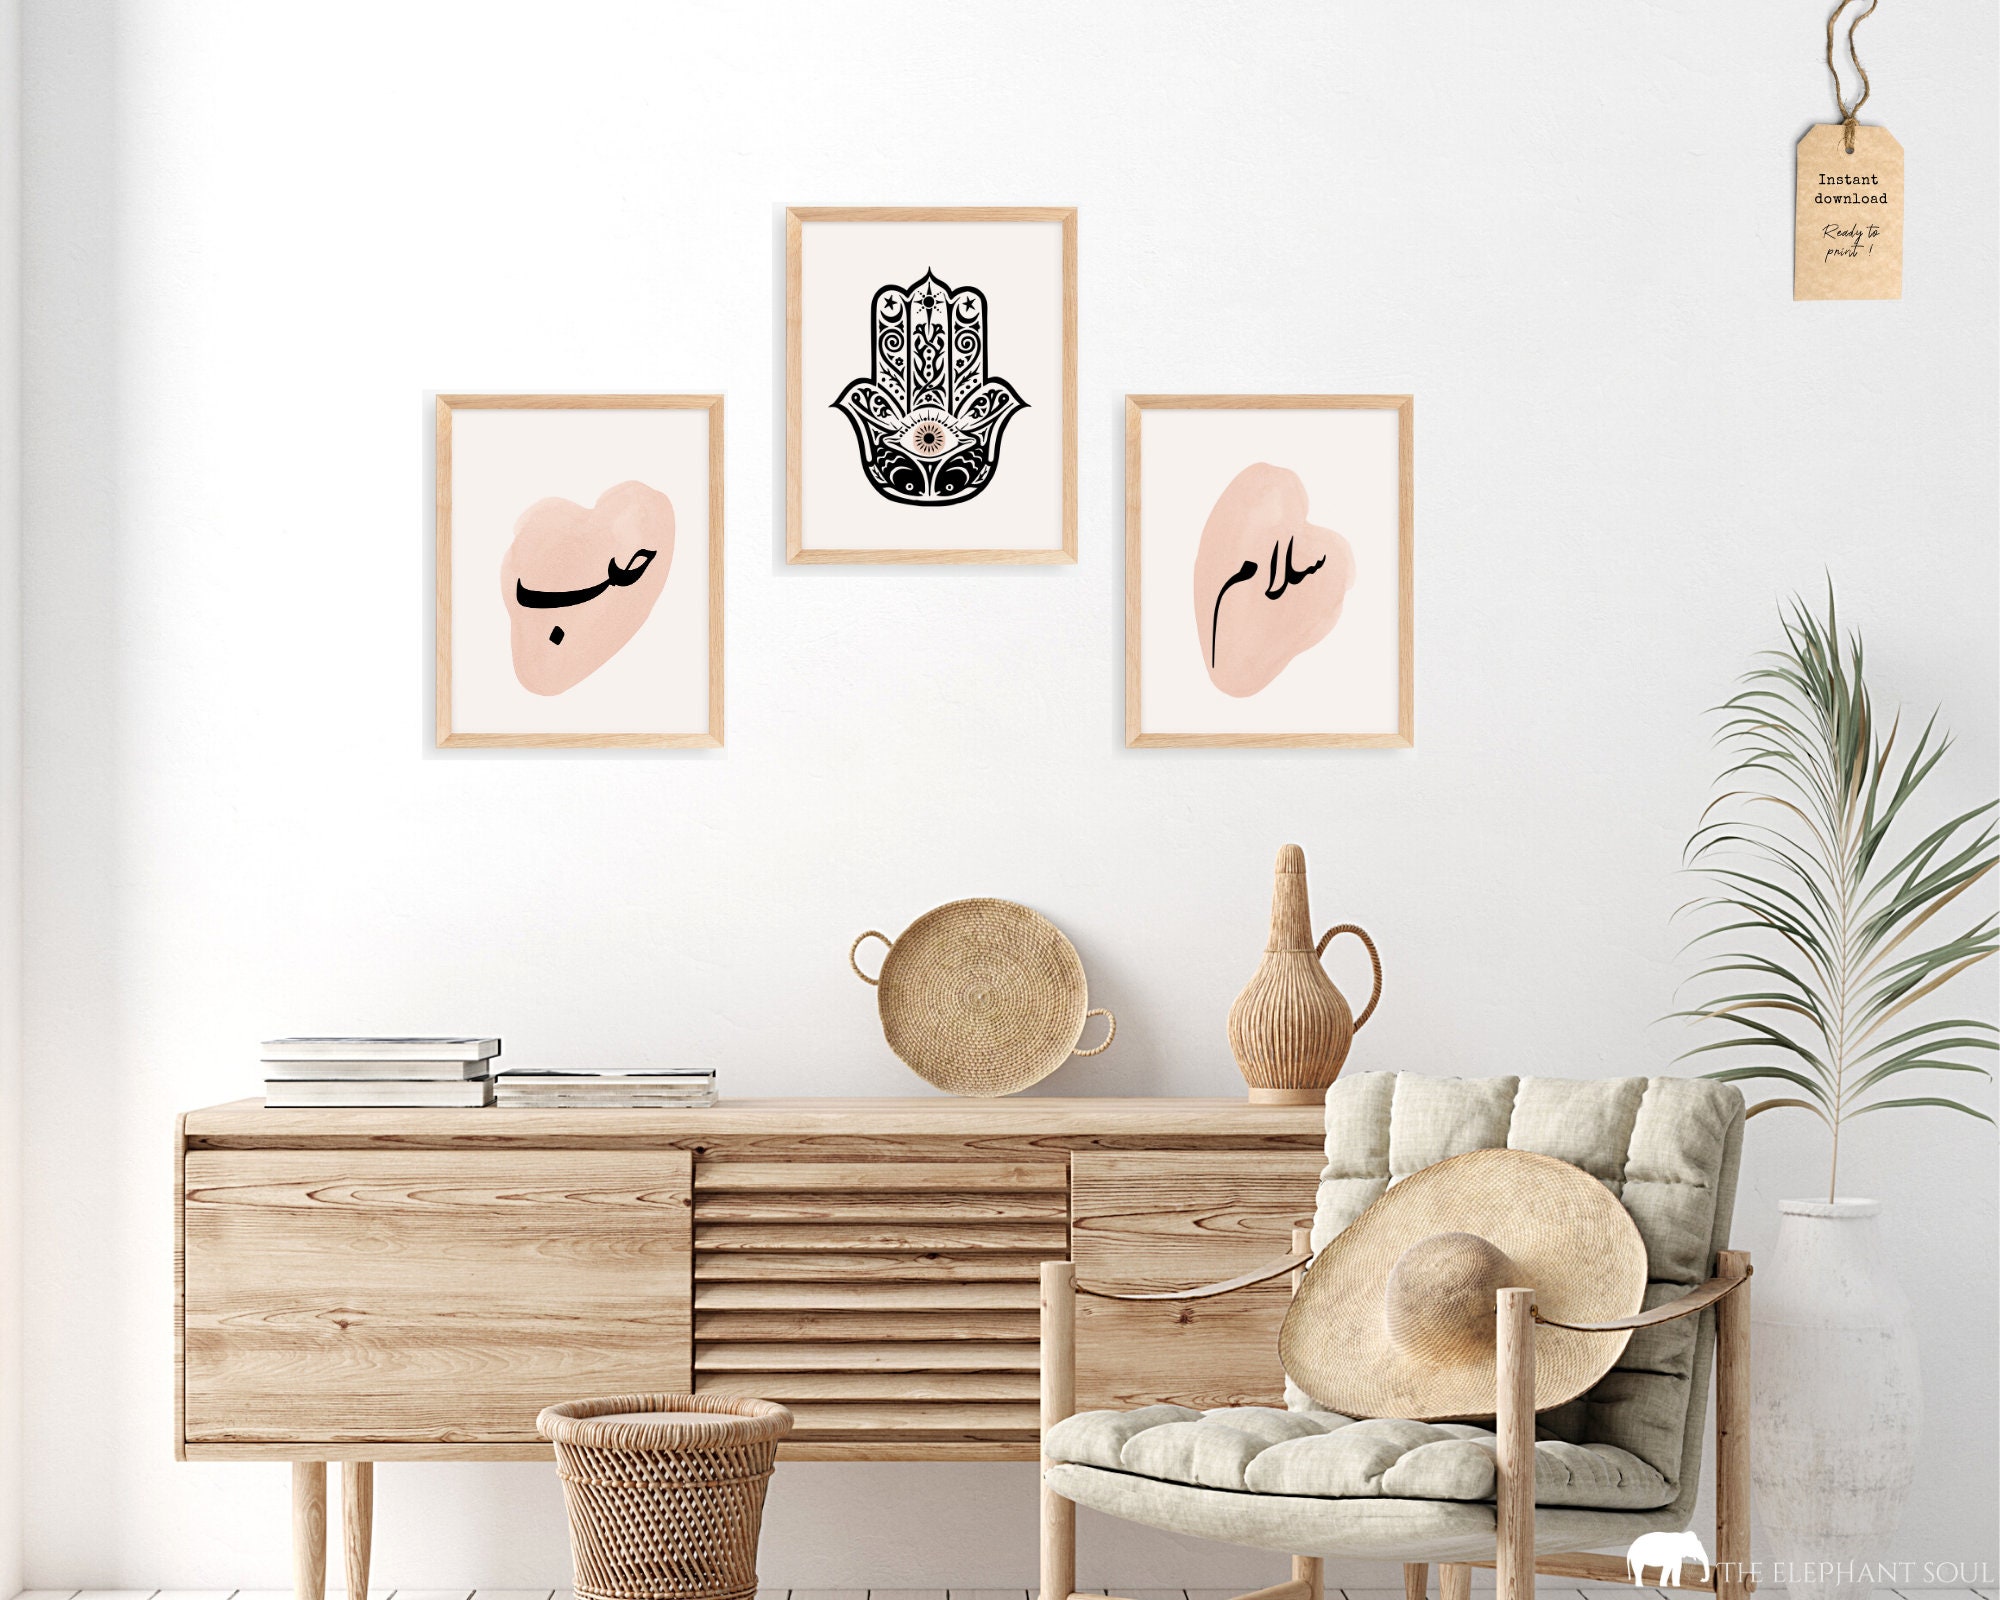
To create your own gallery wall, you will need the following supplies:
- Photos, artwork, or other mementos
- Frames (the size and style will depend on your desired finished product)
- Wall hooks or nails
- Tape or adhesive
:max_bytes(150000):strip_icc()/102178096-62cae23f4ca74829b0a7dda24f6ace76.jpg)
Instructions:

- Choose a spot on your wall for your gallery wall.
- Decide on the size and shape of your gallery wall.
- Arrange your photos, artwork, and other mementos on the floor or a table. You can experiment with different arrangements until you find one that you like.
- Once you have found an arrangement that you like, start hanging your photos, artwork, and other mementos on the wall. Use wall hooks or nails to hang the frames.
- Use tape or adhesive to attach any photos, artwork, or other mementos that are not in frames.
Tips for Creating DIY Wall Art
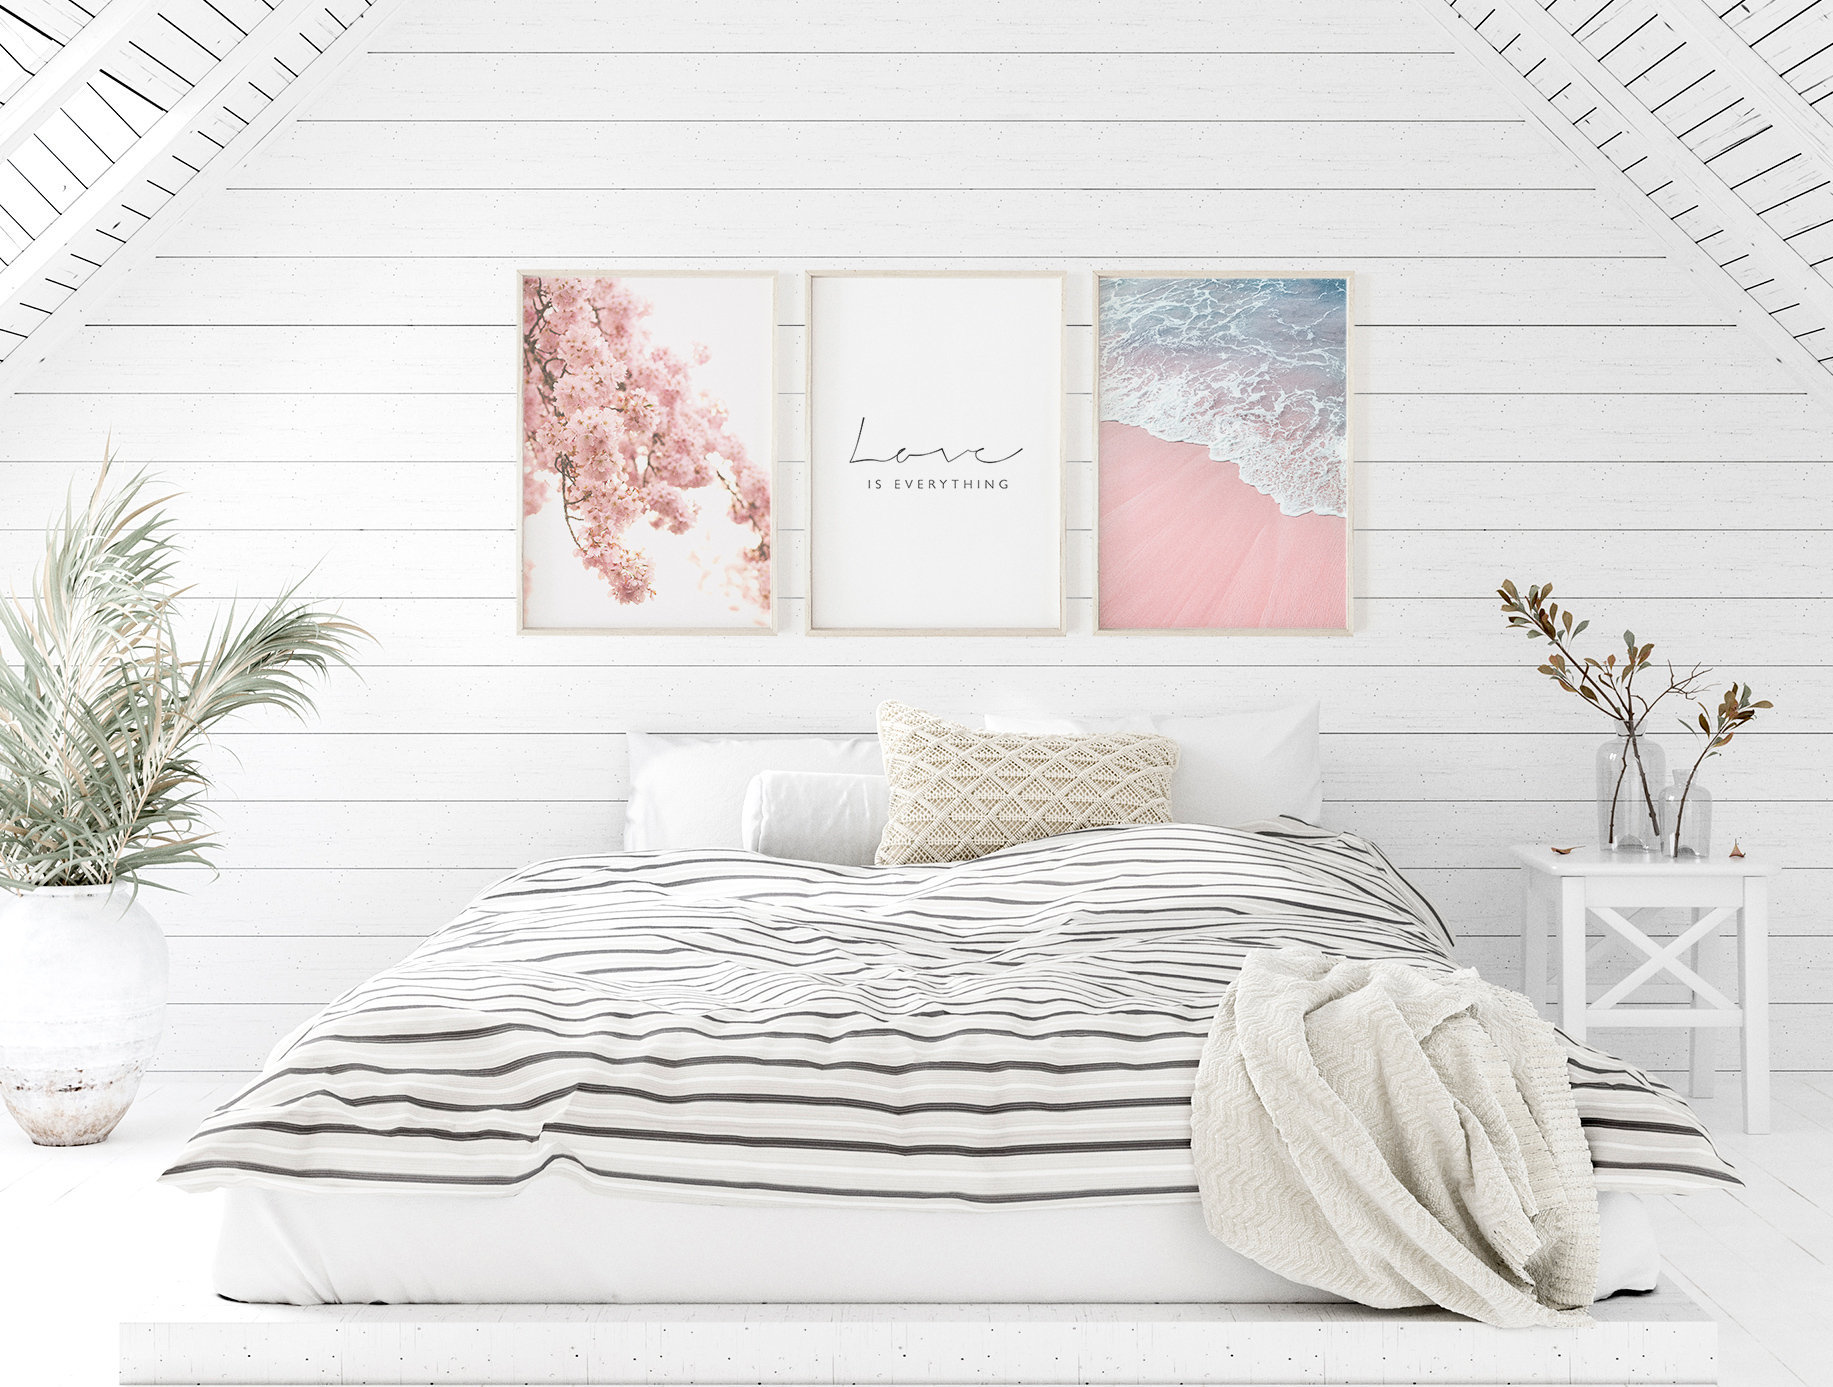
- Choose a theme for your wall art. This will help you to narrow down your options and create a cohesive look.
- Use different sizes and shapes of frames to create interest.
- Don't be afraid to mix and match different materials and textures.
- Add embellishments to your wall art to personalize it and make it your own.
- Hang your

3 DIY Wall Art Ideas for Your Bedroom
Are you looking for a way to add some personality and style to your bedroom? If so, consider creating your own DIY wall art! With a little creativity and some basic supplies, you can easily transform your blank walls into a work of art.

In this blog post, we will share three DIY wall art ideas that are perfect for bedrooms. Each project is simple to follow and requires only a few materials. So what are you waiting for? Get started on your own DIY wall art today!
Project 1: Photo Collage
A photo collage is a great way to display your favorite memories and photos. To create a photo collage, you will need:

- A large piece of poster board or foam board
- A variety of photos
- Mod Podge or other adhesive
- Scissors
- A pencil
-
A ruler
-
Choose your photos. The best photos for a photo collage are those that are personal and meaningful to you. You can choose photos from your travels, family gatherings, or special occasions.
- Arrange your photos. Once you have chosen your photos, arrange them on the poster board or foam board until you are happy with the layout. You can use Mod Podge or another adhesive to attach the photos to the board.
- Add embellishments. If you want to add a little extra personality to your photo collage, you can add embellishments such as stickers, glitter, or paint.
Once your photo collage is complete, hang it in your bedroom so you can enjoy it every day.

Positive or poetic word: Evocative
Project 2: Stenciled Wall Art
Stenciled wall art is a great way to add a touch of personality and style to your bedroom. To create stenciled wall art, you will need:

- A stencil
- A paintbrush
- Acrylic paint
- A pencil
- A ruler
- A level
-
Painter's tape
-
Choose your stencil. There are many different stencils available, so you can choose one that fits your style and personality. You can find stencils at craft stores, online retailers, or even home improvement stores.
- Trace your stencil. Once you have chosen your stencil, trace it onto the wall using a pencil and a ruler. Make sure to level the stencil so that your wall art is straight.
- Apply the paint. Use a paintbrush to apply the paint to the stencil. Be careful not to over-apply the paint, as this could cause the paint to bleed under the stencil.
- Remove the stencil. Once the paint is dry, carefully remove the stencil from the wall.
Your stenciled wall art is now complete! Hang it in your bedroom and enjoy it for years to come.

Positive or poetic word: Exquisite
Project 3: Gallery Wall

A gallery wall is a great way to display your favorite pieces of art, photos, and mementos. To create a gallery wall, you will need:

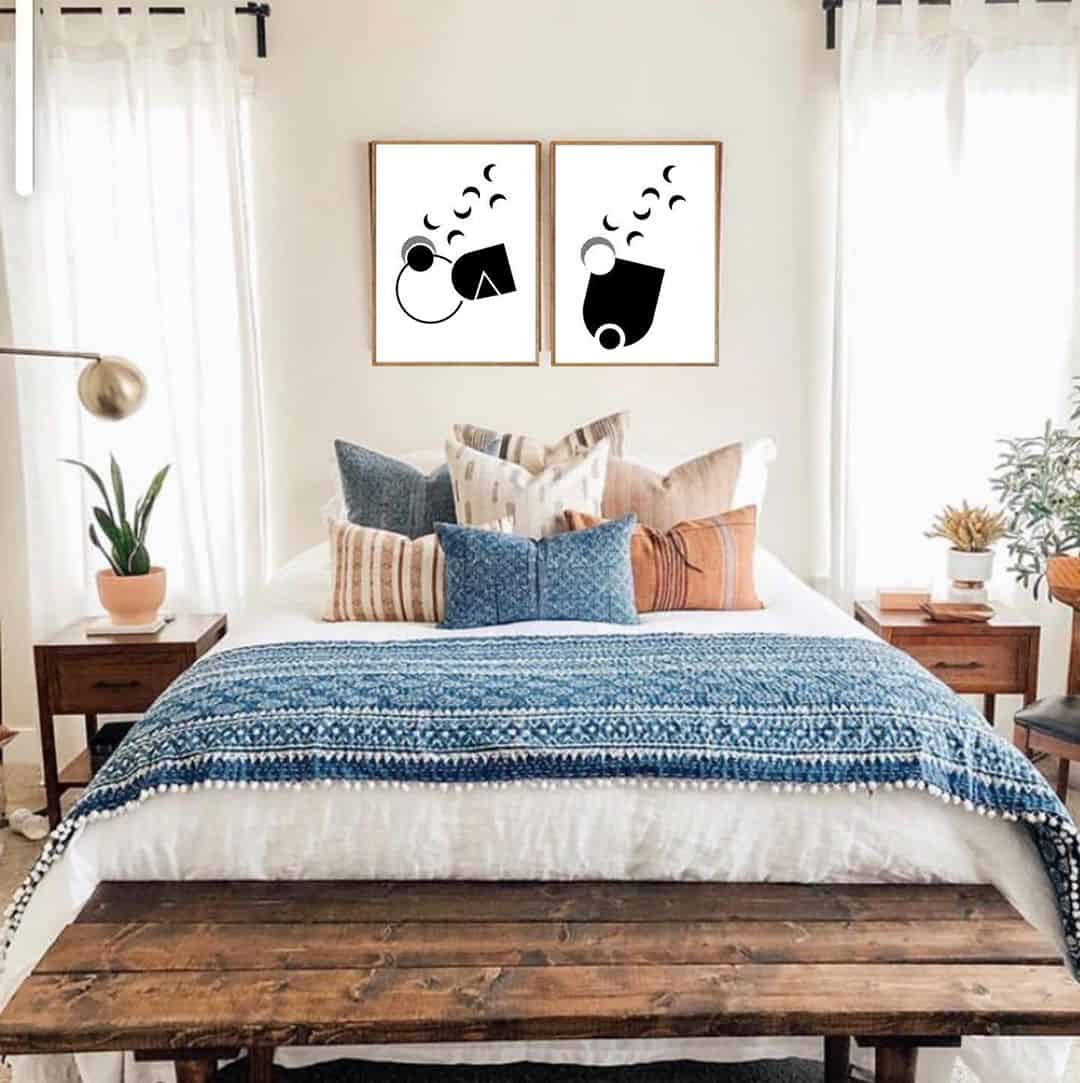
- A variety of frames
- Art, photos, and mementos
- Nails or screws
- A level
-
A tape measure
-
Choose your frames. The frames you choose for your gallery wall should be cohesive in size and style. You can choose frames that are all the same size, or you can mix and match different sizes and styles.
- Arrange your pieces. Once you have chosen your frames, arrange them on the wall until you are happy with the layout. You can use a level to make sure that your frames are straight.
- Hang your pieces. Use nails or screws to hang your frames on the wall. Make sure to hang the frames evenly so that your gallery wall looks balanced.
Your gallery wall is now complete! Hang it in your bedroom and enjoy it for years to come.

Positive or poetic word: Whimsical
We hope you enjoyed these DIY wall art ideas for your bedroom! These projects are simple to follow and require only a few materials. So what are you waiting for? Get started on your own DIY wall art today!

Here are some additional tips for creating DIY wall art:

- Use a variety of colors and textures to create a visually interesting piece of art.
- Don't be afraid to experiment with different materials. You can use fabric, paper, wood, or even metal to create your wall art.
- Add a personal touch by incorporating your own photos or artwork into your project.
- Hang your wall art in a prominent place so that you can enjoy.


