
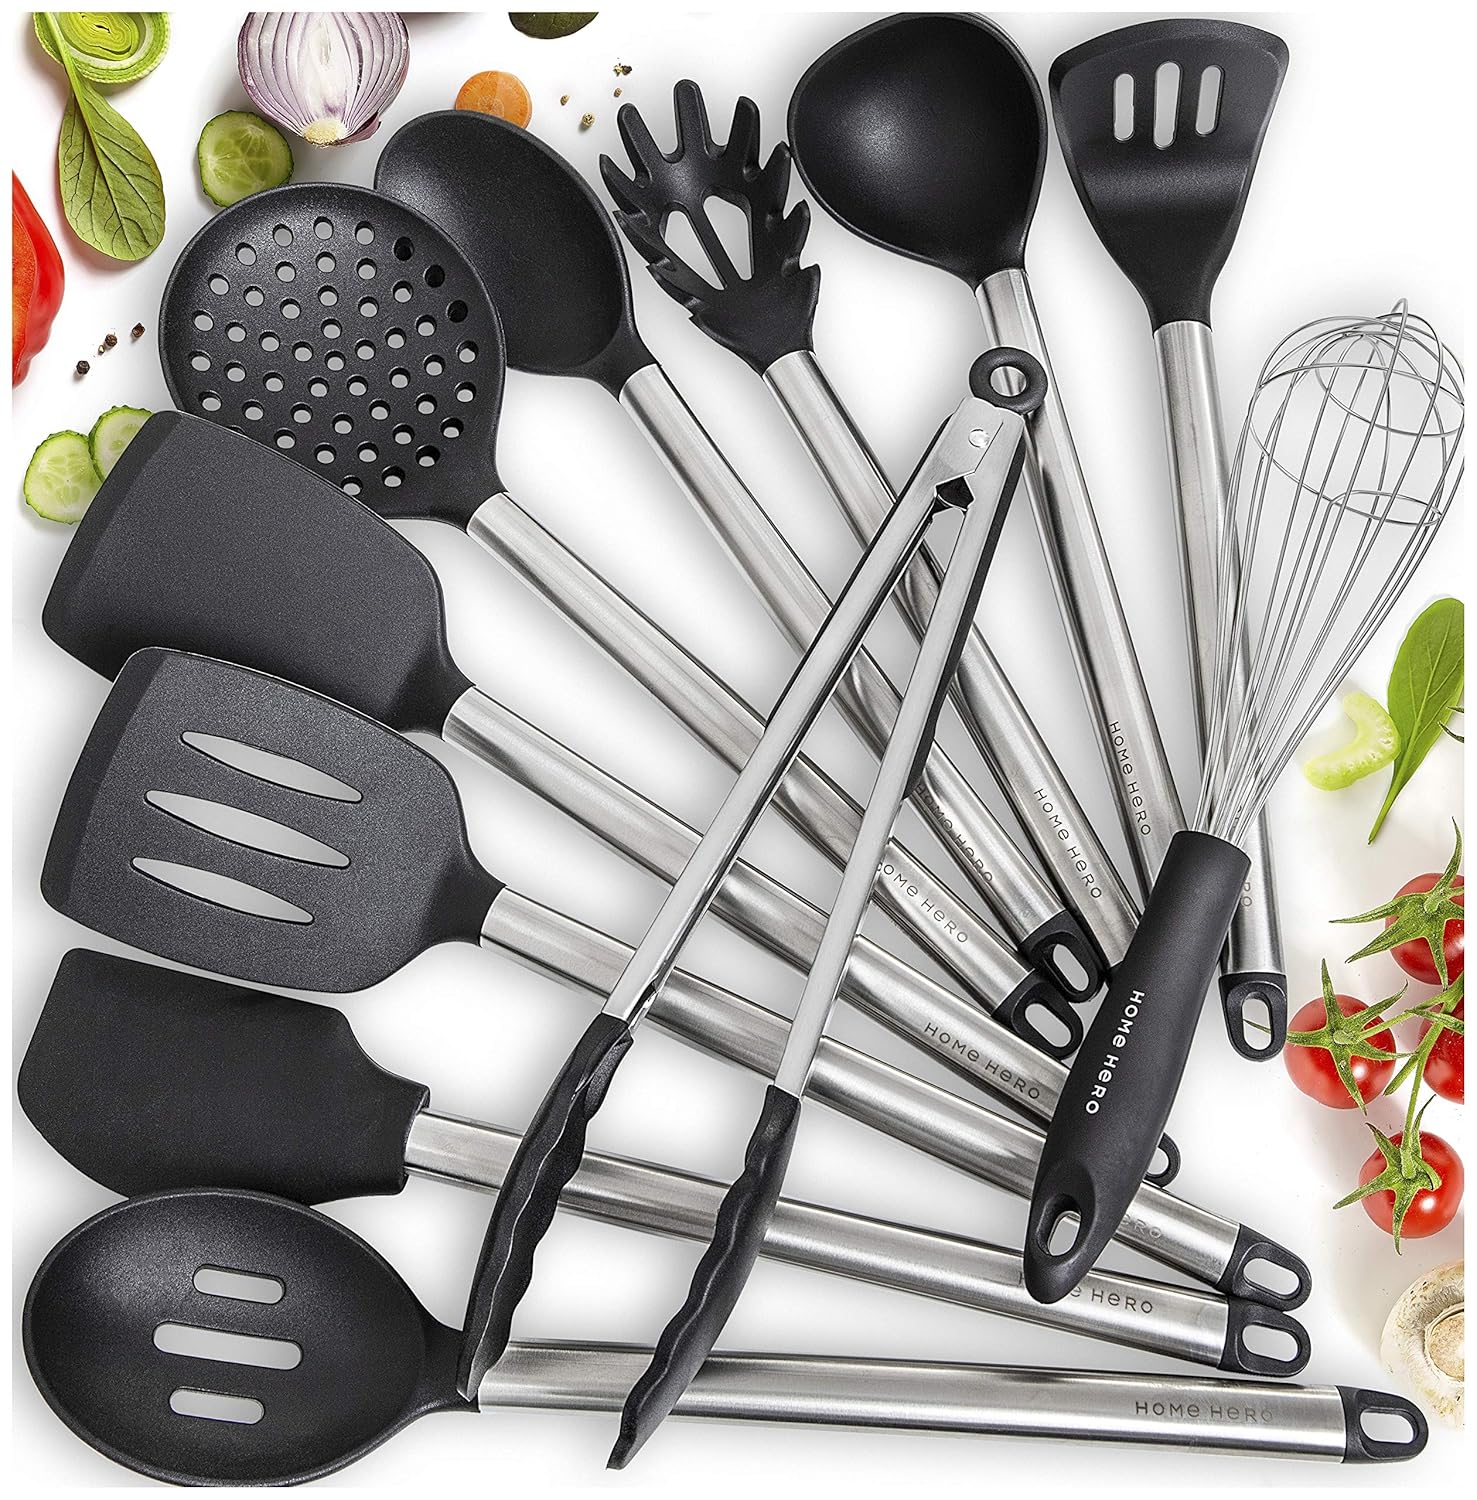
5 DIY Kitchen Utensil Crafts for Home Decor
5 DIY Kitchen Utensil Crafts for Home Decor
Kitchen utensils are a dime a dozen, but they can also be a great source of DIY home decor. With a little creativity, you can transform old pots, pans, and utensils into beautiful and functional pieces of art that will add personality to your kitchen.
Here are five easy DIY kitchen utensil crafts that you can make at home:

1. Pot Lid Planter
This is a great way to recycle old pot lids and add some greenery to your kitchen.
- Materials:
- Old pot lid
- Drill
- Potting soil
- Plant of your choice
- Decorative rocks or pebbles
- Instructions:
- Drill a hole in the center of the pot lid.
- Fill the pot lid with potting soil.
- Place your plant in the pot lid and add decorative rocks or pebbles around the base of the plant.
2. Utensil Holder
This utensil holder is a great way to keep your kitchen organized and looking stylish.

-
Materials:
- Old wooden spoon
- Wood glue
- Acrylic paint
- Paintbrush
- Disposable plate
- Newspaper
-
Instructions:
- Paint the wooden spoon with acrylic paint.
- Place the spoon on a disposable plate covered with newspaper.
- Apply a thin layer of wood glue to the back of the spoon.
- Press the spoon into the wood glue on the plate.
- Allow the glue to dry completely.
- Remove the spoon from the plate.
3. Knife Block

This knife block is a great way to store your knives and keep them organized.
-
Materials:
- Old cutting board
- Wood glue
- Acrylic paint
- Paintbrush
- Disposable plate
- Newspaper
- Magnets
-
Instructions:
- Paint the cutting board with acrylic paint.
- Place the cutting board on a disposable plate covered with newspaper.
- Apply a thin layer of wood glue to the back of the magnets.
- Press the magnets into the wood glue on the cutting board.
- Allow the glue to dry completely.
- Insert your knives into the magnets.


4. Pot Holder
This pot holder is a great way to protect your hands from hot pots and pans.

- Materials:
- Old potholder
- Fabric paint
- Paintbrush
- Disposable plate
- Newspaper

- Instructions:
- Paint the potholder with fabric paint.
- Place the potholder on a disposable plate covered with newspaper.
- Allow the paint to dry completely.
5. Spoon Rest
This spoon rest is a great way to keep your kitchen counter clean and organized.

-
Materials:
- Old wooden spoon
- Wood glue
- Acrylic paint
- Paintbrush
- Disposable plate
- Newspaper
-
Instructions:
- Paint the wooden spoon with acrylic paint.
- Place the spoon on a disposable plate covered with newspaper.
- Apply a thin layer of wood glue to the bottom of the spoon.
- Press the spoon into the wood glue on the plate.
- Allow the glue to dry completely.

These are just a few of the many DIY kitchen utensil crafts that you can make at home. With a little creativity and imagination, you can transform old kitchen utensils into beautiful and functional pieces of home decor.
Keywords: kitchen utensils, DIY, home decor, pot lid planter, utensil holder, knife block, pot holder, spoon rest

Kitchen utensils are a dime a dozen, but what if you could turn them into beautiful works of art? With a little creativity and some basic crafting supplies, you can easily transform your old kitchen utensils into stunning home decor pieces.
In this blog post, we'll share 10 DIY kitchen utensil crafts that are perfect for any home décor style. Whether you're looking for a rustic farmhouse touch, a modern minimalist vibe, or something in between, we've got you covered.

So read on for inspiration, and get ready to transform your kitchen utensils into something truly special.
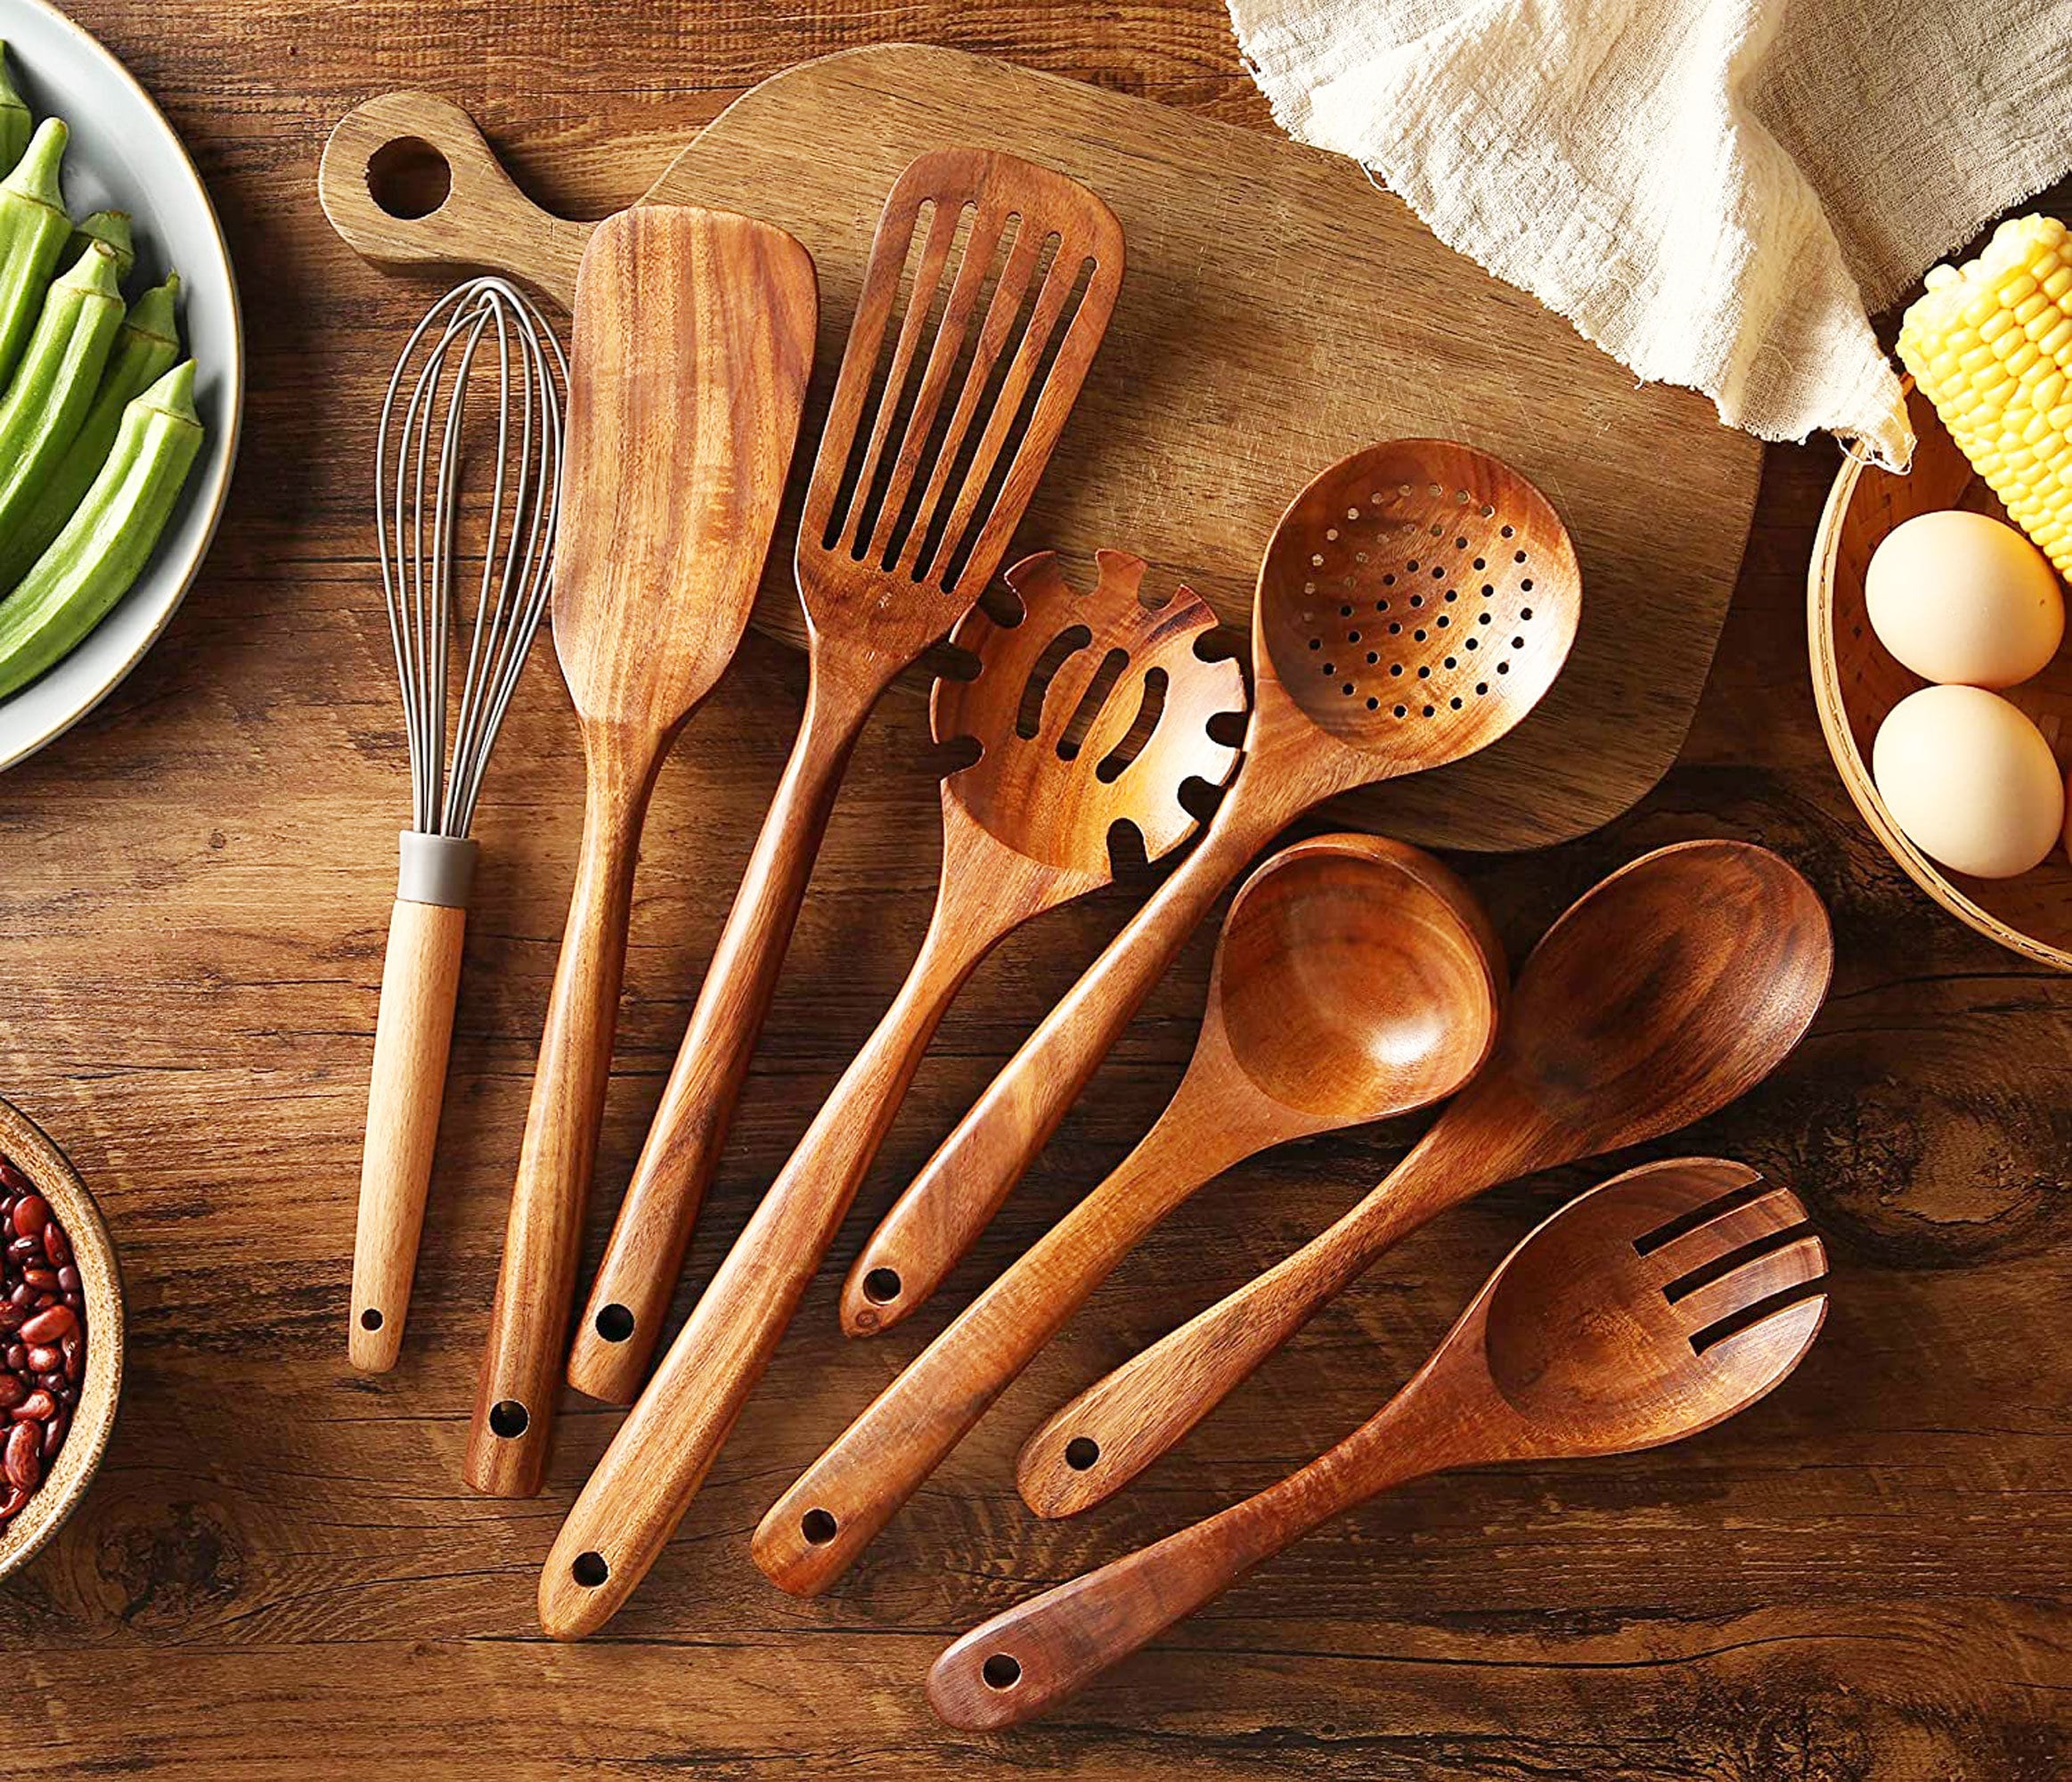
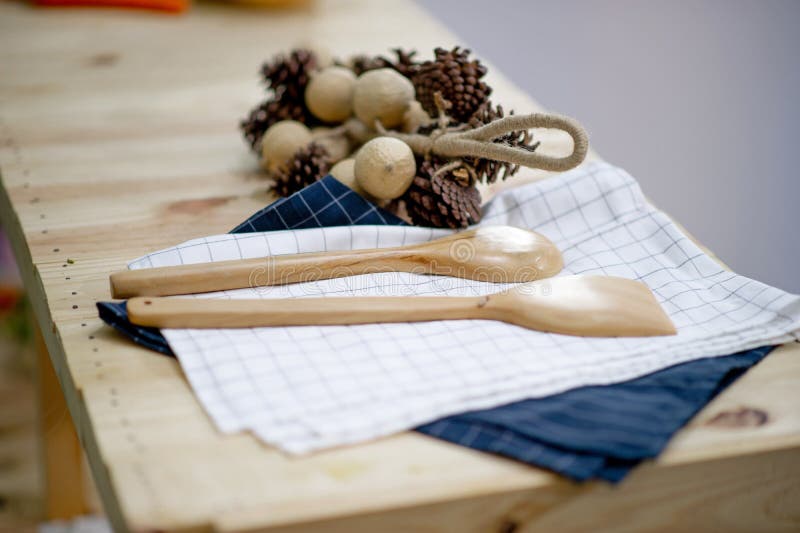
1. Rustic Wooden Spoon Vase
This rustic wooden spoon vase is the perfect way to add a touch of farmhouse charm to your kitchen.

To make this vase, you'll need:
- A wooden spoon
- A drill
- A 1-inch drill bit
- A piece of sandpaper
- A can of spray paint
- A vase filler
Instructions:

- Drill a hole in the center of the wooden spoon.
- Sand the edges of the hole to smooth them out.
- Spray paint the spoon in your desired color.
- Fill the vase with your desired vase filler.
- Place the spoon in the vase.
Your rustic wooden spoon vase is now complete!
Tip: If you want to add a personal touch, you can personalize the vase by writing your name or initials on the spoon with a permanent marker.
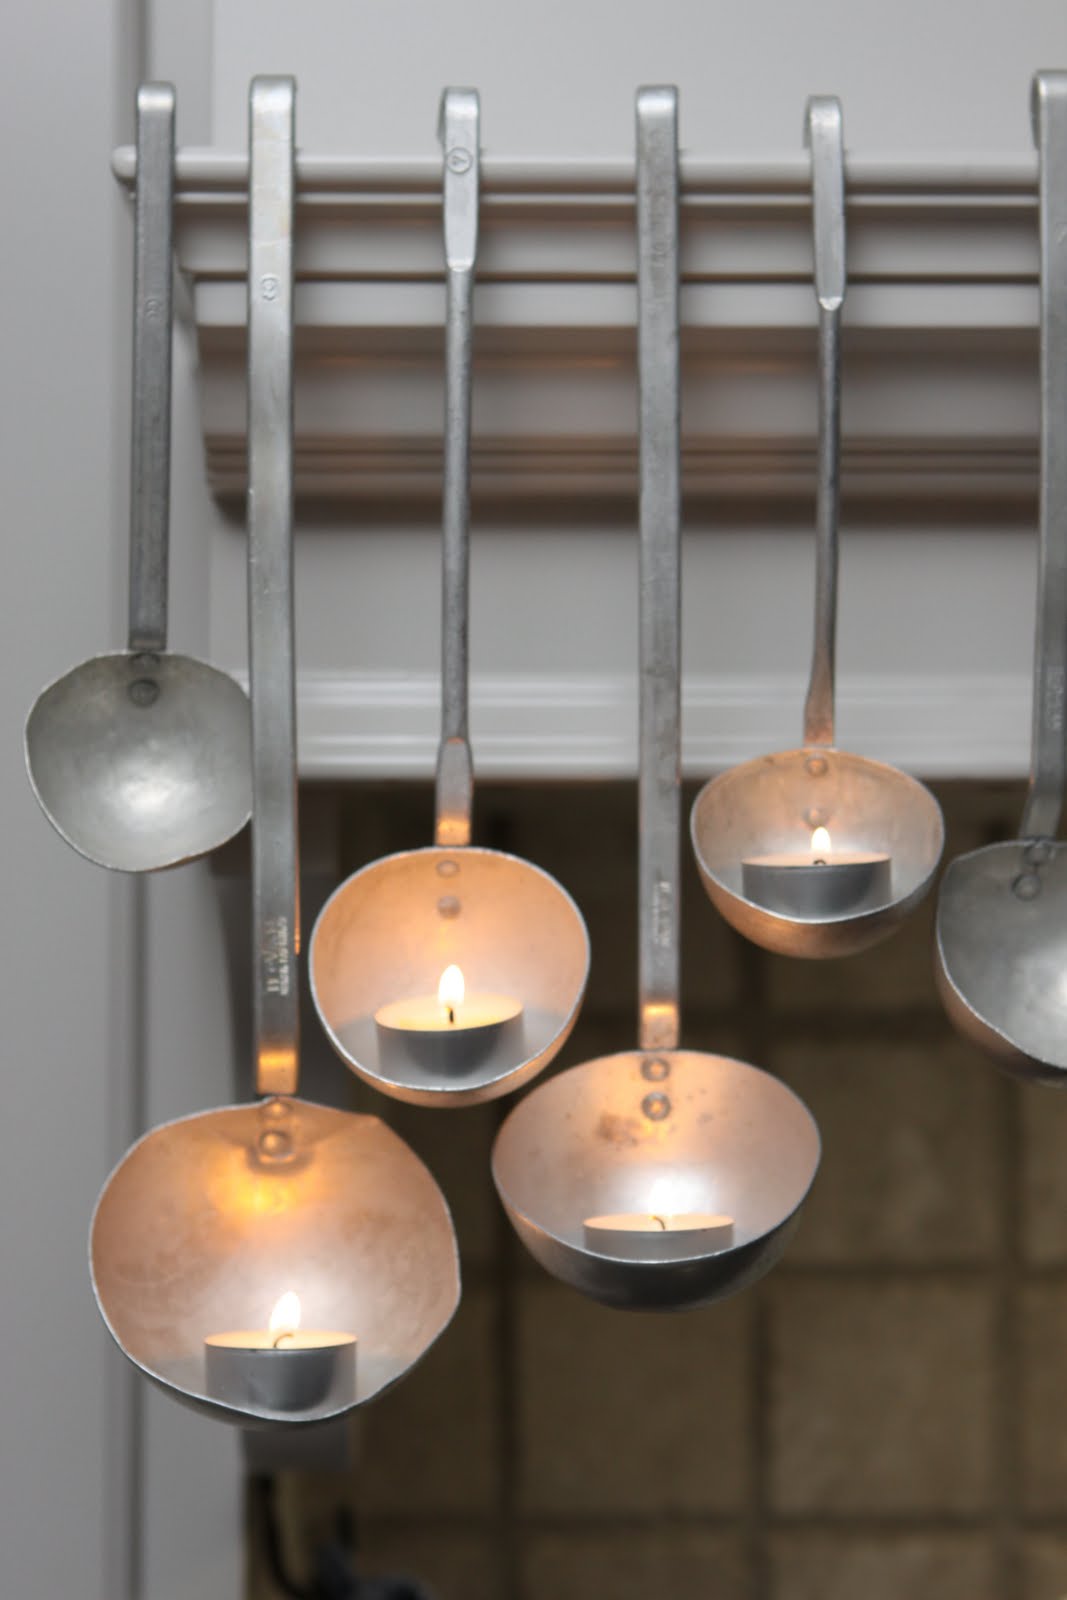
2. Modern Metal Spoon Hanger
This modern metal spoon hanger is a stylish way to display your kitchen utensils.
To make this hanger, you'll need:
- A metal spoon
- A piece of metal wire
- A pair of pliers
- A drill
- A 1/8-inch drill bit
- A piece of wood
- A saw
- A drill bit
- A hammer
- A nail
Instructions:
- Cut a piece of metal wire to the desired length.
- Bend the wire into a hanger shape.
- Drill a hole in the center of the spoon.
- Thread the wire through the hole in the spoon.
- Secure the wire to the spoon with a pliers.
- Cut a piece of wood to the desired size.
- Drill a hole in the center of the wood.
- Thread the wire through the hole in the wood.
- Secure the wire to the wood with a nail.

Your modern metal spoon hanger is now complete!
Tip: If you want to add a pop of color, you can paint the spoon or the wood hanger.
3. Cute Clay Spoon Ornaments
These cute clay spoon ornaments are the perfect way to add a touch of whimsy to your kitchen.
To make these ornaments, you'll need:
- A wooden spoon
- A piece of clay
- A rolling pin
- A knife
- A paintbrush
- Acrylic paint
- A sealant
Instructions:
- Roll out the clay to a thickness of about 1/4 inch.
- Cut out the desired shapes from the clay.
- Use a knife to add details to the shapes.
- Bake the clay according to the package directions.
- Paint the ornaments with acrylic paint.
- Seal the ornaments with a sealant.
Your cute clay spoon ornaments are now complete!

Tip: If you want to make your ornaments more durable, you can add a coat of varnish.
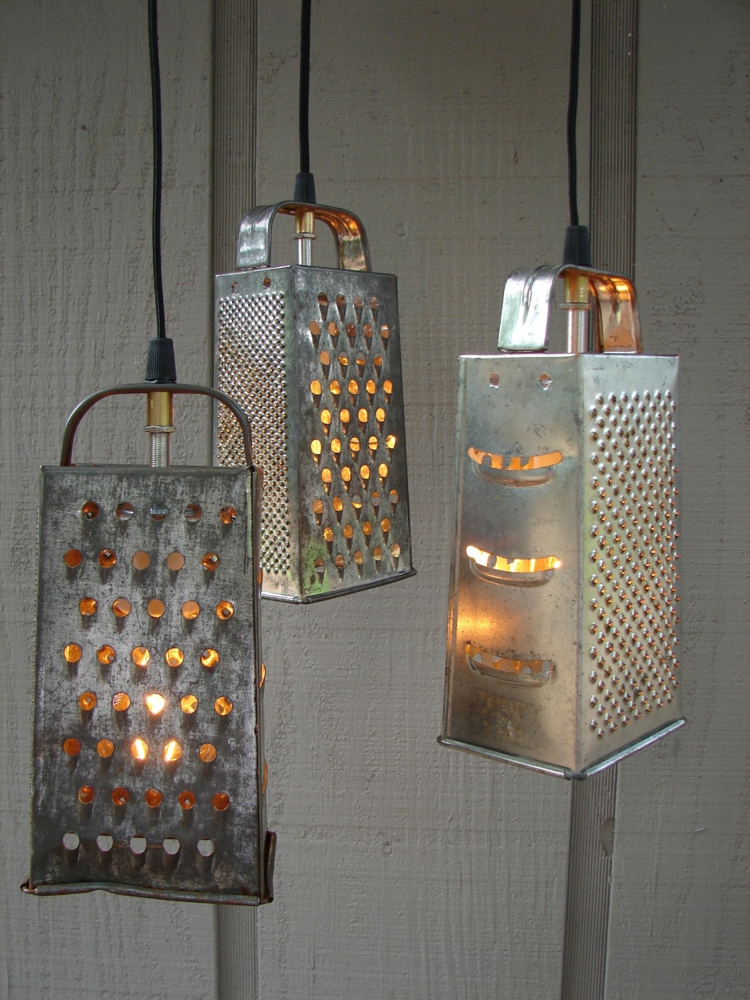
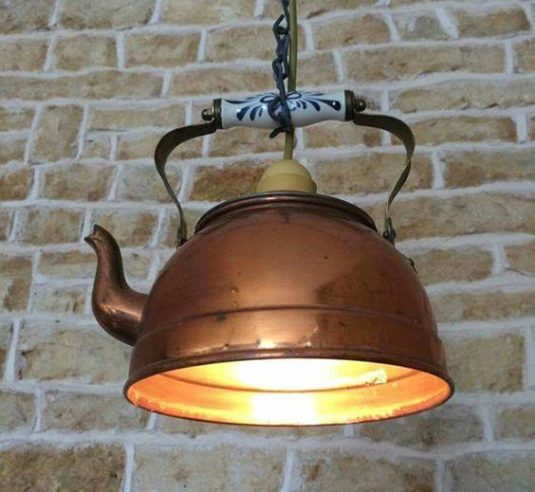
4. Elegant Copper Spoon Candle Holder

This elegant copper spoon candle holder is a sophisticated way to add a touch of warmth to your kitchen.


To make this candle holder, you'll need:
- A wooden spoon
- A piece of copper sheeting
- A pair of pliers
- A drill
- A 1/8-inch drill bit
- A piece of wood
- A saw
- A drill bit
- A hammer
- A nail

Instructions:
- Cut a piece of copper sheeting to the desired size.
- **Bend the copper sheeting into a candle holder shape.
