
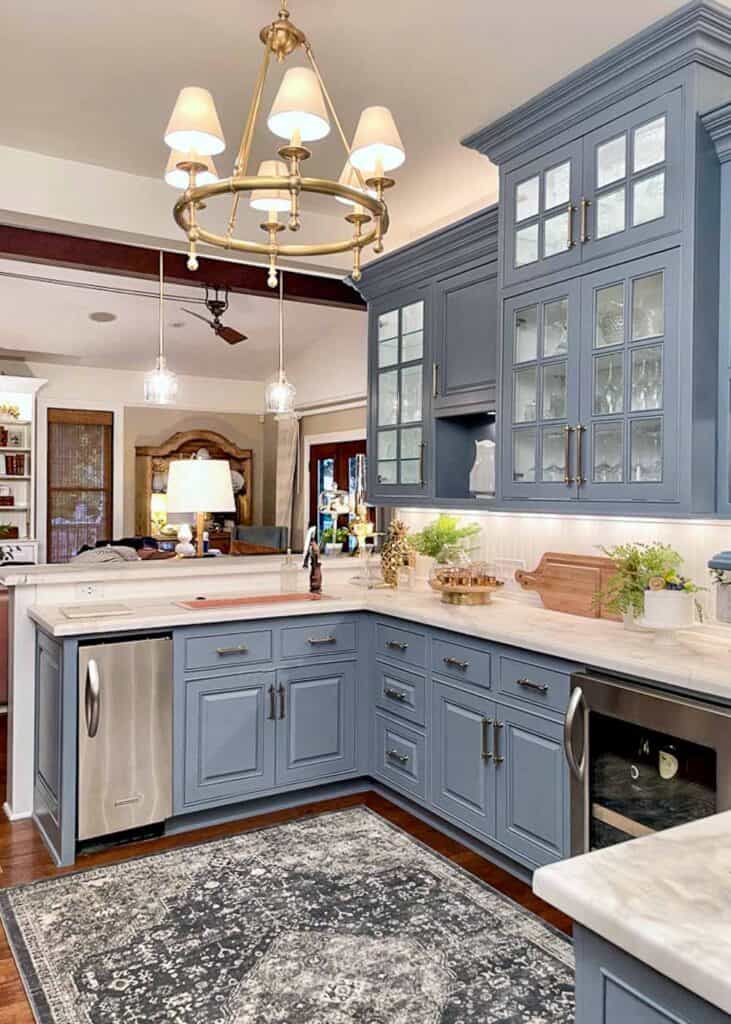
🎨 Kitchen Makeover Magic: Painted Cabinets That Wow!
🎨 Kitchen Makeover Magic: Painted Cabinets That Wow!
A kitchen is the heart of a home, a space where memories are made, meals are shared, and families gather. It's also a space that often takes the brunt of wear and tear, with cabinets bearing the marks of time and countless meals.
If your kitchen cabinets are looking a little tired, don't despair! Painting your cabinets can be a transformative and surprisingly affordable way to give your kitchen a whole new look and feel. From classic white to bold colors, there's a paint scheme waiting to breathe new life into your space.
Here's why painting kitchen cabinets can be a kitchen makeover magic trick:
- Cost-Effective: Painting cabinets is a much more budget-friendly option than replacing them altogether. You can achieve a stunning transformation with a fraction of the cost.
- Versatility: With endless color options, paint allows you to tailor your kitchen to your personal style and preferences. Whether you want a clean and modern look or a cozy and inviting feel, paint can help you achieve it.
- Easy Refresh: Painting cabinets can be a relatively straightforward DIY project, allowing you to take control and personalize your kitchen with your own touch.
- Increased Value: A fresh coat of paint can significantly boost your kitchen's curb appeal, potentially adding value to your home.
Get Ready for Your Cabinet Makeover

Before you dive into painting your kitchen cabinets, it's essential to prepare your space and gather the right supplies.
1. Planning and Preparation:
- Inspiration: Start by browsing through kitchen design magazines, websites, and Pinterest for ideas. Determine the overall style you want to achieve, whether it's modern, farmhouse, traditional, or contemporary.
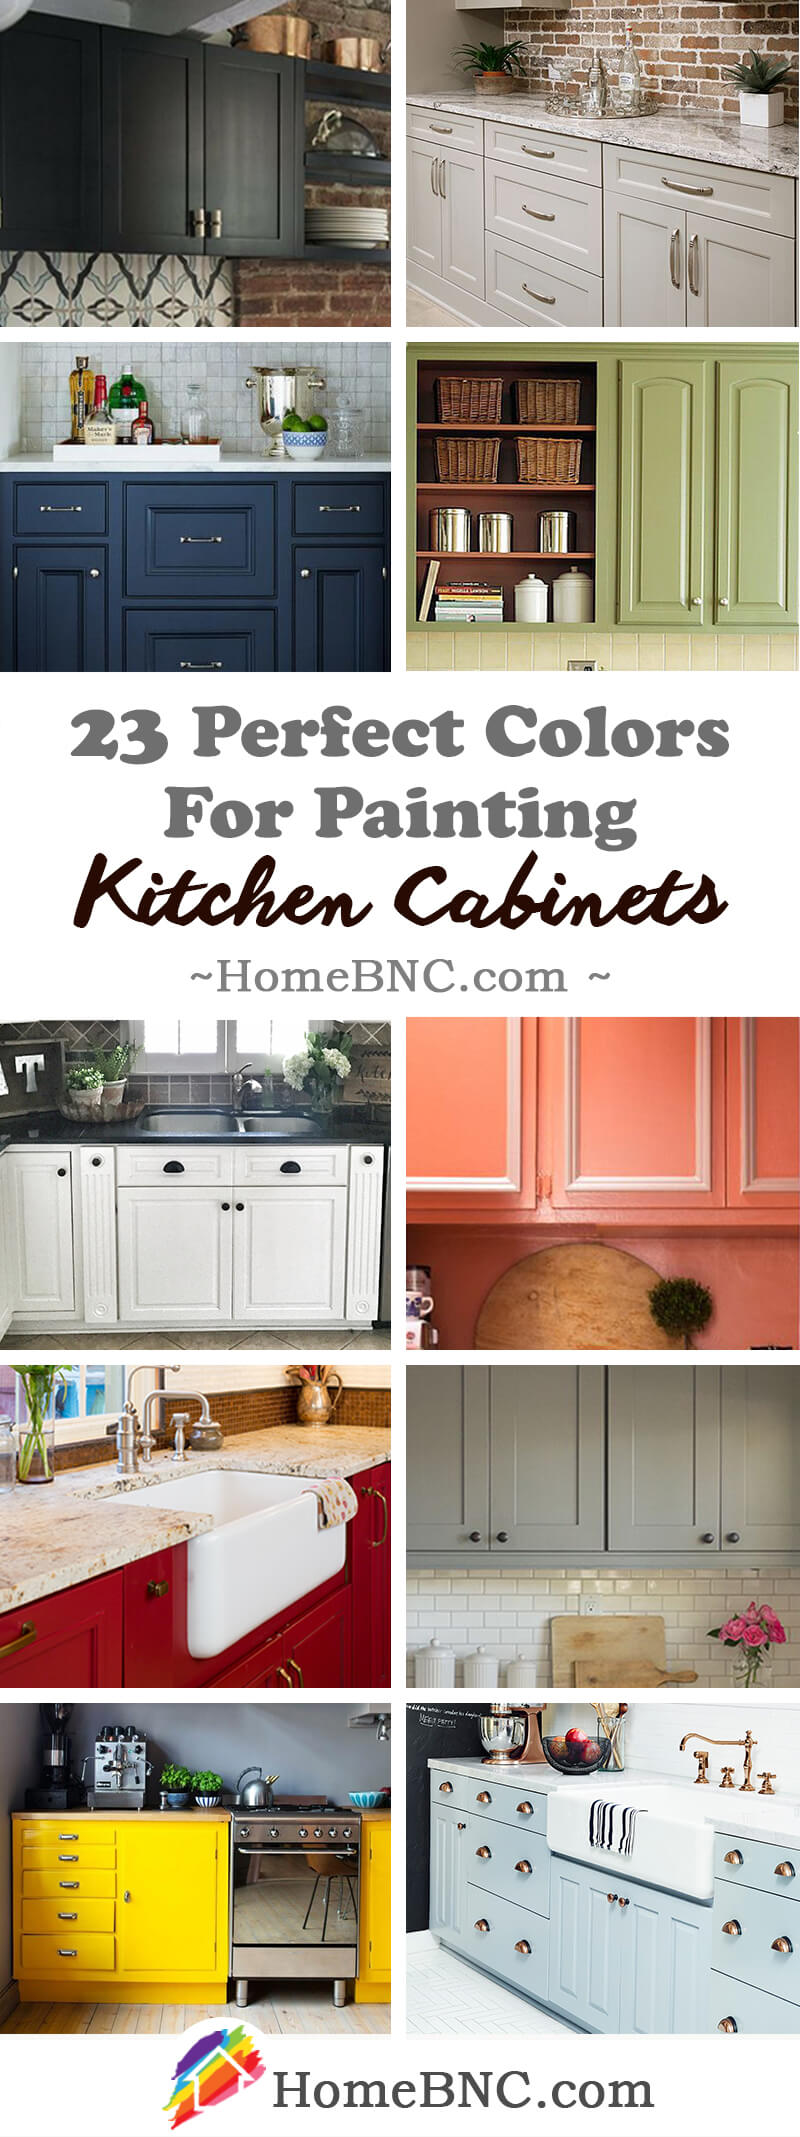
- Color Selection: Experiment with different paint swatches in your kitchen to see how they interact with your existing countertops, backsplash, and lighting. Consider the mood you want to create:
- White and Neutral Colors: These colors create a clean, airy, and spacious feel, perfect for smaller kitchens.
- Bold Colors: Vibrant colors add personality and a sense of energy to your kitchen.
- Warm Colors: Like yellows and oranges, can create a welcoming and inviting atmosphere.
- Cool Colors: Such as blues and greens, can create a calming and relaxing space.
- Cabinet Condition: Assess the condition of your cabinets. If there are any major damages, it's best to address them before painting. You can repair minor scratches or chips with wood filler.
- Cleaning: Thoroughly clean your cabinets with a degreaser and allow them to dry completely before painting. This ensures the paint adheres properly.
- Protection: Cover your floors and countertops with drop cloths to protect them from paint splatters.

2. Gathering Supplies:
- Primer: Use a primer specifically designed for cabinets to ensure the paint adheres properly and provides a smooth finish.
- Paint: Choose a high-quality, cabinet-grade paint that is durable and easy to clean. Look for paints with a low VOC (Volatile Organic Compound) content to minimize harmful fumes.
- Paint Brushes and Rollers: Use a high-quality brush for detailed work on the cabinet trim and a roller for covering large surfaces.
- Sandpaper: Use fine-grit sandpaper to smooth out any rough spots on the cabinet surfaces.
- Painter's Tape: Securely tape off any areas you don't want to paint, such as countertops, backsplashes, and appliances.
- Gloves: Protect your hands from paint with gloves.
- Paint Thinner: Use paint thinner to clean your brushes and rollers after painting.
- Paint Tray: Use a paint tray to hold your paint and make it easier to pour and load your roller.
- Drop Cloths: Protect your floors and countertops from paint splatters.
The Painting Process

1. Preparing Cabinets for Painting:
- Remove Hardware: Remove all hardware from your cabinets, including knobs, pulls, hinges, and shelves. This allows you to paint the cabinets without damaging the hardware.
- Sanding: Gently sand the cabinet surfaces with fine-grit sandpaper to create a smooth surface for the paint to adhere to.
- Clean: Thoroughly clean the cabinet surfaces with a degreaser to remove any dirt, grease, or residue.
- Tape Off: Use painter's tape to protect areas you don't want to paint, like the backsplash and countertop.
2. Priming Your Cabinets:
- Apply Primer: Apply a thin and even coat of primer to all the cabinet surfaces. Allow the primer to dry completely before proceeding to the next step.
- Sanding (Optional): You can lightly sand the primer coat with fine-grit sandpaper to create a smooth surface for the paint. This is especially helpful if you're using a high-gloss paint.
3. Painting Your Cabinets:
- First Coat of Paint: Apply a thin and even coat of paint to all the cabinet surfaces. Use a brush for detailed work and a roller for large areas.
- Drying Time: Allow the first coat of paint to dry completely before applying the second coat.
- Second Coat of Paint: Apply a second coat of paint to ensure a smooth and even finish. Allow the second coat to dry completely before proceeding to the next step.
4. Finishing Touches:
- Removing Tape: Carefully remove the painter's tape while the paint is still wet. This prevents the paint from peeling.
- Reattaching Hardware: Reattach the cabinet hardware.
- Cleaning: Clean up any spills or splatters with a damp cloth.
Choosing the Right Paint

Choosing the right paint is crucial for a beautiful and durable finish. Consider the following factors:
- Type: Choose a paint specifically designed for cabinets. Look for paints labeled as "cabinet-grade" or "kitchen-grade." These paints are more durable and resistant to scratches, chips, and stains.
- Finish: Choose a finish that complements your desired aesthetic. Here are some popular options:
- Matte: Provides a flat finish that hides imperfections but can be more prone to fingerprints.
- Satin: Offers a slightly sheen finish that is easier to clean than matte.
- Semi-gloss: Offers a glossy finish that is durable and easy to clean.
- High-gloss: Provides a very shiny finish that is the most durable but can highlight imperfections.
- Color: Choose a color that complements your kitchen's existing décor and appliances.
- VOC Content: Opt for paints with low VOC content to minimize harmful fumes during the painting process.
Additional Tips for a Stunning Finish:

- Cleanliness is Key: Ensure all surfaces are clean and free of dust and debris before painting.
- Thin Paint Properly: If your paint is too thick, it can leave brushstrokes and an uneven finish. Add a small amount of paint thinner to thin the paint to the proper consistency.
- Work in Thin Coats: Applying thin coats of paint allows the paint to dry evenly and prevents drips and runs.
- Sanding Between Coats: Lightly sand between coats of paint to create a smoother finish.
- Patience is Key: Allow the paint to dry completely between coats, following the manufacturer's drying time recommendations.
Transforming Your Kitchen Beyond the Cabinets
While painted cabinets can make a dramatic impact, there are other creative touches that can complete your kitchen makeover. Consider these ideas:
- Backsplash: Replace your old backsplash with a new one that complements your painted cabinets. You can choose from tile, glass, stone, or even wallpaper.
- Countertops: If your countertops are dated, replacing them with new ones can give your kitchen a modern update. Consider granite, quartz, or laminate.
- Lighting: Update your lighting with modern fixtures to brighten up the space and enhance the visual appeal of your painted cabinets.
- Flooring: Replace your old flooring with new tiles, hardwood, or laminate.
- Hardware: Replace your old cabinet hardware with new knobs, pulls, and hinges to give your kitchen a fresh look.
Conclusion:
Painting your kitchen cabinets is a simple and affordable way to transform your space. By following the steps outlined above, you can create a stunning kitchen that you'll love for years to come.

Remember, a successful kitchen makeover starts with good planning, preparation, and attention to detail. With a little effort, you can turn your tired kitchen into a masterpiece!
🎨 Kitchen Makeover Magic: Painted Cabinets That Wow!
The heart of any home, the kitchen is where memories are made, meals are shared, and laughter echoes. But even the most beloved spaces can sometimes feel tired and in need of a refresh. If your kitchen is lacking that spark, painted cabinets might be the perfect solution to transform it into a haven of style and functionality.
Why Painted Cabinets?
You might be thinking, "Why not just replace the cabinets entirely?" While a complete kitchen remodel is a significant undertaking, painting your existing cabinets offers a number of advantages:
- Cost-effective: Painting is significantly more affordable than replacing your entire cabinetry system.
- Quick & Easy: Painting is a relatively fast project compared to a full remodel, with minimal disruption to your daily life.
- Versatile: The world of paint colors is your oyster! You can choose shades that perfectly match your style and personality, or even experiment with bold accents.
- Sustainable: Upcycling your existing cabinets is an eco-friendly choice, reducing waste and extending the life of your kitchen.
Planning Your Painted Cabinet Project:
Before diving into the paint can, a little planning goes a long way. Here's what you'll need to consider:
- Cabinet Condition: Assess the current state of your cabinets. Are they structurally sound? Do they have significant damage or scratches? If there are deep gouges or water damage, consider repairing them before painting.
- Paint Choice: The type of paint will impact both the finish and durability of your cabinets.
- Oil-based paint: Offers excellent durability and a hard, smooth finish. However, it has a strong odor and requires more prep time.
- Latex paint: Water-based, making cleanup easier and offering a faster drying time. It’s also less toxic than oil-based paint. However, latex paint might be less durable than oil-based paint in high-traffic areas.
- Color Selection: This is the fun part! Consider your kitchen's overall design aesthetic, your personal preferences, and the impact you want to achieve.
- Light & Bright: White, cream, or pale gray cabinets create a spacious and airy feel, perfect for smaller kitchens.
- Bold & Statement: Black, navy blue, or rich jewel tones add a dramatic touch and can be balanced with lighter countertops or backsplashes.
- Warm & Inviting: Earthy tones like beige, sage green, or terracotta bring a sense of warmth and comfort.
- Hardware: New hardware can dramatically enhance the look of your cabinets. Consider updating your knobs and pulls to match your chosen color scheme and style.
- Supplies: Gather all the necessary materials before you begin:
- Paint brushes (different sizes for detail work)
- Paint rollers and trays
- Painter's tape
- Drop cloths
- Sandpaper (various grits)
- Primer
- Paint thinner (if using oil-based paint)
- Cleaning supplies
The Transformation Process:
Now, let's get down to business and paint those cabinets! Follow these step-by-step instructions for a stunning makeover:
1. Prep Work:
- Clean the cabinets: Thoroughly wipe down the cabinets with a degreaser or cleaning solution to remove any grease, dirt, or grime.
- Remove hardware: Unscrew and remove all knobs, pulls, and hinges.
- Sand the surfaces: Use fine-grit sandpaper to lightly sand the cabinet doors and frames, creating a smooth surface for the paint to adhere to. This step also helps to remove any existing finish.
2. Priming:
- Apply primer: Priming is a crucial step, particularly if you are painting over dark-colored cabinets or using a light color. Primer creates a uniform base that will prevent the paint from bleeding through and ensure a smooth, even finish.
- Let the primer dry: Allow the primer to dry completely according to the manufacturer's instructions.
3. Painting Time!
- Tape off edges: Use painter's tape to protect surrounding areas, ensuring clean lines.
- Apply paint: Start with a light coat of paint and let it dry completely. Add a second coat for optimal coverage.
- Paint the details: Use smaller brushes to carefully paint around handles and hinges, creating a professional look.
- Let the paint cure: Allow the paint to cure completely before reattaching hardware. This can take anywhere from 24 to 72 hours.
4. Finishing Touches:
- Replace hardware: Reattach your cabinet hardware, selecting new pieces if you wish to upgrade the style.
- Accessorize: Add finishing touches to your kitchen with coordinating accessories like cabinet organizers, decorative plates, or fresh flowers.
Tips for a Perfect Finish:
- Use good-quality paint: Invest in a durable and high-quality paint that will last.
- Thin the paint: If you're using oil-based paint, thin it with paint thinner for a smoother finish.
- Work in thin coats: Avoid applying thick layers of paint, which can lead to drips and uneven coverage.
- Sand between coats: Light sanding between coats helps to create a smoother, more even finish.
- Protect your work area: Use drop cloths to protect your floors and surrounding surfaces from paint splatters.
Beyond the Basics: Creative Cabinet Ideas:
Ready to take your painted cabinets to the next level? Consider these innovative ideas:
- Two-tone cabinets: Create a striking contrast by painting the upper cabinets one color and the lower cabinets another. This can visually separate the space and add visual interest.
- Distressed finish: For a rustic or farmhouse feel, use sandpaper or a wire brush to create a distressed finish on your painted cabinets.
- Stencils and patterns: Add personality to your kitchen with stencils or hand-painted patterns. From floral designs to geometric shapes, the possibilities are endless.
- Magnetic paint: Paint your cabinets with magnetic paint to create a handy spot for notes, recipes, or artwork.
- Chalkboard paint: Turn the back of your cabinet doors into a fun message board with chalkboard paint.
Maintaining Your Painted Cabinets:
With proper care, your freshly painted cabinets will stay beautiful for years to come.
- Cleaning: Wipe down your cabinets regularly with a damp cloth and mild soap.
- Avoid harsh chemicals: Avoid using harsh cleaners or abrasive sponges that can damage the paint.
- Touch up scratches: If scratches occur, use a small amount of paint to touch them up.
Conclusion:
Transforming your kitchen with painted cabinets is a DIY project that can dramatically enhance the look and feel of your space. With a little planning, careful execution, and a touch of creativity, you can achieve a kitchen makeover that will wow you for years to come. So, grab your paintbrushes, unleash your inner artist, and get ready to create a kitchen you'll absolutely love!

