Kitchen Makeover on a Dime: DIY Hacks That Wow!
Kitchen Makeover on a Dime: DIY Hacks That Wow!
The kitchen is often considered the heart of the home. It’s where families gather, meals are prepared, and memories are made. But what happens when your kitchen starts to feel dated, tired, or simply doesn't reflect your style? A full kitchen remodel can be expensive and time-consuming, but don't despair! With a little creativity and some DIY hacks, you can give your kitchen a stunning makeover without breaking the bank.
Embrace the Power of Paint:
Paint is your secret weapon for transforming your kitchen. A fresh coat can instantly brighten up cabinets, walls, and even appliances, giving your space a brand-new feel.
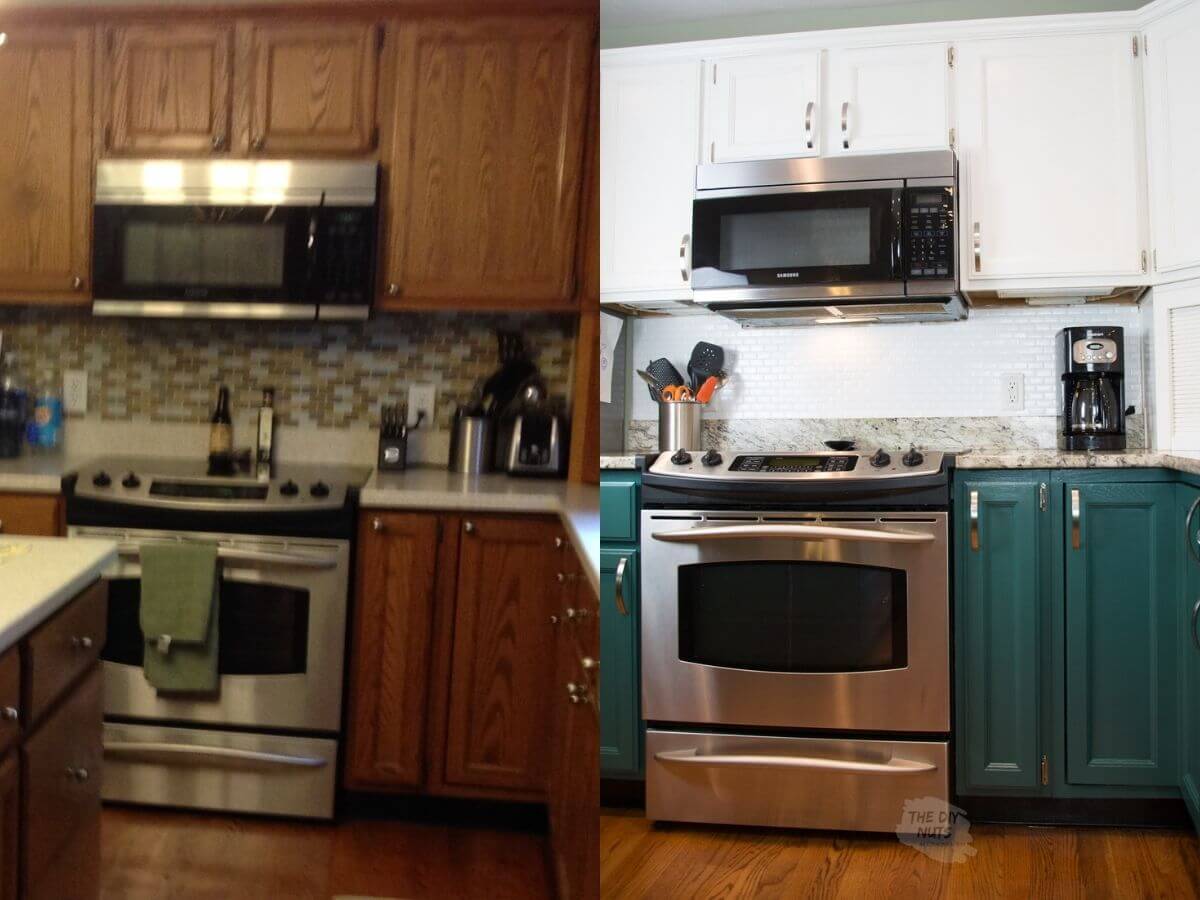
- Cabinet Refresh: Tired of those outdated cabinets? Give them a modern touch with a fresh coat of paint. Choose a classic white for a clean, timeless look, or opt for a bold color like navy or sage green to create a statement.
- Accent Walls: Instead of repainting the entire kitchen, consider a statement accent wall. Use a bold color or a fun pattern to create a focal point and inject personality into your space.
- Appliance Makeover: Those worn-out appliances can be given a second life with a coat of paint. Use appliance paint specifically designed for high-heat surfaces to ensure a long-lasting finish. You can even use paint to customize your refrigerator with a fun design or a chalkboard finish for meal planning.
Maximize Storage & Organization:
Clutter is a kitchen's worst enemy. With some clever storage solutions, you can create a more organized and functional space.
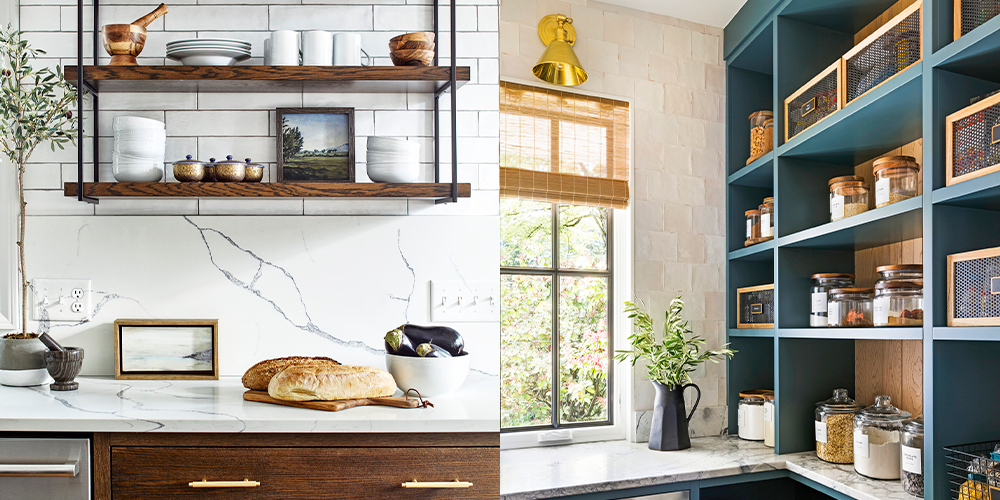
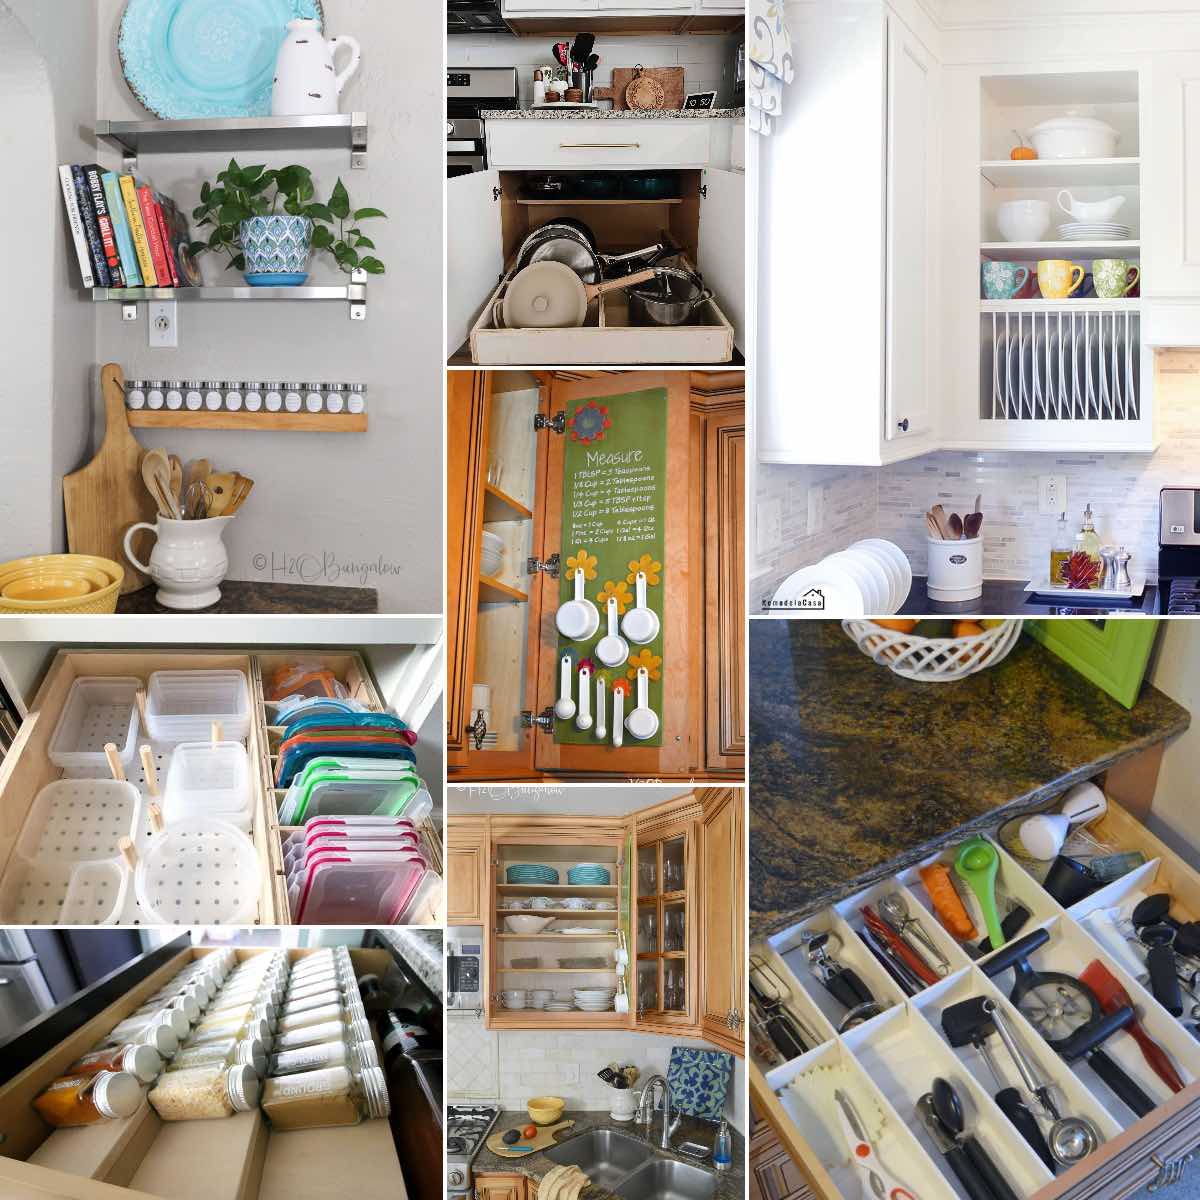
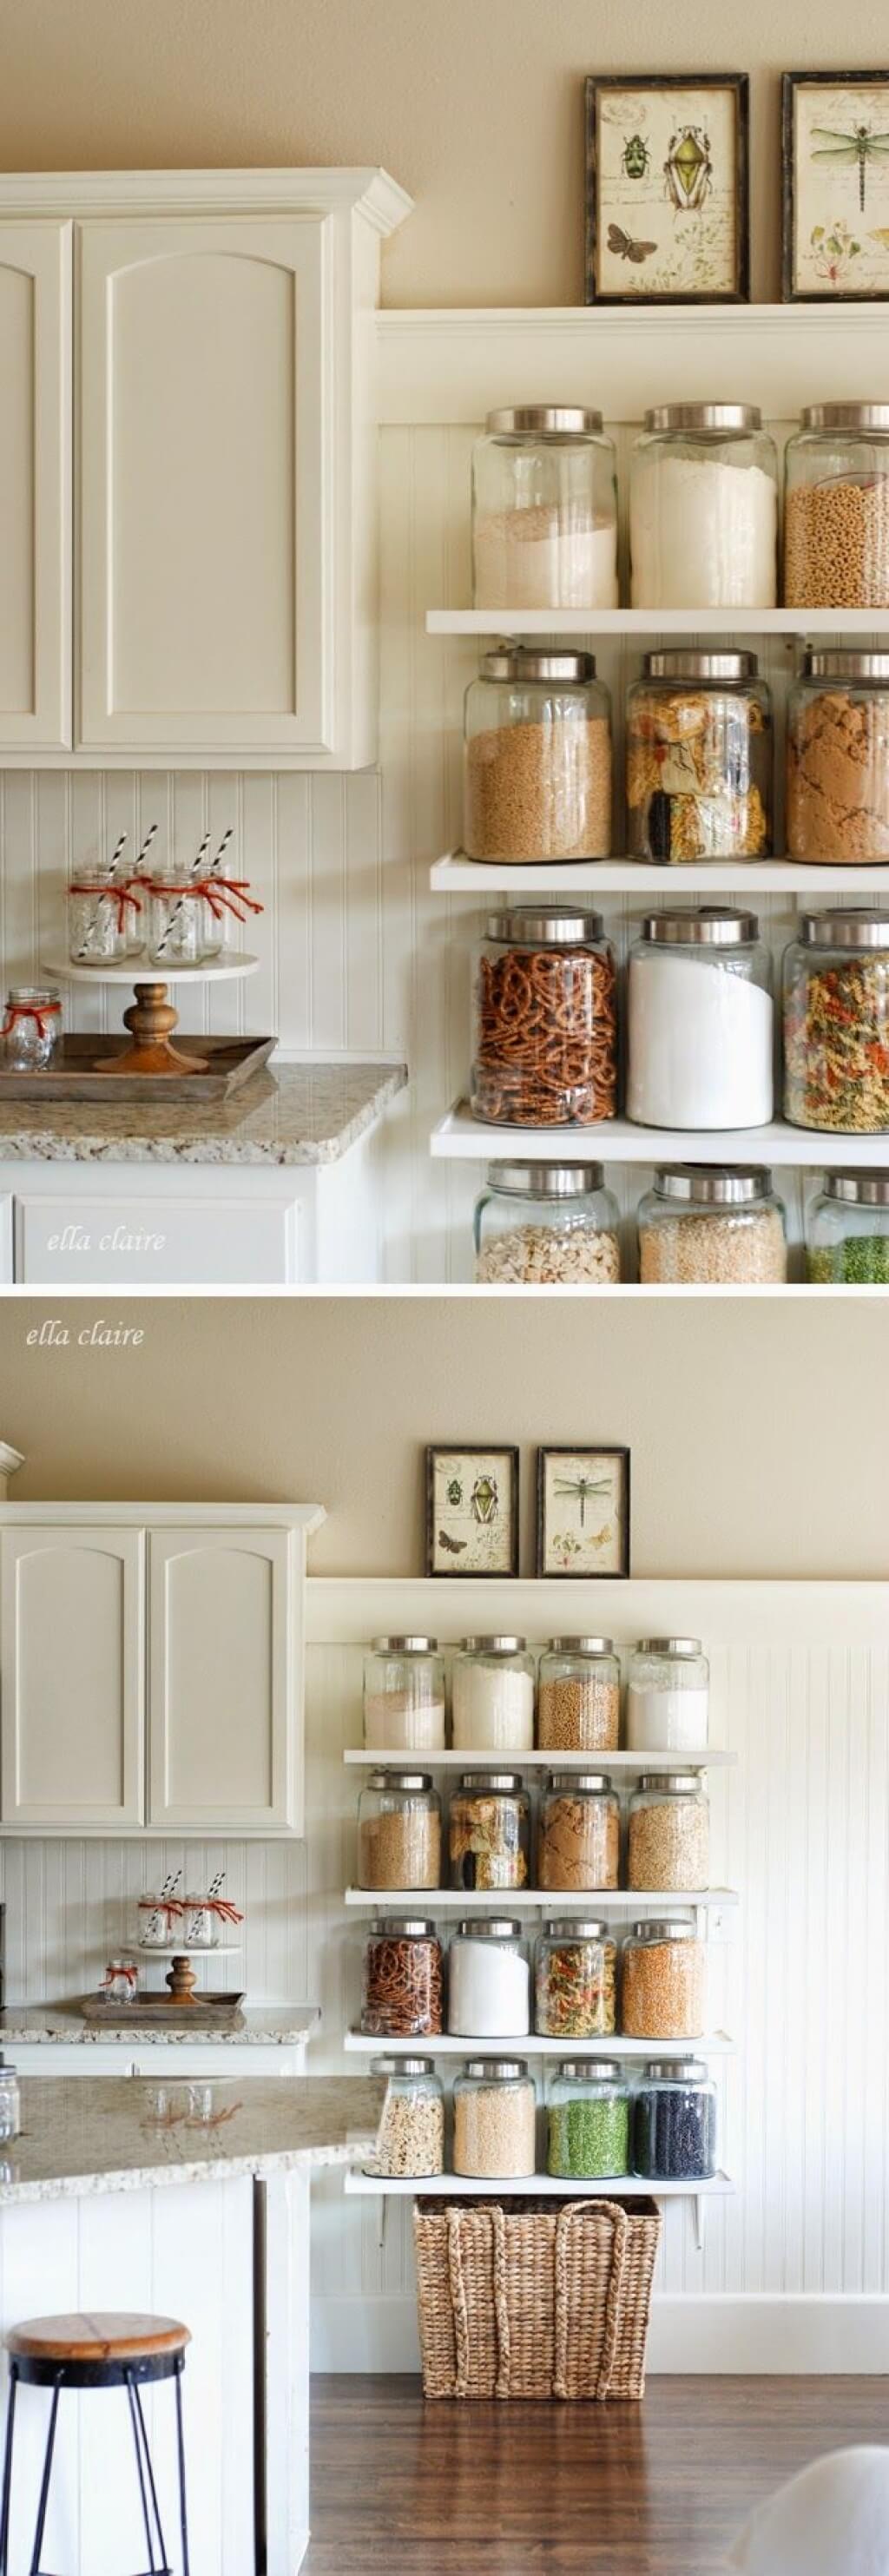
- DIY Shelf Organization: Make use of vertical space by creating DIY shelves. Use inexpensive materials like wood planks and brackets to build sturdy shelves that can hold your cookware, dishes, or even books.
- Crate Storage: Repurpose wooden crates as stylish storage solutions. Stack crates to create open shelving units, use them for storing pantry items, or paint them to match your kitchen decor.
- Magnetic Strips: Keep your knives, scissors, and other metal utensils organized and within easy reach with magnetic strips. Mount them on the wall or inside cabinet doors for a space-saving solution.
- Utilize Drawer Dividers: Maximize drawer space and keep everything tidy with drawer dividers. You can find affordable options at home improvement stores, or even make your own using cardboard or wood scraps.
Add a Touch of Personal Style:
Give your kitchen a unique touch with personalized DIY projects.
- Upcycled Furniture: Transform old pieces of furniture into functional kitchen storage solutions. Use an old dresser as a pantry, a vintage cabinet as a spice rack, or a repurposed desk as an island.
- DIY Backsplash: A backsplash can instantly upgrade the look of your kitchen. Consider using inexpensive materials like peel-and-stick tiles, cork tiles, or even painted wood planks to create a stunning backsplash.
- Open Shelving: Open shelving is a great way to showcase your favorite dishes and kitchen accessories. You can create your own open shelves using wood planks and brackets, or even repurpose existing shelves from other rooms.
Accessorize with a Flair:
Accessorizing your kitchen with thoughtful details can add personality and elevate the overall design.
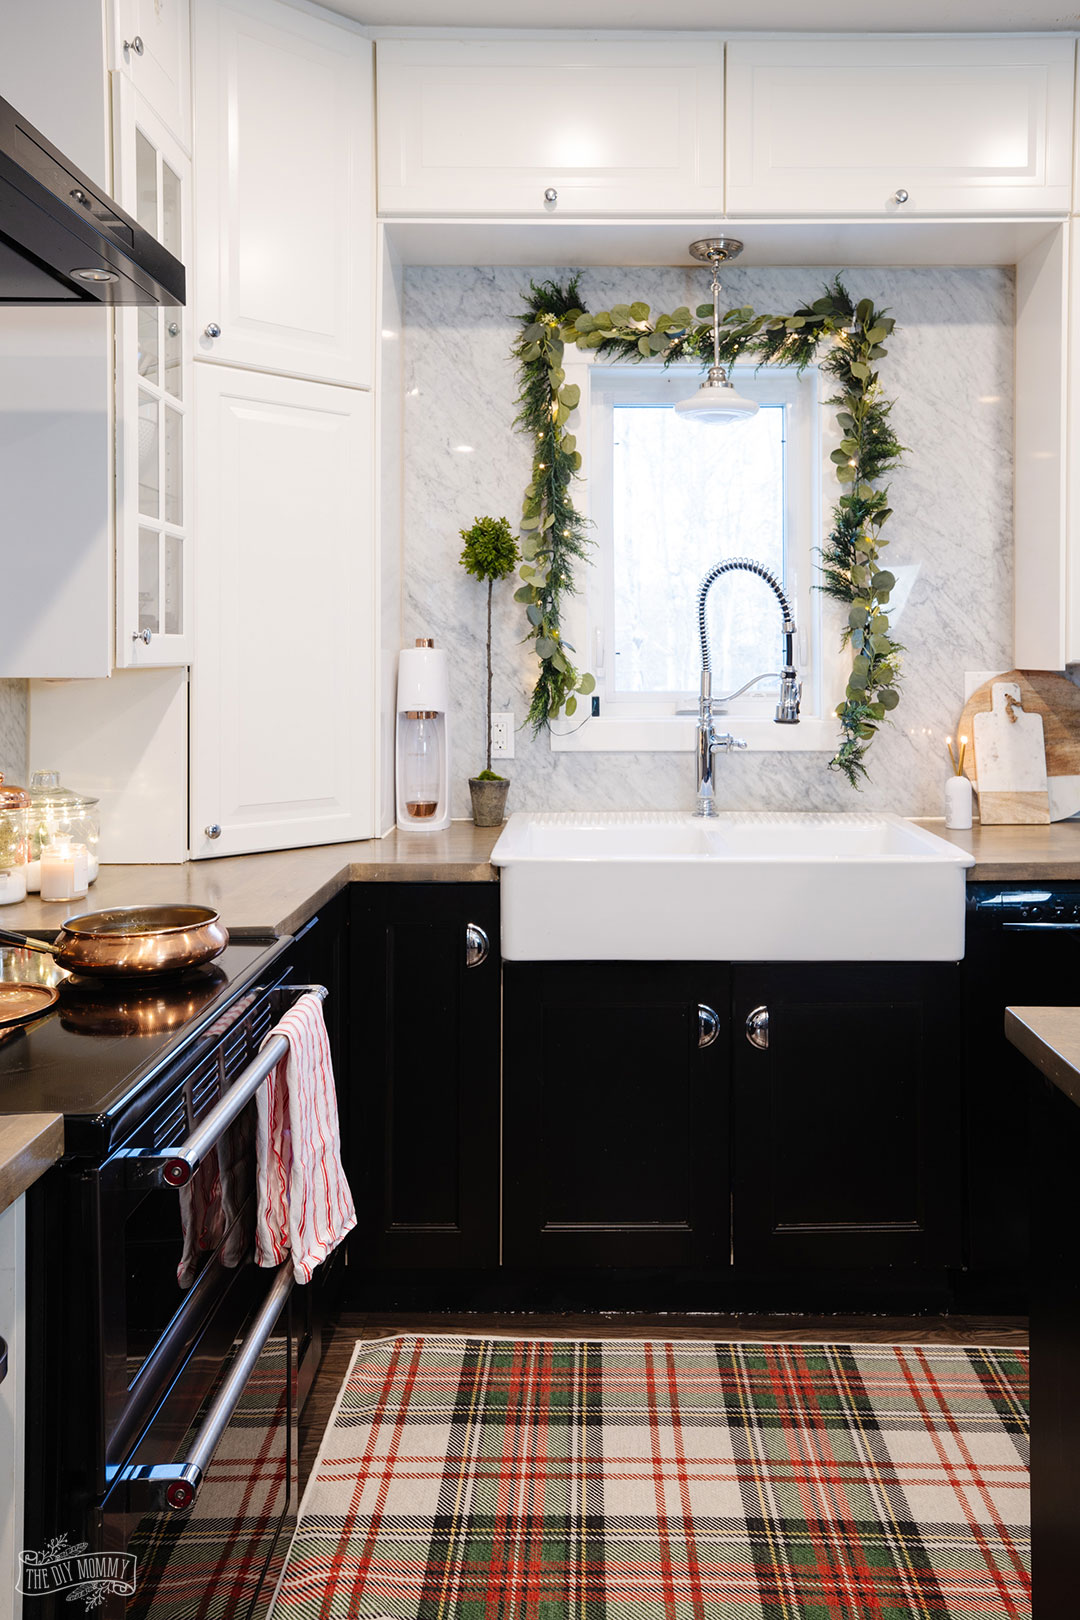
- Plants: Add life and vibrancy to your kitchen with plants. Consider low-maintenance plants like succulents, herbs, or houseplants that thrive in indoor conditions.
- Lighting: Good lighting is essential in any kitchen. Consider upgrading your existing light fixtures or adding pendant lights or under-cabinet lights for additional task lighting.
- Textiles: Soft textures and patterns can add warmth and comfort to your kitchen. Use kitchen towels, dishcloths, and even a rug to bring in pops of color and personality.
- Artwork: Don't forget about artwork! Hang a framed print, a piece of wall art, or a collection of vintage kitchen utensils for a unique and personal touch.
Before You Get Started:
Before embarking on your kitchen makeover, take the time to plan and prepare.
- Inspiration: Start by gathering inspiration. Look at magazines, websites, and social media for ideas.
- Budget: Set a realistic budget for your makeover. Prioritize the projects that will give you the biggest bang for your buck.
- Materials: Make a list of all the materials you'll need, including paint, tools, and hardware. Shop around for the best deals.
- Safety First: Always prioritize safety when working on DIY projects. Wear protective gear and read the instructions carefully before using any tools or materials.
Get Creative & Have Fun:
The most important thing is to have fun and embrace your creativity. Don't be afraid to experiment and try new things. With a little effort and imagination, you can transform your kitchen into a space you'll love to cook in, entertain in, and simply relax in.

Beyond the Basics: Advanced DIY Kitchen Hacks
For those looking to take their DIY kitchen makeover to the next level, here are some advanced hacks to consider:
Re-facing Cabinets:
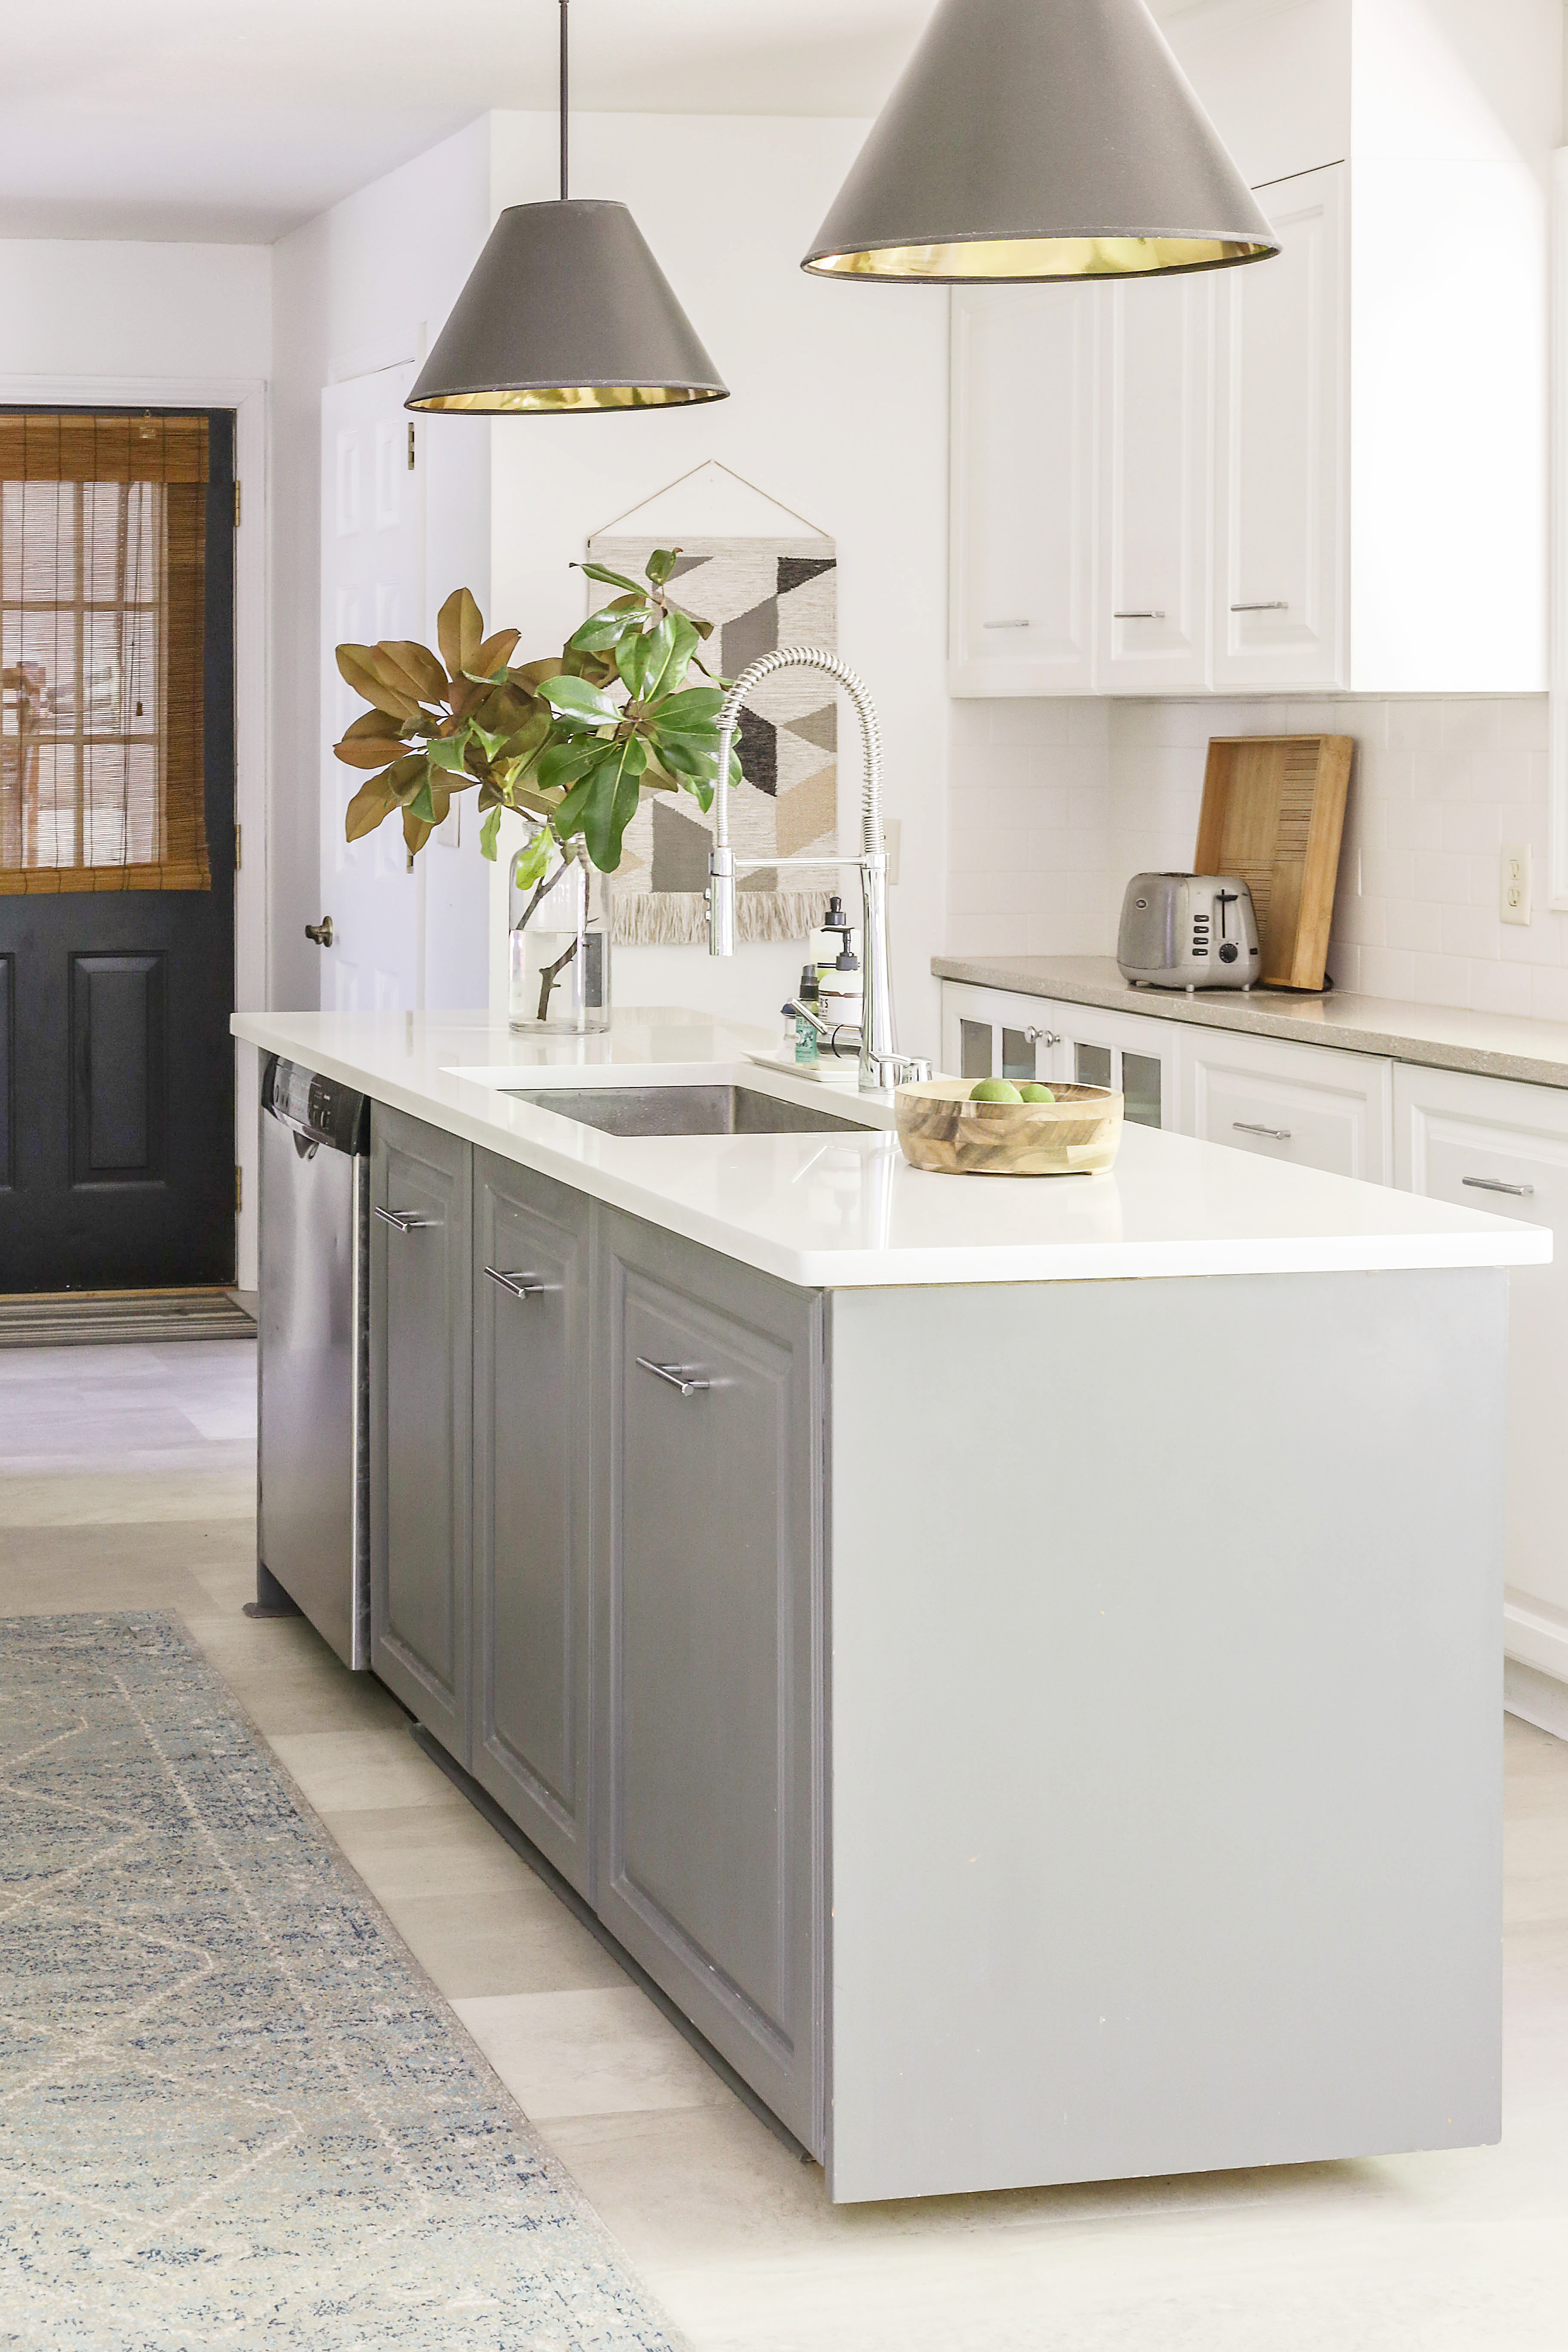
Instead of completely repainting cabinets, consider re-facing them. This involves replacing the doors and drawer fronts with new ones. You can find pre-made cabinet fronts online or at home improvement stores, or you can create your own using wood sheets or MDF.
Countertop Refinishing:
If your countertops are looking dull or damaged, consider refinishing them. You can use a countertop resurfacing kit to create a new, sleek finish. This is a more affordable alternative to replacing your countertops entirely.
Installing a New Sink:
Replacing your kitchen sink can dramatically update the look of your space. Choose a style that complements your kitchen's design and consider adding a new faucet for a complete makeover.
Adding a Kitchen Island:

A kitchen island can add functionality and style to your kitchen. You can build your own island using wood planks and cabinets, or you can purchase a pre-made island from a home improvement store. An island can provide additional counter space, storage, and even seating.
DIY Kitchen Backsplash Ideas:
- Peel-and-stick Tiles: These are easy to install and come in a variety of colors, patterns, and materials.
- Cork Tiles: Cork is a natural and eco-friendly material that is durable and easy to clean.
- Painted Wood Planks: Create a rustic or farmhouse look by using painted wood planks for your backsplash.
- Ceramic Tiles: Ceramic tiles are a classic choice for backsplashes and come in endless designs and colors.
- Mosaic Tiles: Add a touch of elegance with mosaic tiles. These come in various shapes and sizes and can be arranged to create unique patterns.
Tips for a Successful DIY Kitchen Makeover:
- Start with a plan: Before you begin, create a detailed plan for your makeover, including a budget, a list of materials, and a timeline.
- Do your research: Research different techniques and products before you start. Watch videos, read tutorials, and consult with experts if needed.
- Don't be afraid to experiment: Try out different ideas and have fun with it. Remember, you can always change your mind or start over if you don't like the results.
- Take your time: Don't rush the process. Allow yourself plenty of time to complete each project to ensure quality results.
- Enjoy the process: The most important thing is to enjoy the process of transforming your kitchen. Take pride in your work and celebrate your achievements along the way.
Conclusion:

A kitchen makeover doesn't have to be a daunting or expensive undertaking. With a little creativity, some DIY skills, and a pinch of patience, you can create a kitchen that is both functional and stylish, reflecting your personal taste and bringing joy to your home. Remember, it's your space, so let your imagination run wild and transform your kitchen into a place you love.
DIY Kitchen Makeover: Budget-Friendly & Beautiful!
Tired of looking at the same old kitchen? Yearning for a fresh, modern space that reflects your style and personality? Don't let the thought of a kitchen renovation intimidate you! You can transform your kitchen into a haven of beauty and functionality without breaking the bank. This comprehensive guide will walk you through a DIY kitchen makeover, offering budget-friendly tips and creative ideas to create a stunning space you'll love to cook and entertain in.
Setting the Stage: Your Kitchen Vision
Before you dive headfirst into the world of DIY kitchen upgrades, it's crucial to define your vision. What kind of atmosphere do you want to create? Modern and minimalist? Rustic and cozy? Vibrant and eclectic? Consider the following:
- Style: Do you prefer sleek, contemporary lines or the warmth of traditional design?
- Color Palette: Choose a color scheme that complements your style and reflects your personality.
- Functionality: What features are essential to your daily routine? Do you need ample storage space, a dedicated coffee station, or a breakfast bar?
Pro Tip: Create a mood board or inspiration board to visualize your desired kitchen look. Collect images of kitchens you love and identify common elements, colors, and design features.
Prioritize: Focusing on High-Impact Projects
Don't try to tackle everything at once! Prioritize your DIY projects to maximize impact and stay within your budget.
Here are some high-impact projects with a big visual payoff:
- Painting Cabinets: A fresh coat of paint can instantly transform the look of your kitchen. Choose a color that complements your chosen style and consider using a high-quality paint specifically designed for cabinets.
- Replacing Hardware: New cabinet pulls, knobs, and hinges can instantly modernize your kitchen.
- Backsplash: A stunning backsplash can add a touch of drama and personality to your kitchen. Explore budget-friendly options like ceramic tiles, mosaic tiles, or even wallpaper.
- Countertop Refinishing: If your countertops are showing wear and tear, consider refinishing them instead of replacing them. There are affordable kits available that allow you to achieve a sleek new look.
DIY Kitchen Makeover: Budget-Friendly Tips
Budgeting is key to a successful DIY kitchen makeover. Here are some tips to help you stretch your budget further:
- Shop Sales and Clearance: Keep an eye out for sales and clearance events at your local home improvement stores. You can find great deals on everything from paint to lighting fixtures.
- Consider Upcycling: Give new life to existing pieces by repainting, reupholstering, or repurposing furniture. A vintage dining table can become a stunning kitchen island, or repurposed crates can be transformed into unique storage solutions.
- Embrace Secondhand Finds: Check out local thrift stores, flea markets, and online marketplaces for affordable furniture, appliances, and decor.
- DIY Projects: Don't be afraid to get your hands dirty! From painting cabinets to building a simple spice rack, DIY projects are a great way to save money and add a personal touch.
Essential Tools for Your Kitchen Makeover
Before you start any DIY projects, ensure you have the necessary tools. This will help you avoid frustrating delays and ensure a smooth and successful process. Here's a basic toolkit for your kitchen makeover:
- Measuring Tape and Level: Crucial for accurate measurements and ensuring even surfaces.
- Screwdriver Set: A must-have for assembling furniture, replacing hardware, and hanging pictures.
- Hammer and Nail Gun: For securing shelves, installing moldings, and hanging artwork.
- Saw: For cutting wood to size for DIY projects like shelves and cutting boards.
- Paintbrushes and Rollers: For applying paint to cabinets, walls, and trim.
- Sandpaper: For prepping surfaces for paint, smoothing rough edges, and removing old finishes.
DIY Kitchen Makeover: Project by Project
Now let's dive into some specific DIY projects to transform your kitchen.
1. Paint Your Cabinets:
Before You Begin:
- Prepare the Area: Clear out the cabinets, remove any hardware, and cover surrounding surfaces with drop cloths.
- Clean Thoroughly: Wash cabinets with a degreaser to remove any dirt, grease, or grime.
- Sand and Prime: Sand the cabinet surfaces to create a smooth finish and apply a primer to ensure the paint adheres properly.
Painting Process:

- Choose Your Paint: Opt for a high-quality cabinet paint that's durable and easy to clean. Consider a satin or semi-gloss finish for added durability.
- Apply Paint: Use a high-quality brush or roller to apply even coats of paint, following the manufacturer's instructions. Let each coat dry completely before applying the next.
Finishing Touches:
- Install Hardware: Once the paint is completely dry, reattach the hardware or install new pulls and knobs.
- Add Accent Colors: If you're feeling adventurous, consider adding accent colors to your cabinets. You can paint the inside of cabinets a vibrant hue or create a two-tone effect with contrasting colors.

2. Backsplash Transformation:
Budget-Friendly Backsplash Ideas:
- Ceramic Tiles: Durable and affordable, ceramic tiles offer a wide range of styles, colors, and patterns.
- Mosaic Tiles: These small, intricate tiles create a stunning visual effect and add a touch of artistry to your kitchen.
- Wallpaper: A quick and easy way to create a statement backsplash, wallpaper comes in countless designs and can be easily removed when you're ready for a change.

Installation Tips:
- Measure Twice, Cut Once: Carefully measure the area where you'll be installing the backsplash and cut tiles accordingly.
- Use the Right Tools: Invest in a tile cutter or tile saw for accurate cutting.
- Apply Mortar: Spread mortar evenly over the wall and press the tiles into place, ensuring they are level and aligned.
- Grout for a Polished Finish: Apply grout after the mortar has dried to fill in the gaps between tiles.
3. Countertop Refinishing:

Refurbishing Existing Countertops:
- Epoxy Coating: This durable and affordable option can restore the look of old laminate countertops.
- Sanding and Sealing: If you have natural stone countertops, you can sand down any scratches or imperfections and then apply a sealant to protect them.
Installation Tips:

- Clean and Prepare: Thoroughly clean and dry the countertop surface. Make sure to remove any dirt, grease, or residue.
- Apply the Coating or Sealant: Follow the manufacturer's instructions carefully and apply the product evenly to the countertop.
- Allow Time for Curing: Give the coating or sealant time to cure properly before using the countertop.
4. Lighting for Atmosphere:
Upgrade Your Lighting:

- Pendant Lights: Hang pendant lights over your island or kitchen table to create a focal point and add ambient lighting.
- Under-Cabinet Lighting: Task lighting is essential for preparing meals. Install LED strips under your cabinets for a bright and functional workspace.
- Recessed Lighting: Recessed lighting can create a clean and modern aesthetic while providing ample illumination.
5. Flooring Refresh:
Revitalize Your Flooring:

- Re-staining: If you have hardwood floors, re-staining them can refresh their color and hide any scratches or blemishes.
- New Flooring: Consider budget-friendly options like vinyl plank flooring, laminate flooring, or even tile to transform your kitchen floor.
6. Accessories for a Personalized Touch:
- Colorful Kitchen Towels: Add a splash of color with vibrant kitchen towels and dishcloths.
- Ceramic Canisters: Store your frequently used ingredients in stylish ceramic canisters.
- Wall Art and Plants: Hang artwork or place potted plants on shelves to create a warm and inviting atmosphere.

Before You Begin: Safety First!
- Wear protective gear: Gloves, safety glasses, and a dust mask are essential for protecting yourself from potential hazards during DIY projects.
- Read the instructions: Always follow the manufacturer's instructions for any products you use.
- Be mindful of electricity: Always disconnect power to the area where you're working before handling electrical wiring.
- Ask for help: Don't be afraid to seek assistance from a friend or family member for heavier tasks or projects that require more expertise.
Final Touches: Create a Cozy Kitchen

Once you've completed your major DIY projects, add some personal touches to create a truly cozy and inviting space:
- Decorate with Plants: Bring in fresh greenery with potted plants or herbs to add a touch of nature to your kitchen.
- Hang Artwork: Display artwork that reflects your style and personality. Consider framed prints, family photos, or even vintage kitchen utensils.
- Cozy Textiles: Add warmth and softness with throw rugs, kitchen towels, or decorative pillows.
- Personalized Details: Incorporate items that are meaningful to you, such as family heirlooms, souvenirs from travels, or handmade crafts.
Conclusion: A DIY Kitchen Makeover You'll Love

Transforming your kitchen with a DIY makeover can be a rewarding and enjoyable experience. By following these tips and suggestions, you can create a stunning and functional space that reflects your personal style and budget. Remember to plan, prioritize, and embrace the process. With a little creativity and effort, you'll have a kitchen that you'll love to cook, entertain, and simply relax in for years to come.

