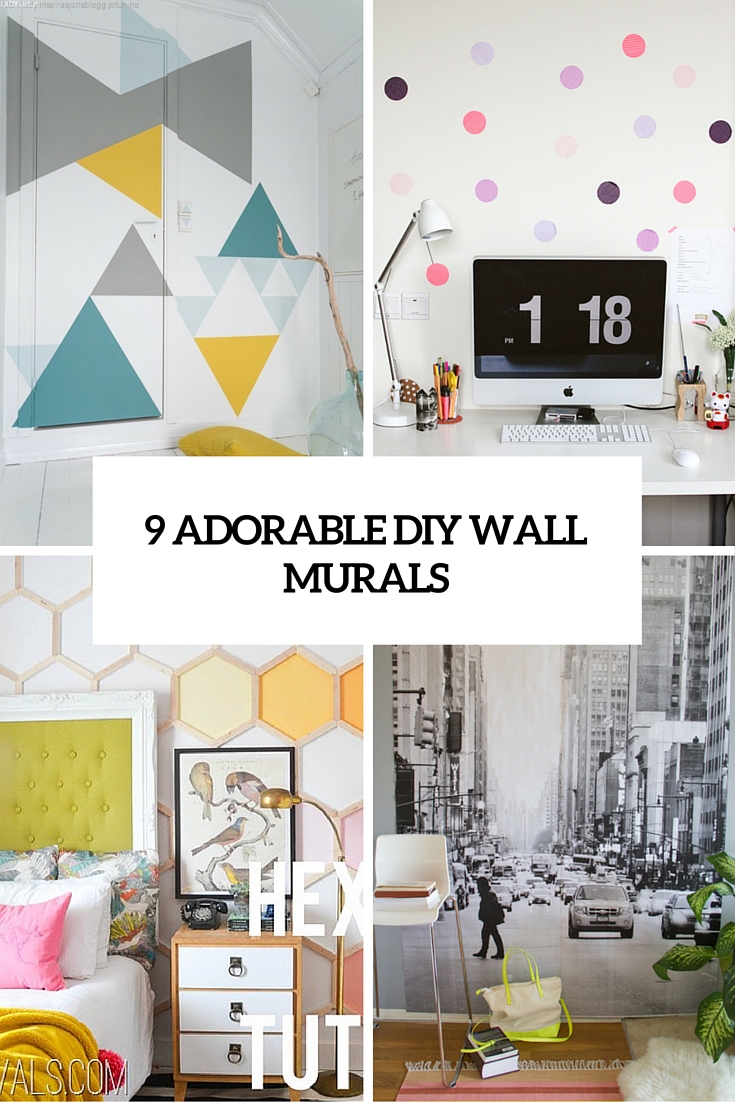
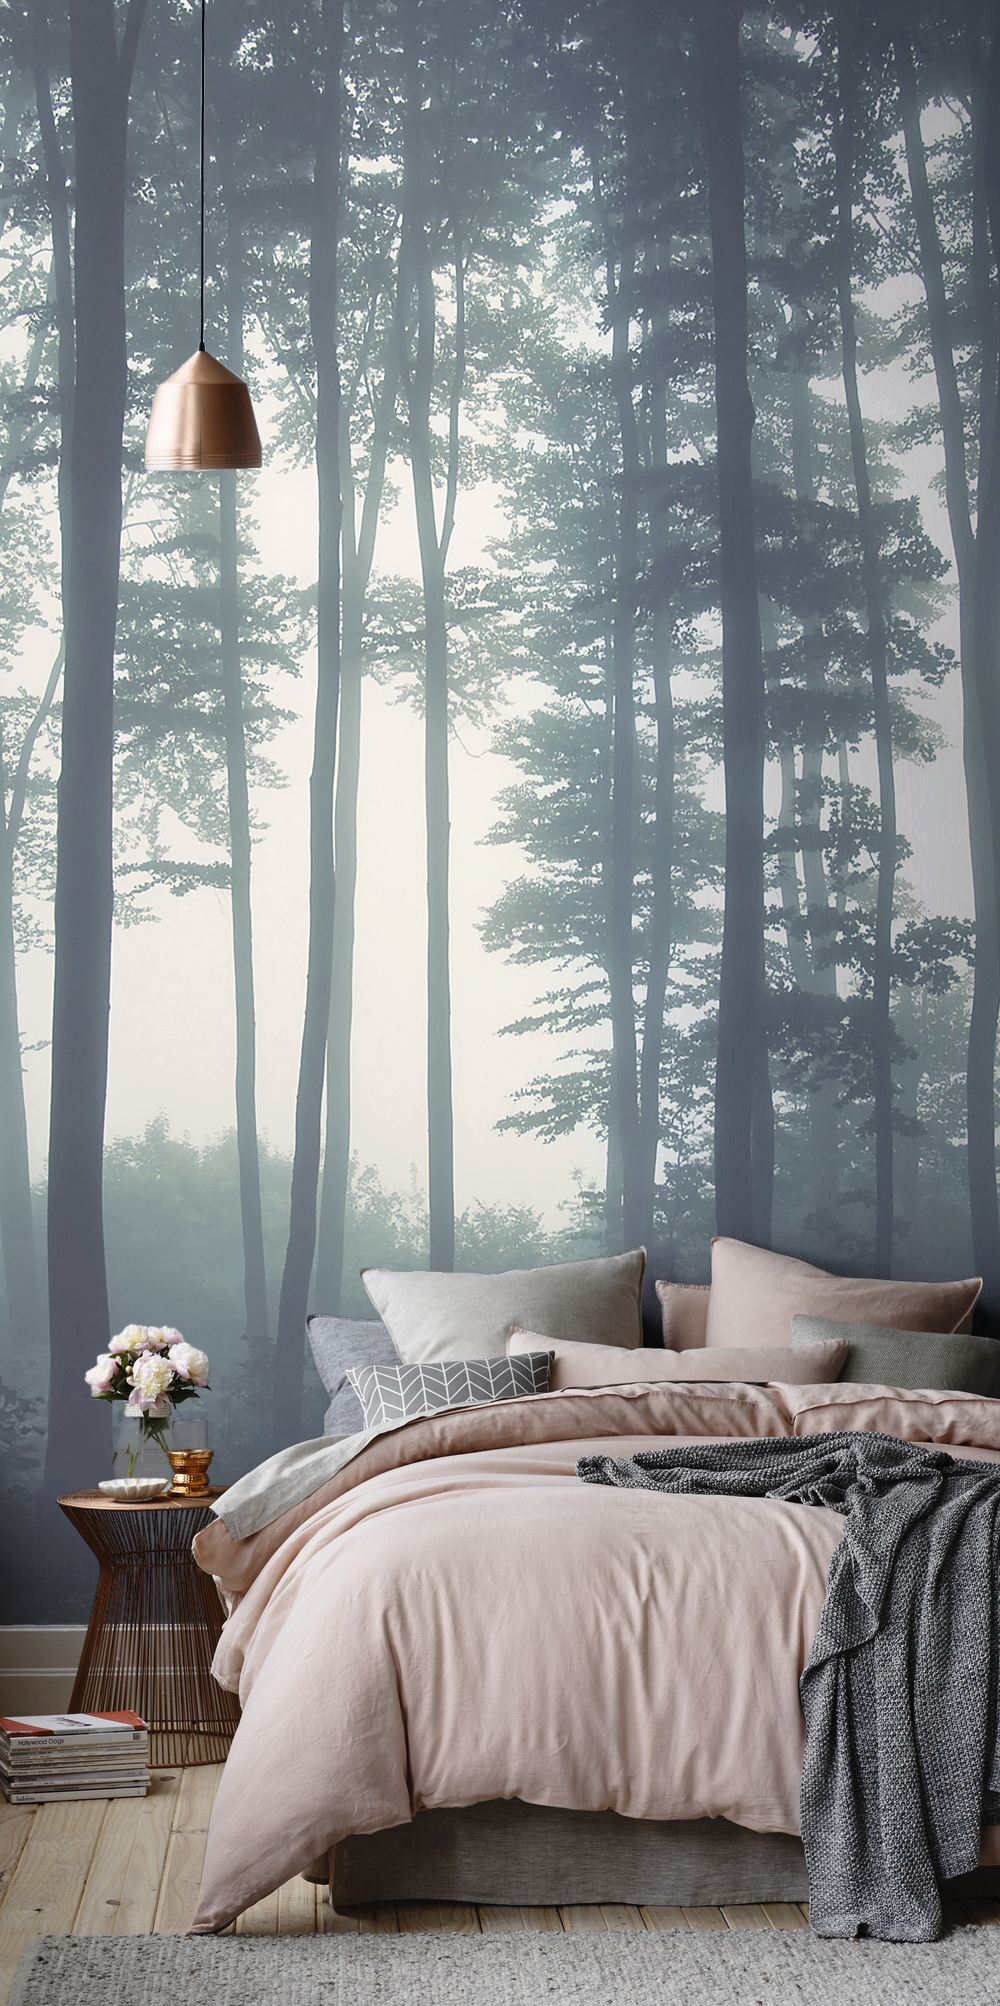
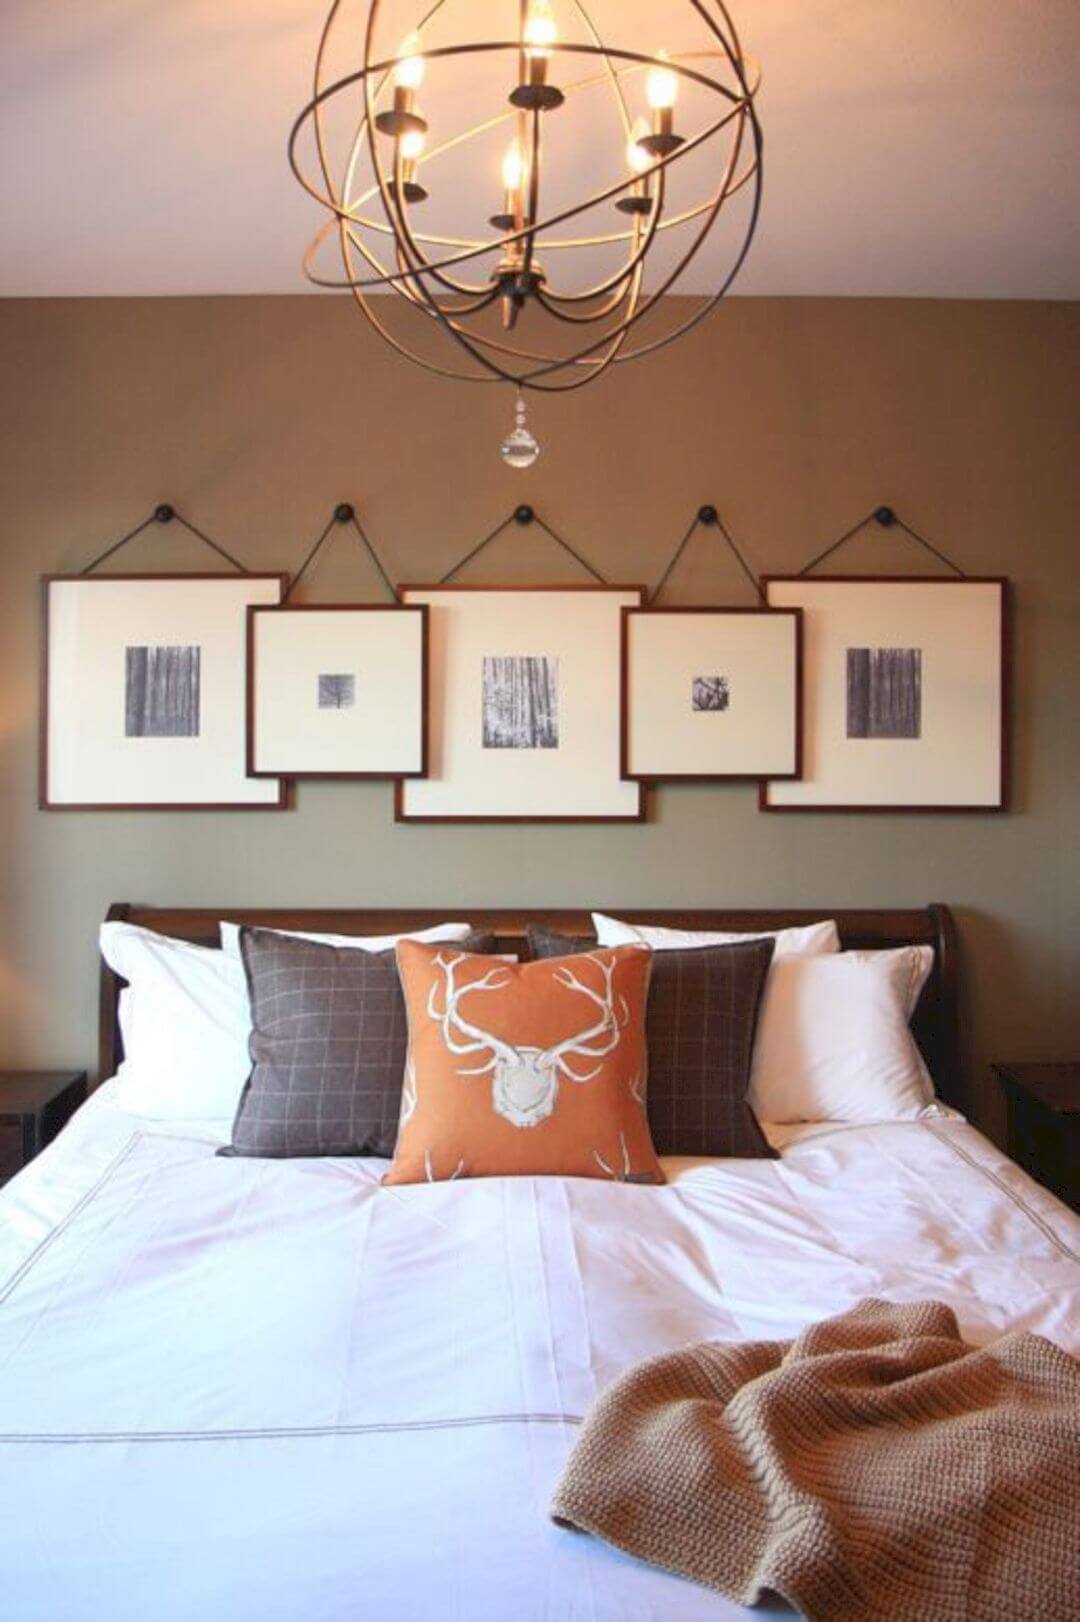
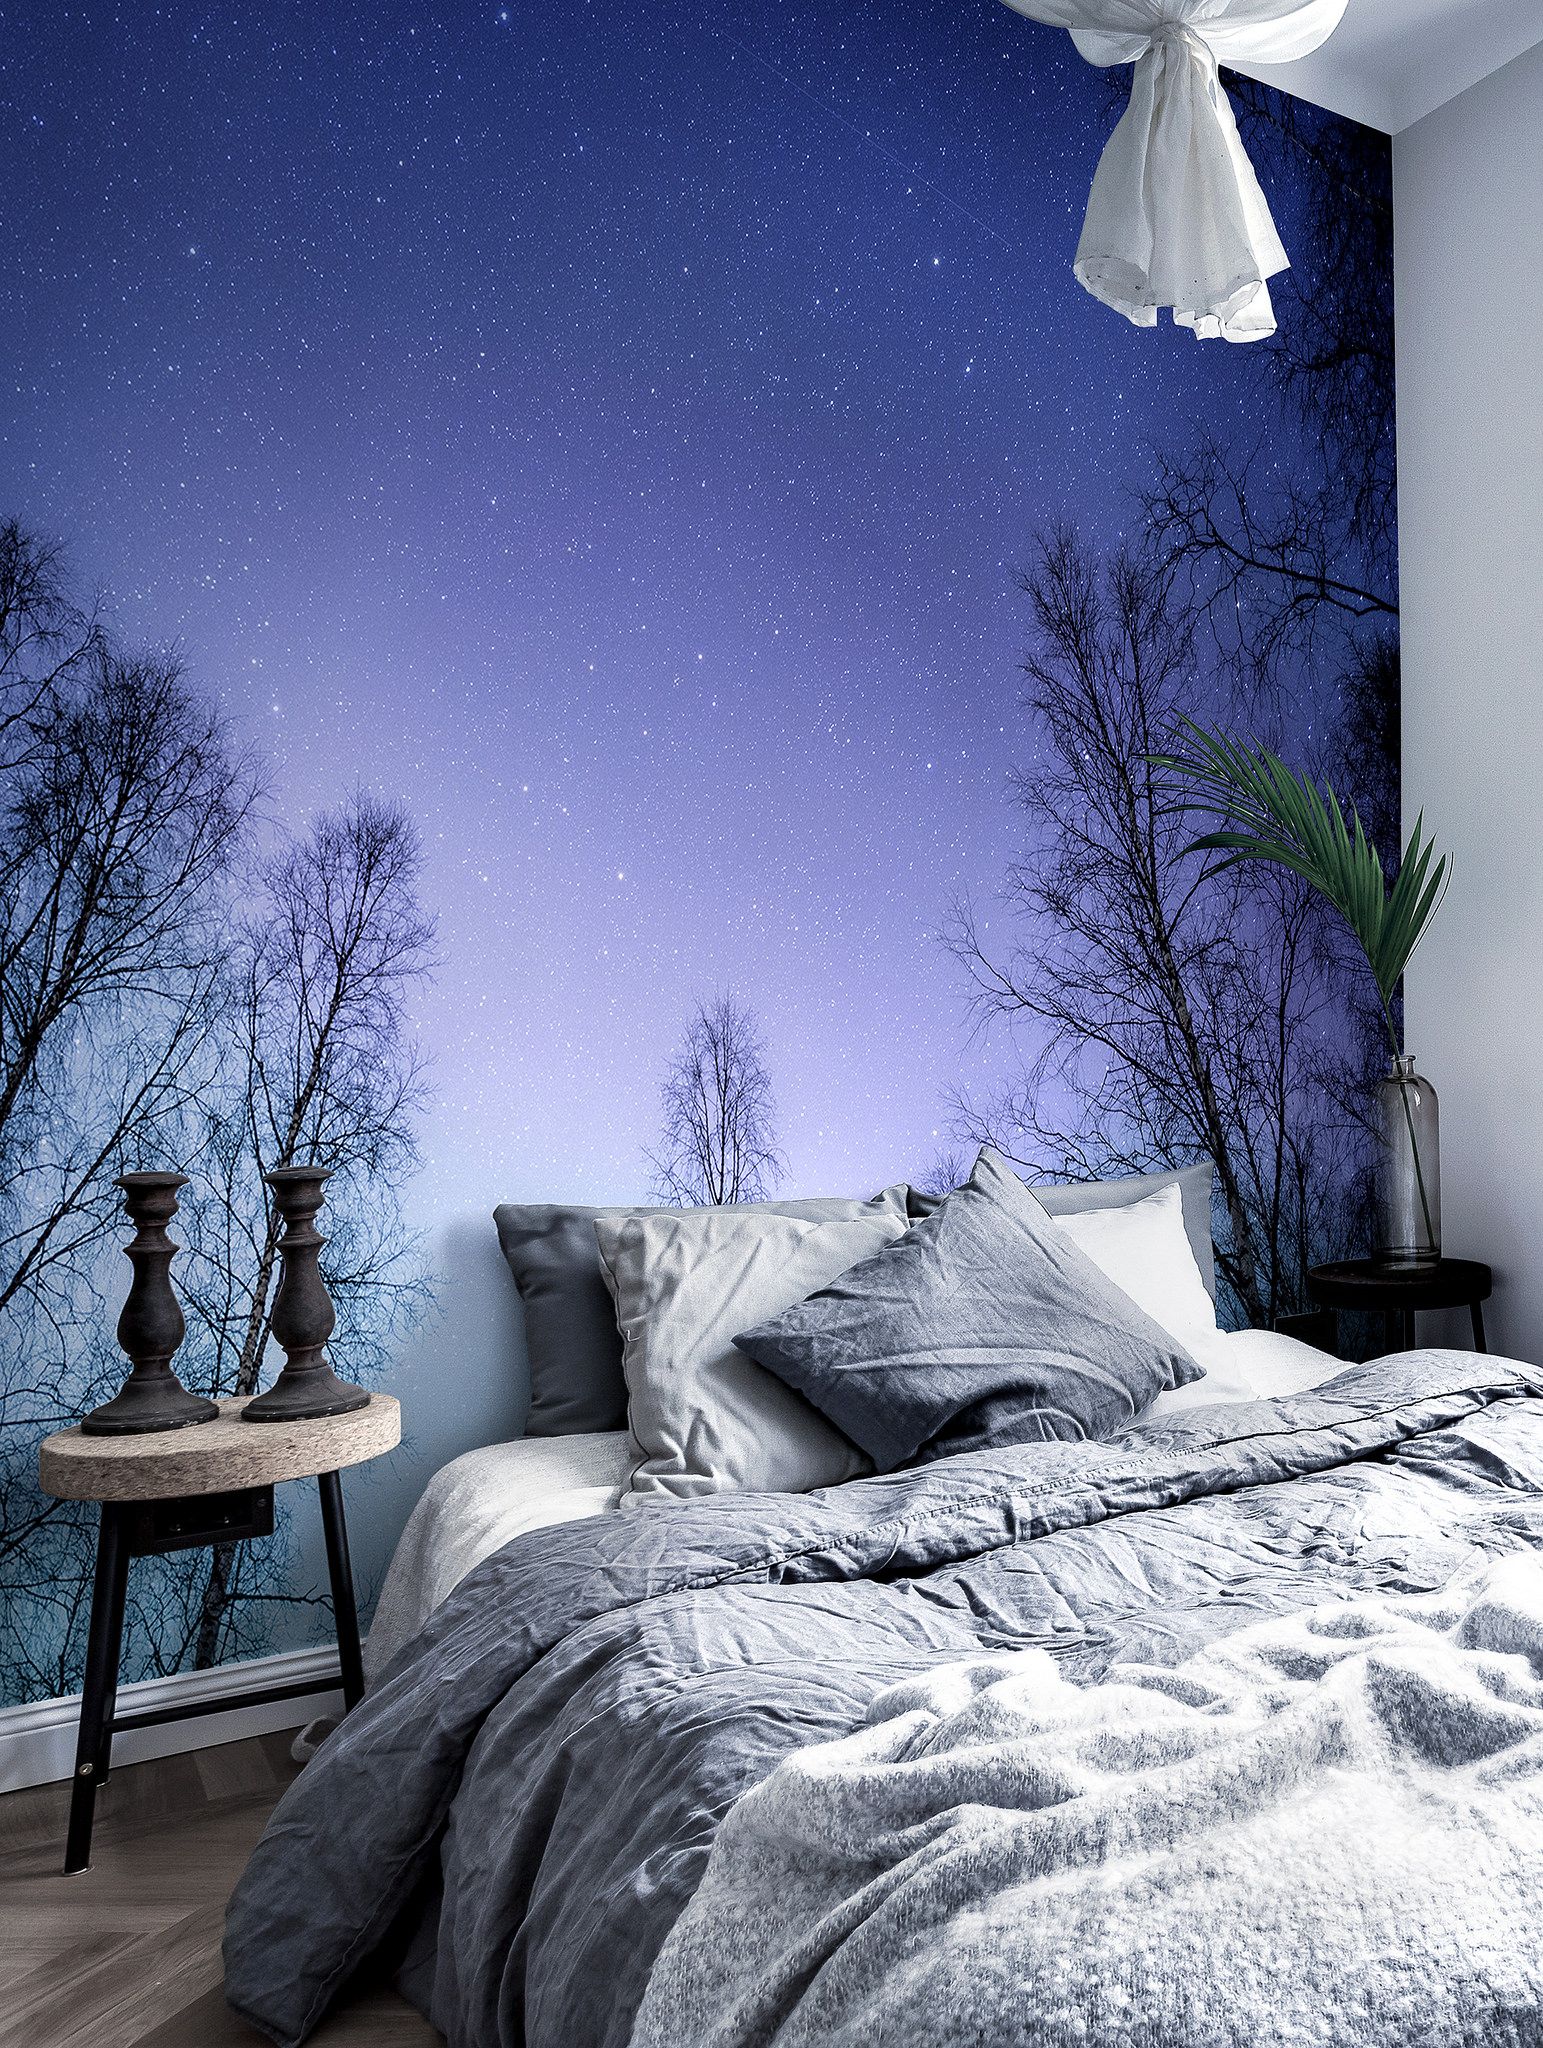
How to Easily DIY a Bedroom Wall Mural
How to Easily DIY a Bedroom Wall Mural

Bedrooms are sanctuaries. They're where we go to relax, unwind, and get away from the hustle and bustle of everyday life. So it's only natural that we want our bedrooms to be as comfortable and inviting as possible.
One way to add personality and style to your bedroom is with a wall mural. Wall murals are a great way to create a focal point in your room, and they can also be used to add a touch of color or pattern.
If you're handy with a paintbrush, you can easily create your own wall mural. But if you're not so DIY-inclined, don't worry—there are plenty of pre-made wall murals available that you can simply hang up.

No matter how you choose to do it, adding a wall mural to your bedroom is a great way to create a space that's both beautiful and functional.
DIY a Wall Mural
If you're up for a DIY project, creating your own wall mural is a great way to add personality and style to your bedroom. With a little creativity and some basic supplies, you can easily create a one-of-a-kind mural that will make your bedroom the envy of your friends.

What you'll need:

- Paint in the colors of your choice
- Adhesive for attaching the mural to your wall
- A roller or brush for applying the paint
- A stencil (optional)
- A projector (optional)
- A measuring tape
- A level
- A pencil
- A pair of scissors
Instructions:

- Choose a design. The first step is to choose a design for your mural. You can find inspiration online, in magazines, or even in your own home. If you're not sure what you want, you can always start with a simple shape or pattern.
- Transfer the design to your wall. If you're using a stencil, you can simply trace the design onto your wall. If you're using a projector, you can project the design onto your wall and trace it.
- Paint the mural. Once you've transferred the design to your wall, you can start painting. Use a roller or brush to apply the paint in thin, even coats. Let each coat dry completely before applying the next one.
- Add details. If you want to add some extra details to your mural, you can use a paintbrush to add highlights and shadows. You can also use stencils to create borders or other embellishments.
- Protect your mural. Once your mural is finished, you'll want to protect it with a sealant. This will help to keep the paint from chipping or peeling.

Tips:
- If you're not sure how to transfer the design to your wall, you can always use a projector. This will help you to get the design exactly where you want it.
- When painting your mural, use thin, even coats. This will help to prevent the paint from running or dripping.
- Let each coat of paint dry completely before applying the next one. This will help to prevent the paint from cracking or peeling.
- If you want to add some extra details to your mural, you can use a paintbrush to add highlights and shadows. You can also use stencils to create borders or other embellishments.
- Once your mural is finished, you'll want to protect it with a sealant. This will help to keep the paint from chipping or peeling.


Pre-made Wall Murals
If you're not up for a DIY project, you can also choose from a variety of pre-made wall murals. These murals are available in a wide range of styles and sizes, so you're sure to find one that fits your needs.
Pre-made wall murals are a great option if you're looking for a quick and easy way to add personality and style to your bedroom. They're also a great option if you're not confident in your DIY skills.


What you'll need:
- A pre-made wall mural
- Adhesive for attaching the mural to your wall
- A level
- A pencil
- A pair of scissors
Instructions:

:max_bytes(150000):strip_icc()/278016373_1085657635329541_6943212892462006751_n-a203f2acf32d4443a7a5bf38ba25ffe6.jpg)
- Measure the area where you want to hang the mural.
- Cut the mural to size, if necessary.
- Apply the adhesive to the back of the mural.
- **Attach the mural to your wall, using the level to make
DIY Bedroom Wall Mural: How to Create a Stunning Feature Wall

Are you looking for a way to add some personality and visual interest to your bedroom? A bedroom wall mural is a great way to do just that!
A bedroom wall mural can create a focal point in your space, and it can also help to define the mood and ambiance of your room. Whether you're looking for a romantic, serene, or playful space, a bedroom wall mural can help you create the perfect atmosphere.
Plus, a bedroom wall mural is a relatively easy DIY project.
With a little planning and some basic painting skills, you can create a stunning wall mural that will add beauty and personality to your bedroom for years to come.
In this tutorial, we'll show you how to create a DIY bedroom wall mural. We'll walk you through the process, from choosing a design to painting the mural.
So if you're ready to give your bedroom a makeover, read on!

Step 1: Choose a Design
The first step is to choose a design for your bedroom wall mural. You can find inspiration for your mural online, in magazines, or even in your own home.
If you're not sure where to start, consider the overall style of your bedroom. If you have a modern bedroom, you might choose a geometric or abstract design. For a more traditional bedroom, a floral or landscape mural might be a better choice.

Once you've chosen a general theme for your mural, you can start to narrow down your options. There are many different ways to create a bedroom wall mural, so take your time and find a design that you love.
Step 2: Prepare the Wall
Before you start painting your mural, you need to prepare the wall. This means cleaning the wall and making sure that it's smooth and free of any cracks or holes.

If your wall is textured, you may need to apply a primer before you start painting. This will help the paint to adhere to the wall and create a smooth finish.
Step 3: Transfer the Design to the Wall
Once the wall is prepared, you can transfer the design to the wall. You can do this by using a projector, tracing paper, or by freehanding the design.

If you're using a projector, project the image onto the wall and trace the outline with a pencil. If you're using tracing paper, trace the design onto the paper and then tape it to the wall. If you're freehanding the design, use a pencil to sketch the outline of the mural onto the wall.
Step 4: Paint the Mural
Now it's time to start painting!
Start by painting the background color of your mural. You can use a roller or a brush to apply the paint.
Once the background color is dry, you can start painting the details of your mural. Use a small brush to paint the details and add depth to your mural.
Step 5: Seal the Mural

Once the mural is dry, you need to seal it to protect it from wear and tear. You can use a sealant specifically designed for murals, or you can use a clear coat of varnish.

Step 6: Enjoy Your New Mural!
Now that your mural is finished, you can sit back and enjoy your new bedroom!


Here are some tips for creating a successful DIY bedroom wall mural:

- Choose a design that you love and that will work well in your bedroom.
- Prepare the wall properly so that the paint will adhere properly.
- Transfer the design to the wall carefully so that it's accurate.
- Paint the mural carefully and add details to create a realistic and finished look.
- Seal the mural to protect it from wear and tear.
With a little planning and effort, you can create a stunning DIY bedroom wall mural that will add beauty and personality to your space. So what are you waiting for? Get started today!

:max_bytes(150000):strip_icc()/278016373_1085657635329541_6943212892462006751_n-a203f2acf32d4443a7a5bf38ba25ffe6.jpg)
Bonus Tip: Use [bedroom wall mural diy](https://www.google.com/search?q=bedroom+wall+mural+diy&sxsrf=AOaemvLiZ-635-_s170f-e05sv7-85056A:1646725861811&source=lnms&tbm=isch&sa=X&ved=2ahUKEwiD5e2W88P2AhUK6nMBHcxnAAUQ_AUoAX.
