DIY Home Aesthetics: Insta-Worthy Upgrades
DIY Home Aesthetics: Insta-Worthy Upgrades
Transforming your house into a home that reflects your personal style and aesthetic isn't about expensive renovations; it's about embracing the power of DIY. This comprehensive guide delves into the world of DIY home aesthetics, providing you with inspiration, practical tips, and step-by-step instructions to achieve an Insta-worthy space without breaking the bank. We'll explore various design styles, practical projects, and essential tools, helping you unlock your inner interior designer.
Understanding Your Aesthetic
Before diving into specific projects, it’s crucial to define your desired aesthetic. Are you drawn to the minimalist charm of Scandinavian design, the rustic warmth of farmhouse style, the eclectic vibrancy of Bohemian decor, or the sleek sophistication of modern minimalism? Identifying your preferred style will guide your choices and ensure a cohesive look throughout your home.
Consider browsing platforms like Pinterest and Instagram for inspiration. Create a mood board – either digitally or physically – collecting images that resonate with you. Note recurring elements: color palettes, textures, materials, and furniture styles. These elements will form the foundation of your DIY home aesthetic.
Understanding your personal style extends beyond broad design categories. Consider your lifestyle and how you use your space. Are you a minimalist who prioritizes functionality and clean lines? Or do you thrive in a space filled with textures, patterns, and personal mementos? Your lifestyle should inform your choices, ensuring your DIY projects enhance your daily life, not hinder it.
Essential Tools and Materials
Embarking on any DIY home project requires the right tools and materials. Investing in a few key items will save you time, frustration, and potentially money in the long run. Here's a basic toolkit for many common projects:
- Measuring Tape: Accurate measurements are paramount for successful DIY projects.
- Level: Ensures surfaces are perfectly aligned, crucial for shelving, artwork, and more.
- Drill: Essential for assembling furniture, hanging shelves, and various other tasks. Consider a cordless drill for ease of use.
- Screwdrivers: A variety of sizes and types (Phillips and flathead) will be necessary.
- Hammer: For hanging pictures, working with wood, and general construction.
- Safety Glasses: Always prioritize safety when working with tools.
- Painter's Tape: Prevents paint from bleeding onto unwanted areas.
- Paintbrushes and Rollers: Choose the right size and type for your project.
- Sandpaper: For smoothing surfaces before painting or staining.
- Putty Knife: For filling holes and cracks.
The specific materials will vary depending on your project, but having these essential tools readily available will greatly simplify the process. Always remember to check the quality of your materials. Choosing durable, high-quality items will ensure longevity and a professional finish.
Insta-Worthy DIY Projects: Step-by-Step Guides
Now for the fun part! Here are some detailed DIY home projects designed to elevate your space and create those Insta-worthy moments.
1. Gallery Wall Creation
A gallery wall is a fantastic way to showcase personal photos, artwork, and cherished mementos. The key is to create a balanced and visually appealing arrangement.
Step 1: Planning: Measure the wall space and decide on the overall layout. Sketch your plan on paper, experimenting with different arrangements before committing.
Step 2: Selecting Frames: Choose frames that complement your aesthetic and artwork. Mixing and matching frame sizes and styles can create a unique look, but consistency in color or material can also be effective.
Step 3: Hanging the Artwork: Use a level to ensure your frames are straight. Start with the largest piece as an anchor, then work your way outwards. Use picture hanging strips or hooks appropriate for the wall material.
Step 4: Stepping Back and Adjusting: Once you've hung everything, step back and assess the overall composition. Make adjustments as needed to ensure visual balance and harmony.
Pro Tip: Use painter's tape to outline the frames on the wall before hanging them for a perfect preview.
2. Upcycled Furniture Makeover
Giving old furniture a new life is both cost-effective and environmentally friendly. A simple coat of paint can dramatically transform an outdated piece.
Step 1: Preparation: Clean the furniture thoroughly and sand down any rough surfaces. Fill any cracks or holes with wood filler and let it dry completely.
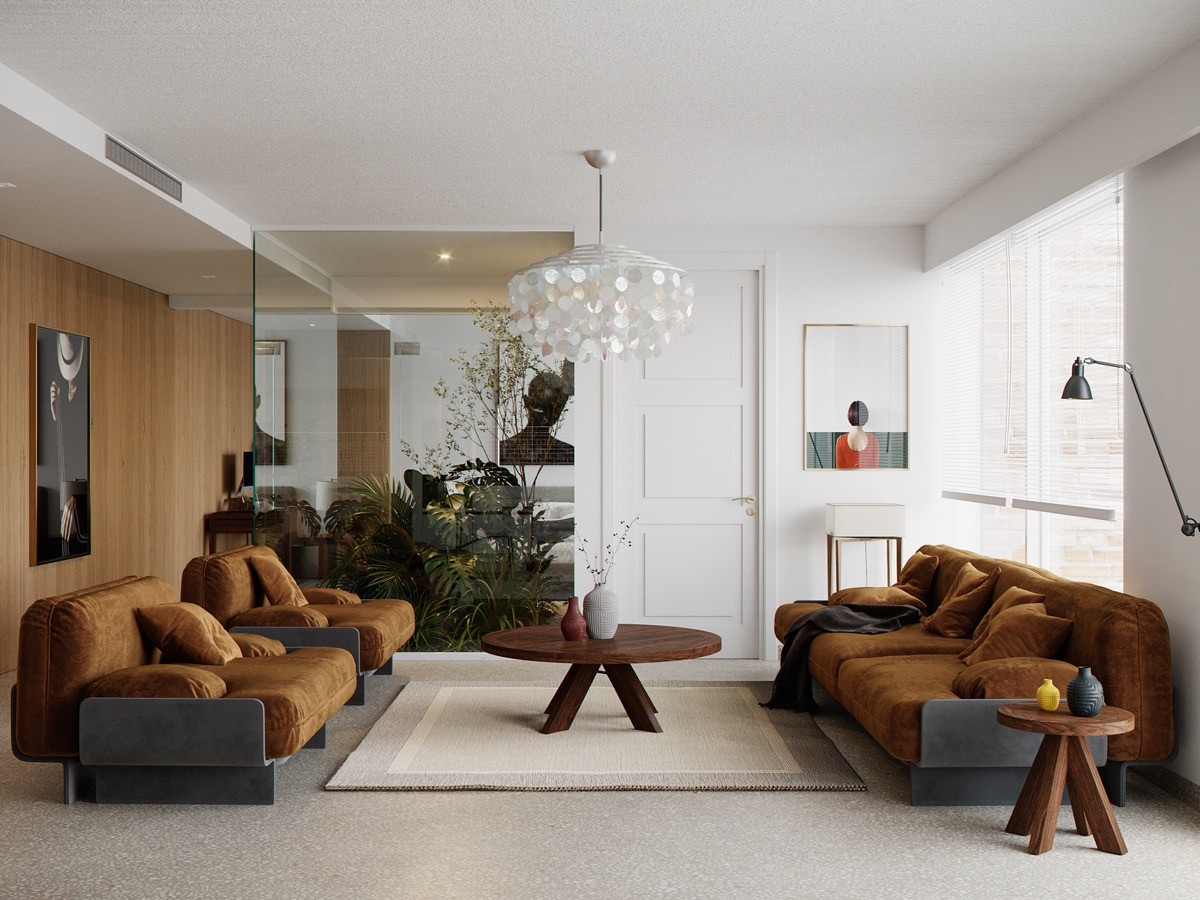
Step 2: Priming: Apply a primer to ensure the paint adheres properly. This is especially important for darker furniture or if you’re switching to a lighter color.
Step 3: Painting: Apply several thin coats of paint, allowing each coat to dry completely before applying the next. Use painter's tape to protect areas you don't want painted.
Step 4: Finishing Touches: Once the paint is dry, consider adding decorative details such as stencils, knobs, or new hardware.

Pro Tip: Chalk paint offers a beautiful matte finish and requires less preparation than traditional paints.
3. DIY Floating Shelves
Floating shelves add both style and functionality to any room. They're perfect for displaying books, plants, or decorative items.
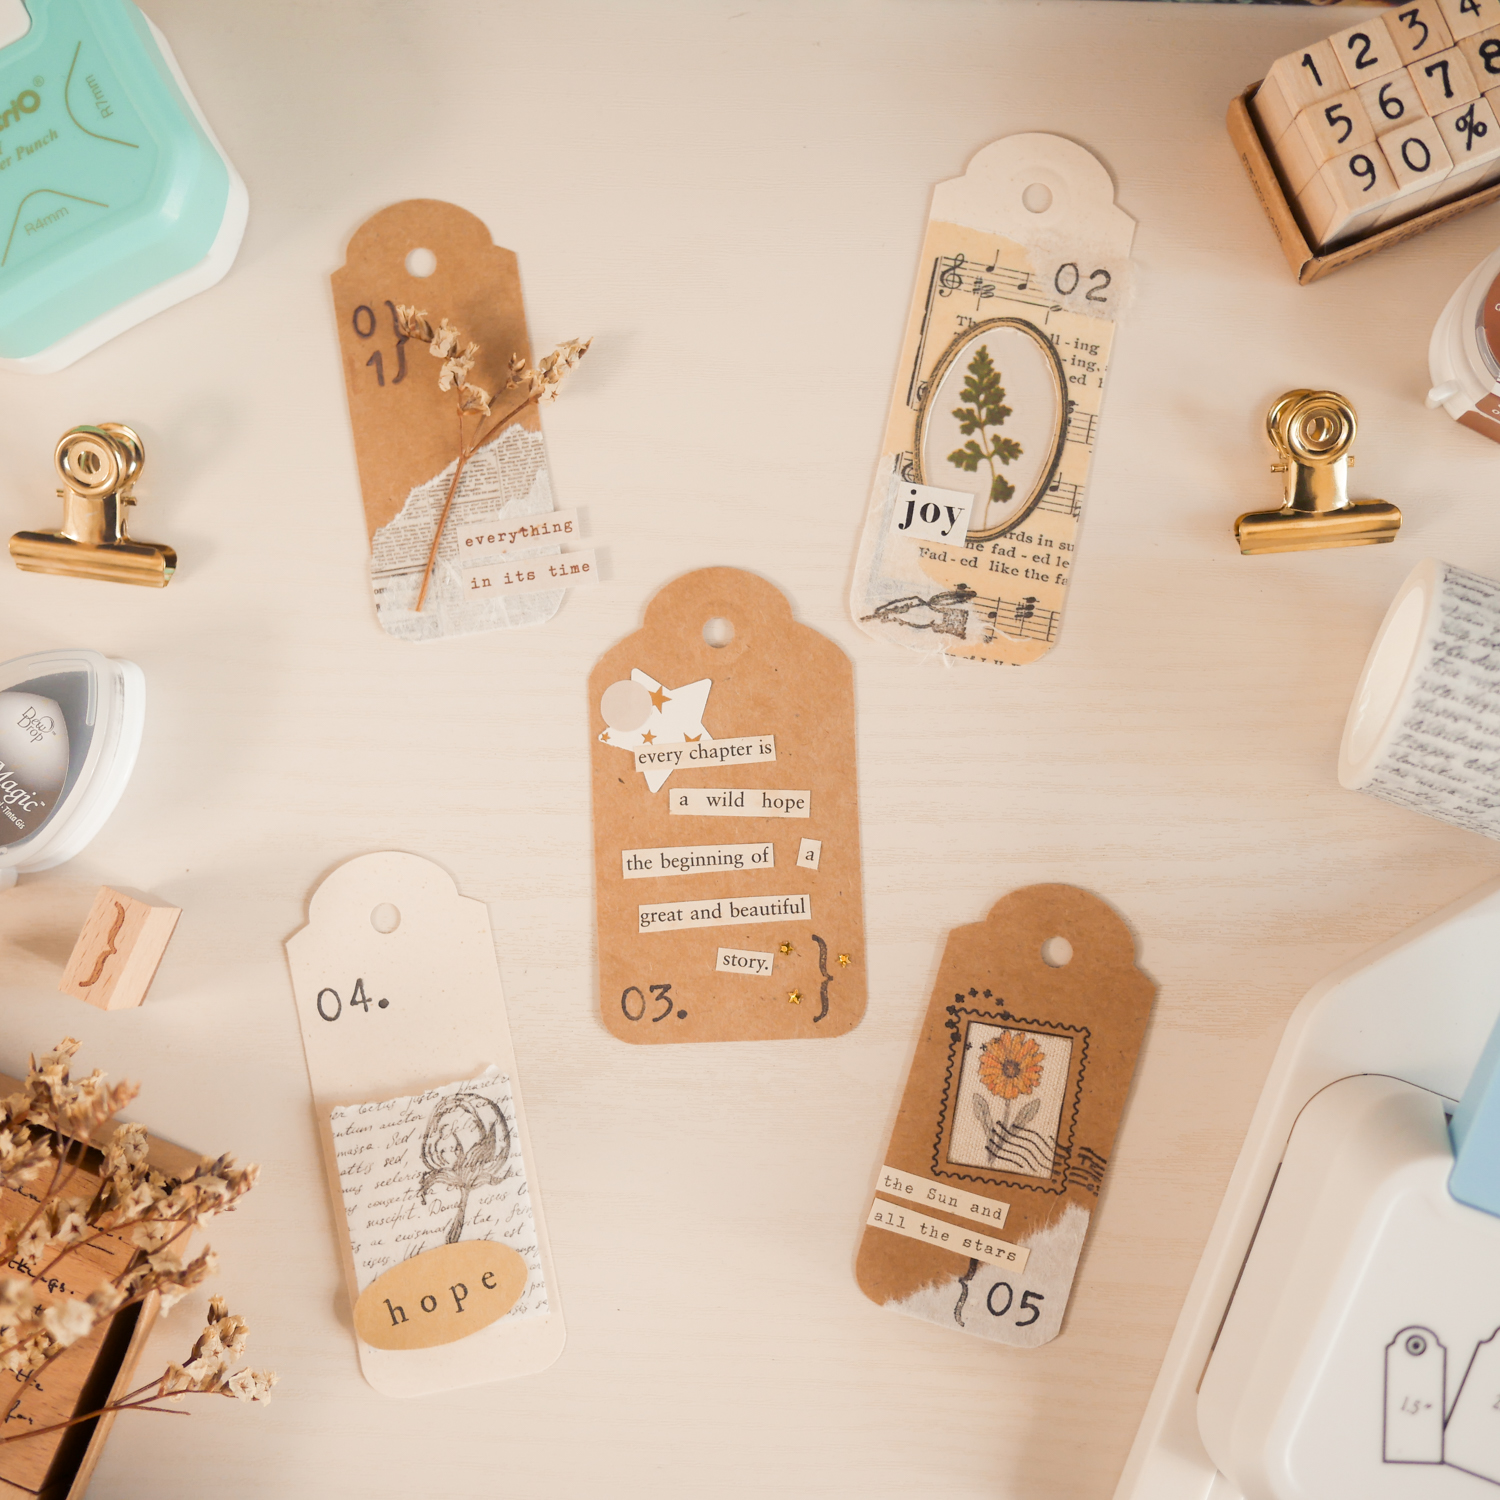
Step 1: Choosing Your Shelves: Select the wood type, size, and style that best suits your aesthetic.
Step 2: Mounting the Brackets: Use a level to ensure the brackets are aligned. Follow the manufacturer's instructions for installation.
Step 3: Attaching the Shelves: Carefully place the shelves onto the brackets.

Step 4: Styling: Arrange your books, plants, and decorative items on the shelves to create a visually appealing display.
Pro Tip: Consider adding LED strip lights behind the shelves for a dramatic effect.
4. Textile Transformation
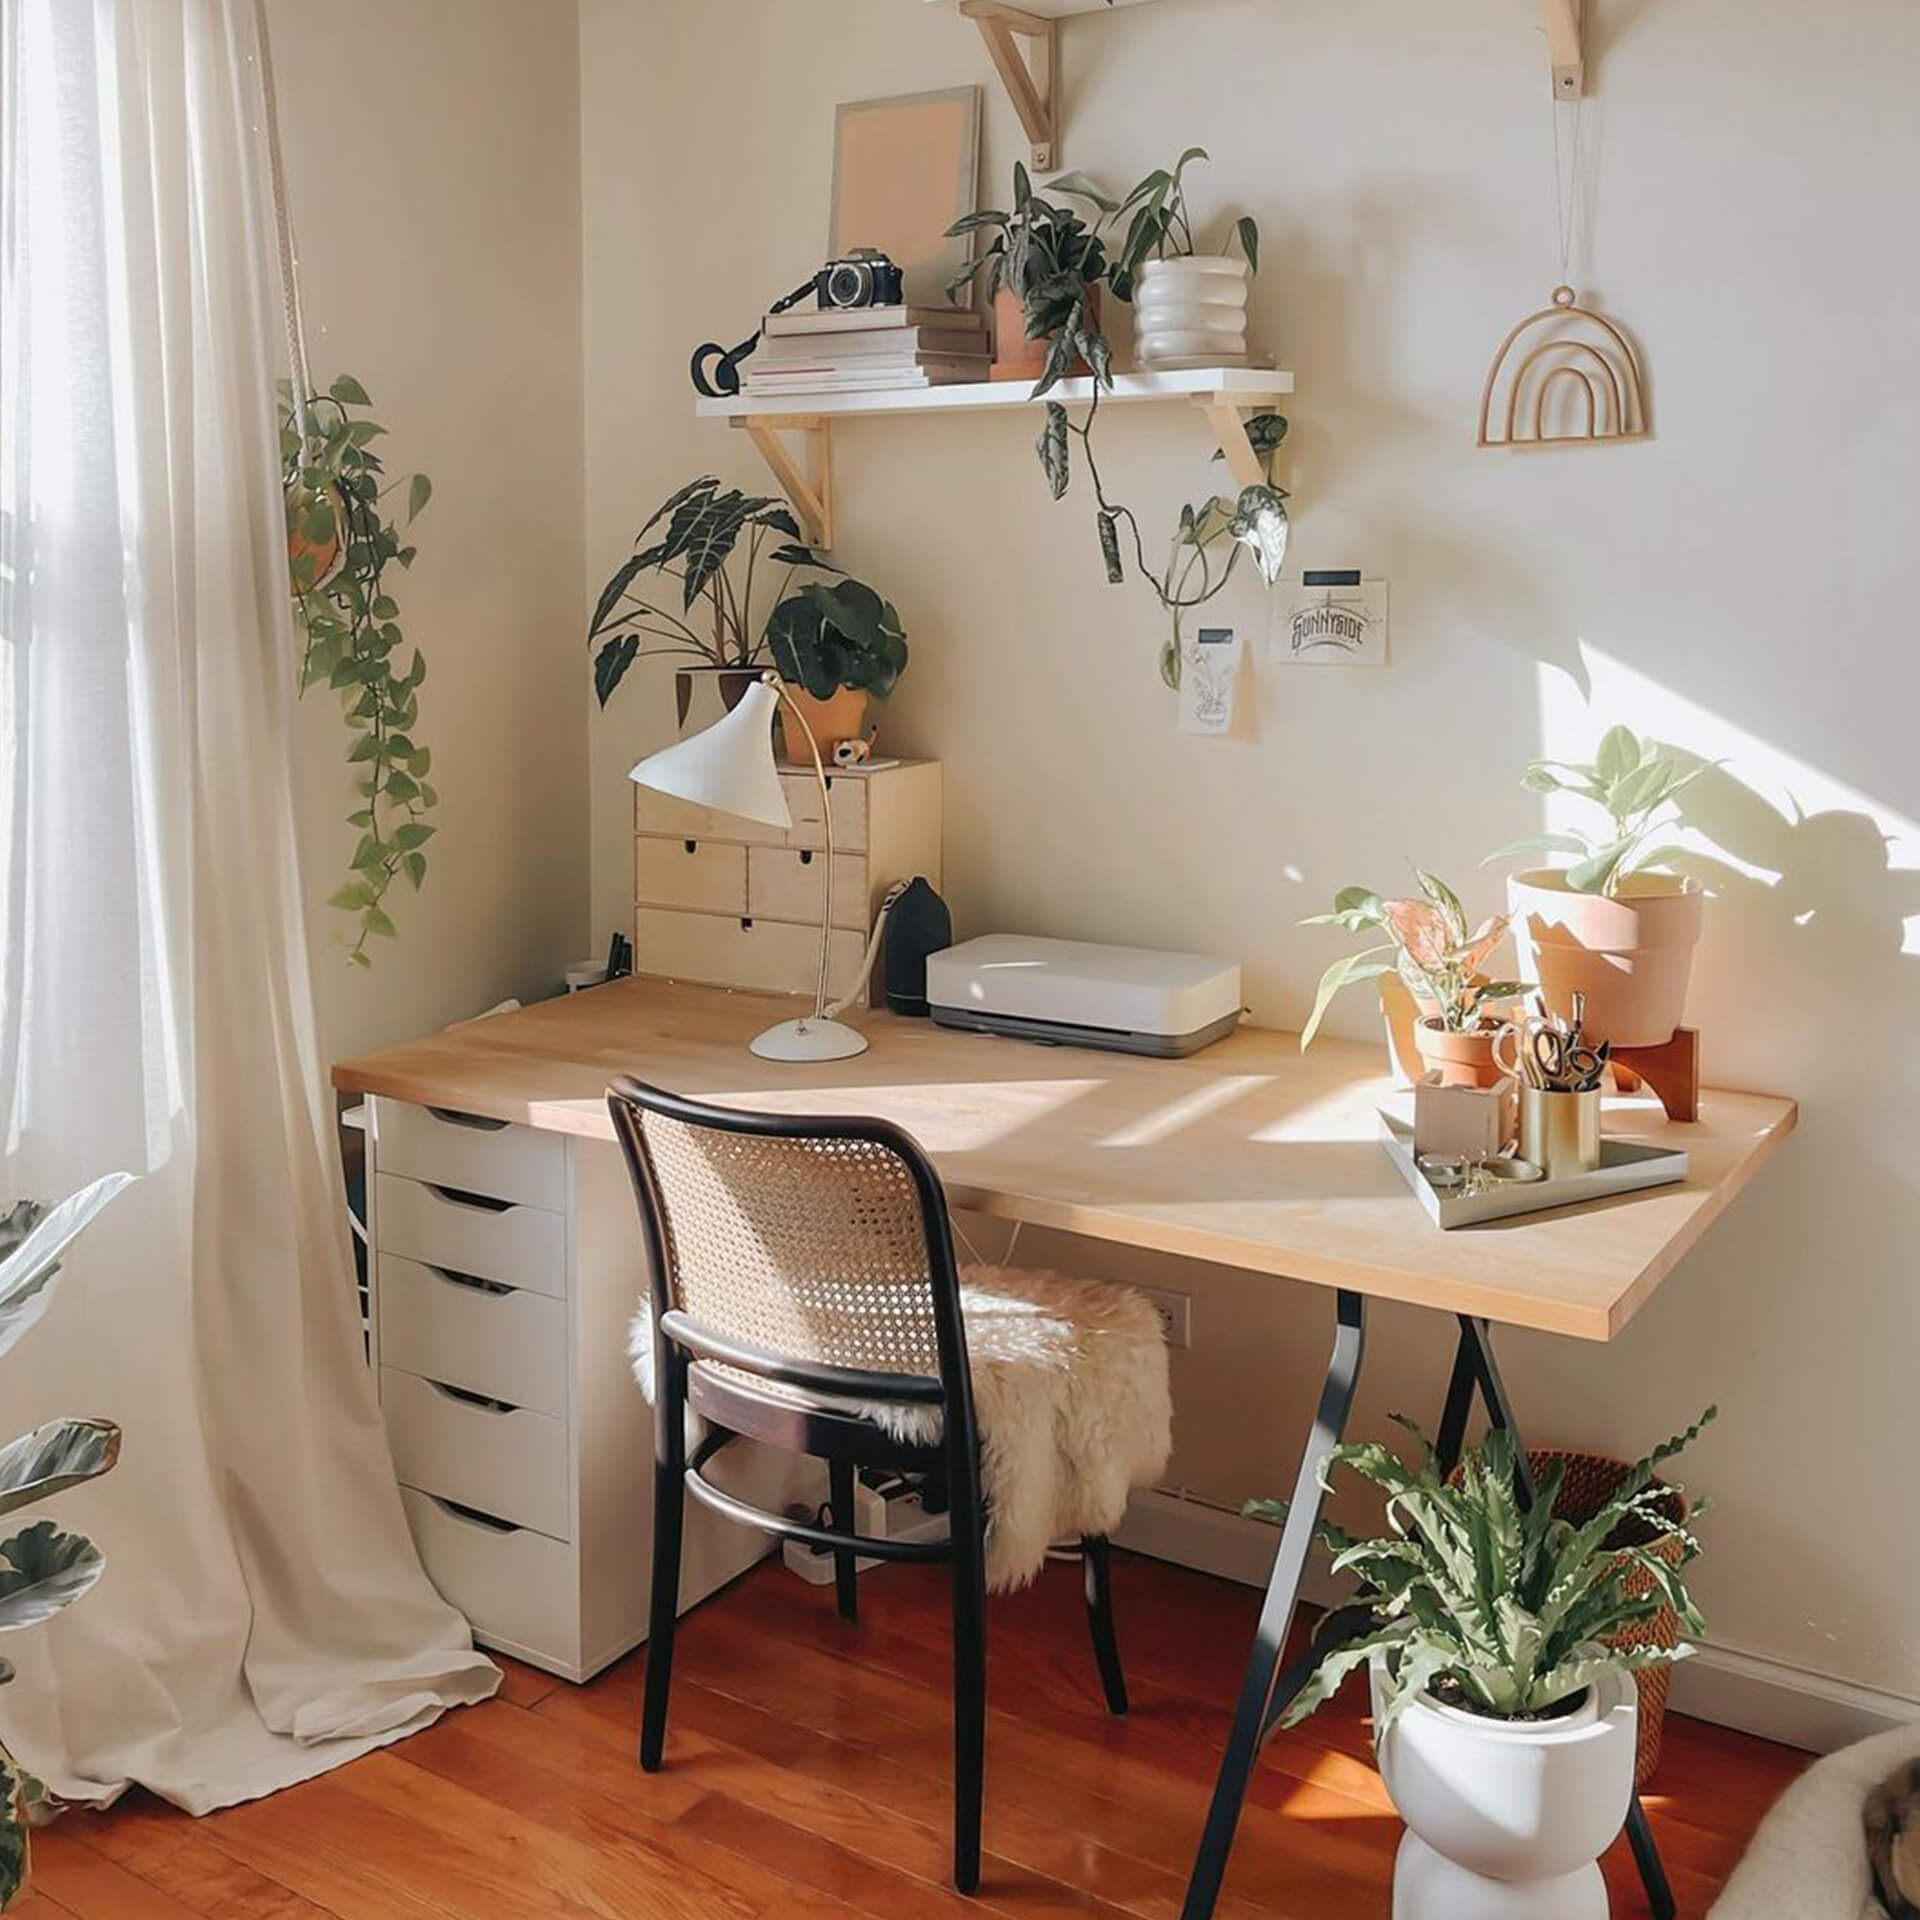
Changing your curtains, throw pillows, or rugs can significantly impact the overall look and feel of a room.
Step 1: Choosing the Right Fabrics: Consider the color, texture, and pattern of your fabrics. Choose textiles that complement your existing decor and create the desired mood.
Step 2: Measuring and Cutting: Accurately measure your windows or furniture before cutting your fabric. Add seam allowance to your measurements.

Step 3: Sewing (or No-Sew Options): If you have sewing skills, create curtains or pillow covers. If not, explore no-sew options using fabric glue or iron-on adhesive.
Step 4: Installation: Hang your new curtains or arrange your throw pillows and rugs.
Pro Tip: Explore affordable fabric options from thrift stores or online marketplaces.
5. Statement Wall Creation
A statement wall instantly elevates the aesthetic of a room. This could involve painting an accent wall, adding wallpaper, or creating a textured feature.
Step 1: Choosing Your Method: Decide whether you'll paint, wallpaper, or use another technique.
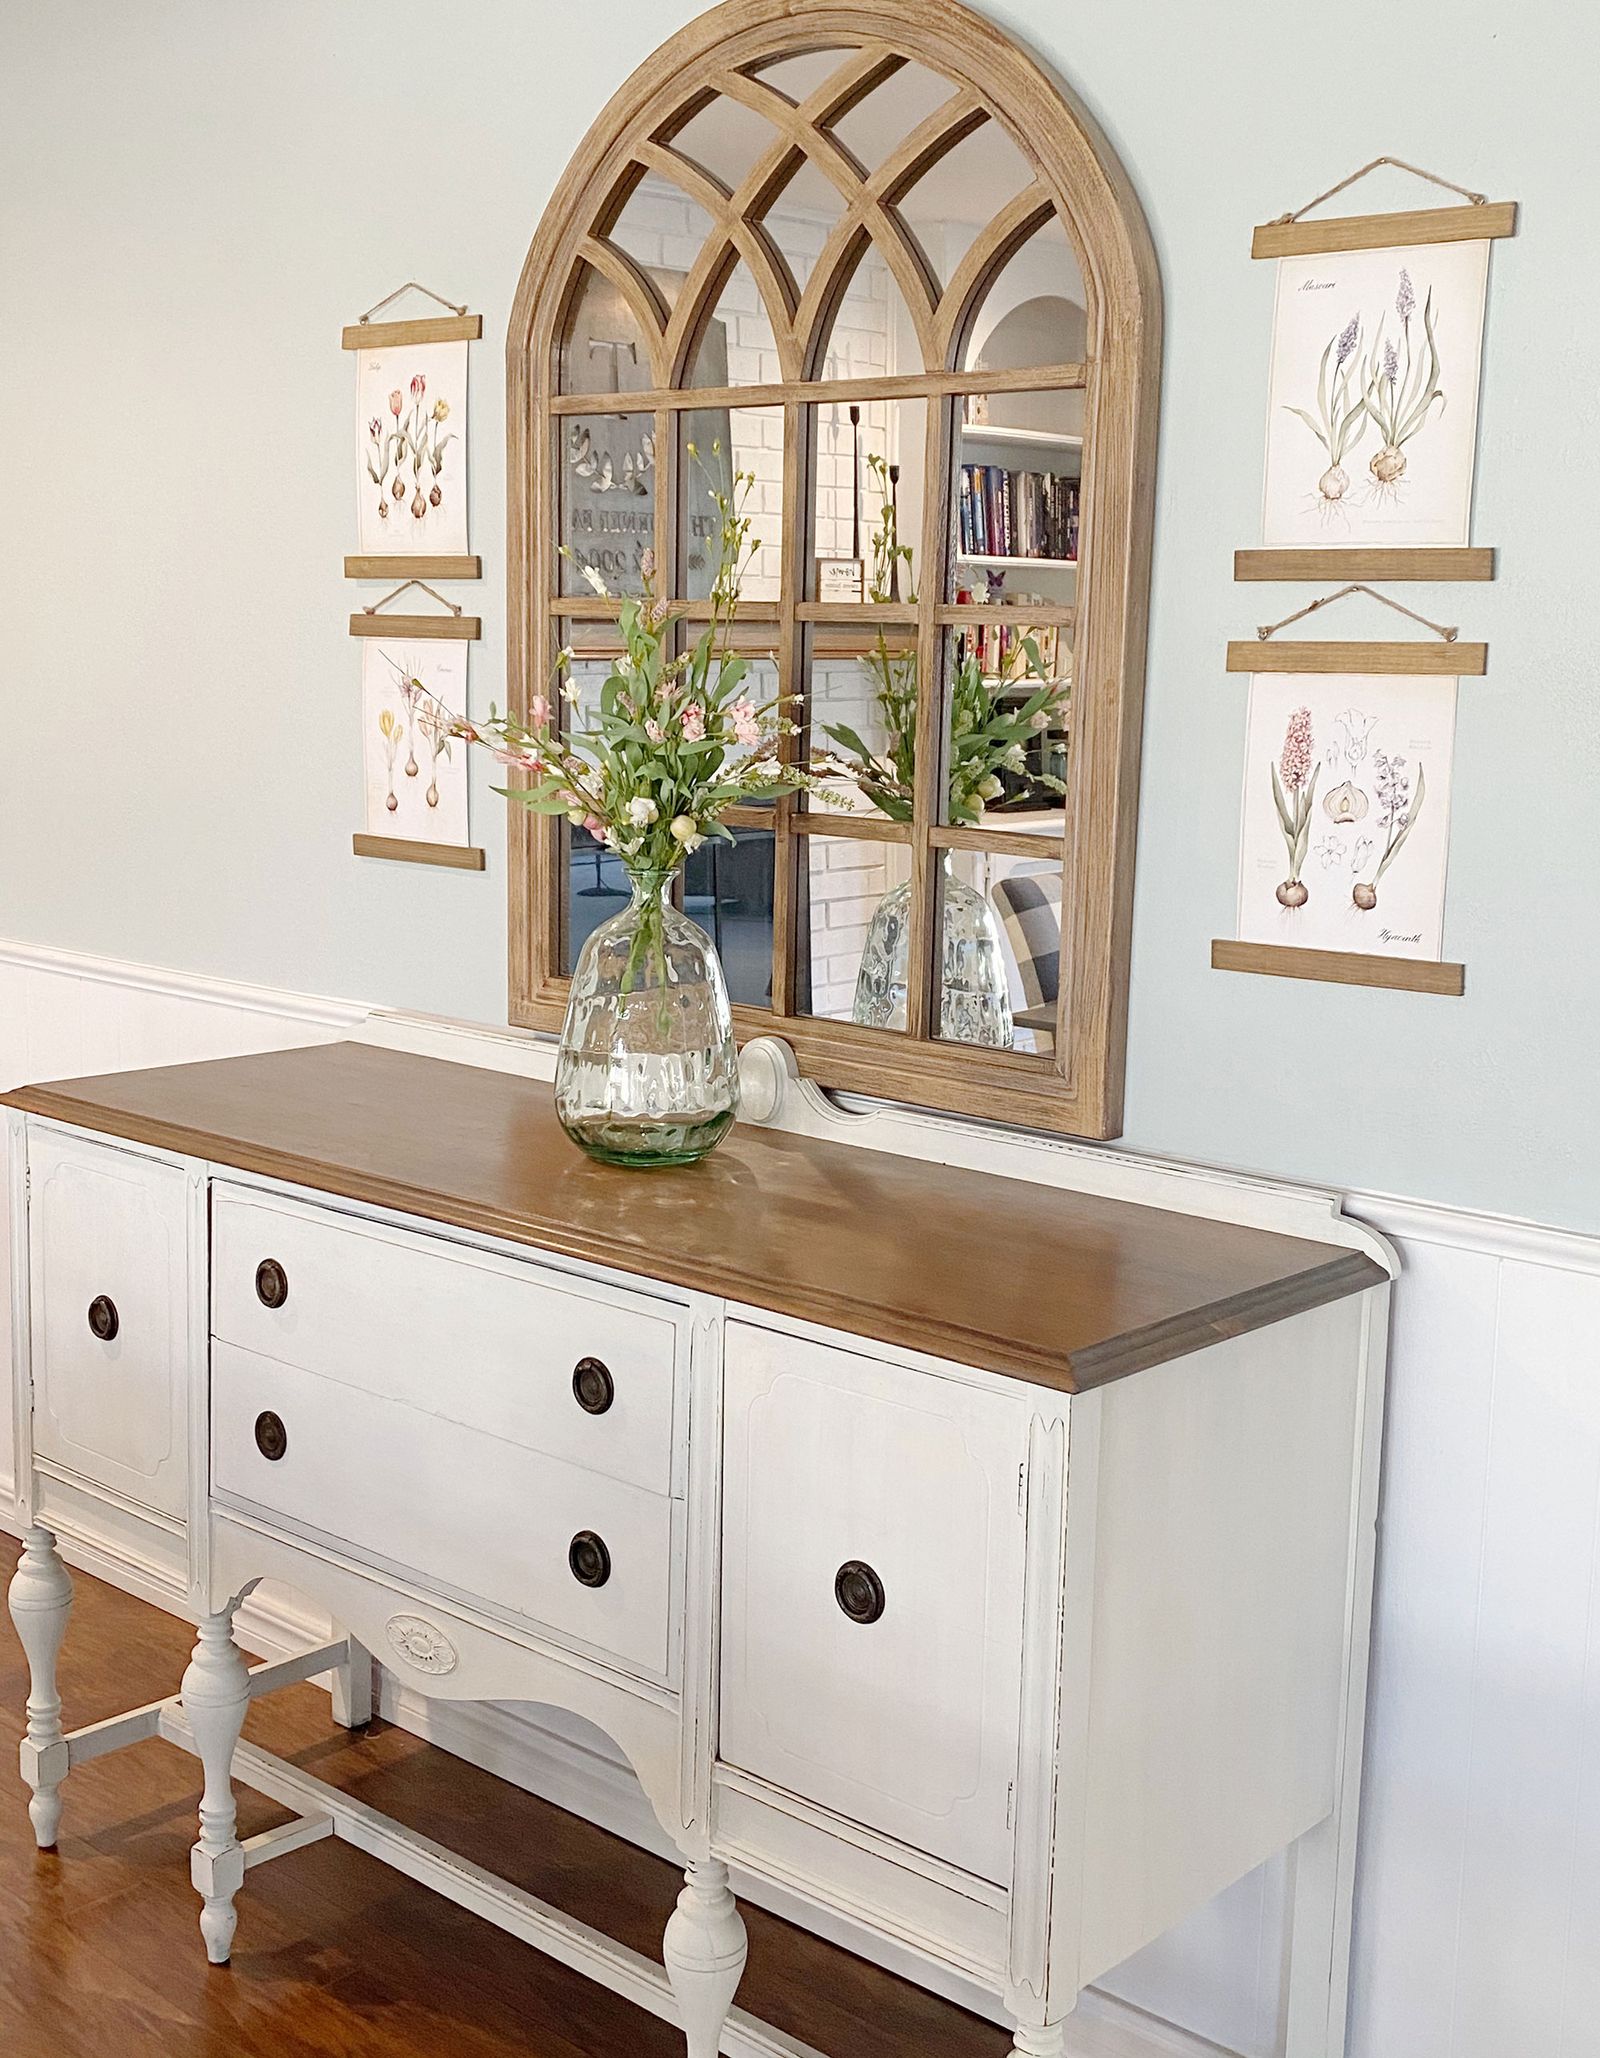
Step 2: Preparation: Clean the wall thoroughly and repair any damage. For wallpaper, ensure the wall is smooth and primed.
Step 3: Application: Follow the manufacturer's instructions for painting or wallpapering. Work in sections to avoid overlapping and ensure even coverage.
Step 4: Finishing Touches: For painted walls, consider adding a protective sealant. For wallpaper, trim any excess carefully.
Maintaining Your Insta-Worthy Aesthetic
Creating a beautiful home is an ongoing process. Maintaining your DIY home aesthetic involves regular upkeep and occasional refreshers. Here are a few tips:
- Regular Cleaning: Keep your space clean and clutter-free to maintain its visual appeal.
- Seasonal Updates: Incorporate seasonal elements into your decor to keep things fresh.
- Decluttering Regularly: Get rid of items you no longer need or use.
- Strategic Shopping: Only purchase items that align with your aesthetic and enhance your space.
- Embrace Imperfection: Your home should reflect your personality and lifestyle. Don't strive for perfection, embrace the unique charm of your DIY creations.
By following these tips and embracing the creative process, you can transform your house into an Insta-worthy home that reflects your personality and style, all while enjoying the satisfaction of a job well done. Remember, DIY is about the journey as much as the destination. Enjoy the process and have fun creating your dream space!
DIY Aesthetic: Home Upgrades on a Budget
Transforming your home into a stylish and aesthetically pleasing space doesn't require a hefty budget. With a little creativity, elbow grease, and a keen eye for detail, you can achieve a stunning DIY aesthetic without breaking the bank. This comprehensive guide explores various DIY home projects that will elevate your living space while remaining mindful of your wallet. We'll delve into practical tips, cost-effective materials, and inspiring design ideas to help you create the home of your dreams.
I. Planning Your DIY Aesthetic Journey: Defining Your Style
Before diving into any project, it's crucial to define your desired aesthetic. What vibe are you aiming for? Are you drawn to the minimalist charm of Scandinavian design, the rustic warmth of farmhouse style, the eclectic energy of boho chic, or the sophisticated elegance of mid-century modern? Browse online platforms like Pinterest, Instagram, and Houzz for inspiration and create a mood board to visualize your ideal space. This will serve as your guiding star throughout your DIY home upgrades.
Consider the existing features of your home. What are its architectural strengths? What aspects need improvement? Understanding your home's existing structure will help you prioritize projects and choose DIY projects that complement your home's architecture rather than clash with it. For example, if you have high ceilings, you might incorporate tall bookshelves or statement lighting fixtures. If your home has lots of natural light, you might choose lighter colors and sheer curtains to enhance the brightness.
Finally, create a realistic budget. This involves listing all the projects you want to undertake and estimating the cost of materials for each. Remember to factor in unexpected expenses and allow for some flexibility. Consider prioritizing projects based on their impact and affordability. Start with smaller, simpler projects to build confidence and momentum before tackling more complex ones.

II. Affordable DIY Projects to Elevate Your Space
Now, let's delve into specific DIY home projects that can significantly impact your home's aesthetic without emptying your wallet.
A. Repainting Walls and Adding Accent Walls:

A fresh coat of paint is one of the most transformative and budget-friendly DIY projects available. Choose colors that complement your chosen aesthetic and the existing features of your home. Consider using a color palette inspired by nature, incorporating calming neutrals, or using a bold accent wall to create a focal point. Remember to properly prepare the walls by cleaning and patching any imperfections before applying the paint.
Tip: Consider using sample pots of paint to test different colors on your walls before committing to a large quantity. This prevents costly mistakes and ensures you achieve the desired effect.
B. Upcycling Furniture:

Instead of buying new furniture, explore the possibilities of upcycling existing pieces. A simple coat of paint, new hardware, or reupholstering can completely transform an old dresser, chair, or table. Visit thrift stores, flea markets, or online marketplaces like Craigslist or Facebook Marketplace for affordable finds. Consider adding decorative elements like stencils or decoupage for a personalized touch.
Tip: Use chalk paint for an easy and versatile way to update furniture. It requires minimal preparation and adheres well to various surfaces.
C. DIY Decor:

Creating your own decorative elements adds a unique and personal touch to your home. Explore simple DIY decor projects like:
- Macrame wall hangings: These are relatively easy to make and add a touch of bohemian charm to any room. You can find numerous tutorials online for beginners.
- Gallery walls: Gather framed prints, photographs, or postcards that reflect your style and arrange them creatively on a wall. This is an excellent way to showcase your personality and create a visually appealing focal point.
- DIY candles: Making your own candles is both economical and allows for personalized scents and aesthetics. You can experiment with different waxes, essential oils, and containers.
- Plant propagation: Propagating your own plants is a sustainable and budget-friendly way to add greenery to your home. Many houseplants can be easily propagated from cuttings.
Tip: Use reclaimed materials like old jars, pallets, or scrap wood for your DIY decor projects. This adds a unique, eco-friendly touch and reduces costs.

D. Textile Transformations:
Updating your textiles can significantly impact the look and feel of your home. Consider:
- Sewing new curtains: If you have basic sewing skills, creating your own curtains can be a cost-effective way to enhance your windows. Use inexpensive fabrics and simple patterns.
- Knitting or crocheting throws: Adding handmade throws to your sofas and armchairs can create a warm and inviting atmosphere.
- Repurposing old fabrics: Give old clothes or bedsheets a new life by turning them into cushions, rugs, or wall hangings.

Tip: Visit fabric stores during their sales or clearance events for affordable materials.
E. Lighting Upgrades:
Lighting plays a crucial role in setting the mood and ambiance of your home. Consider adding affordable lighting solutions like:
- String lights: String lights can add a warm and romantic glow to any room. Drape them across walls, over furniture, or around windows.
- Upcycled lamps: Transform old jars or bottles into unique lampshades by adding a light socket and bulb.
- DIY pendant lights: With some creativity and basic DIY skills, you can create stunning pendant lights using recycled materials.
Tip: Consider using energy-efficient LED bulbs to reduce your energy consumption and save money in the long run.
III. Essential Tools and Materials for DIY Success

Having the right tools and materials at your disposal is crucial for a successful DIY project. While you might already own some basic tools, consider investing in the following:
- Paintbrushes and rollers: Choose high-quality brushes and rollers for a smooth and even finish.
- Screwdrivers and wrenches: Essential for assembling furniture and installing hardware.
- Measuring tape and level: Accurate measurements are crucial for ensuring your projects are straight and even.
- Hammer and nails: Useful for various tasks, including hanging pictures and assembling frames.
- Safety glasses and gloves: Always prioritize safety when working on DIY projects.
IV. Finding Inspiration and Resources:

The internet is a treasure trove of inspiration and resources for DIY home projects. Explore platforms like:
- Pinterest: Discover countless ideas for DIY aesthetic projects and gather inspiration for your own creations.
- Instagram: Follow home décor accounts and DIY enthusiasts for creative ideas and project tutorials.
- YouTube: Find step-by-step tutorials and how-to videos for various DIY projects.
- Blogs and websites: Numerous blogs and websites offer detailed guides and tips for DIY home improvements.
V. Conclusion: Embrace the DIY Journey

Embarking on a DIY aesthetic journey is a rewarding experience that allows you to personalize your home and express your creativity. By following these tips, utilizing affordable materials, and embracing a little patience, you can create a stunning and stylish home without breaking the bank. Remember that the process itself is just as important as the outcome. Enjoy the journey, experiment with different styles, and don't be afraid to make mistakes—they are all part of the learning process. Your unique style will shine through, creating a home that truly reflects your personality and taste.

