
Her Tiny Kitchen? A Design DREAM.
Her Tiny Kitchen? A Design DREAM.
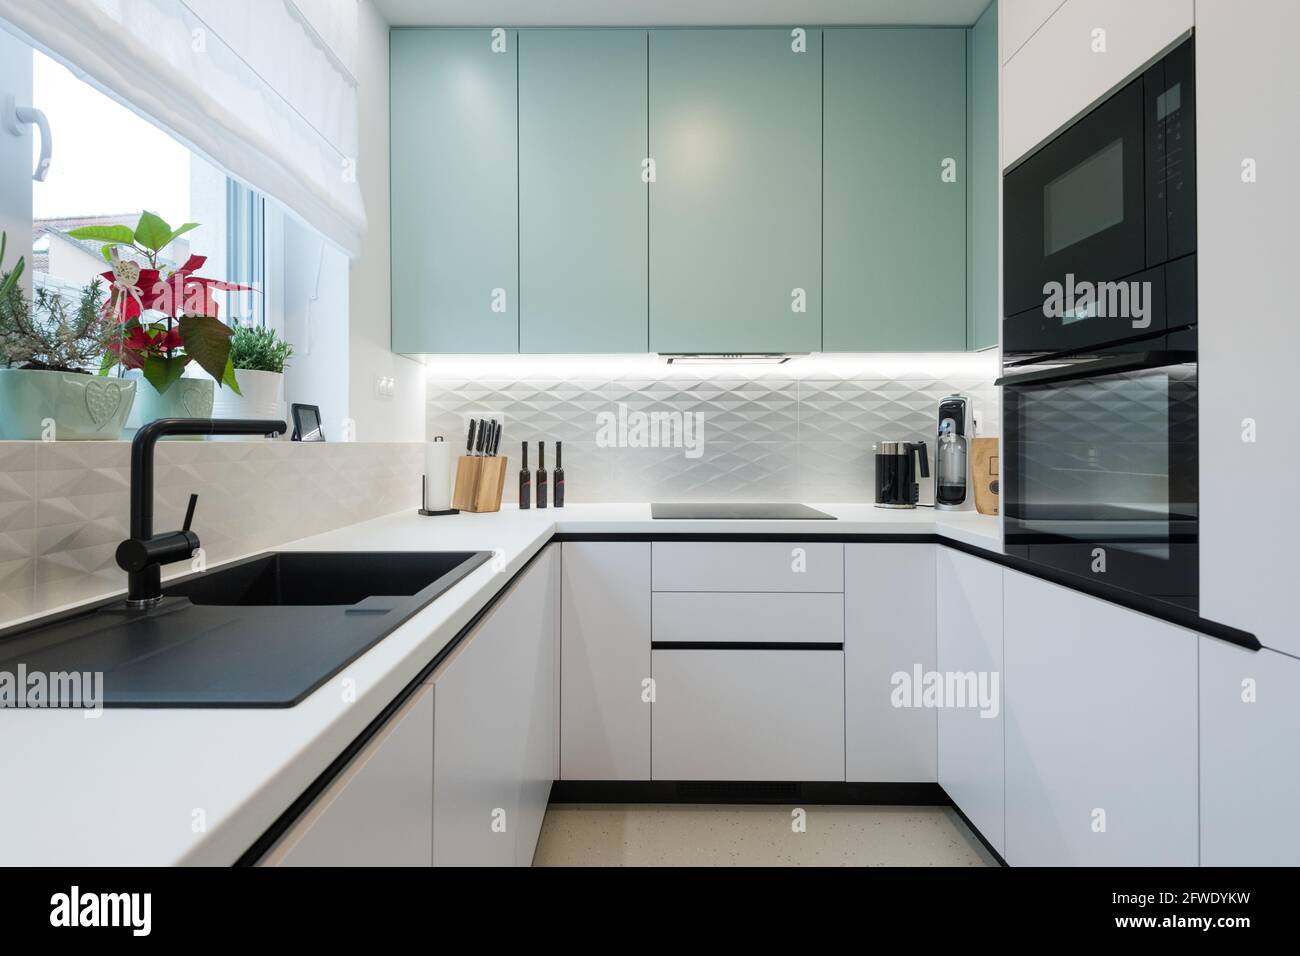
(Image: A stunning, bright, and organized tiny kitchen. Think Scandinavian minimalism with pops of color. Focus on functionality and a feeling of spaciousness.)
Have you ever walked into a space, any space, and felt instantly…inspired? That's the magic we're aiming for. And it's entirely possible, even in the smallest of kitchens. This blog post is dedicated to transforming that cramped, frustrating corner into a culinary haven. This is about proving that size doesn't matter – it's all about smart design.
Let's meet Sarah. Sarah's apartment is charming, but her kitchen? Let's just say it was…challenging. A galley kitchen barely wider than a countertop, it felt more like an obstacle course than a space for creating delicious meals. But Sarah, armed with a Pinterest board brimming with ideas and a dash of determination, turned her tiny kitchen into a design DREAM. Her story is the inspiration behind this post.
From Chaos to Calm: Sarah's Kitchen Transformation
Sarah’s journey began with honest self-assessment. She didn't try to fight the limitations of the space; she embraced them. Instead of wishing for more square footage, she focused on maximizing what she had.
Here’s what she did:
1. Decluttering & Purging:
This is the crucial first step. Ruthlessly declutter. Sarah started by emptying every drawer and cupboard. She honestly assessed every item: Did she use it regularly? Did it bring her joy? If the answer was no, it went. This alone opened up significant space.
- Pro Tip: Don't just declutter once – make it a habit. Regular purges will keep your kitchen feeling fresh and functional.
(Image: Before & After photos of Sarah's kitchen cabinets – showcasing the dramatic difference after decluttering.)
2. Strategic Storage Solutions:
Sarah recognized the power of vertical space. She invested in sleek, slimline shelving units. These maximized vertical storage and added a modern touch. She also utilized drawer dividers and organizers to keep everything neatly in its place.
- Ideas for Clever Storage:
- Magnetic knife strips: Free up drawer space and add a stylish touch.
- Stackable containers: Perfect for storing pantry staples.
- Over-the-cabinet organizers: Maximize the space above your cabinets.
- Under-sink organizers: Tame the chaos under the sink.
(Image: Close-up shots of Sarah’s clever storage solutions – showcasing the use of slimline shelves, drawer organizers, and magnetic strips.)

3. Light & Bright Color Palette:
Sarah understood the importance of light. She opted for a bright, airy color palette. Light colors, such as white, cream, and pale gray, made the space feel much larger than it was. A splash of color (a vibrant teal backsplash) added personality without overwhelming the space.
- Color Psychology Tip: Light and pastel shades reflect light, making the room feel open and expansive.
(Image: A wide shot highlighting the light and airy color palette of Sarah's transformed kitchen.)
4. Multi-functional Furniture:
Space-saving furniture is key in tiny kitchens. Sarah replaced her bulky dining table with a fold-down wall-mounted table. This allowed her to have a dining area when needed, but it folded away neatly when not in use.

- Consider these Multi-functional Furniture Ideas:
- Folding chairs: Easy to store when not in use.
- Island with storage: A small island can serve as extra counter space and storage.
- Bar stools: These take up less space than traditional dining chairs.
(Image: Sarah using her fold-down table – showcasing its convenience and space-saving design.)
5. Mirror, Mirror:
Sarah cleverly used a large mirror to reflect light and create an illusion of more space. She placed it strategically near a window to maximize its effect.
- Placement Tip: Place mirrors opposite windows or light sources for the best results.
(Image: A detailed shot showcasing the strategic placement of the mirror in Sarah's kitchen.)

6. Maximize Countertop Space:
Sarah carefully curated her countertop appliances. She removed any rarely used items and kept only essential appliances on the counter. This dramatically improved the flow of the kitchen.
- Countertop Organization Tip: Keep only frequently used appliances on the countertop. Store others in cabinets.

(Image: A clean and organized countertop in Sarah's kitchen, showcasing the minimalist approach.)
7. Open Shelving (with Caution):
While open shelving can look stylish, Sarah used it sparingly. Only essential and aesthetically pleasing items were displayed. The rest was tucked away in closed cabinets to maintain a sense of order.
- Open Shelving Tip: Curate what you display carefully to avoid a cluttered look.
(Image: Sarah's use of open shelving, showcasing carefully selected items displayed neatly.)

Beyond the Aesthetics: Functionality First
It’s not just about pretty pictures; it's about functionality. Sarah’s transformation wasn't just about aesthetics; it was about creating a space that was truly enjoyable to use. She considered the workflow in her kitchen, ensuring everything was within easy reach.
Your Tiny Kitchen Design DREAM: A Step-by-Step Guide
Inspired by Sarah’s success, you can transform your tiny kitchen too! Follow these steps:
- Declutter & Purge: Be ruthless!
- Measure Your Space: Know your dimensions to plan effectively.
- Choose Your Style: Pinterest is your friend! Find inspiration.
- Shop Smart: Prioritize multi-functional and space-saving items.
- Implement Your Plan: Start with one area at a time.
- Enjoy Your New Space!
(Image: A mood board showcasing various kitchen design styles – Scandinavian, minimalist, farmhouse, etc.)

Remember, a tiny kitchen doesn't mean a compromised kitchen. With smart design, creativity, and a little bit of elbow grease, you can create a space that's both beautiful and functional. Let Sarah's story inspire you to turn your kitchen challenges into a design DREAM. Your culinary adventures await!


