
Tiny Space, Giant Style: Kitchen Reveal!
Tiny Space, Giant Style: Kitchen Reveal!
Welcome to the grand reveal of my newly renovated—and incredibly tiny—kitchen! For years, I lived with a cramped, outdated space that felt more like a storage closet than a culinary haven. But with some clever design choices, a dash of creativity, and a whole lot of elbow grease, I transformed it into a functional and stylish haven I absolutely adore. This isn't just a kitchen makeover; it’s a testament to how maximizing space can amplify style. Get ready to be inspired!
The Before: A Confession of Crammed Cabinets
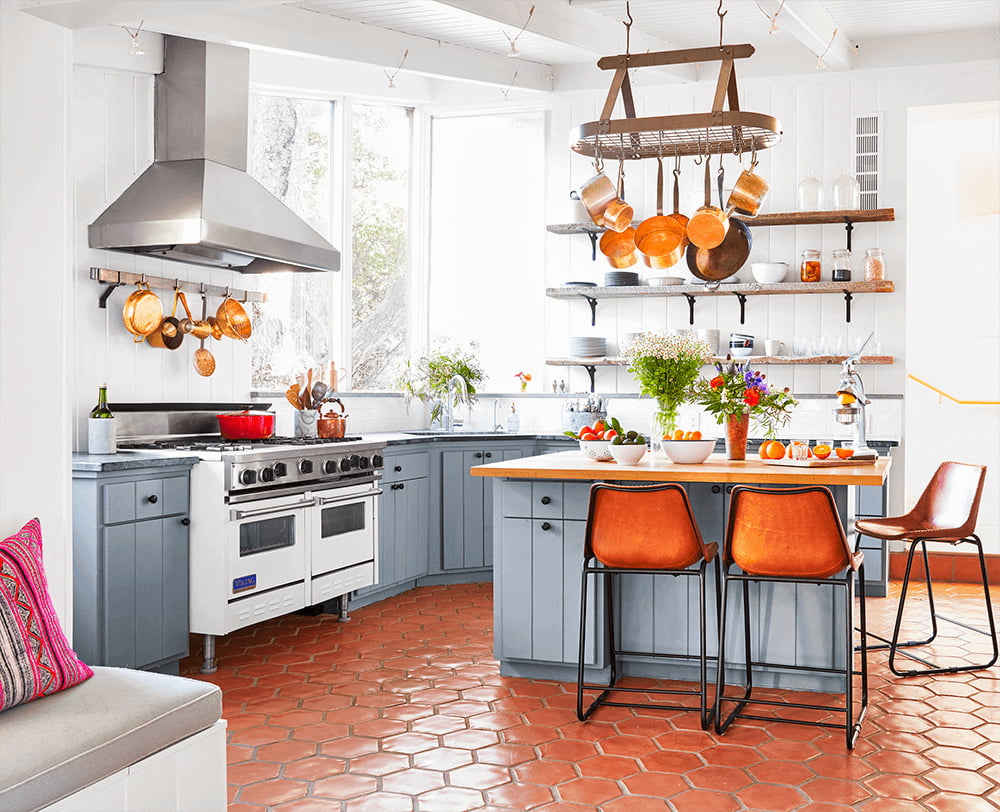
Let's be honest, the "before" pictures are less than glamorous. Dark cabinets, outdated appliances, and a general lack of organization dominated the room. Counter space was virtually nonexistent, and the overall feel was overwhelmingly claustrophobic. It was a functional space, sure, but it lacked personality and certainly didn't spark joy. It was time for a change.
Insert a "before" image here
The Vision: Bright, Airy, and Efficient
My goal wasn't just to make the kitchen bigger (that wasn't possible!), but to make it feel bigger. I envisioned a bright, airy space that maximized storage and functionality while maintaining a sense of style. My key words were: light, bright, organized, and efficient.
The Plan: Smart Design Decisions for Small Spaces
This wasn't just about aesthetics; it was about strategic planning. I spent weeks researching design ideas, poring over Pinterest boards (naturally!), and measuring every inch of my tiny kitchen. Here are some of the critical decisions that made all the difference:
- Light and Bright Color Palette: I swapped the dark cabinets for bright white shaker-style cabinets. This instantly opened up the space, making it feel much larger. I also painted the walls a soft, neutral beige to complement the white.

-
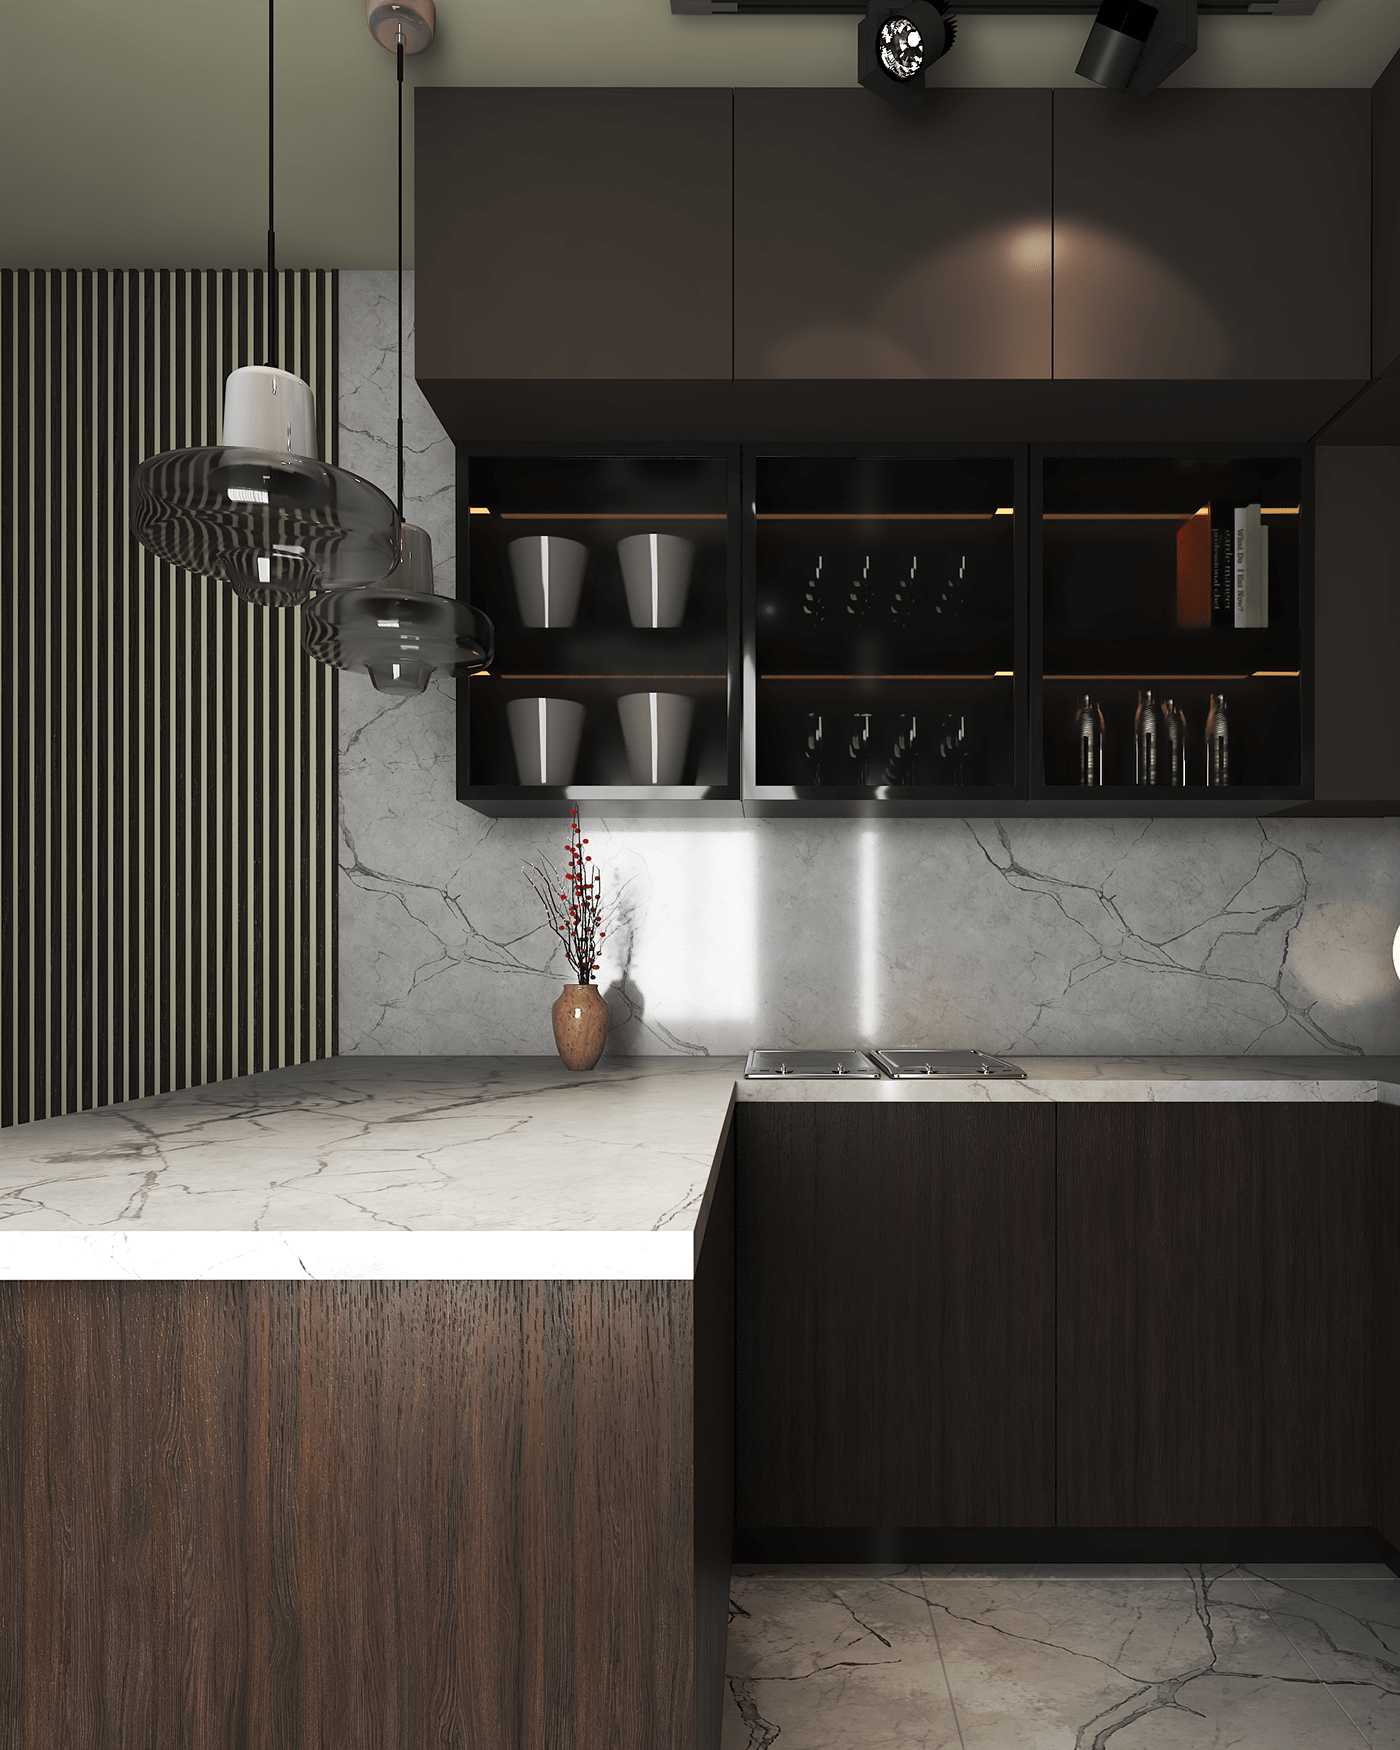
Maximize Vertical Space: Forget wasted space above the cabinets! I added open shelving to display some of my favorite kitchenware and add visual interest. This not only increased storage but also drew the eye upwards, creating a sense of spaciousness.
-
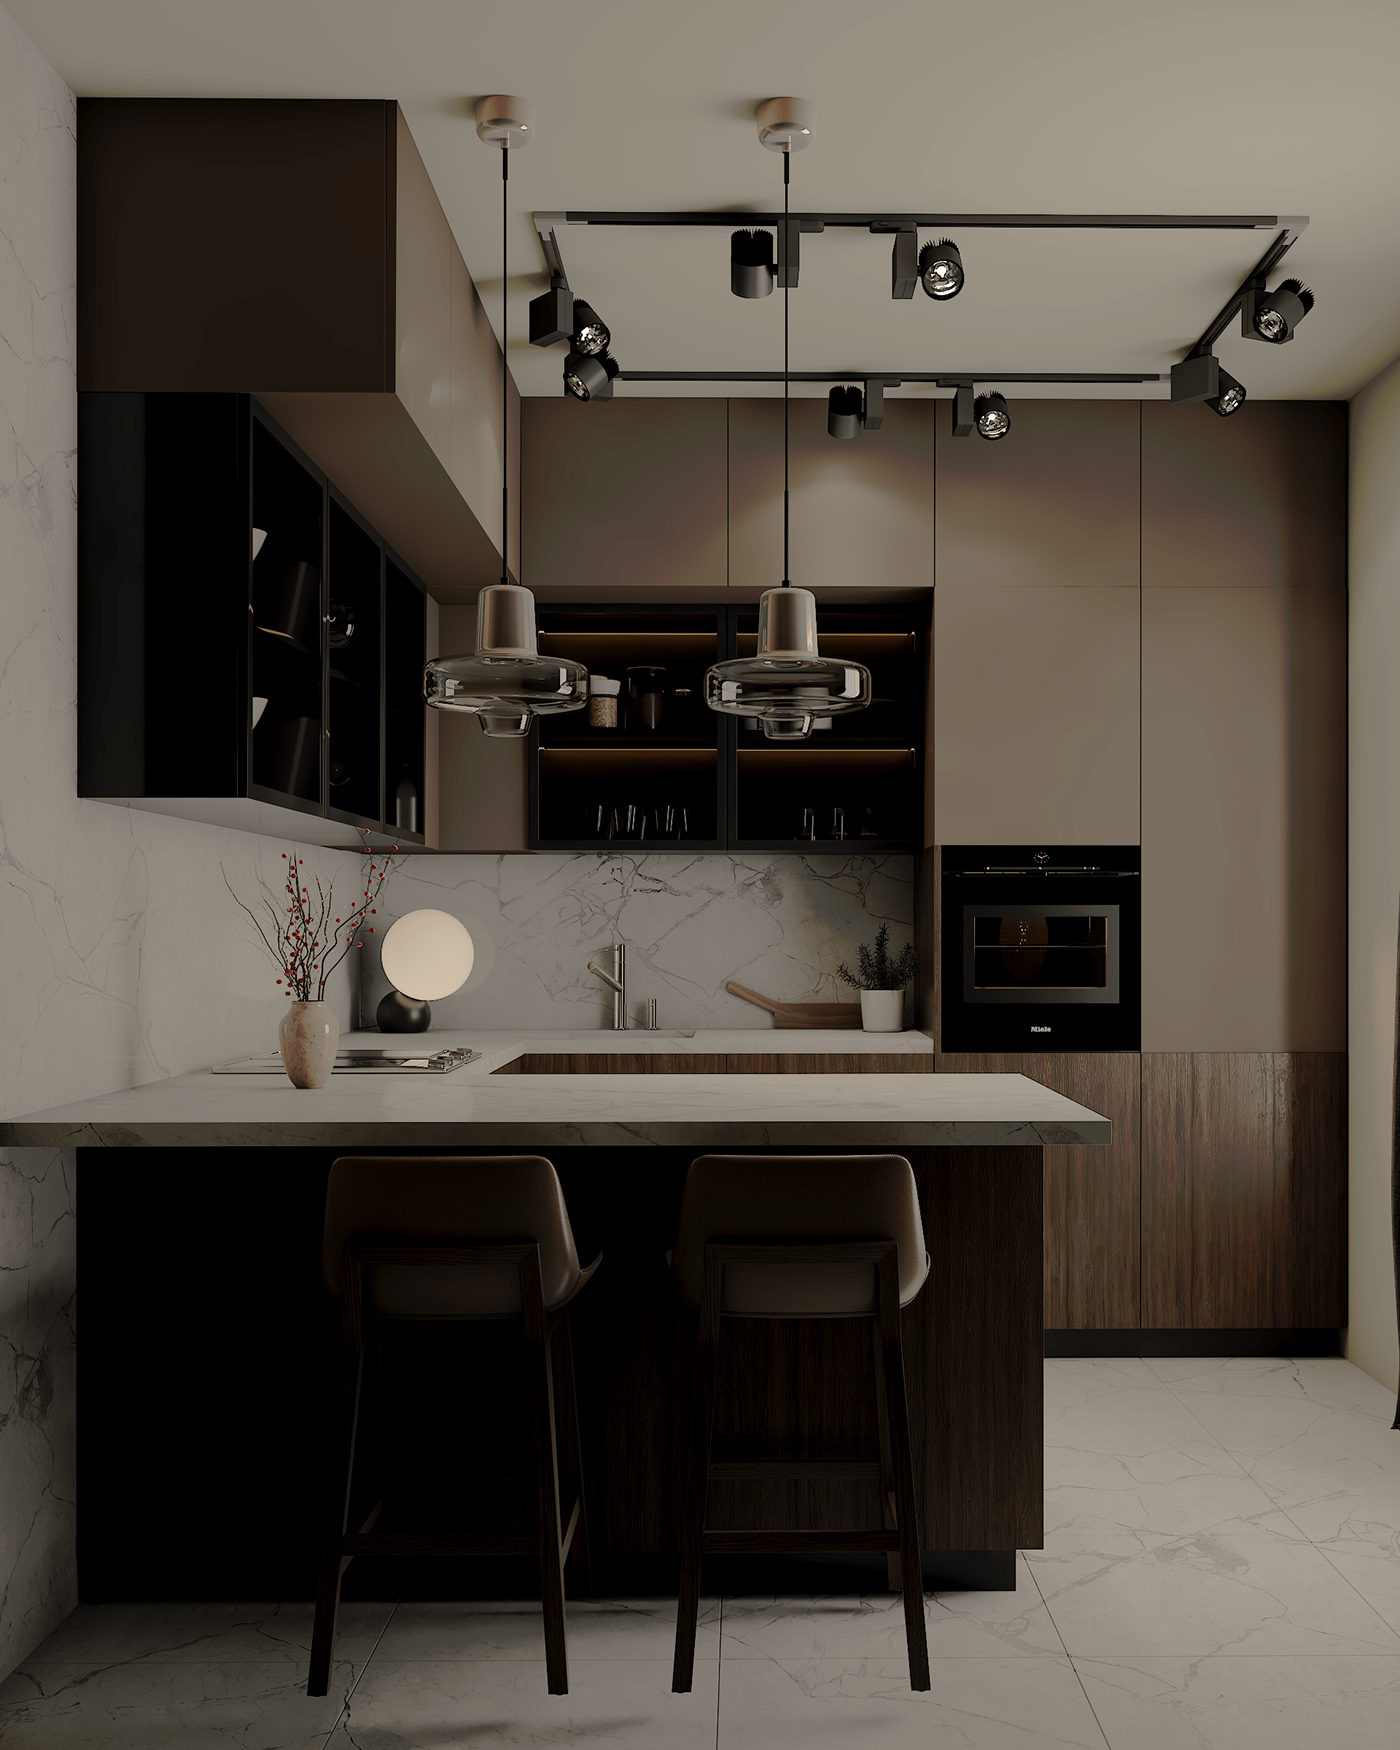
Strategic Lighting: Layered lighting is key in a small space. I installed under-cabinet lighting to brighten the work area, pendant lights above the island (more on that later!), and recessed lighting in the ceiling for overall illumination.
-
Multi-Functional Furniture: A small island became my unexpected hero. It serves as extra counter space, storage (with drawers!), and a casual dining spot. It's a space-saving marvel!

-
Sleek and Streamlined Appliances: I opted for built-in appliances wherever possible, which helped to maintain a clean, uncluttered look. This also eliminated the bulky look of freestanding appliances, further maximizing space.
-
Mirror, Mirror on the Wall: A large mirror positioned strategically near the window reflected natural light, making the space feel even brighter and more expansive.
The Transformation: Step-by-Step Details
The renovation was a journey, but breaking it down into manageable steps made it less daunting. Here’s a glimpse of the process:
-
Demolition: Removing the old cabinets and appliances was the first, and most satisfying, step. This allowed me to fully assess the space and plan the layout.
-
Cabinet Installation: Installing the new white shaker cabinets was a bit of a puzzle, but the result was worth the effort. Precise measurements and careful planning were vital.
-
Plumbing and Electrical: This phase required professional help, as it involved relocating some outlets and plumbing fixtures. This was essential for optimal functionality and safety.
-
Backsplash Installation: I chose a simple, yet elegant, white subway tile backsplash. It added a touch of classic charm without overwhelming the space.
-
Countertop Installation: I selected a durable and easy-to-clean quartz countertop, which is perfect for a high-traffic area.
- Finishing Touches: This included installing the lighting, hardware, and styling the shelves. This is where the personality of the kitchen truly comes to life!
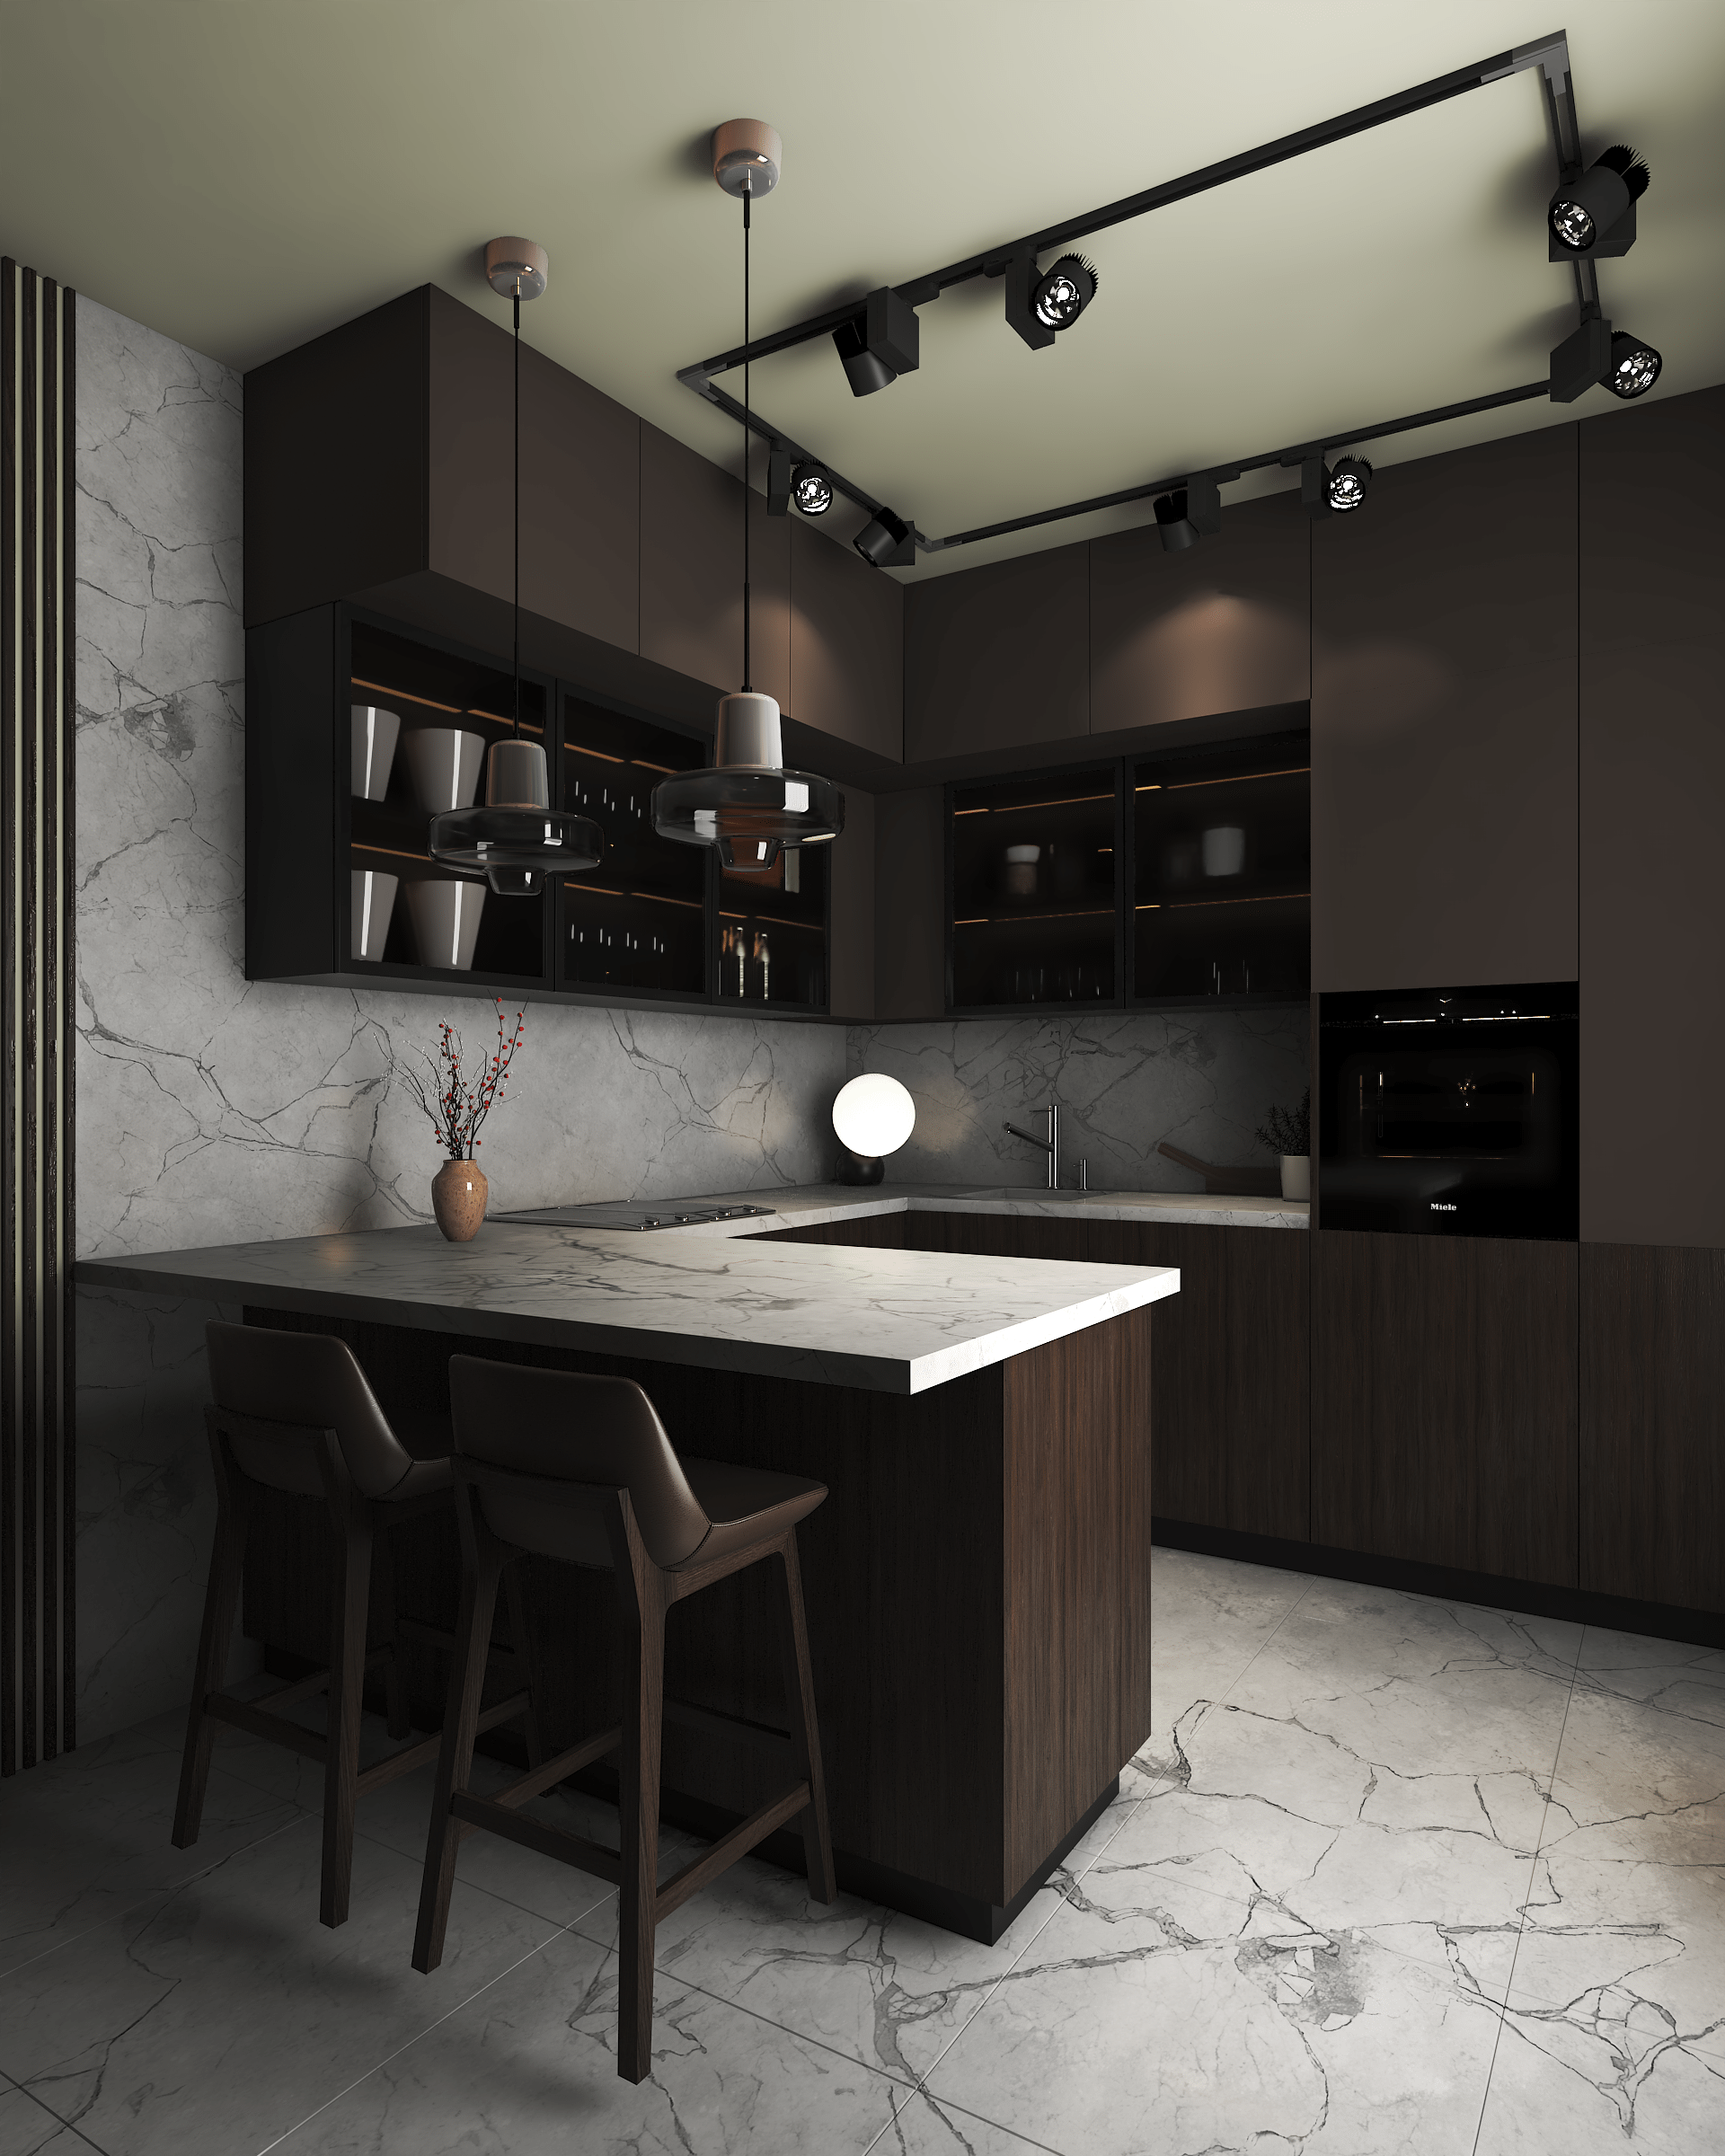
The After: A Tiny Kitchen Transformed
The transformation is nothing short of breathtaking! The once-cramped, dark space is now a bright, airy, and functional kitchen that I absolutely love. The clever use of space, the light color palette, and the strategic placement of furniture created the illusion of a much larger space.
Design Tips for Your Tiny Kitchen
Here are some additional tips to help you create your own tiny kitchen masterpiece:
-
Embrace Minimalism: Keep your countertops clutter-free. Only keep essential items out, storing everything else away in cabinets or drawers.
-
Open Shelving vs. Closed Cabinets: A combination of both offers the best of both worlds. Open shelves showcase your favorite items, while closed cabinets keep things organized and out of sight.
-
Utilize Corner Space: Don't let those awkward corners go to waste. Consider corner cabinets or pull-out shelves to maximize storage.

-
Think Vertical: Use vertical space wisely. Install tall cabinets, shelves, and even hanging racks to store items efficiently.
-
Accessorize with Purpose: Choose accessories that are both functional and aesthetically pleasing. Avoid overcrowding the space with unnecessary items.
Conclusion: Big Style in a Small Package
This kitchen makeover proves that size isn't everything. With creative planning, smart design choices, and a little bit of DIY magic, you can transform a tiny kitchen into a beautiful and functional space. Remember, it's not about the square footage, it's about the style and functionality you create within it! I hope this kitchen reveal has inspired you to embrace your own tiny kitchen and make it a space you truly love. Let me know in the comments what your favorite feature is!


